
As I stood in my kitchen, a vision of airy clouds took shape in my mind—mini pavlovas, beautifully crisp on the outside with deliciously soft, marshmallowy centers, just waiting to be topped with luscious whipped cream and vibrant berries. These delightful Mini Pavlovas with Berries are not only a feast for the eyes but also incredibly easy to whip up, making them the perfect light dessert for any occasion. They’re naturally gluten-free and can be made ahead of time, allowing you to focus on what truly matters—delighting your guests or treating yourself to something special. Imagine the joy of sharing these elegant treats at your next gathering; they’re sure to impress and satisfy those sweet cravings. Curious to learn how to master this delightful dessert? Let’s dive into the recipe!

Why Are Mini Pavlovas So Irresistible?
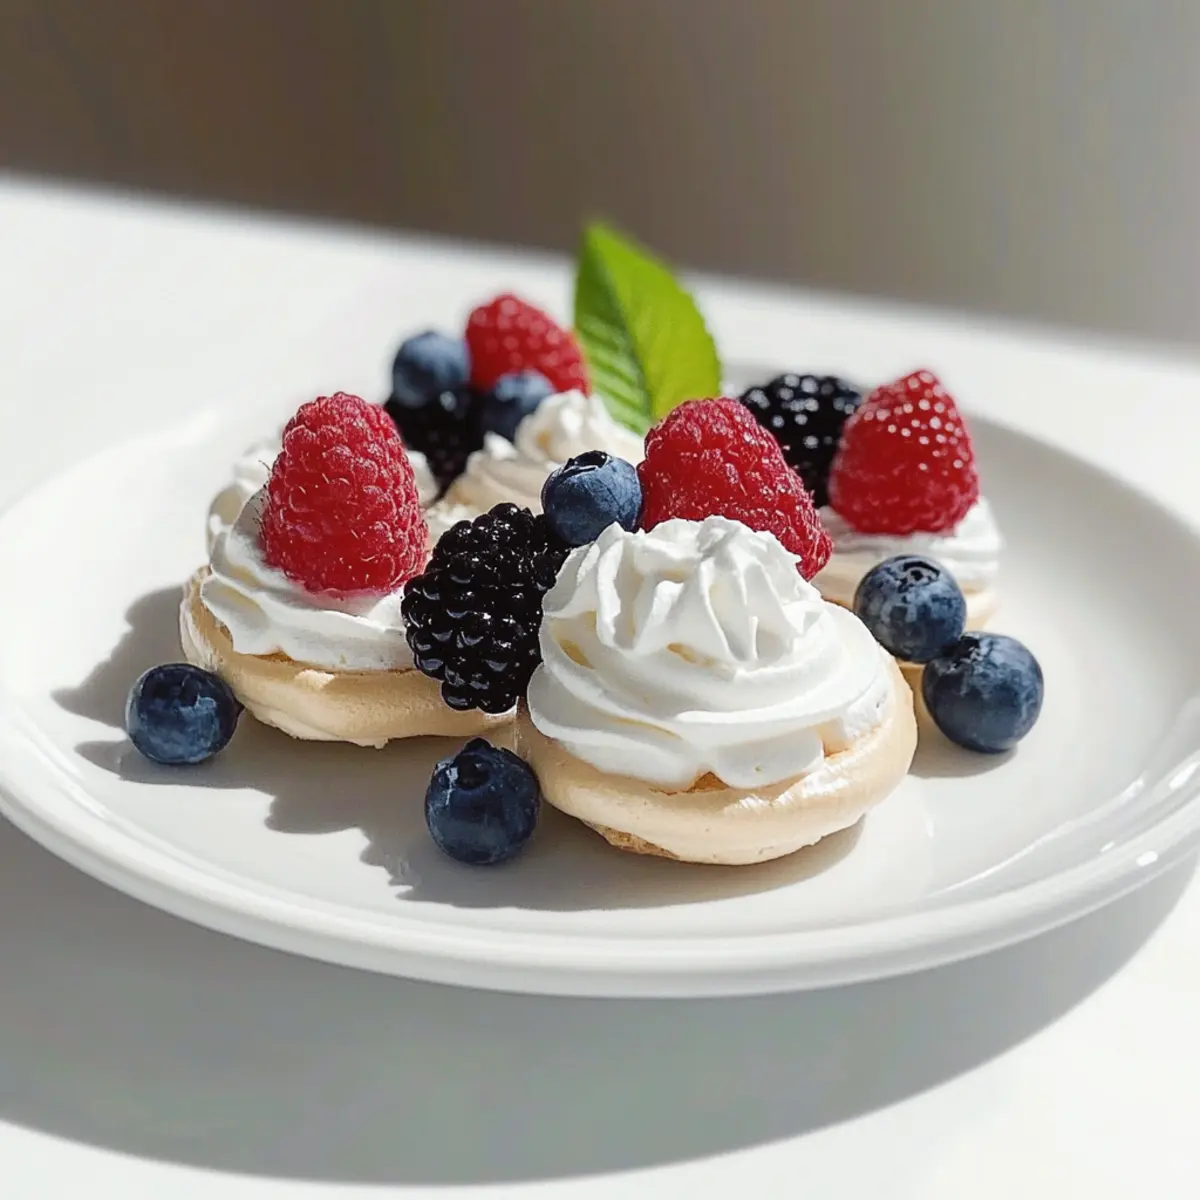
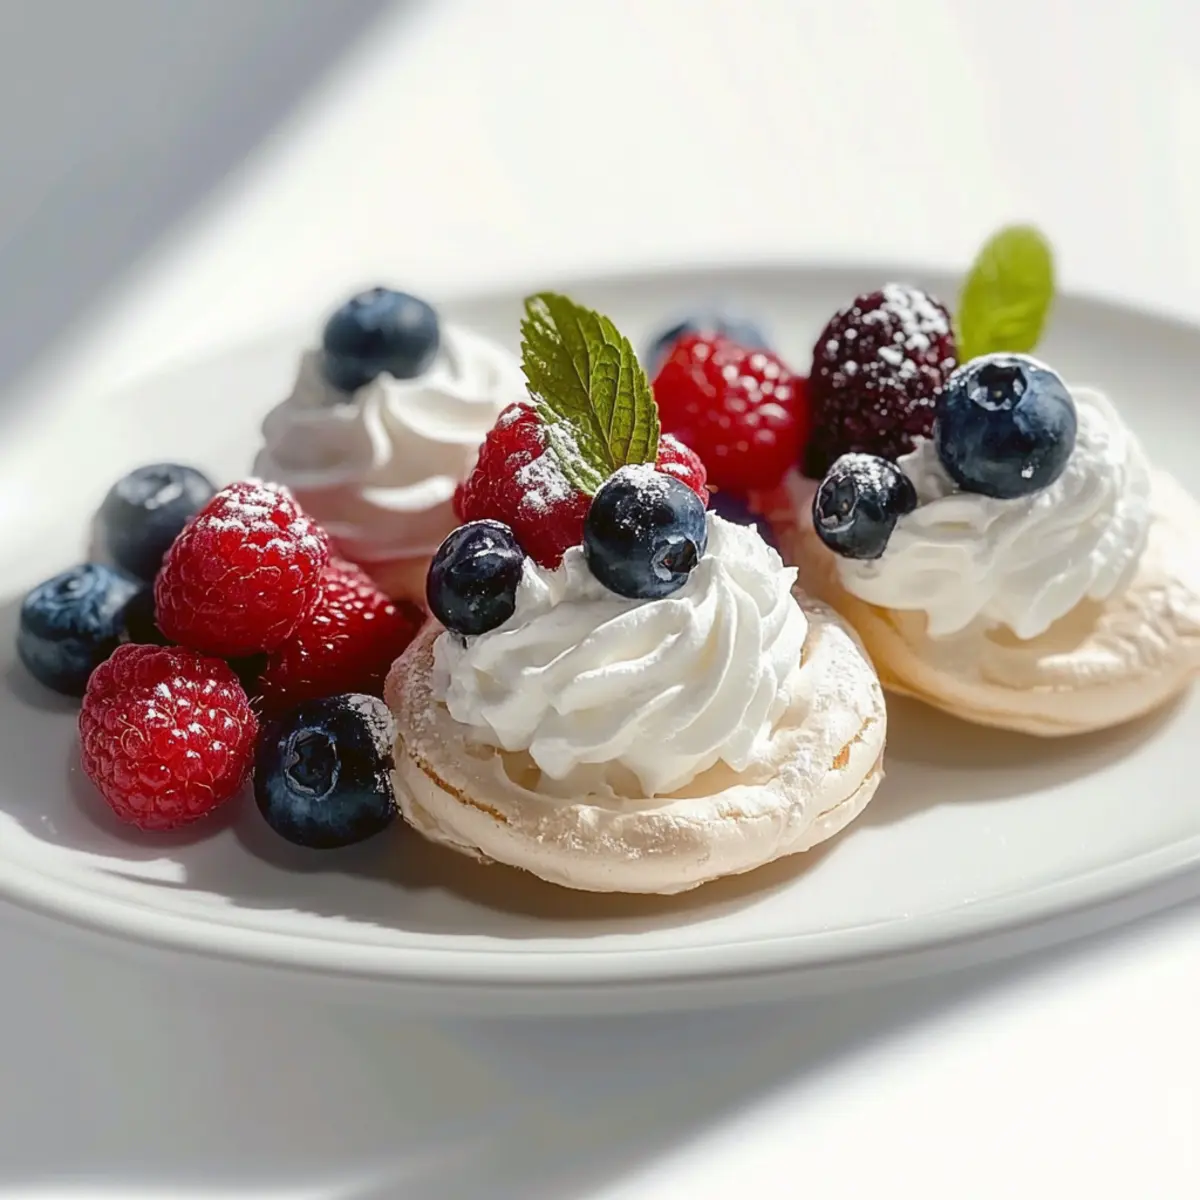
Light and Airy: These Mini Pavlovas with Berries are like eating clouds. The crisp meringue contrasts beautifully with the soft, chewy interior, delivering a delightful bite every time.
Gorgeous Presentation: Each pavlova looks stunning when topped with fresh berries and whipped cream, making your dessert table pop with color!
Easy to Make: Don’t let the elegant appearance fool you—these pavlovas are simple enough for beginner bakers. They’ll be ready with just a few steps!
Gluten-Free Indulgence: Perfect for gluten-sensitive friends, this recipe ensures everyone can enjoy dessert without worry.
Versatile Toppings: Feel free to mix it up! You can use seasonal fruits or even add chocolate ganache beneath the cream for a decadent twist. Enjoy them after a comforting meal like Apple Crumb Cake or Bowtie Pasta for a truly special treat!
Mini Pavlovas with Berries Ingredients
• Prepare to create the ultimate light dessert with these essential ingredients!
For the Meringue
- Egg Whites – Use room temperature for better volume and a fluffier texture.
- Granulated Sugar – Superfine sugar is preferred for smoother meringue; it blends seamlessly.
- Cornstarch – Acts as a stabilizer for the airy meringue; can substitute with potato starch or arrowroot if needed.
- Lemon Juice or White Vinegar – Provides acidity to help stabilize egg whites and prevent weeping.
- Vanilla Extract – Adds delightful flavor; divide into two portions for both meringue and whipped cream.
For the Whipped Cream
- Heavy Whipping Cream – Use cold for optimal whipping; this ensures a light and fluffy topping.
- Powdered Sugar – Lightly sweetens the cream without overpowering the other flavors.
For the Toppings
- Mixed Berries – Fresh strawberries, raspberries, blueberries, or blackberries work best; avoid excess moisture with frozen berries.
- Fresh Mint (Optional) – A lovely garnish that brightens the overall flavor.
- Lemon Zest (Optional) – Enhances berry flavor and adds a refreshing brightness.
With these ingredients, your Mini Pavlovas with Berries will be nothing short of a sweet success!
Step‑by‑Step Instructions for Mini Pavlovas With Berries
Step 1: Preheat the Oven
Begin by preheating your oven to 250°F (120°C). While the oven heats, prepare your baking sheets by lining them with parchment paper. To ensure even mini pavlovas, use a pencil to draw circles on the parchment as a guide for where to spoon the meringue.
Step 2: Beat the Egg Whites
In a clean, grease-free mixing bowl, add your room temperature egg whites. Using an electric mixer, beat the egg whites until they become frothy, which should take about 2-3 minutes. Once foamy, add in the lemon juice or vinegar to help stabilize the egg whites for your mini pavlovas.
Step 3: Add the Sugar
Gradually add the granulated sugar to the egg whites, one tablespoon at a time, while continuing to beat on high speed. This process should take about 8-10 minutes. Stop when the mixture has reached glossy, stiff peaks that stand tall; this indicates that your meringue is ready.
Step 4: Incorporate Stabilizers
Sift the cornstarch into the meringue mixture and gently fold it in with a spatula. Add half of the vanilla extract and continue to fold carefully until just combined, ensuring you retain the airy texture needed for light mini pavlovas.
Step 5: Shape the Pavlovas
Spoon the meringue mixture onto the prepared baking sheets, using the drawn circles as a guide. Create shallow wells in the center of each meringue, which will hold the whipped cream and berries later. Aim for a height of about 2 inches for a delightful presentation.
Step 6: Bake the Meringues
Carefully place the baking sheets in the preheated oven and bake for 60 to 75 minutes. Rotate the pans halfway through baking for even cooking. The mini pavlovas are done when they feel dry to the touch, ensuring a crisp exterior while the inside remains soft.
Step 7: Cool the Pavlovas
Once baked, turn off the oven and leave the oven door slightly ajar. Let the mini pavlovas cool inside the oven for 1 to 2 hours to prevent cracking. This gentle cooling process aids in achieving the perfect texture for your mini pavlovas.
Step 8: Whip the Cream
In a separate chilled bowl, add cold heavy whipping cream along with the remaining vanilla extract and powdered sugar. Using an electric mixer, whip the cream until soft peaks form, which will take about 3-5 minutes. This creamy delight will top your mini pavlovas beautifully.
Step 9: Prepare the Berries
While the cream is whipping, rinse and hull your mixed berries—choose from strawberries, raspberries, blueberries, or blackberries. If desired, toss the berries with a touch of powdered sugar and lemon zest to enhance their natural sweetness and freshness.
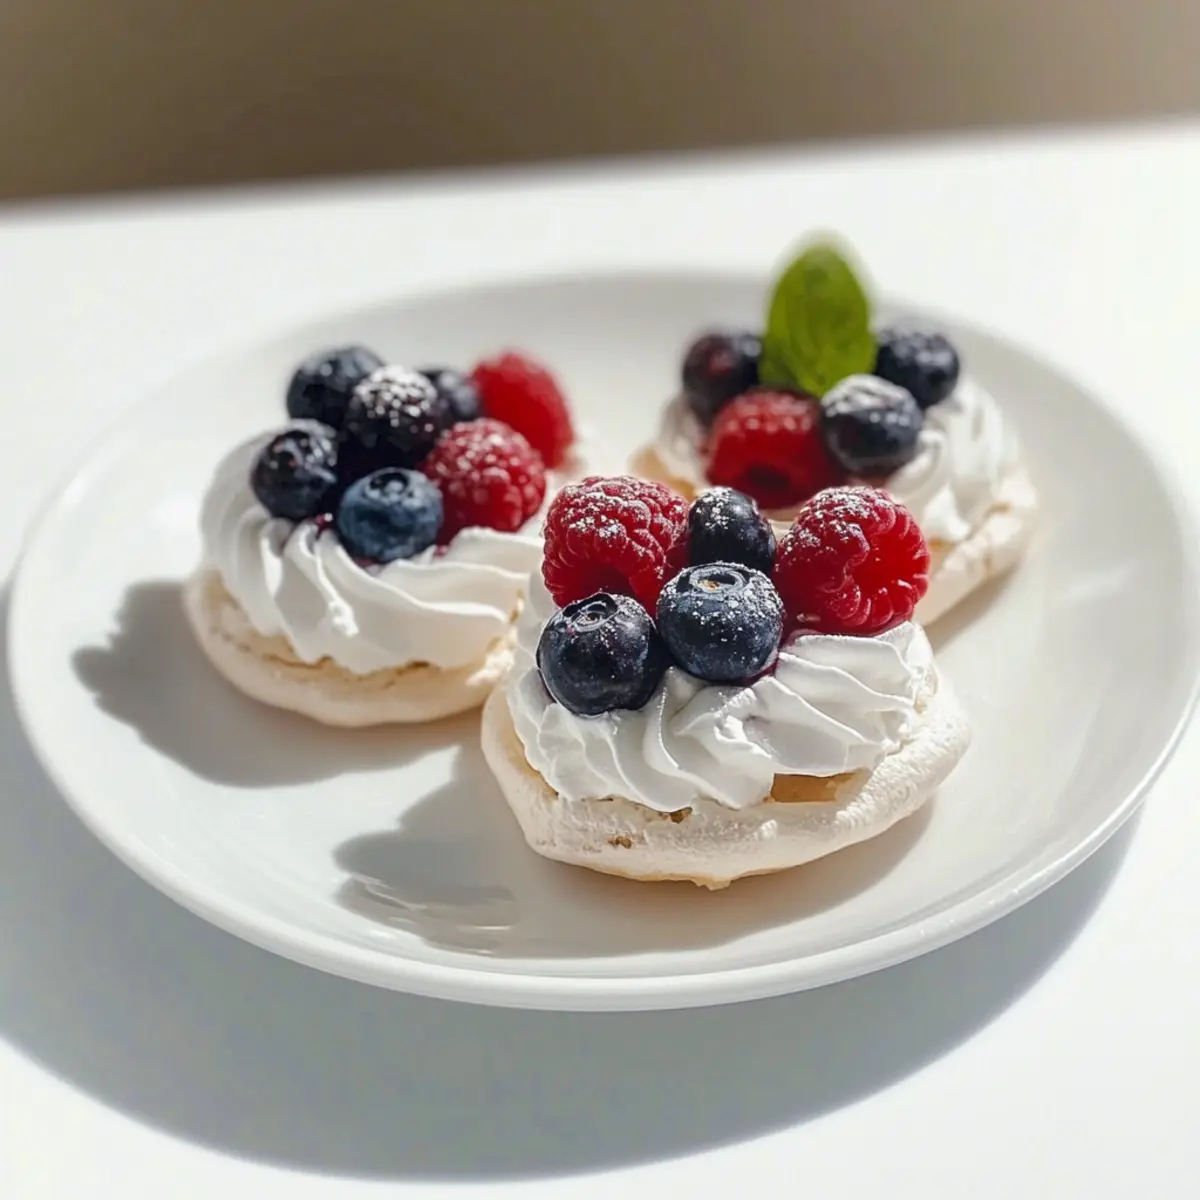
Step 10: Assemble the Dessert
To assemble your mini pavlovas, spoon a generous dollop of whipped cream into the wells of the cooled meringues. Top each pavlova with a variety of the prepared berries for a burst of color and flavor. Serve immediately for a delightful finish to your dessert!
Mini Pavlovas With Berries: Variations
Feel free to unleash your creativity and tailor these heavenly pavlovas to your taste preferences and dietary needs!
- Greek Yogurt: Substitute Greek yogurt for whipped cream for a tangy, lighter option that still feels indulgent.
- Seasonal Fruits: Switch up the toppings with seasonal fruits like peaches or kiwis for a fresh twist that celebrates the flavors of the season.
- Chocolate Ganache: Add a decadent layer of chocolate ganache beneath the whipped cream for a rich, luxurious flavor that chocolate lovers will adore.
- Coconut Whipped Cream: For a dairy-free alternative, use chilled coconut cream instead of heavy whipping cream. This adds a lovely subtle coconut flavor and a zing of tropical delight!
- Spiced Whipped Cream: Whip in a touch of cinnamon or nutmeg to your cream for a cozy, aromatic layer that pairs beautifully with the berries.
- Citrus Zest Boost: Enhance the flavor of the meringue by adding a dash of orange or lime zest to the egg whites for an extra zing, brightening every bite.
- Nut Topping: Sprinkle crushed pistachios or almonds on top for delightful crunch and a nutty flavor that complements the sweetness of the pavlova.
- Chili Flakes: If you love a little heat, try sprinkling a pinch of chili flakes on top; it creates an unexpected but delightful combination with the sweetness of the berries.
Let yourself indulge in these variations, and perhaps enjoy them alongside a comforting dessert like Apple Crumb Cake or Mini Pumpkin Cheese for a delightful feast!
How to Store and Freeze Mini Pavlovas with Berries
Room Temperature: Unfilled pavlova shells can be stored in an airtight container for up to 2-3 days, keeping them crisp and delicious.
Fridge: If you have leftover filled pavlovas, store them in the fridge but consume within 1 day for the best texture. The cream may soften the meringue over time.
Freezer: It’s not recommended to freeze filled mini pavlovas due to the unstable meringue and whipped cream. However, you can freeze unfilled shells by wrapping them tightly in plastic wrap and placing them in an airtight container for up to a month.
Reheating: To restore the crispness of defrosted pavlovas, place them back in a preheated oven at 200°F (93°C) for about 5-10 minutes, but remember to fill them just before serving for a delightful treat!
What to Serve with Mini Pavlovas with Berries
Celebrate the lightness of these delightful desserts with complementary dishes that complete your meal wonderfully.
-
Fresh Fruit Salad: A vibrant medley of seasonal fruits adds color and enhances the fruity flavors of the pavlovas. This refreshing side brightens your dessert experience.
-
Lightly Toasted Almonds: The nutty crunch of toasted almonds offers a delightful contrast to the soft pavlova texture, making each bite uniquely satisfying.
-
Coconut Macaroons: These sweet, chewy treats complement the airy pavlovas perfectly. Their rich coconut flavor brings a tropical twist that dances beautifully alongside the berries.
-
Elderflower Cordial: This floral drink elevates your dessert experience, offering a sweetly fragrant sip that enhances the fresh fruit, balancing the sweetness of the pavlova.
-
Chai-Spiced Tea: The warm spices in chai tea provide a cozy counterpoint to the lightness of the pavlovas, making it a comforting choice for chilly evenings.
-
Panna Cotta: This creamy dessert offers a lovely contrast to the pavlova’s crispness while allowing you to explore complementary flavors like vanilla or passionfruit.
-
Berry Compote: Drizzle a sweet berry compote over your pavlovas for added flavor and richness. It intensifies the berry element, making for an even more luscious treat.
Each option enhances your Mini Pavlovas with Berries, creating a fuller experience that will leave your guests happily satisfied.
Make Ahead Options
These Mini Pavlovas with Berries are a fantastic option for meal prep enthusiasts! You can create the meringue shells up to 3 days in advance; simply store them in an airtight container at room temperature to maintain their crispness. You can also prepare the whipped cream up to 24 hours ahead; just keep it chilled in the fridge until you’re ready to use it. As for the berries, wash and hull them a few hours before serving, but don’t toss them with any sugar until just before assembly to prevent excess moisture. When it’s time to enjoy, simply fill the pavlova nests with whipped cream and top with fresh berries for a stunning dessert that will impress your guests—effortlessly!
Expert Tips for Mini Pavlovas with Berries
-
Grease-Free Bowls: Ensure your mixing bowl and whisk are completely grease-free to achieve maximum volume in your egg whites and fluffy meringue.
-
Slow Sugar Addition: Add sugar one tablespoon at a time while beating the egg whites; this gradual incorporation helps create a smooth, glossy meringue without any graininess.
-
Bake with Care: Keep the oven temperature low and avoid baking on humid days to prevent weeping or sticky pavlovas. The goal is a dry exterior with a soft center!
-
Cool Gradually: Allow baked mini pavlovas to cool in the oven with the door slightly ajar for 1-2 hours. This helps maintain their structure and prevents cracking.
-
Storage Savvy: Unfilled pavlova shells can be stored in an airtight container at room temperature for 2-3 days. Fill them right before serving to keep the meringue crisp.
-
Experiment with Toppings: Feel free to play with the toppings! Seasonal fruits, flavored whipped creams, or even a drizzle of chocolate can enhance your Mini Pavlovas with Berries experience.
Mini Pavlovas with Berries Recipe FAQs
How should I choose the best egg whites for mini pavlovas?
Look for fresh eggs and ensure you use room temperature egg whites, as this will provide better volume and stability. The fresher the eggs, the greater the likelihood of achieving those perfect, glossy peaks in your meringue!
What’s the best way to store mini pavlovas?
Unfilled pavlova shells can be stored in an airtight container at room temperature for 2-3 days. It’s essential to keep them away from humidity to maintain their crisp texture. Once filled, it’s best to enjoy them within a day, as the cream can soften the meringue.
Can I freeze mini pavlovas?
Definitely! While filled pavlovas don’t freeze well due to the unstable textures of the cream and meringue, you can freeze unfilled pavlova shells. Wrap them tightly in plastic wrap and place them in an airtight container for up to a month. To restore their crispness after thawing, pop them in a preheated oven at 200°F (93°C) for about 5-10 minutes.
What if my meringue doesn’t reach stiff peaks?
If your meringue doesn’t reach stiff peaks, there might be grease in your bowl or whisk, or the egg whites may not be fresh. Make sure your equipment is spotless and try beating it longer—sometimes, egg whites just need that extra bit of love to reach the right consistency!
Is this recipe suitable for those with dietary restrictions?
Yes! These mini pavlovas are naturally gluten-free, making them a delightful dessert option for those avoiding gluten. Just be cautious with the toppings, especially if you’re addressing specific allergies with berries or dairy.
Can I use frozen berries for topping?
While fresh berries are ideal for topping mini pavlovas, if you do choose frozen berries, ensure they are completely thawed and drained of excess moisture to avoid sogginess. You might also consider lightly tossing them in sugar and lemon zest for extra flavor!
Mini Pavlovas With Berries are a Light and Elegant Treat
Ingredients
Equipment
Method
- Preheat the oven to 250°F (120°C) and line baking sheets with parchment paper.
- In a mixing bowl, beat egg whites until frothy.
- Gradually add sugar, beating until glossy, stiff peaks form.
- Sift in cornstarch and fold in vanilla extract.
- Spoon meringue onto baking sheets, creating shallow wells.
- Bake for 60 to 75 minutes until dry to the touch.
- Turn off the oven and cool pavlovas inside for 1-2 hours.
- Whip cream with remaining vanilla and sugar until soft peaks form.
- Rinse and hull mixed berries.
- Assemble pavlovas with whipped cream and top with berries.
Leave a Reply