
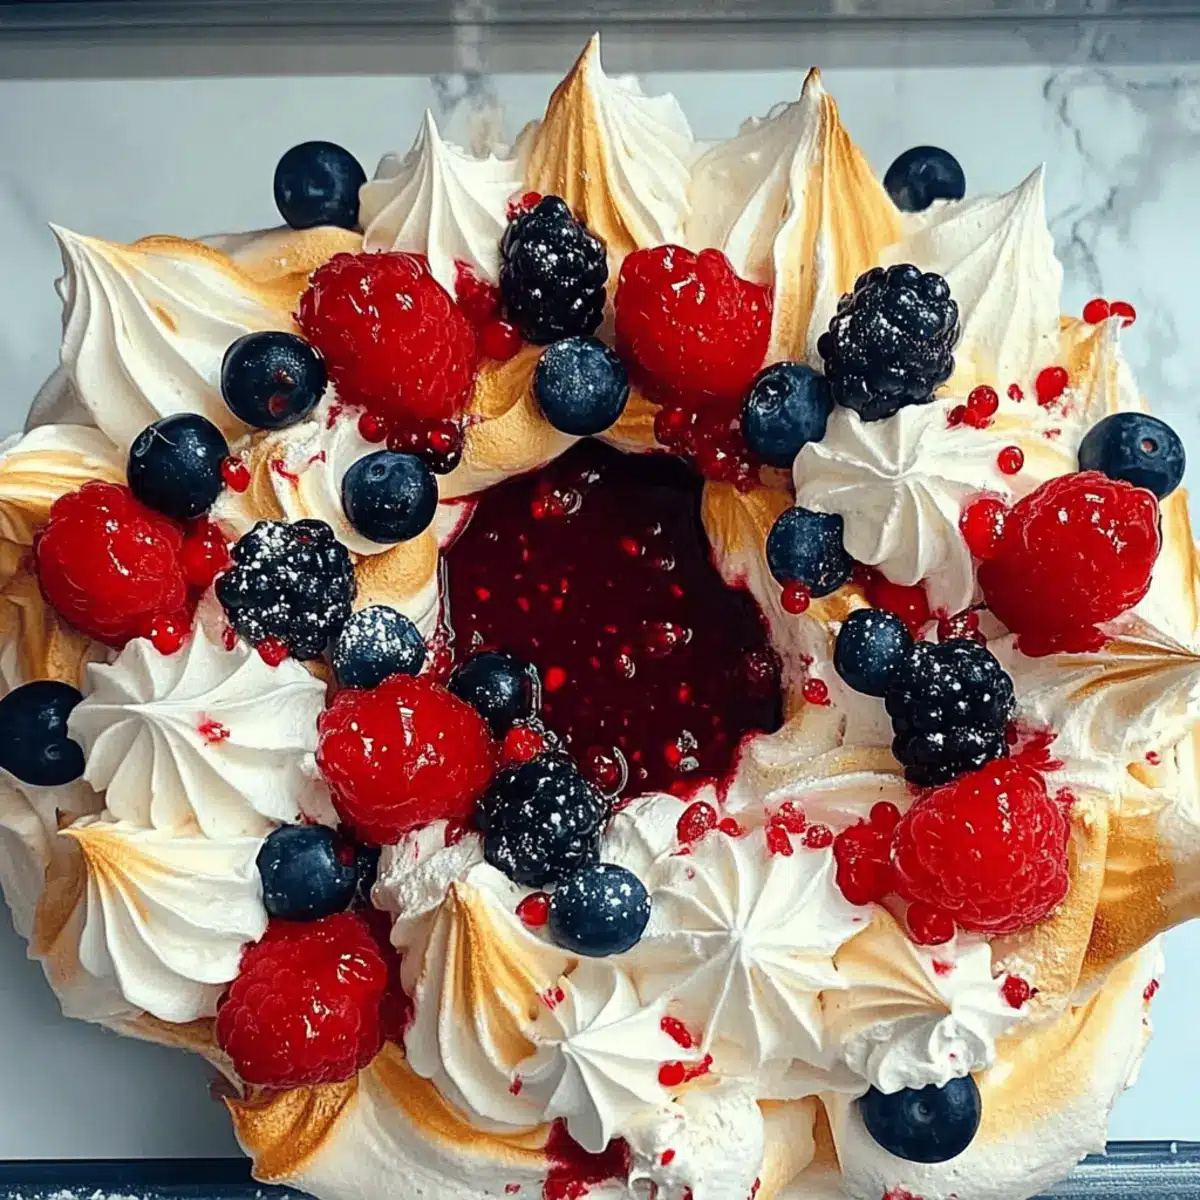
As the holiday season unfolds, there’s a distinct magic in the air, and nothing captures that spirit quite like a Christmas Wreath Pavlova. This delightful dessert pairs a crisp, ethereal meringue with velvety whipped cream and a rainbow of fresh fruits, making it a vibrant centerpiece for any festive gathering. The beauty of this pavlova lies not just in its stunning presentation but also in its gluten-free nature, ensuring that everyone can indulge without worry. Plus, the prep is surprisingly quick and easy, allowing you more time to enjoy the holiday hustle and bustle. Are you ready to impress your friends and family with a dessert that’s as delicious as it is gorgeous? Let’s dive into the recipe!
Why is Christmas Wreath Pavlova a Must-Make?
Stunning Presentation: This pavlova is a visual masterpiece, shaped like a festive wreath, catching the eye at any holiday table.
Whipped to Perfection: The combination of fluffy whipped cream and colorful fruits creates a light, luxurious filling that perfectly complements the crisp meringue.
Gluten-Free Delight: Everyone can indulge thanks to its naturally gluten-free ingredients, making it a thoughtful option for gatherings.
Quick Prep Time: You’ll love how swiftly this dessert comes together, leaving you more time to enjoy seasonal festivities.
Customizable Treat: Feel free to experiment! Change up the fruit or coulis for a personal twist, making this pavlova your own. You can even explore alternatives for your holiday spread, like Christmas Salad Honey or Christmas Cranberry Pinwheels.
With these reasons, it’s easy to see why the Christmas Wreath Pavlova is the perfect show-stopper this holiday season!
Christmas Wreath Pavlova Ingredients
For the Meringue
- Egg Whites – Essential for structure; use at room temperature for optimal whipping.
- Caster Sugar – Sweetens and stabilizes the meringue; choose caster for a smooth finish.
- Cornflour – Creates a delightful soft center within the meringue for that perfect texture.
- White Wine Vinegar – Adds a hint of tang while helping to stabilize the meringue.
- Vanilla Extract – Elevates the flavor of the meringue, making it even more delicious.
For the Whipped Cream
- Double Cream – Provides a rich and fluffy filling, which can be flavored for added zest.
- Icing Sugar – Sweetens and enriches the whipped cream, making it extra delightful.
For the Topping
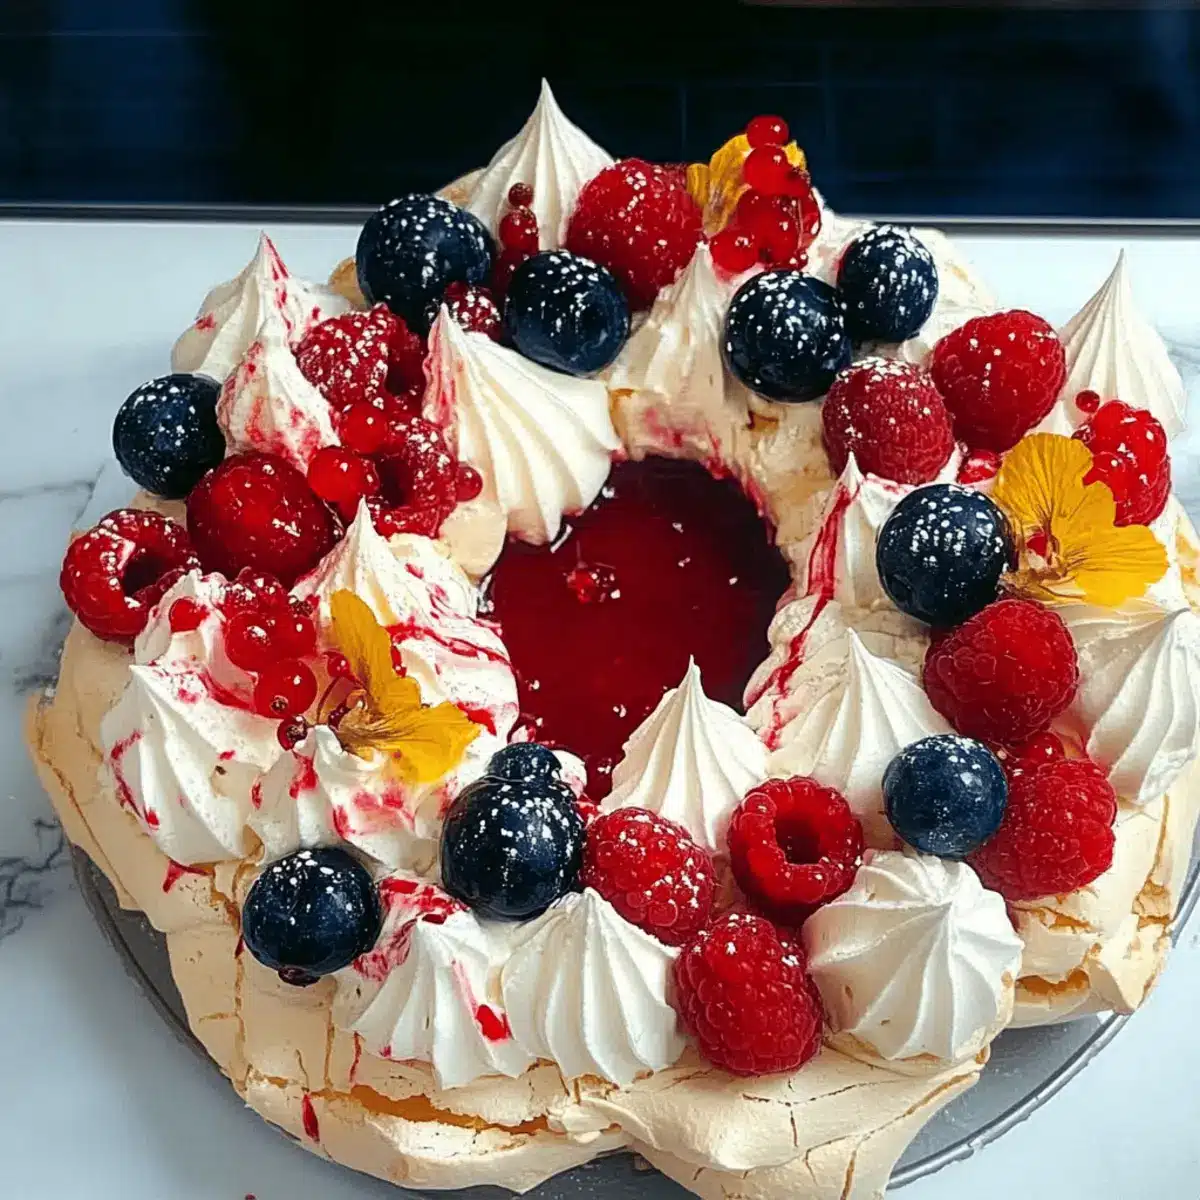
- Fresh Berries (e.g., Blueberries, Raspberries) – Bursting with freshness and natural sweetness; feel free to swap in other seasonal fruits.
- Fresh Orange Juice – Enhances the sweetness of the berries during maceration.
- Raspberry Coulis – Adds a tangy finish; use homemade or store-bought for convenience.
- Pomegranate Seeds & Edible Gold Stars – These decorative elements add a festive touch and elevate the visual appeal of your Christmas Wreath Pavlova.
With these ingredients on hand, you’re one step closer to creating a stunning dessert that will surely impress at your holiday gatherings!
Step‑by‑Step Instructions for Christmas Wreath Pavlova
Step 1: Preheat the Oven
Begin by preheating your oven to 140°C (120°C Fan) while you prepare a large baking tray by lining it with baking parchment. This will create a non-stick surface for your meringue. Take a pencil and draw a circle on the parchment as a guide, then place it upside down on the tray.
Step 2: Whip the Egg Whites
In a stand mixer or a large mixing bowl, whisk the room-temperature egg whites until they form soft peaks. Gradually add caster sugar, one tablespoon at a time, while continuing to whip. Keep going until the mixture is glossy and holds stiff peaks, which usually takes about 5–7 minutes. This forms the base of your Christmas Wreath Pavlova.
Step 3: Incorporate the Dry Ingredients
Carefully sift in the cornflour and drizzle the white wine vinegar into the whipped egg whites. Gently fold these ingredients using a spatula until just combined. Take care not to deflate the meringue; it should remain light and airy. This mixture will provide the perfect texture for your Christmas Wreath Pavlova.
Step 4: Shape the Meringue
Using a piping bag fitted with a large round tip or a spoon, dollop the meringue onto the prepared tray in a wreath shape. Create a thick, circular base and make little indents in the center for filling later. Ensure the shape is even, as this will enhance the visual appeal of your pavlova once baked.
Step 5: Bake the Meringue
Place the tray in the preheated oven and reduce the temperature to 120°C. Bake for 1 to 1.5 hours until the pavlova is crisp on the outside and slightly soft in the center. After baking, turn off the oven and let the meringue cool completely inside for several hours or, ideally, overnight. This helps develop its marshmallow-like texture.
Step 6: Prepare the Whipped Cream
While the meringue cools, prepare the filling. In a mixing bowl, combine the double cream, icing sugar, and vanilla extract (or clementine curd if desired). Whip until soft peaks form, ensuring it remains airy and fluffy. This delicious cream will complement your Christmas Wreath Pavlova beautifully without overpowering its sweetness.
Step 7: Macerate the Berries
In a small bowl, combine your fresh berries with icing sugar and a splash of fresh orange juice. Allow this mixture to sit for about 30 minutes. This maceration process enhances the berries’ natural sweetness and creates a delightful syrup for your pavlova, adding both flavor and color.
Step 8: Assemble the Pavlova
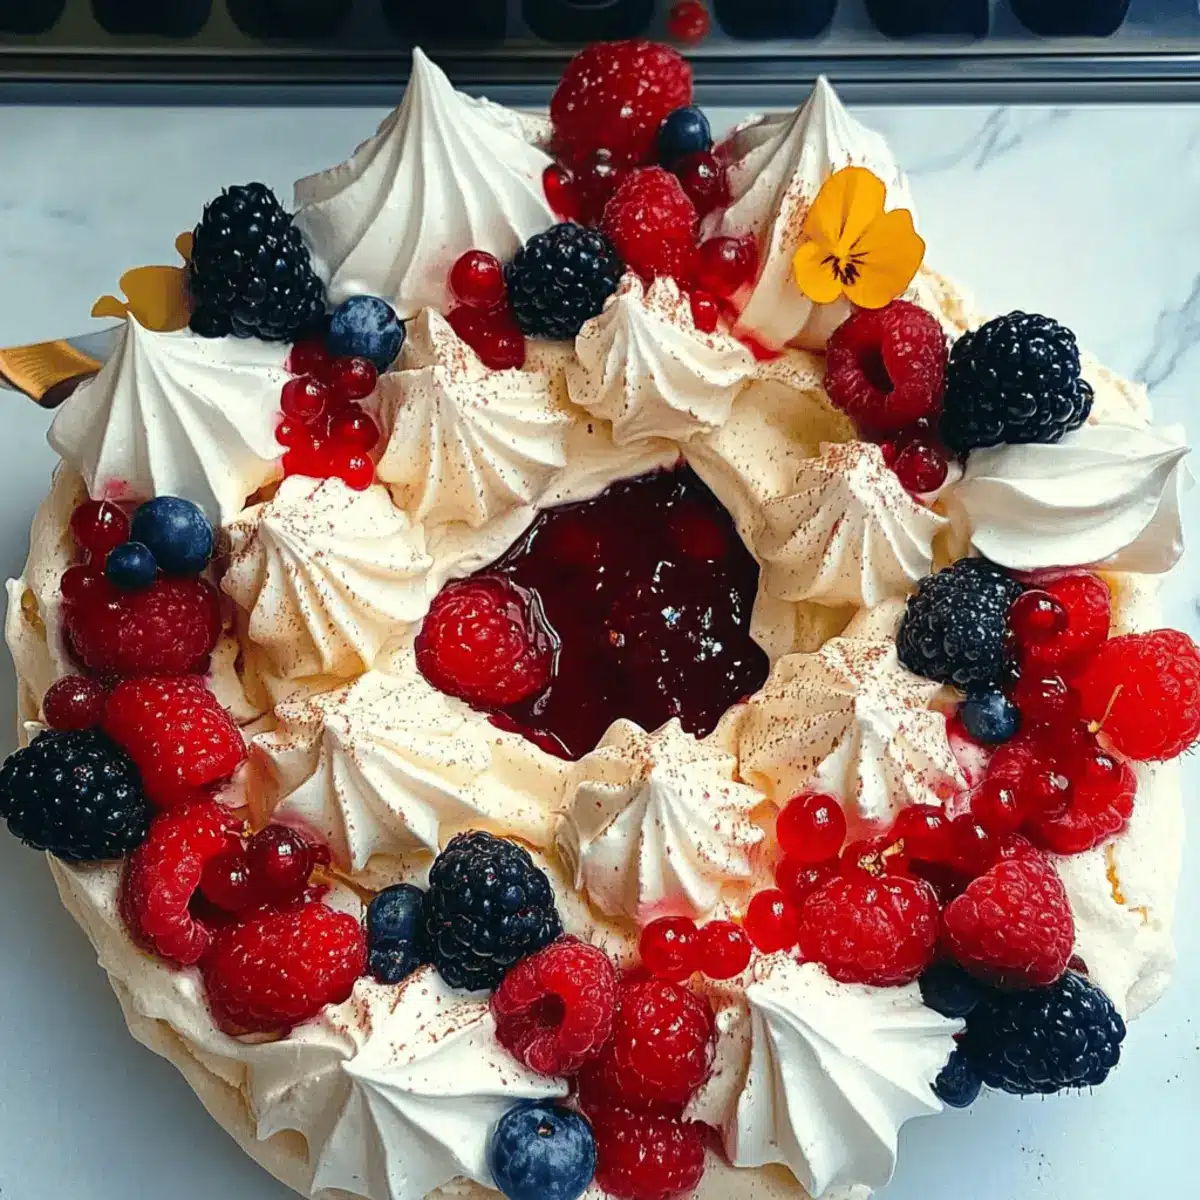
Once cooled, carefully remove the meringue from the baking parchment and transfer it to a serving platter. Fill the indents in the center with the whipped cream. Top generously with the macerated berries, allowing juices to dribble down for extra flair. Feel free to add more fresh fruits for a vibrant finish.
Step 9: Add the Finishing Touches
Drizzle raspberry coulis around and over the pavlova for a pop of tangy flavor. Finally, sprinkle pomegranate seeds and edible gold stars to elevate its festive appearance. This will make your Christmas Wreath Pavlova not just delicious, but a stunning centerpiece for your holiday feast.
Step 10: Serve and Enjoy
Serve your masterpiece immediately for the best texture, enjoying the delightful crunch of the meringue against the smooth cream and juicy fruits. If you have leftovers, store the meringue separately until serving to maintain its crispness. Don’t forget to reserve any extra raspberry coulis for drizzling on individual servings!
Make Ahead Options
Preparing the Christmas Wreath Pavlova in advance is a wonderful time-saver for busy holiday cooks! You can make the meringue up to 24 hours ahead; simply bake it and let it cool completely in the oven overnight. For the whipped cream, feel free to prepare it up to 3 days beforehand and refrigerate it in an airtight container. The fresh berries can also be macerated up to 2 days in advance for maximum flavor. Just remember to assemble the pavlova with the cream and fruit on the day you plan to serve it, as this ensures the meringue stays crispy and the cream maintains its light, airy texture—resulting in a show-stopping Christmas Wreath Pavlova that’s just as delightful as when freshly made!
Expert Tips for Christmas Wreath Pavlova
• Room Temperature Egg Whites: Ensure your egg whites are at room temperature for better aeration, which is crucial for a stable meringue in your Christmas Wreath Pavlova.
• Gentle Folding Technique: When adding cornflour and vinegar, gently fold them into the meringue to maintain its airy texture. Overmixing can lead to a collapsed pavlova.
• Patience in Baking: Allow the meringue to cool in the oven after baking. This gradual cooling process helps prevent cracks and gives your pavlova a marshmallow-like center.
• Avoid Moisture: Store any leftover meringue in a cool, dry place, as exposure to moisture will make it soggy. This is important for maintaining the perfect texture of your Christmas Wreath Pavlova.
• Quick Assembly Tip: Assemble the pavlova just before serving for optimal freshness. The combination of whipped cream, macerated fruits, and meringue is best enjoyed immediately to savor the contrast in textures.
How to Store and Freeze Christmas Wreath Pavlova
Fridge: Assemble your Christmas Wreath Pavlova and store it in the fridge for up to 2 days, keeping it covered with plastic wrap to prevent drying out.
Separate Storage: If you have leftover meringue, it’s best to store it separately in an airtight container in a cool, dry place for optimal crispness.
Freezer: Although not recommended for assembled pavlova, you can freeze the meringue for up to 1 month. Just ensure it’s stored in a sealed container, and let it thaw at room temperature before using.
Reheating: If the whipped cream has been prepared in advance, store it in the fridge and stir gently before using it to refresh its texture before assembling with fresh fruits.
What to Serve with Christmas Wreath Pavlova
As the centerpiece of your holiday dessert spread, this pavlova shines even brighter with delightful pairings that enhance its festive flavor.
-
Creamy Mashed Potatoes: The rich, buttery texture offers a comforting contrast to the light pavlova, balancing your holiday feast beautifully.
-
Savory Roasted Vegetables: A colorful mix of seasonal veggies brings a fresh and earthy element to your spread, complementing the sweet pavlova perfectly.
-
Mixed Green Salad with Citrus Vinaigrette: Bright and zesty, this salad refreshes the palate and adds a vibrant touch that matches the fruits in your pavlova.
-
Spiced Hot Chocolate: Sipping this warm, cozy drink while enjoying the pavlova creates a comforting, holiday nostalgia that’s perfect for chilly evenings.
-
Sparkling White Wine: The effervescence of a chilled sparkling wine brightens the overall dining experience, pairing wonderfully with the pavlova’s sweetness.
-
Chocolate Fondue: Set up a small fondue station for dipping fruits and marshmallows; it offers a hands-on interactive element that entices everyone at the table.
-
Gingerbread Cookies: These festive treats resonate with the Christmas spirit, providing a crunchy contrast to the soft textures of the pavlova.
-
Fruit Sorbet: Serving a scoop of refreshing sorbet alongside the pavlova elevates the dessert experience, providing an additional layer of fruity goodness.
These perfect pairings will transform your holiday gathering into a glorious celebration of flavors and textures!
Christmas Wreath Pavlova Variations
Feel free to get creative with your Christmas Wreath Pavlova, making it truly your own with these delightful twists!
- Citrus Twist: Substitute fresh orange juice with lemon or lime juice to give the fruit a zesty kick.
- Berry Medley: Use a variety of seasonal fruits, like figs, kiwi, or even mango to create a colorful display.
- Nutty Addition: Add finely chopped toasted almonds or pistachios on top for extra crunch and flavor.
- Chocolate Drizzle: Drizzle melted dark chocolate over the assembled pavlova for a rich and indulgent finish.
- Spiced Whipped Cream: Infuse the cream with cinnamon or nutmeg for a warm, festive flavor.
- Passionfruit Curd: Swap out the clementine curd for passionfruit curd for a tropical touch that’ll transport you to paradise.
- Decadent Layering: Stack layers of the meringue and cream to create a stunning pavlova cake rather than a wreath.
- Maple Syrup Glaze: Drizzle maple syrup over the fruits for a sweet, earthy addition that pairs beautifully with the pavlova’s texture.
Don’t forget, if you’re looking for more festive inspirations, you can explore recipes such as Christmas Salad Honey or indulge in some delightful Christmas Cranberry Pinwheels for your holiday spread.
Christmas Wreath Pavlova Recipe FAQs
How do I select ripe fruits for my Christmas Wreath Pavlova?
Absolutely! Opt for vibrant and fragrant berries that are plump and firm to the touch. Look for blueberries and raspberries without any dark spots or mushiness, as these indicate over-ripeness. If you’re using strawberries, choose ones that have a rich red color and green, leafy tops, which signify freshness. This choice will ensure your pavlova is bursting with flavor!
How should I store my assembled Christmas Wreath Pavlova?
The best way to preserve your pavlova is by keeping it in the fridge, where it should be stored for no more than 2 days. Cover it with plastic wrap to avoid it drying out. However, for optimal texture, I suggest assembling the pavlova just before serving to prevent the meringue from becoming soggy from the cream and fruits.
Can I freeze meringue for my Christmas Wreath Pavlova?
Yes, you can freeze the meringue! Place it in an airtight container, ensuring it’s sealed tightly to keep out moisture. You can freeze it for up to 1 month, and when you’re ready to use it, simply let it thaw slowly at room temperature before assembling your pavlova. This will help maintain its crisp texture, which is vital for a delightful bite.
What should I do if my meringue starts to crack while baking?
If your meringue cracks, don’t worry! It might be due to the oven temperature being too high or an abrupt change in temperature. I recommend keeping the oven at a steady heat and allowing the meringue to cool gradually inside after baking. If you’re aiming for perfection, keep an eye on the time, and don’t rush the cooling phase. This approach can help you achieve a beautiful pavlova with minimal cracks.
Is the Christmas Wreath Pavlova suitable for people with gluten allergies?
Very much so! The Christmas Wreath Pavlova is naturally gluten-free because it’s made with meringue, which consists of egg whites and sugar. However, make sure that any additional ingredients, like your raspberry coulis or flavored creams, don’t contain gluten. This dessert is a perfect indulgence for those avoiding gluten without compromising on taste or festive spirit!
Christmas Wreath Pavlova: A Festive Delight to Impress!
Ingredients
Equipment
Method
- Preheat your oven to 140°C (120°C Fan) and line a large baking tray with baking parchment.
- Whisk the egg whites in a stand mixer until soft peaks form, then gradually add caster sugar until glossy and stiff peaks form.
- Sift in the cornflour and drizzle in the white wine vinegar, gently folding to combine.
- Dollop the meringue onto the tray in a wreath shape, creating little indents for filling.
- Bake in the preheated oven at 120°C for 1 to 1.5 hours until crisp outside and slightly soft in the center. Cool in the oven overnight.
- Whip together double cream, icing sugar, and vanilla extract until soft peaks form.
- Macerate the berries with icing sugar and orange juice for 30 minutes.
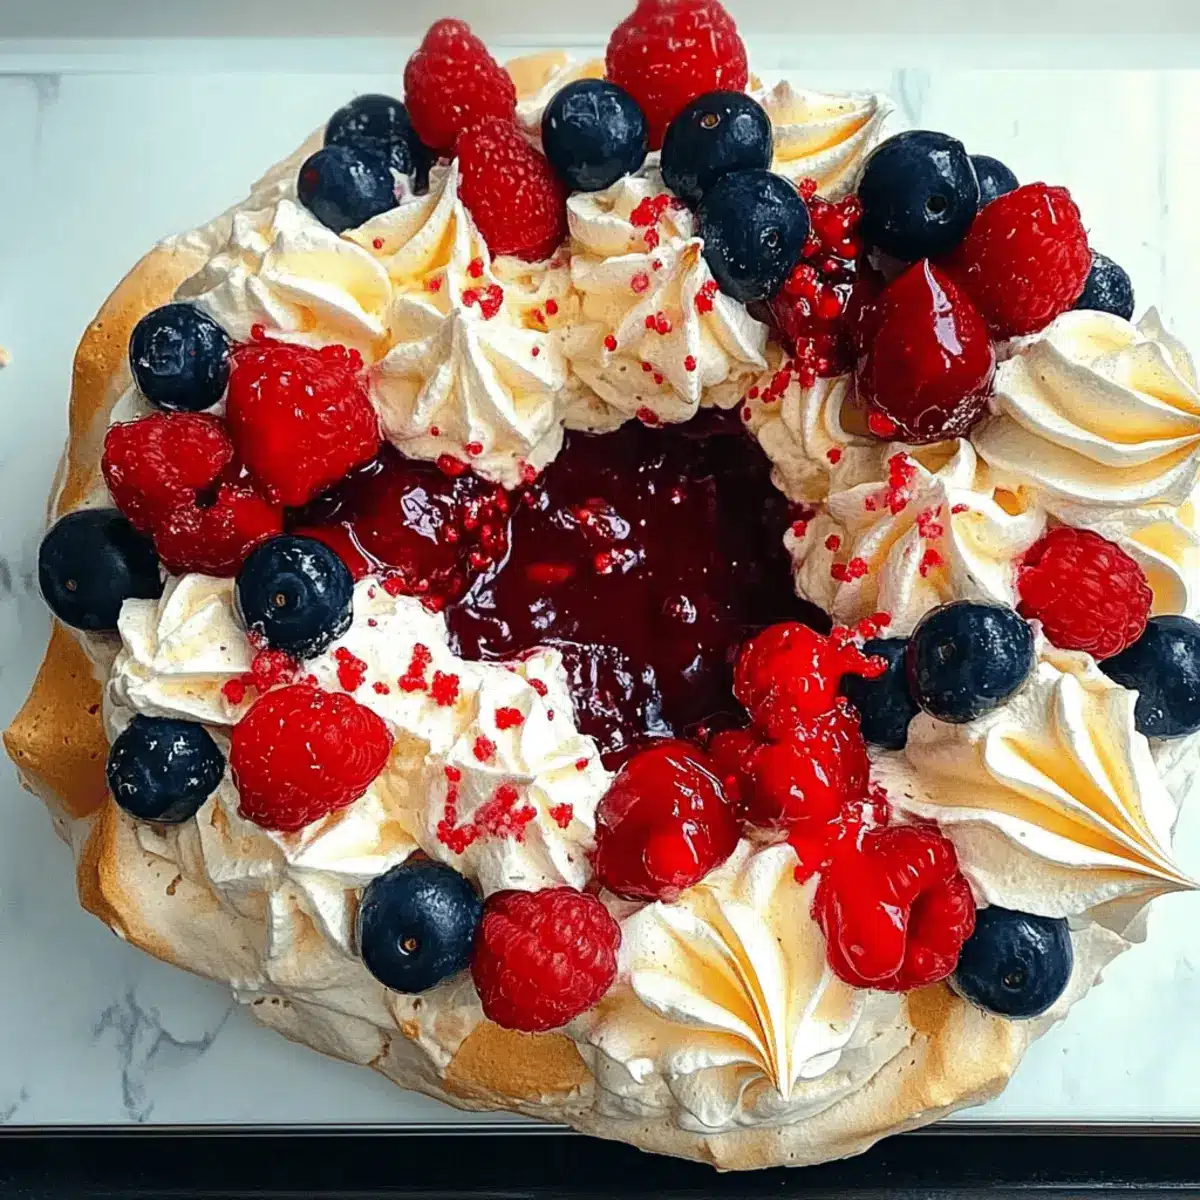
- Remove the cooled meringue from parchment and fill the indents with whipped cream, topping with macerated berries.
- Drizzle raspberry coulis and sprinkle pomegranate seeds and gold stars for decoration.
- Serve immediately to enjoy the crunch of meringue with smooth cream and fruits.
Leave a Reply