
“Did you just hear that? It was the unmistakable sound of dessert cravings echoing in your kitchen!” If you’re like me, there’s nothing more rewarding than whipping up something special to satisfy those sweet moments. Today, I’m excited to share my take on Chocolate Covered Cheesecake Bites—a delightful treat that beautifully marries creamy cheesecake with a luxurious dark chocolate coating. Not only are these bite-sized wonders perfect for impressing guests at any gathering, but they also come together with just a handful of simple ingredients, making them a breeze to prepare. Plus, with the option to use reduced-fat cream cheese and Greek yogurt, these bites can fit seamlessly into a healthier lifestyle without sacrificing flavor. So, are you ready to indulge in these tempting little treasures? Let’s dive in!
Why are these bites a must-try?
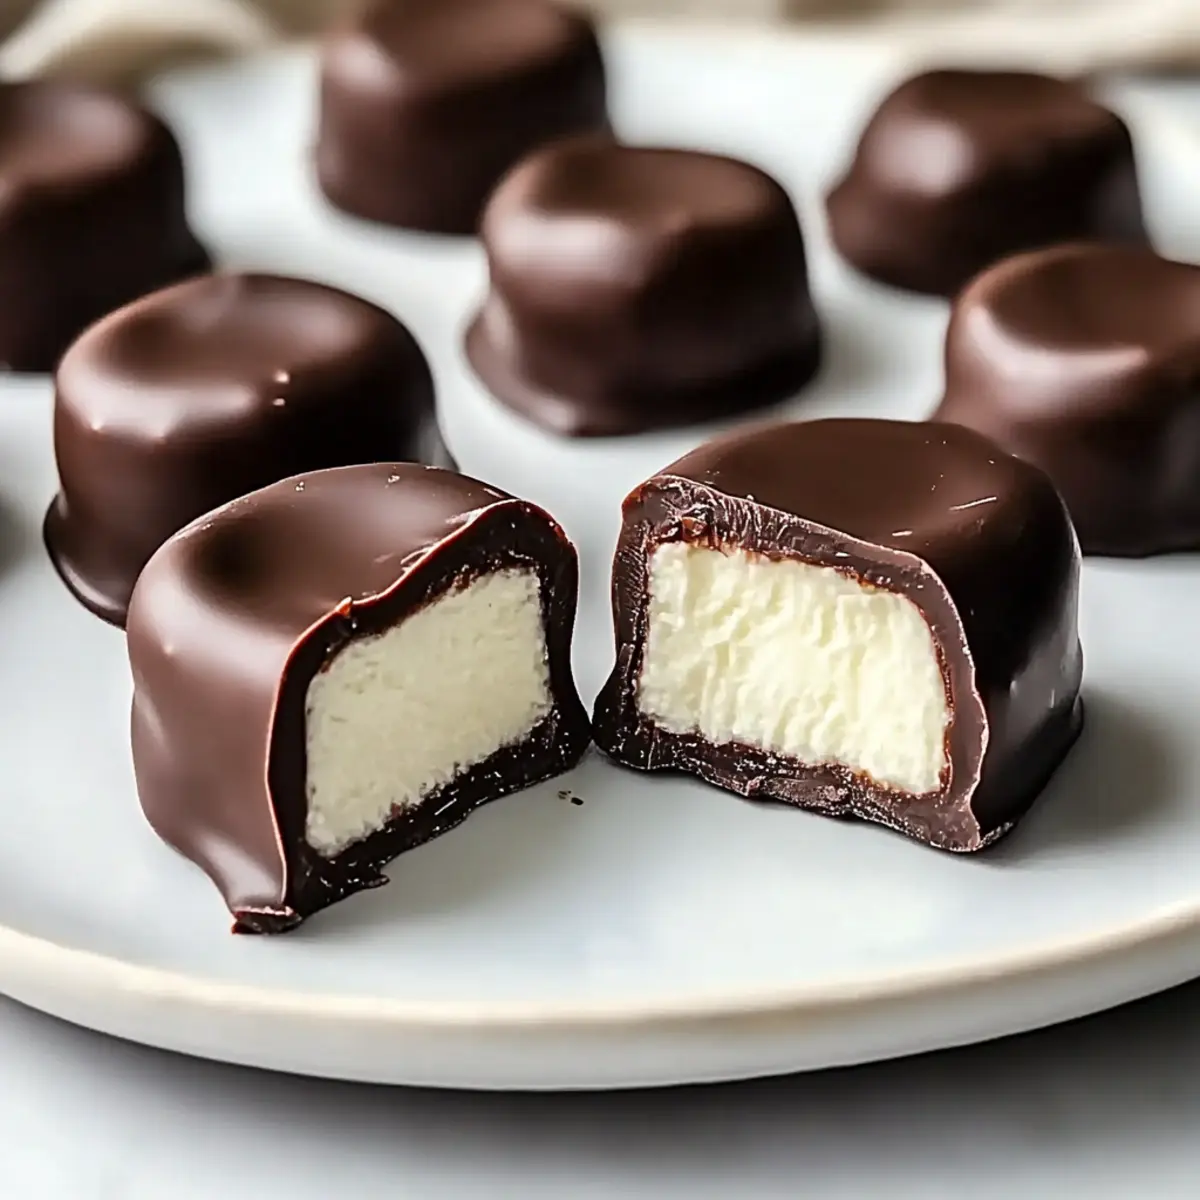
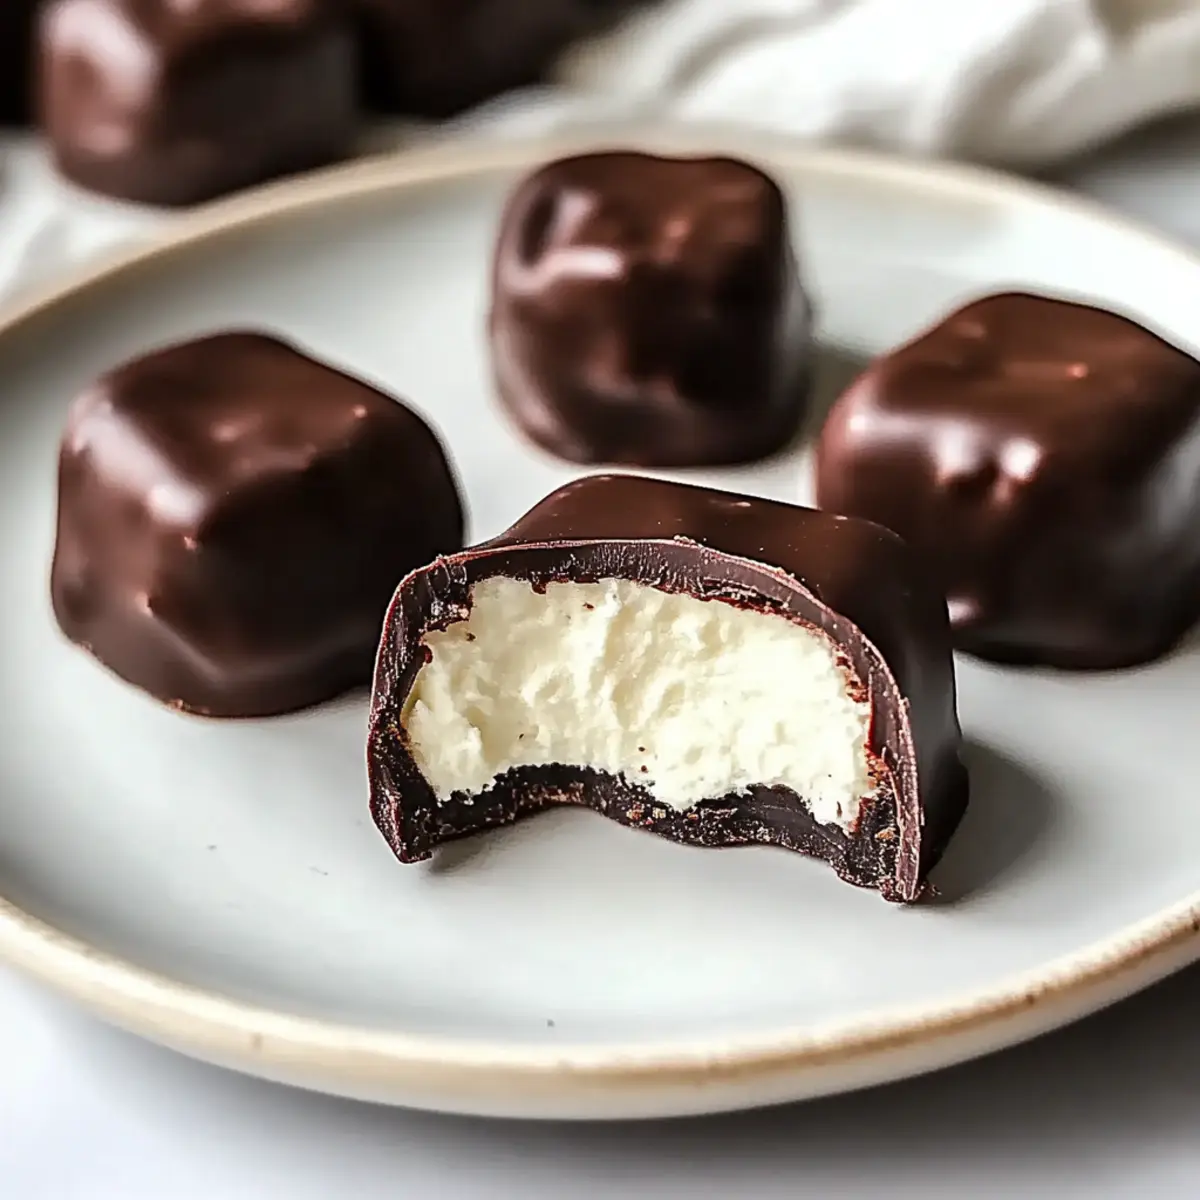
Irresistible Fusion: Chocolate Covered Cheesecake Bites blend rich, creamy cheesecake with a decadent dark chocolate shell for a delightful treat.
Guilt-Free Decadence: Using reduced-fat cream cheese and Greek yogurt keeps them lighter without sacrificing taste.
Effortless Prep: With simple ingredients and easy steps, this recipe is ideal for both beginner and seasoned chefs.
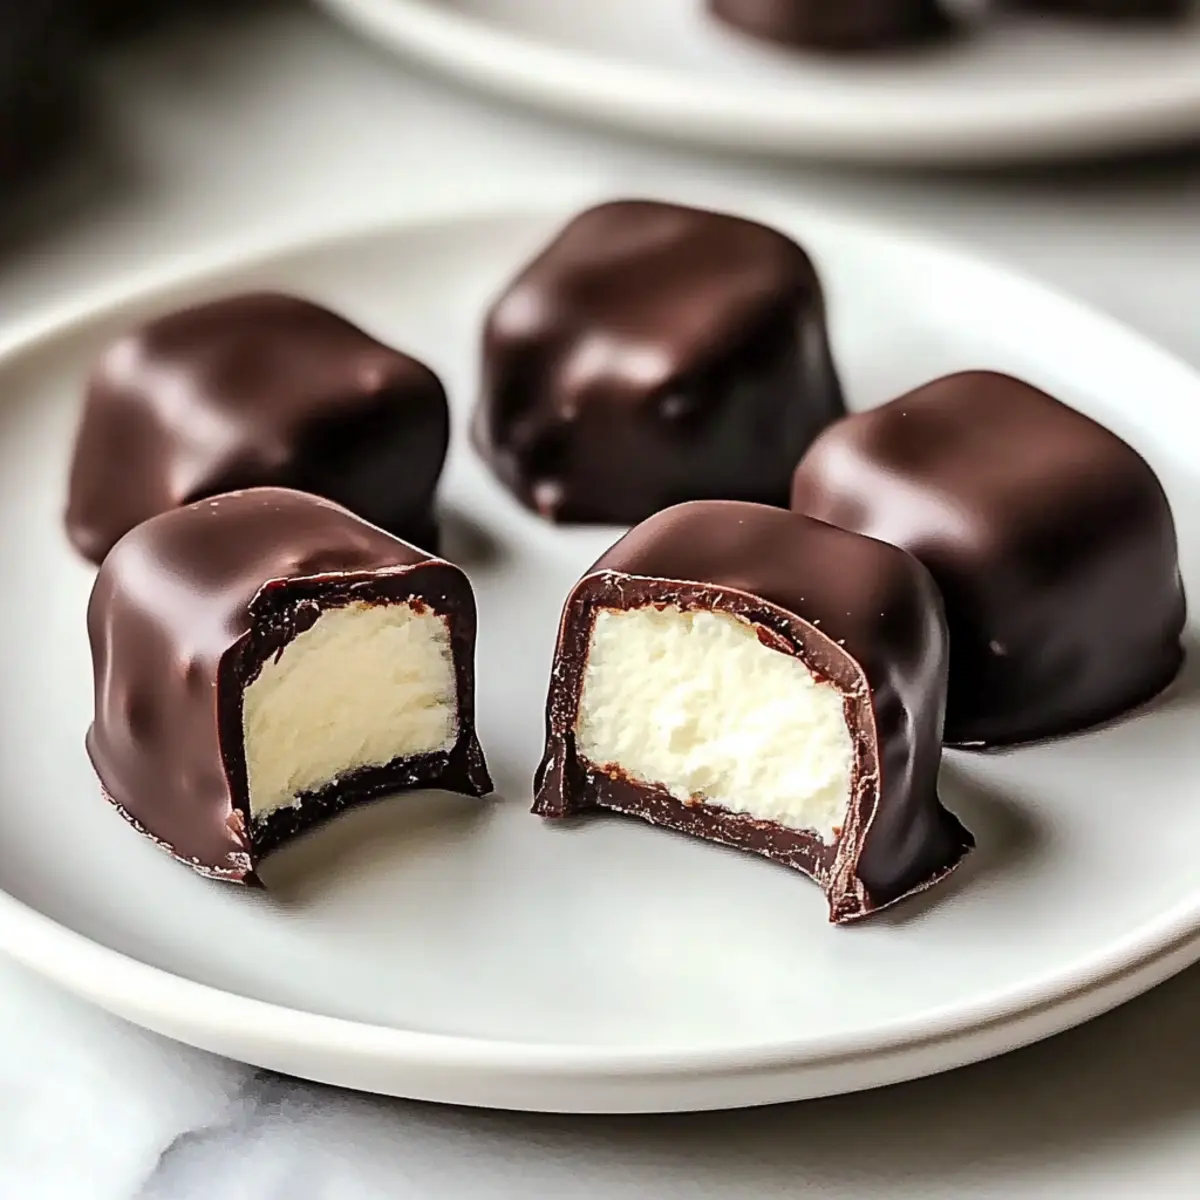
Party Perfect: These bite-sized treats are perfect for gatherings, impressing guests without the hassle of traditional desserts.
Customize to Your Taste: Feel free to swap Greek yogurt for sour cream or try different flavored extracts, allowing your creativity to shine!
Make-Ahead Friendly: They store well, meaning you can prepare them ahead of time and still wow your guests!
Chocolate Covered Cheesecake Bites Ingredients
For the Cheesecake
- Cream Cheese – Use reduced-fat for a lighter cheesecake that still packs a punch of creamy richness.
- Greek Yogurt – Adds moisture and a tangy kick; opt for plain to keep the flavors balanced.
- Vanilla Extract – Enhances the cheesecake’s flavor profile; choose pure vanilla for a more vibrant taste.
- Coconut Sugar – Provides a mild caramel sweetness; brown sugar works as a great substitute.
- Egg – Helps bind the ingredients and sets the cheesecake texture; medium-sized eggs are perfect here.
For the Coating
- Dark Chocolate – Creates a luscious shell that contrasts beautifully with the sweetness of the cheesecake; high-quality chocolate is best for a rich finish.
- Coconut Oil – Thins the chocolate for easier dipping and gives a lovely glossy finish; vegetable oil can replace it if needed.
These Chocolate Covered Cheesecake Bites are not just a joy to make but an even greater delight to savor, so gather your ingredients, and let’s get cooking!
Step‑by‑Step Instructions for Chocolate Covered Cheesecake Bites
Step 1: Preheat & Prepare
Start by preheating your oven to 325°F (160°C). While it warms up, take an 8 x 8-inch square pan and generously coat it with nonstick spray to ensure the cheesecake comes out easily once baked. Visualize your space as you set everything up; it will help keep your process smooth and organized.
Step 2: Make the Cheesecake Batter
In a medium mixing bowl, begin by blending softened cream cheese until it’s luxuriously smooth. Gradually blend in coconut sugar and vanilla extract, creating an aroma that will fill your kitchen. Next, add in the egg and Greek yogurt, mixing until everything is fully combined. This creamy mixture will serve as the base of your delicious Chocolate Covered Cheesecake Bites.
Step 3: Bake the Cheesecake
Pour the cheesecake batter into your prepared pan and ensure the top is nicely smooth. Place it in the preheated oven and bake for 55-60 minutes. The edges should look set, while the center gives a gentle jiggle, showing it’s perfectly baked. Once done, allow it to cool at room temperature, then transfer it to the refrigerator to chill for at least 2 hours, solidifying its texture.
Step 4: Cut the Cheesecake Squares
After the cheesecake has chilled thoroughly, carefully lift it from the pan. Use a sharp knife to cut it into 1 x 1-inch squares, wiping the blade between cuts for clean edges. The vision of these perfectly shaped squares will get you excited for the next steps in making your Chocolate Covered Cheesecake Bites!
Step 5: Melt the Chocolate
In a heatproof bowl placed over simmering water, combine high-quality dark chocolate and coconut oil. Stir continuously until the mixture is smooth and glossy, ensuring you don’t overheat and burn the chocolate. This melted chocolate will become the delightful coating for your cheesecake bites, creating a perfect shell that contrasts beautifully with the creamy center.
Step 6: Dip the Cheesecake Squares
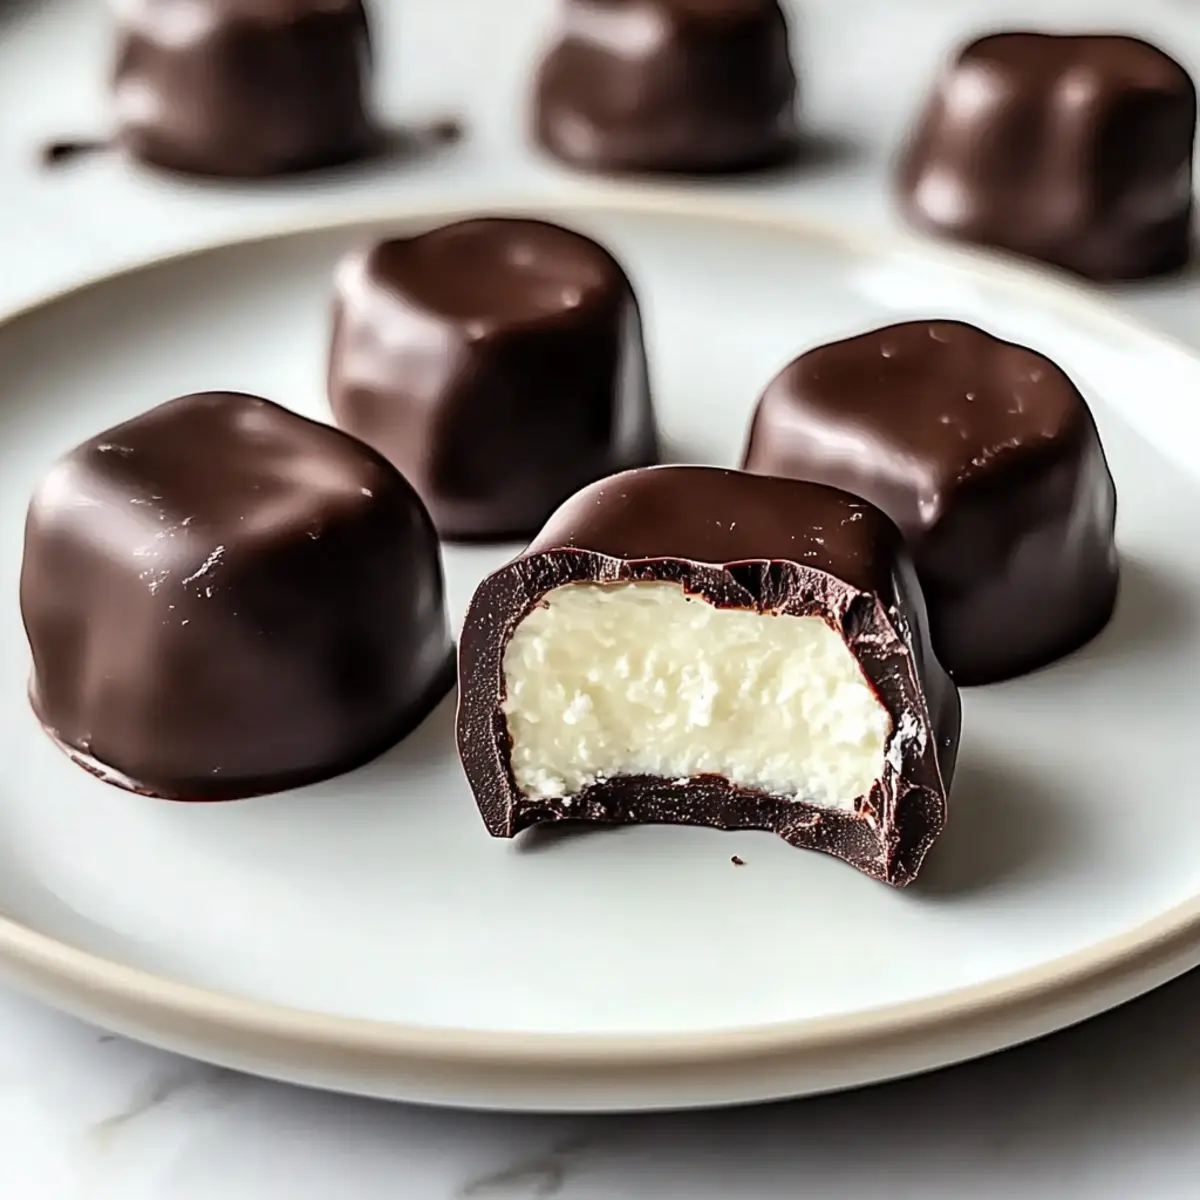
Once the chocolate is ready, quickly dip each cheesecake square into the luscious mixture, allowing any excess chocolate to drip off. Place the dipped bites on a parchment-lined tray, savoring the sight of them transforming into decadent treats. After dipping, pop the tray into the refrigerator to let the chocolate fully set, completing your scrumptious Chocolate Covered Cheesecake Bites.
Expert Tips for Chocolate Covered Cheesecake Bites
-
Choose Quality Ingredients: Opt for high-quality dark chocolate and pure vanilla extract to ensure your Chocolate Covered Cheesecake Bites have the best flavor possible.
-
Cool Properly: Allow the cheesecake to cool at room temperature before refrigerating. This helps achieve a perfect texture and prevents excess moisture.
-
Dip Quickly: Dip the cheesecake squares quickly in the melted chocolate for an even coating. If the chocolate cools too much, it will become difficult to work with.
-
Keep Knives Clean: Wipe the knife between cuts when slicing the cheesecake to maintain clean edges. This makes for a more professional presentation of your bites.
-
Experiment with Toppings: Add toppings like crushed nuts or a sprinkle of sea salt on top of the chocolate for added texture and flavor that can elevate your cheesecake bites.
Storage Tips for Chocolate Covered Cheesecake Bites
Fridge: Store your Chocolate Covered Cheesecake Bites in an airtight container in the refrigerator for up to 7 days to maintain freshness and flavor.
Freezer: For longer storage, you can freeze the bites. Place them in a single layer on a baking sheet, freeze until solid, then transfer to an airtight container for up to 3 months.
Thawing: When ready to enjoy, simply move the frozen bites to the fridge and allow them to thaw overnight before serving.
Reheating: Enjoy these bites straight from the fridge or let them sit at room temperature for a few minutes for the perfect creamy texture!
Chocolate Covered Cheesecake Bites Variations
Feel free to get creative with your Chocolate Covered Cheesecake Bites—let’s explore some delightful twists that will elevate your dessert experience!
-
Dairy-Free: Substitute cream cheese with a dairy-free alternative and Greek yogurt with coconut yogurt for a vegan-friendly dessert.
-
Flavored Extracts: Try using almond or hazelnut extract instead of vanilla to create a unique flavor profile that dazzles the taste buds. Imagine the warm, nutty aromas wafting through your kitchen!
-
Cheesecake Layering: Incorporate fruit purees, like raspberry or strawberry, into the cheesecake batter for a fruity burst that beautifully contrasts with the chocolate coating.
-
Nutty Crunch: Fold in finely chopped nuts like pecans or walnuts into the cheesecake mixture for a delightful crunch in each bite, enhancing both texture and flavor.
-
White Chocolate Coating: Opt for creamy white chocolate instead of dark chocolate to create a sweeter, richer profile—perfect for those who love that extra sweetness.
-
Spiced Up Bites: Add a pinch of cinnamon or nutmeg to your cheesecake batter for a warm, spiced flavor that brings comfort and nostalgia to each mouthful.
-
Heat Factor: For those who enjoy a little kick, add a dash of cayenne pepper or chili powder to your melted chocolate for a surprising, spicy twist that will tantalize the taste buds.
-
Garnished Indulgence: Top your bites with a sprinkle of sea salt or drizzle with caramel sauce for an irresistible finishing touch that elevates these treats to pure bliss.
These variations not only allow you to customize your Chocolate Covered Cheesecake Bites, but they also open up a world of flavors and textures, making every batch uniquely delightful. If you’re also in the mood for another sweet treat, consider trying Banana Chocolate Chip or Pumpkin Cheesecake Truffles. Happy baking!
What to Serve with Chocolate Covered Cheesecake Bites
You’re on the brink of creating a delightful dessert experience, so why not elevate it with some perfect pairings?
-
Fresh Berries: The tartness of strawberries, raspberries, or blueberries will cut through the richness and add a burst of color to your plate. A simple fruit medley can bring a refreshing contrast, making your dessert table more visually appealing.
-
Chocolate Dipped Fruit: Extend the chocolate theme. Pair these bites with banana slices or pretzels dipped in chocolate, creating a sweet and salty balance that’s an absolute crowd-pleaser.
-
Crushed Nuts: Whether it’s toasted almonds or walnuts, sprinkle crushed nuts over the cheesecake bites for an earthy crunch that enhances the creamy texture beautifully. The nutty flavor adds a delightful depth that complements the chocolate coating perfectly.
-
Coffee or Espresso: A hot cup of rich coffee or a frothy cappuccino makes an excellent companion to these bites, as their bold flavors accentuate the creaminess while grounding the sweetness.
-
Mini Cheesecake Shooters: Layer some cheesecake-flavored pudding with whipped cream in small cups for a fun interactive dessert experience. This playful addition invites your guests to enjoy another sweet treat in a different format.
-
Mint Tea: Serve a refreshing cup of mint tea alongside your cheesecake bites for a soothing herbal contrast. The light flavors of mint can cleanse the palate after indulging in these sweet delights.
-
Chocolate Ganache Drizzle: For a decadent finishing touch, drizzle extra dark chocolate ganache over your bites. A combination of textures and flavors will keep everyone coming back for more!
Remember, these pairings are not just about complementing flavors—they create a sensory experience that will leave your guests raving about your dessert creations!
Make Ahead Options
These Chocolate Covered Cheesecake Bites are perfect for busy weeknights or party preparations! You can prepare the cheesecake squares up to 3 days in advance; simply bake and chill them according to the recipe instructions, then cut them into squares and store them in an airtight container in the refrigerator. For the chocolate coating, melt the dark chocolate and coconut oil, then store it separately at room temperature, wrapped tightly to maintain its smooth texture. When you’re ready to enjoy or serve, simply dip the squares in the chocolate before plating, allowing them to set for about 30 minutes in the refrigerator. This prep-ahead method ensures you have delicious treats that are just as fresh and delightful as when made on the spot!
Chocolate Covered Cheesecake Bites Recipe FAQs
How do I choose ripe ingredients for my Cheesecake Bites?
Absolutely! For the best results, ensure your cream cheese is at room temperature and soft before mixing. This will guarantee a smooth texture for your cheesecake. When using Greek yogurt, select plain varieties without any added sugars or flavors to keep the cheesecake balanced. If you opt for coconut sugar, look for granules that are moist and not hard or clumpy.
How should I store Chocolate Covered Cheesecake Bites?
To keep your Chocolate Covered Cheesecake Bites fresh, store them in an airtight container in the refrigerator for up to 7 days. This will help maintain their creamy texture and rich flavors. When storing, make sure to layer them with parchment paper to prevent sticking.
Can I freeze these Cheesecake Bites? How?
Yes, you can freeze them! First, place the bites in a single layer on a baking sheet and freeze until they’re firm—this usually takes about 1-2 hours. Once solid, transfer them to an airtight container or a resealable freezer bag, separating layers with parchment paper. They can be stored in the freezer for up to 3 months. When you’re ready to enjoy them, simply move the container to the fridge and let the bites thaw overnight.
What if my cheesecake batter is too thick or too thin?
If your cheesecake batter is too thick, you can add a little more Greek yogurt, one tablespoon at a time, until the desired consistency is reached. Conversely, if it’s too thin, consider adding in a tablespoon of softened cream cheese to help thicken it. A well-balanced batter should be smooth and pourable but still manage to hold its shape when spread in the pan.
Are Chocolate Covered Cheesecake Bites safe for those with allergies?
When making these bites, be aware that they contain dairy (cream cheese, yogurt) and eggs, which can be allergens for some individuals. If you’re making these for a gathering, it’s best to ask guests about dietary restrictions beforehand. Consider using dairy-free cream cheese and yogurt alternatives if you want to make the bites suitable for those with lactose intolerance or dairy allergies.
Can I customize the toppings or flavors?
Very! You can absolutely get creative by adding toppings like crushed nuts, shredded coconut, or a sprinkle of sea salt on top of the chocolate for added crunch and flavor. Additionally, you can experiment with flavored extracts, swapping vanilla for almond or hazelnut, to give your cheesecake bites a unique twist. The more the merrier!
Chocolate Covered Cheesecake Bites - Indulgent, Guilt-Free Treats
Ingredients
Equipment
Method
- Preheat your oven to 325°F (160°C) and coat an 8 x 8-inch square pan with nonstick spray.
- Blend softened cream cheese until smooth, then gradually mix in coconut sugar and vanilla extract. Add egg and Greek yogurt, combining until fully mixed.
- Pour the batter into the pan, smooth the top, and bake for 55-60 minutes until edges are set and center jiggles slightly. Let cool then refrigerate for at least 2 hours.
- Lift cheesecake from pan and cut into 1 x 1-inch squares, cleaning the knife between cuts.
- Melt dark chocolate and coconut oil over simmering water until smooth.
- Dip each cheesecake square into the melted chocolate, allowing excess to drip off, then place on a parchment-lined tray. Refrigerate until chocolate sets.
Leave a Reply