
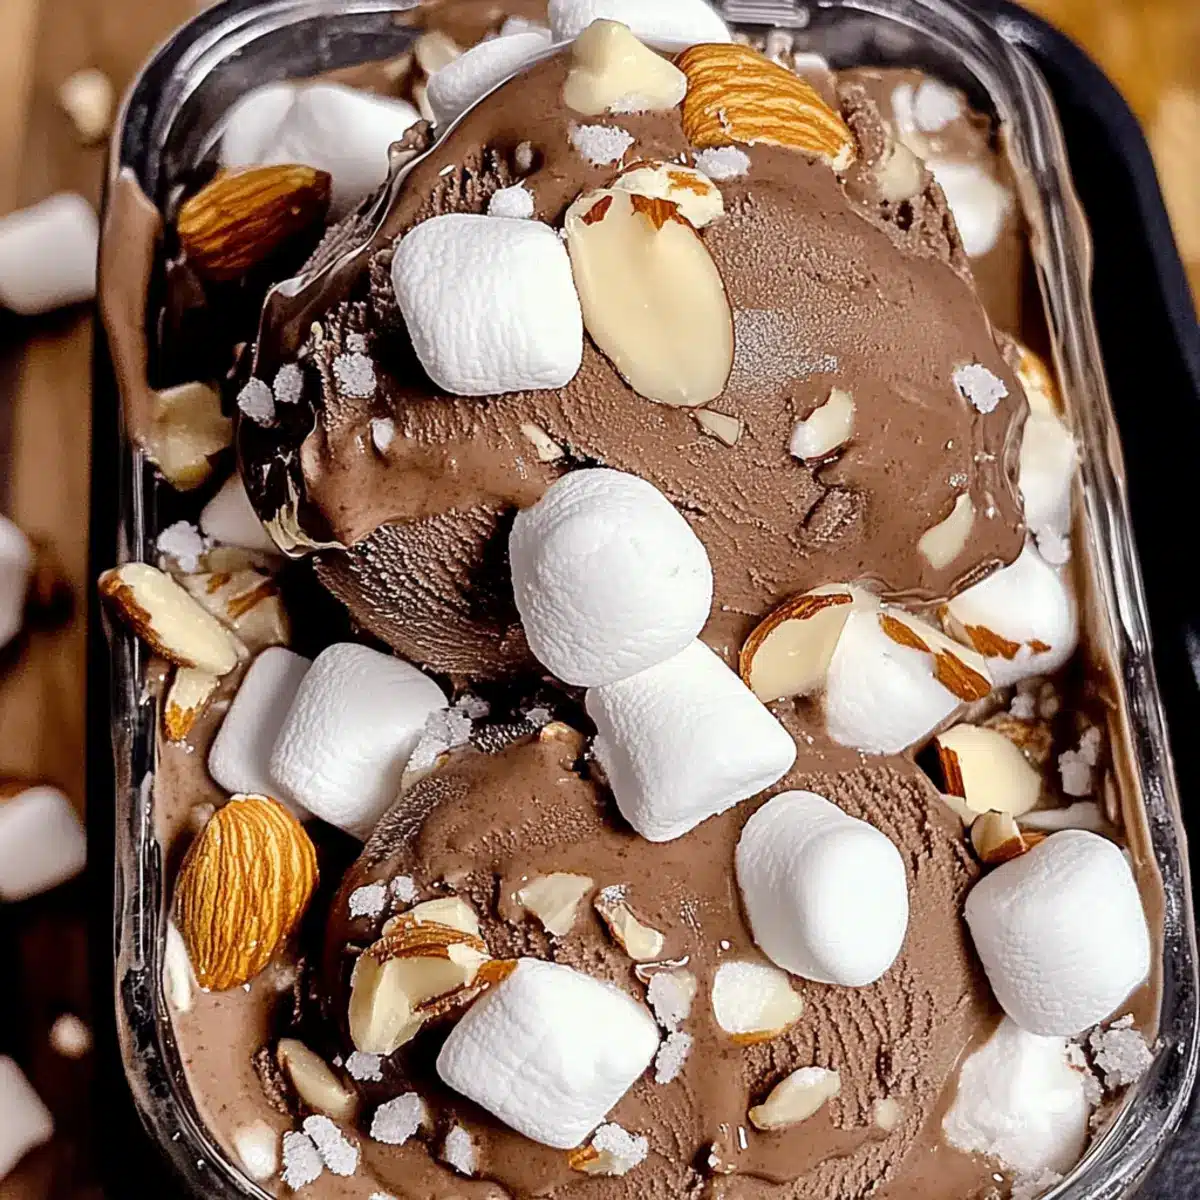
As the sun dips below the horizon, signaling time for sweet indulgence, I find myself craving something nostalgic yet comforting. The Best Homemade Rocky Road Ice Cream is my answer, a delightful union of creamy chocolate custard, fluffy mini marshmallows, and crunchy roasted almonds. This recipe not only captures the essence of childhood summers but transforms it into a culinary masterpiece that’s easy to whip up in your very own kitchen. Perfect for cozy nights or festive gatherings, this customizable dessert offers tantalizing variations that allow you to add your favorite mix-ins, making every scoop a unique surprise. Ready to dive into the creamy depths of this chocolate delight? Let’s bring a bit of artisan flair to your dessert game!
Why is Rocky Road Ice Cream a Must-Try?
Nostalgia in Every Scoop: The classic flavor combination of chocolate, marshmallows, and almonds brings back cherished memories of summer days.
Simplicity Made Delicious: With just a few steps, you’ll create a luscious homemade treat without the fuss of store-bought ice cream.
Customize Your Creation: Feel free to experiment with different mix-ins perfect for any occasion, whether it’s Beef Pasta Protein or a fancy Garlic Salmon Decadent.
Impressive Crowd-Pleaser: Serve it at gatherings and watch as friends and family rave about your delightful homemade dessert!
Rival Ice Cream Shops: Achieve that creamy, artisan quality at home—savor each bite while knowing you made it yourself!
Rocky Road Ice Cream Ingredients
For the Ice Cream Base
• Heavy Whipping Cream – Provides richness and creaminess to the ice cream base; half-and-half can be used for a lighter version.
• Whole Milk – Balances the richness of the cream, contributing to a delightful custard texture.
• Granulated White Sugar – Sweetens the base; remember it’s divided for both the custard and tempering yolks.
• Dutch Process Cocoa Powder – Adds a deep chocolate flavor, making your Rocky Road Ice Cream irresistible; natural cocoa may be used for a lighter taste.
• Large Egg Yolks – Essential for a smooth, rich custard; they should be at room temperature for optimal mixing.
For the Flavor Boost
• Dark Chocolate Bar – Finely chopped and melted into the custard for depth of flavor; choose high-quality chocolate for the best results.
• Vanilla Extract – Enhances the overall flavor profile of your delicious homemade ice cream.
For the Mix-Ins
• Salted Roasted Almonds – Introduces that perfect crunch with savory notes; feel free to swap with honey-roasted peanuts if needed.
• Mini Marshmallows – Provide a soft, chewy texture and nostalgic flavor, making every scoop special.
• Finely Chopped Semi-Sweet or Dark Chocolate – Adds another layer of chocolatey goodness; mini chocolate chips work too for an extra treat.
Dive into this recipe, and enjoy crafting your own version of Rocky Road Ice Cream, where nostalgia meets customization!
Step‑by‑Step Instructions for Best Homemade Rocky Road Ice Cream
Step 1: Heat Dairy Mixture
In a medium saucepan, combine heavy whipping cream, whole milk, granulated sugar, and Dutch process cocoa powder. Heat over medium heat, stirring gently until it reaches a gentle simmer around 170°F (77°C). You’re looking for tiny bubbles forming around the edges, but be careful not to let it boil.
Step 2: Whisk Egg Yolks
While the dairy mixture warms, whisk together the large egg yolks and remaining sugar in a heat-proof bowl until the mixture is pale and fluffy, about 2 minutes. This step creates a vibrant base for your Rocky Road Ice Cream, ensuring a rich custard texture in the finished product.
Step 3: Temper Yolks
Once your dairy mixture is simmering, gradually pour a small amount into the egg yolk mixture while whisking continuously. This process’s goal is to gently heat the yolks to prevent them from curdling. Continue this slow mixing until about half of the warm dairy is incorporated seamlessly.
Step 4: Combine & Cook
Pour the tempered yolk mixture back into the saucepan, stirring consistently over medium-low heat. Cook until the custard thickens enough to coat the back of a spoon, around 5–8 minutes. Make sure to keep an eye on it; the custard should feel silky and not scramble.
Step 5: Melt Chocolate
Remove the custard from heat and add the chopped dark chocolate and vanilla extract, stirring until completely melted and smooth. If you find any lumps, strain the mixture through a fine-mesh sieve to ensure a velvety texture in your Rocky Road Ice Cream.
Step 6: Chill Custard
Transfer the chocolate custard to a bowl and cover it with plastic wrap, placing it directly on the surface to prevent a skin from forming. Refrigerate for at least 8 hours or overnight; this allows the flavors to meld and enhances the overall creaminess of your ice cream.
Step 7: Churn Ice Cream
Once chilled, pour the custard into your ice cream maker, following the manufacturer’s instructions. Churn until it reaches a soft-serve consistency, typically between 20-25 minutes. You’ll notice it beginning to firm up and become fluffy, a sign it’s almost ready for the next step.
Step 8: Add Ingredients
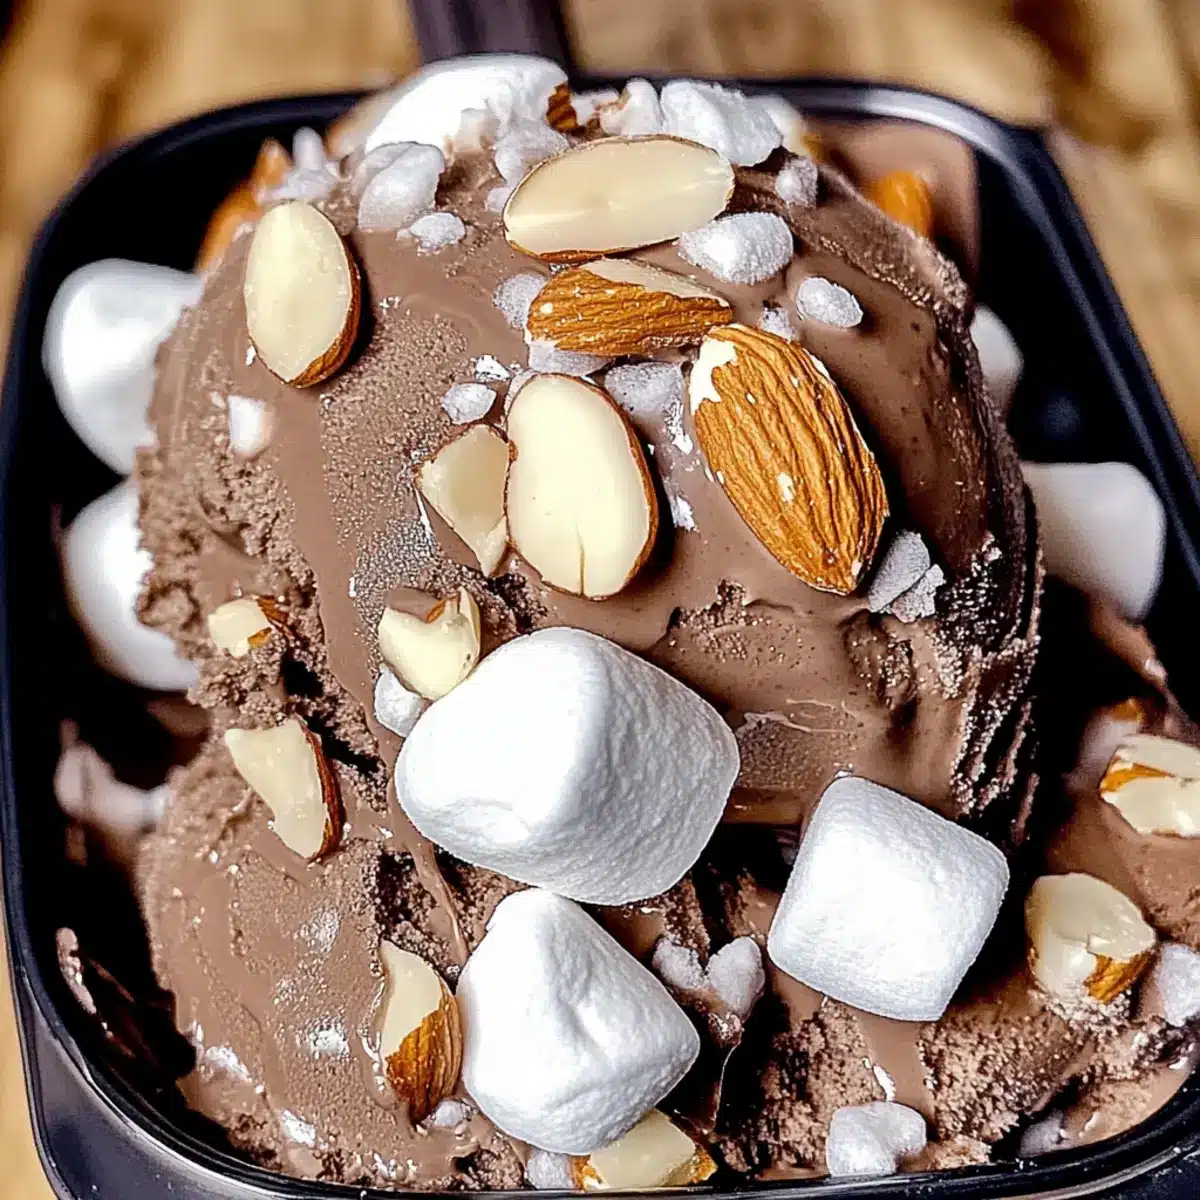
As soon as the Rocky Road Ice Cream is churned, gently fold in the mini marshmallows, roasted almonds, and finely chopped semi-sweet or dark chocolate. Use a spatula for even distribution, blending in the delightful mix-ins to ensure every scoop is packed with flavor and texture.
Step 9: Freeze
Transfer the mixture into an airtight container, spreading it evenly. Smooth the top before sealing to reduce ice crystal formation. Freeze for at least 4 hours, allowing it to set completely, resulting in a perfectly creamy and delicious Rocky Road Ice Cream ready to be served!
Expert Tips for Rocky Road Ice Cream
• Chill for Flavor: Allowing the custard to chill overnight enhances flavor and texture—don’t rush this step for the best results!
• Proper Egg Tempering: When tempering the yolks, add the warm dairy slowly to avoid curdling. This key step is crucial for a smooth Rocky Road Ice Cream.
• Quality is Key: Use high-quality chocolate and dairy products. These ingredients are the foundation of your delicious, creamy treat.
• Scoop with Ease: If your ice cream is too hard to scoop, let it sit at room temperature for 5-10 minutes before serving. This makes a world of difference!
• Experiment with Mix-ins: Feel free to substitute almonds or add other mix-ins to customize your Rocky Road Ice Cream—think crushed cookies or dried fruit for a unique twist!
Storage Tips for Rocky Road Ice Cream
Fridge: Store any leftover Rocky Road Ice Cream in an airtight container for up to 3-4 days. Keep the container tightly sealed to maintain freshness and avoid freezer burn.
Freezer: This delightful treat can be stored in the freezer for up to 2 weeks. Smooth the surface before sealing to minimize ice crystal formation and keep the texture luscious.
Reheating: If your ice cream becomes too hard, allow it to sit at room temperature for 5-10 minutes before serving. This makes scooping easier and restores that creamy consistency you love.
Make Ahead Options
These Best Rocky Road Ice Cream preparations are perfect for busy home cooks looking to save time! You can prepare the chocolate custard base up to 48 hours in advance by following the cooking steps and refrigerating the mixture before churning. This helps the flavors meld beautifully, ensuring a richer taste when you finally churn it. Additionally, you can chop the mix-ins, like roasted almonds and chocolate, a day ahead and store them in airtight containers (to maintain their crunch) until you’re ready to finish. When you’re set to serve, simply churn the cold custard mix and fold in your mix-ins for a delightful, homemade ice cream experience that’s just as delicious as fresh!
Rocky Road Ice Cream Variations
Feel free to get creative and make this recipe your own with delicious twists and substitutions!
- Nut-Free: Swap out the almonds for sunflower seeds or pumpkin seeds to keep that satisfying crunch without nuts.
- Vegan Version: Use coconut milk and dairy-free dark chocolate to create a creamy, plant-based version that everyone can enjoy.
- Extra Crunch: Add crushed graham crackers or crispy rice cereal for a delightful textural contrast that elevates your Rocky Road experience.
- Swirled Goodness: Introduce a swirl of caramel or peanut butter in your base for a rich, sweet contrast to the chocolatey goodness.
- Fruit Fusion: Throw in some chopped cherries or strawberries instead of marshmallows for a refreshing twist that lightens the overall flavor.
- Spicy Kick: Add a dash of cayenne pepper or cinnamon to the chocolate custard for a surprising, delightful heat that warms the soul.
- Cookie Dough Delight: Fold in cookie dough pieces just before freezing for an extra indulgent treat that takes your ice cream to the next level.
- Classic Twists: Try mixing in crushed mint chocolate cookies for a refreshing minty variation or substitute the mini marshmallows for chunks of brownie for a richer, fudgy experience.
By experimenting with these variations, you’re sure to craft a dessert that’s distinctly yours—so why not bring a bit of that culinary creativity into the kitchen? If you ever want to explore other flavor profiles, consider making a batch of Healthy Creamytuscan Salmon or indulge in a Parmesan Chicken Pasta for delightful savory creations!
What to Serve with Best Homemade Rocky Road Ice Cream?
Indulging in a creamy scoop of homemade Rocky Road Ice Cream is just the beginning of your sweet adventure. Let’s explore the delightful accompaniments that will elevate your dessert experience.
-
Crispy Waffle Cones:
The crunch of waffle cones pairs beautifully with the smooth, creamy texture of your ice cream, creating a delightful contrast. -
Warm Chocolate Sauce:
Drizzling rich chocolate sauce over your scoop enhances the chocolatey flavor while adding a luxurious touch that’s simply irresistible. -
Fresh Berries:
Bright strawberries or blueberries add a pop of freshness that balances the richness of the ice cream, offering a fruity burst with every bite. -
Whipped Cream:
Light and airy whipped cream enhances the overall creaminess. A dollop on top makes for a visually stunning and deliciously indulgent addition. -
Chocolate Chip Cookies:
Serve your Rocky Road Ice Cream alongside warm chocolate chip cookies for a nostalgic dessert duo that brings together two favorites in sweet harmony. -
Iced Coffee or Espresso:
Pairing with a chilled beverage complements the dessert perfectly, enhancing the chocolate flavor while offering a delightful pick-me-up. -
Mini Brownies:
A rich, fudgy brownie alongside your ice cream creates an exquisite experience, where the textures of creamy and chewy come together beautifully. -
Toasted Coconut Flakes:
Adding a sprinkle of toasted coconut gives a wonderful crunch and tropical flavor to your Rocky Road Ice Cream, enhancing the layered flavors of your dessert!
Rocky Road Ice Cream Recipe FAQs
How do I select the best ingredients for my Rocky Road Ice Cream?
Absolutely! When choosing your ingredients, look for heavy whipping cream with a high fat content (at least 36%) for the richest flavor. Opt for whole milk that’s fresh and creamy, granulated sugar that’s pure, and Dutch process cocoa for that deep chocolate profile. High-quality dark chocolate makes a significant difference too. For mix-ins, select salted roasted almonds that are crunchy and flavorful, and mini marshmallows that are soft and fluffy.
How should I store leftover Rocky Road Ice Cream?
After enjoying some scoops, store your leftover Rocky Road Ice Cream in an airtight container in the freezer. It’ll last up to 2 weeks. Make sure to smooth the surface before sealing to minimize any ice crystal formation, keeping your treats creamy and delightful!
Can I freeze Rocky Road Ice Cream?
Yes indeed! In fact, freezing is essential for achieving the perfect texture. Once you’ve churned your ice cream, transfer it to an airtight container and freeze for at least 4 hours until fully set. For best results, enjoy it within 2 weeks to savor its freshness, but it can be stored for longer—just keep in mind to check for any changes in texture.
What should I do if my ice cream is too hard to scoop?
If your Rocky Road Ice Cream is too firm, don’t worry! Let it sit at room temperature for about 5-10 minutes before serving. This will soften it up enough to make scooping a breeze. You can also use a warm scoop or run it under hot water for a few seconds to make serving even easier!
Are there any allergy considerations for this recipe?
Very! If you’re serving this to guests, be sure to check for allergies related to eggs, dairy, or nuts. You can substitute the almonds with other nuts or seeds if there’s a nut allergy, and use a dairy-free alternative for the cream and milk if needed. Make sure to read labels carefully for any mix-ins as well, as they may contain allergens.
Can I customize my Rocky Road Ice Cream?
The more the merrier! Absolutely, you can personalize your Rocky Road Ice Cream by swapping almonds for any nut or even adding crunchy toppings like crushed cookies or sweeten it with fruits. Have fun with mix-ins—each scoop can be a unique delight!
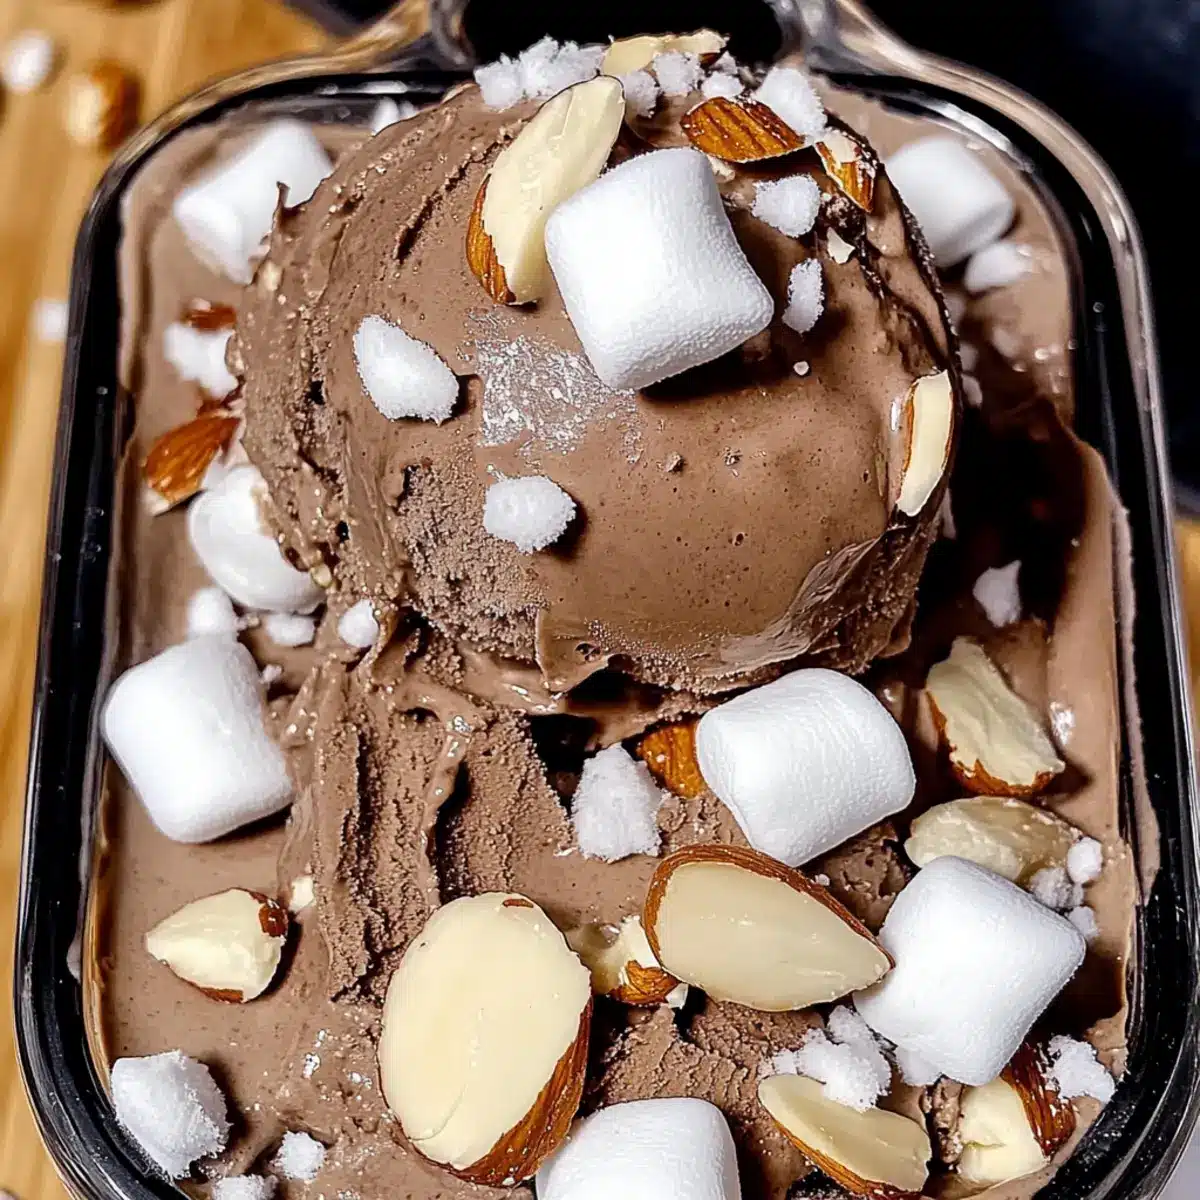
Homemade Rocky Road Ice Cream: A Creamy Dream Come True
Ingredients
Equipment
Method
- In a medium saucepan, combine heavy whipping cream, whole milk, granulated sugar, and Dutch process cocoa powder. Heat over medium heat until it reaches a gentle simmer.
- Whisk together the large egg yolks and remaining sugar in a heat-proof bowl until pale and fluffy.
- Gradually pour a small amount of the warm dairy mixture into the egg yolk mixture while whisking continuously.
- Pour the tempered yolk mixture back into the saucepan, stirring over medium-low heat until thickened.
- Remove from heat, add chopped dark chocolate and vanilla extract, stirring until melted and smooth.
- Transfer the custard to a bowl, cover with plastic wrap, and refrigerate for at least 8 hours.
- Pour the chilled custard into your ice cream maker and churn until soft-serve consistency.
- Gently fold in mini marshmallows, roasted almonds, and finely chopped chocolate.
- Transfer to an airtight container, smooth the top, and freeze for at least 4 hours before serving.
Leave a Reply