
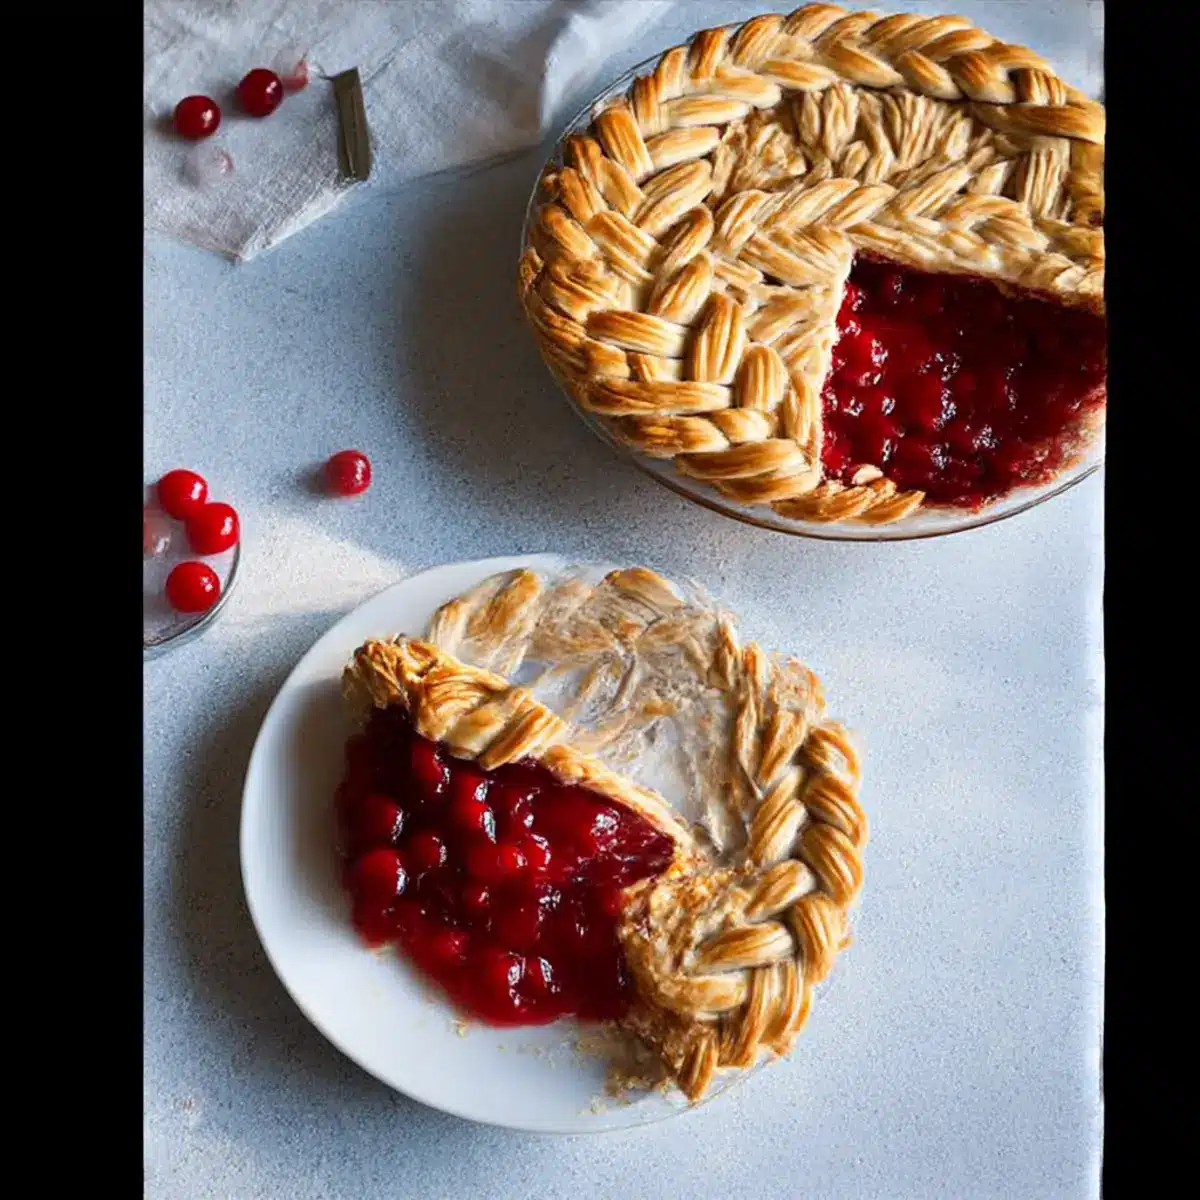
As I was flipping through the pages of an old family cookbook, I stumbled upon a recipe that instantly transported me back to my grandmother’s kitchen. The Fishtail Braid Pie Crust is not just a visual delight—it’s a heartwarming invitation to add a special touch to your favorite pies. With its beautifully intricate design, this decorative crust elevates any sweet or savory filling, transforming a simple dessert into an eye-catching centerpiece. Plus, it’s delightfully tender and flaky, ensuring that every bite is just as satisfying as it is stunning. Whether you’re hosting a dinner party or just treating yourself, this pie crust is a quick triumph in the kitchen. Are you ready to impress your family and friends with your new baking skills? Let’s get started!
Why Try the Fishtail Braid Pie Crust?
Visual Appeal: The stunning fishtail braid design turns an ordinary pie into a conversation starter, perfect for impressing guests at gatherings.
Tender Texture: This crust achieves a delightful flakiness that complements both sweet and savory fillings, ensuring every bite is a treat.
Versatile Ingredients: Customize your crust by substituting ingredients, like using a gluten-free blend or plant-based butter for dietary needs.
Easy to Master: With simple steps, even novice bakers can master this technique, allowing for creativity in the kitchen.
Make Ahead: Prep the dough in advance and store it, saving time for those delicious last-minute pie cravings or unexpected guests.
If you’re in the mood for more delicious recipes, check out my tasty Pumpkin Pie Energy bites or try your hand at making some crispy Fryer Parmesan Crusted chicken!
Fishtail Braid Pie Crust Ingredients
• Let’s gather what you need to create this beautiful pie crust!
For the Dough
- All-purpose flour – Provides structure and texture to the crust; substitute with a gluten-free blend if needed.
- Salt – Enhances flavor; kosher or sea salt works best for this recipe.
- Sugar – Adds a hint of sweetness to balance flavors; omit for savory pies or swap with a sugar substitute.
- Shortening – Creates flakiness in the crust; using cold butter can add extra flavor and richness.
- Butter – Adds flavor and richness; use unsalted for greater control over the saltiness.
- Ice water – Binds the dough while keeping it chilled, ensuring easy handling for your pie crust.
For the Braid Accent
- Extra dough strips – Use the remaining dough after rolling out to make the braided top; ensure it’s the same thickness for a perfect fishtail presentation.
With these ingredients assembled, you’re on your way to mastering the Fishtail Braid Pie Crust that will surely impress your family and friends! Happy baking!
Step‑by‑Step Instructions for Fishtail Braid Pie Crust
Step 1: Dough Preparation
In a food processor, combine 2 ½ cups of all-purpose flour, 1 teaspoon of salt, and 1 tablespoon of sugar, pulsing until mixed. Add ½ cup of cold shortening and ½ cup of cold butter, processing until the mixture resembles coarse crumbs. Gradually drizzle in 6-8 tablespoons of ice water, pulsing until the dough just begins to form. Be careful not to overmix; the Fishtail Braid Pie Crust needs to be tender!
Step 2: Roll Out Dough
Once your dough is formed, divide it into two equal halves and wrap them in plastic wrap, refrigerating for at least 30 minutes. This chill time allows the fats to firm up, resulting in a flaky crust. After chilling, roll out one half on a floured surface into a circle roughly 1/8 inch thick, then carefully transfer it to an 8-9 inch pie dish, pressing it gently into the corners.
Step 3: Cut Strips
With the remaining dough, roll it out to the same 1/8 inch thickness. Using a sharp knife or pastry cutter, carefully slice it into strips about 1/8 inch wide. These strips will form the beautiful fishtail braid that sits atop your pie. Keep the strips separated so they don’t stick together as you prepare to braid.
Step 4: Braid Strips
For the fishtail braid, pinch together the ends of 5 dough strips to secure them. Start the braid by placing the rightmost strip over the next one to the left, then bring the leftmost strip over the new rightmost strip. Continue weaving, alternating sides until you reach the end of the strips. Trim off any excess and pinch to secure the braid, ensuring it maintains its beautiful shape.
Step 5: Fill Pie Crust
Pour your desired filling into the prepared pie crust. Whether you choose a sweet fruit filling or a savory mixture, this step is where you infuse your flavors. Gently spread the filling to evenly distribute it, ensuring it doesn’t overflow, leaving room for your gorgeous fishtail braid on top.
Step 6: Assemble
Fold the edges of the pie crust down over the filling, creating a calm border for a polished look. Brush the folded edges with a beaten egg to promote a lovely golden color while baking. This simple step enhances the overall presentation of your Fishtail Braid Pie Crust.
Step 7: Add Braid Accent
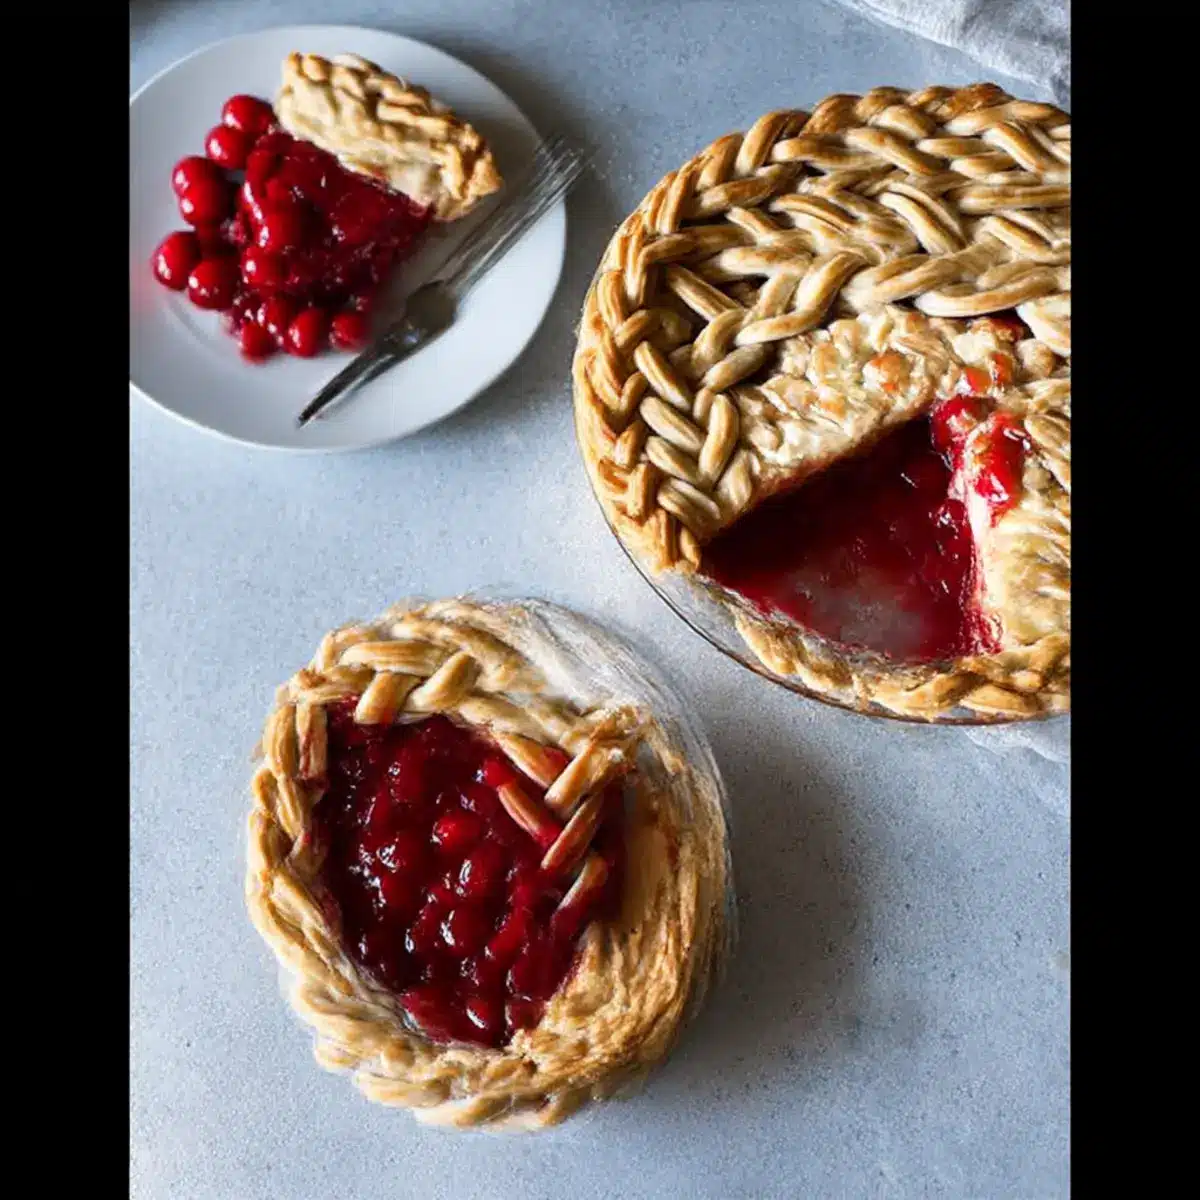
Carefully place your braided strips around the outer edge of the pie crust to create two circles of decorative braiding. Secure each end by pinching them lightly to the base crust. Brush the braid with the remaining egg wash to achieve that stunning golden sheen on your finished pie.
Step 8: Bake
Preheat your oven to 375°F (190°C). Bake the pie for 45 minutes, or until the crust is golden brown around the edges, and the filling bubbles gently. After this initial bake, move the pie to the bottom rack for an additional 10-15 minutes if necessary, allowing for an evenly baked Fishtail Braid Pie Crust that’s sure to impress!
Proper Storage for Fishtail Braid Pie Crust
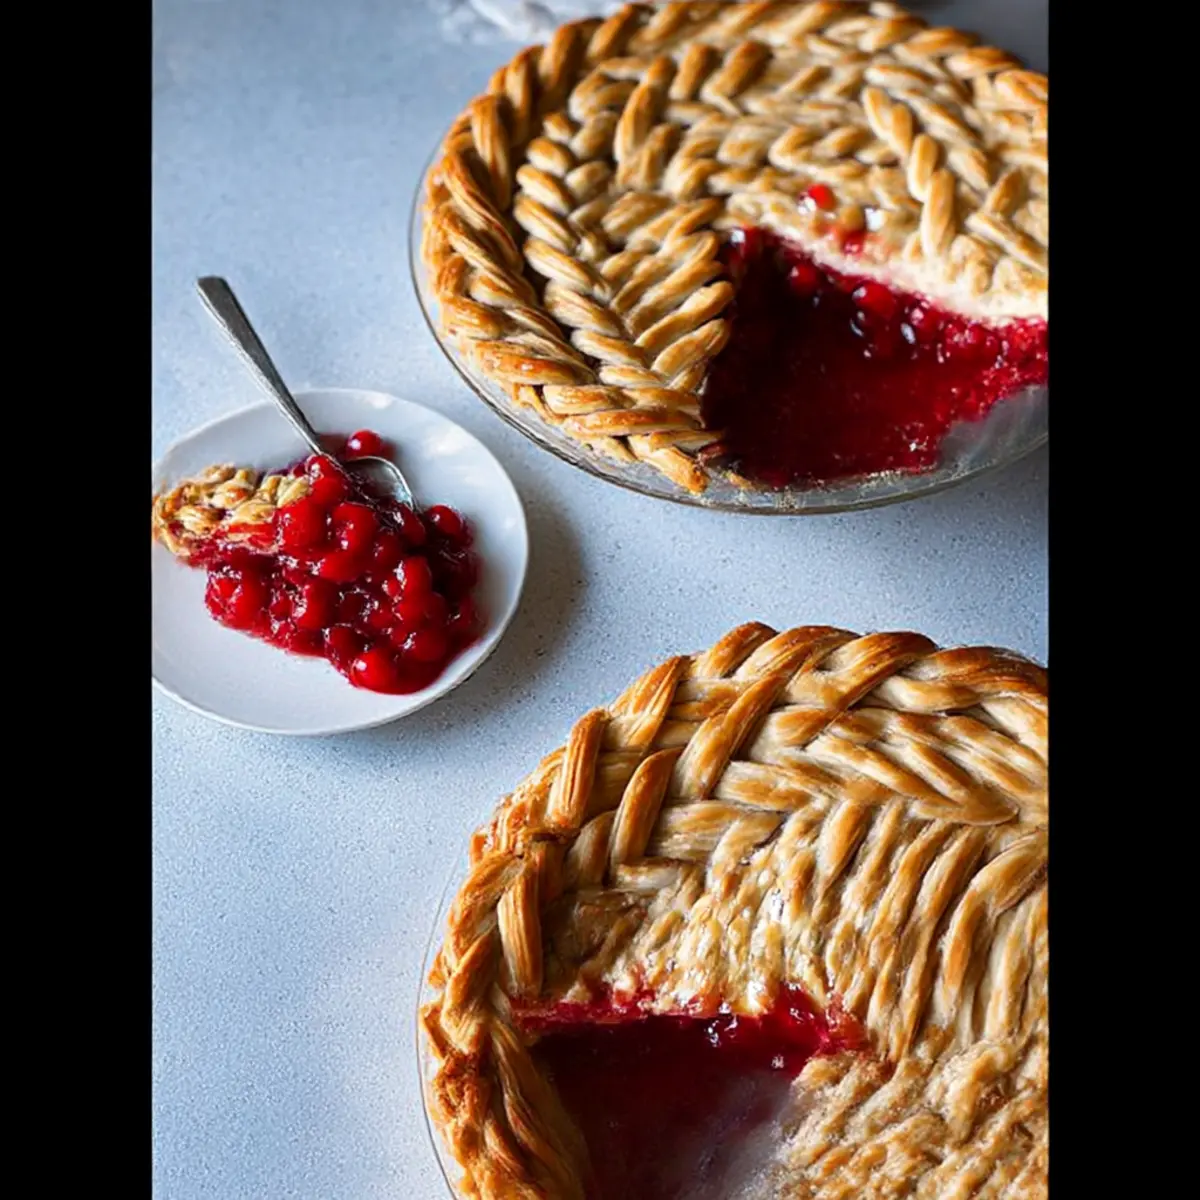
Room Temperature: Keep the baked pie at room temperature for up to 2 days, covered loosely with foil or parchment to maintain the crust’s crispiness.
Fridge: If not consuming immediately, store leftover pie in the fridge for up to 3 days. Cover it well to prevent it from drying out and losing that flaky texture.
Freezer: For longer storage, freeze the unbaked Fishtail Braid Pie Crust for up to 1 month. Wrap tightly in plastic wrap and then in foil to prevent freezer burn.
Reheating: To enjoy a previously baked pie, reheat it in a preheated oven at 350°F (175°C) for 15-20 minutes, until warmed through and crispy again.
What to Serve with Fishtail Braid Pie Crust
A delightful pie deserves equally tantalizing accompaniments to elevate your dining experience.
-
Whipped Cream: This light and airy topping brings a sweet creaminess that perfectly complements both fruity and rich pies.
-
Vanilla Ice Cream: A scoop of this classic dessert adds a creamy texture and a touch of sweetness, enhancing every luscious bite of pie.
-
Fresh Berries: The bright and tart flavor of fresh berries creates a refreshing contrast to the rich filling of the pie, whether sweet or savory.
-
Caramel Sauce: Drizzling warm caramel over your pie provides a decadent sweetness that will leave your guests asking for seconds. The smooth, thick texture adds another layer of indulgence.
-
Mint Leaves: A sprinkle of fresh mint adds a pop of freshness and vibrant color, uplifting the presentation and flavor profile of your pie.
-
Coffee or Tea: Pairing your pie with a warm cup of coffee or soothing tea creates a cozy atmosphere, making each bite even more comforting.
-
Chocolate Shavings: For chocolate lovers, adding a sprinkle of dark or milk chocolate shavings elevates the dessert to a whole new level of indulgence.
-
Custard Sauce: A drizzle of creamy custard enhances the texture and flavor, amplifying the dessert experience in each bite. It’s particularly delightful with fruit-filled pies!
Fishtail Braid Pie Crust Variations
Get creative with your Fishtail Braid Pie Crust and personalize it to match your unique taste and dietary preferences!
-
Gluten-Free: Use a gluten-free flour blend in place of all-purpose flour for a gluten-free crust that retains its delicious flakiness.
-
Dairy-Free: Swap the butter and shortening for plant-based alternatives, ensuring your crust is just as delicious without dairy.
-
Sweet Spice: Add a pinch of cinnamon or nutmeg to the dough for a warm flavor twist that beautifully complements fruit fillings.
-
Savory Herbs: Incorporate dried herbs like rosemary or thyme into your crust for a savory flair that works wonderfully with meat or veggie fillings.
-
Nutty Flavor: Mix in finely ground nuts, like almond or hazelnut flour, into your dough for a delightful nutty taste and added texture.
-
Chocolate Infusion: Try adding cocoa powder to the dough for a rich chocolate pie crust that pairs perfectly with desserts like chocolate cream pie!
-
Citrus Zest: Enhance the flavor by including lemon or orange zest in your dough; this adds a refreshing brightness to balance richer fillings.
-
Saucy Sweets: Pour in a caramel or chocolate sauce over the pie filling before placing the braided crust on top, creating a gooey, indulgent surprise!
For more exciting and creative recipes, don’t miss my delicious Marshmallow Rice Krispies or add a savory twist to your meals with my Fryer Parmesan Crusted chicken!
Make Ahead Options
These Fishtail Braid Pie Crusts are perfect for meal prep, allowing you to enjoy homemade goodness with minimal last-minute effort! You can prepare the dough up to 3 days in advance; simply wrap it tightly in plastic wrap and refrigerate it to keep it fresh. For even longer storage, freeze the dough for up to a month—just thaw it in the fridge overnight before use. You can also cut your dough strips and braid them ahead of time, storing the assembled braid in the fridge for up to 24 hours. When you’re ready to bake, fill your pie and follow the assembly instructions. This way, you’ll create a stunning pie that’s just as delicious, saving time for those busy weeknights!
Expert Tips for Fishtail Braid Pie Crust
-
Cold Ingredients: Keep butter and shortening cold before mixing. This ensures a flaky texture in your Fishtail Braid Pie Crust.
-
Don’t Overmix: Be cautious not to overwork the dough; this can lead to a tough crust. Mix just until combined for optimal flakiness.
-
Egg Wash Importance: Brushing the braid with egg wash is essential for achieving that gorgeous golden color, enhancing the pie’s visual appeal.
-
Uniform Strips: Cut your dough strips evenly to ensure a consistent braid. This attention to detail makes the fishtail appearance stand out beautifully.
-
Chill Time Matters: Allow the dough to chill adequately. This helps in rolling it out easily and maintains a tender texture.
-
Extra Flour for Rolling: Use a light dusting of flour when rolling out dough to prevent sticking, making the process smoother and more enjoyable.
Fishtail Braid Pie Crust Recipe FAQs
How do I choose the right ingredients for my Fishtail Braid Pie Crust?
Absolutely! When selecting your ingredients, opt for all-purpose flour with a good protein content for the right structure. For a gluten-free option, a gluten-free flour blend works well. Ensure your butter and shortening are cold to help achieve that flaky texture. Fresh ingredients yield the best results, so avoid any that have dark spots or an off smell.
What is the best way to store leftover Fishtail Braid Pie Crust?
You can store your baked pie at room temperature for up to 2 days, loosely covering it with foil or parchment to keep the crust crispy. If you have uneaten pie after that time, pop it in the refrigerator, where it will last for up to 3 days when well wrapped. For long-term storage, unbaked crust can be frozen for up to 1 month—just wrap tightly to prevent freezer burn!
Can I freeze the Fishtail Braid Pie Crust?
Absolutely! To freeze your unbaked Fishtail Braid Pie Crust, first wrap it tightly in plastic wrap, ensuring there are no air pockets. Then, wrap it again in foil or place it in a freezer-safe bag. This double protection prevents freezer burn and retains quality. When you’re ready to use it, just thaw it in the refrigerator overnight before baking.
What should I do if my pie crust is tough?
Very commonly, a tough pie crust results from overmixing the dough. Make sure to mix just until combined and handle the dough as little as possible. If your dough has been overworked, don’t fret! You can still salvage it; roll it out into a circle, pinch the edges, and create a rustic galette instead of a traditional pie. It can be just as delicious!
Is this Fishtail Braid Pie Crust safe for my pets?
While the individual ingredients in the Fishtail Braid Pie Crust are generally safe for pets, the salt and sugar content might be concerning. It’s best to stick to unseasoned, no-bake crusts for your furry friends. Always consult your veterinarian if you’re unsure about feeding specific human foods to your pets.
Can I make this pie crust dairy-free?
Absolutely! To create a dairy-free Fishtail Braid Pie Crust, substitute the butter with plant-based butter or coconut oil. Many brands offer delicious alternatives that mimic the flavor and texture of traditional butter. Just make sure to keep an eye on the proportions, as some substitutes may be softer or harder than regular butter!
Master the Fishtail Braid Pie Crust for Stunning Pies
Ingredients
Equipment
Method
- In a food processor, combine the flour, salt, and sugar, pulsing until mixed. Add the shortening and butter, processing until the mixture resembles coarse crumbs. Gradually drizzle in ice water, pulsing until the dough begins to form. Be careful not to overmix.
- Divide dough into two equal halves, wrap in plastic wrap, and refrigerate for at least 30 minutes.
- Roll out one half on a floured surface into a circle roughly 1/8 inch thick and transfer it to an 8-9 inch pie dish.
- Roll out the remaining dough to the same thickness and slice it into strips about 1/8 inch wide.
- Pinch the ends of 5 dough strips together and braid them, pinching to secure at the end.
- Pour your desired filling into the prepared pie crust, spreading it evenly.
- Fold the edges of the pie crust over the filling and brush with beaten egg.
- Place braided strips around the outer edge to create two circles of braiding, securing the ends.
- Preheat oven to 375°F (190°C) and bake pie for 45 minutes or until golden brown.
Leave a Reply