
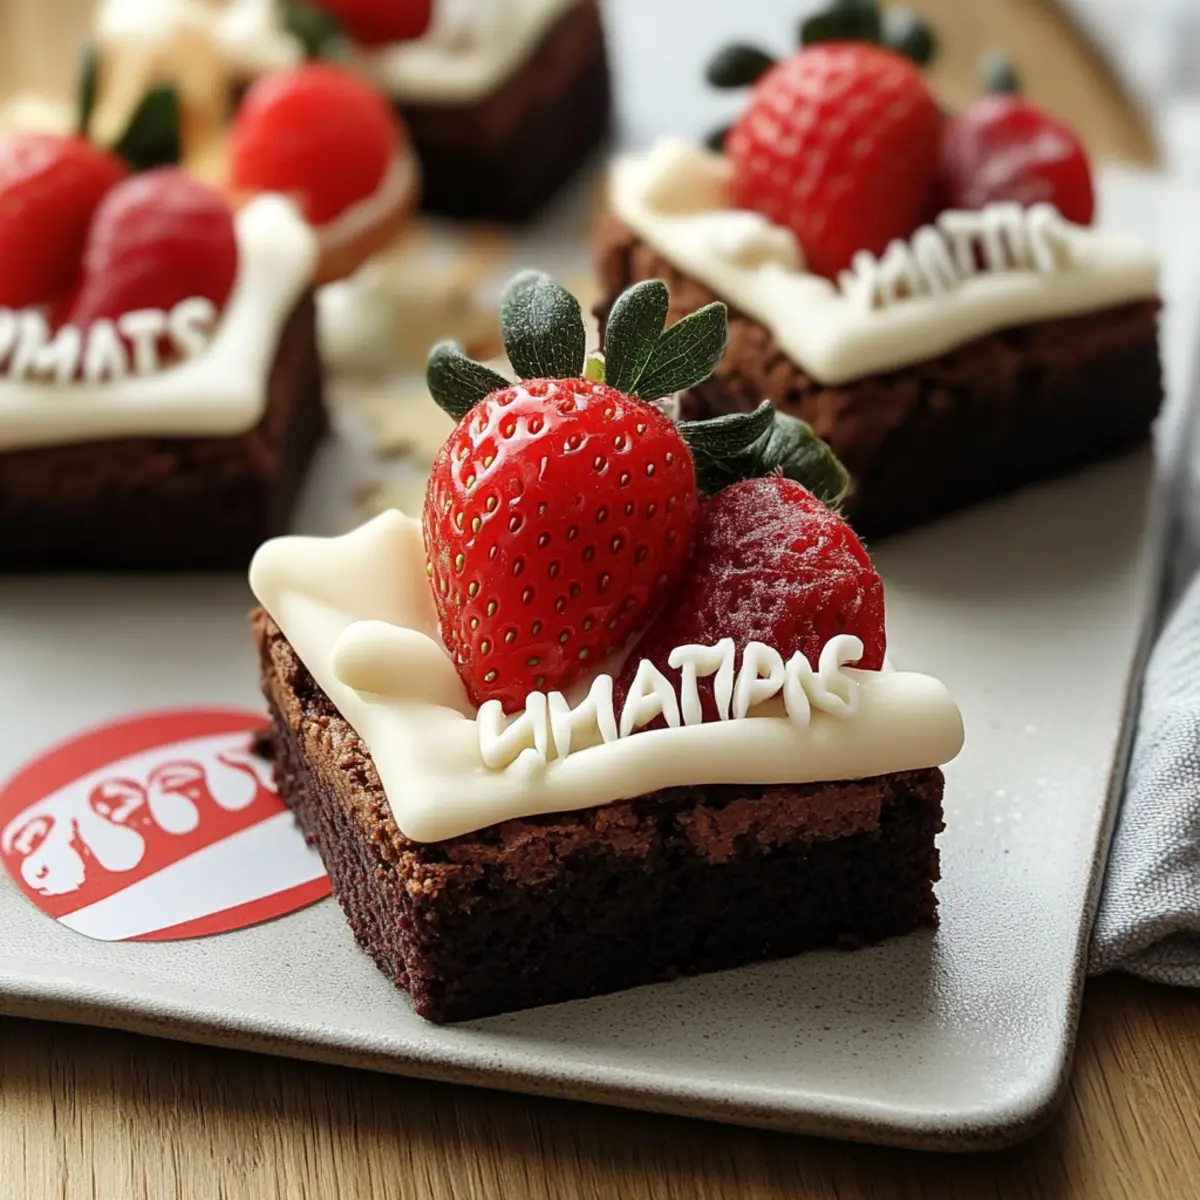
As I stood in my kitchen surrounded by an array of holiday baking supplies, inspiration struck like a snowy flurry! Enter the festive wonder of Santa Hat Brownies, a delightful twist on your classic dessert that’s as fun to make as it is to eat. This easy dessert not only brings joy to your holiday gatherings but also provides a rich, fudgy base that perfectly complements the fresh burst of juicy strawberries. You’ll love how these indulgent treats spark smiles and brighten up any festive table. With minimal prep time and a whimsical presentation, they’re sure to become a crowd favorite in your holiday lineup. Curious how to turn a simple brownie into a jolly masterpiece? Let’s get baking!
Why are Santa Hat Brownies a must-try?
Festive Flair: These adorable desserts bring a jolly touch to any holiday gathering, instantly elevating your dessert table.
Easy to Make: With just a few simple ingredients and steps, you can whip up these tasty treats without the fuss.
Unique Presentation: The playful look of a strawberry “hat” adds whimsy, making them a hit with both kids and adults alike.
Indulgent Flavor: Experience the rich, fudgy chocolate paired with the refreshing burst of juicy strawberries—a perfect balance of flavors.
Versatile Treat: Swap strawberries for other berries or mini cupcakes for easy variations; you can even try different icing flavors for added fun!
These Santa Hat Brownies are not just a yummy treat; they’ll also bring joy to your gatherings, just like our Salted Caramel Bars or Halloween Cookies Chocolatey.
Santa Hat Brownies Ingredients
For the Brownies
• Brownie mix – Use your favorite brand for a rich, fudgy base that everyone loves.
• Eggs – Necessary for binding and giving the brownies a soft texture; follow the mix directions for the correct amount.
• Oil – Adds moisture and richness; can substitute with melted butter for extra flavor.
For the “Hats”
• Fresh strawberries – Healthy and vibrant, these serve as the perfect “hats” for your brownies, offering a burst of freshness.
For the Icing
• White icing – Ideal for piping, it provides a sweet contrast to the brownie; feel free to swap it with buttercream or chocolate ganache for a twist.
• Piping bag – Essential for creating the decorative brim of the hats; if you don’t have one, a plastic sandwich bag with a corner cut off works as a great substitute.
Gather these easy ingredients, and soon enough, you’ll be showcasing your delightful Santa Hat Brownies at your next holiday gathering!
Step‑by‑Step Instructions for Santa Hat Brownies
Step 1: Prepare the Brownies
Begin by preheating your oven to 350°F (175°C). Grease your baking pan according to your brownie mix directions. In a large mixing bowl, combine the brownie mix, eggs, and oil, stirring until well blended. Pour the mixture into the prepared pan, smoothing the top with a spatula. Bake for 20–25 minutes, or until a toothpick inserted in the center comes out with a few moist crumbs for that rich, fudgy texture.
Step 2: Cool and Cut the Brownies
Once baked, remove the brownies from the oven and allow them to cool completely in the pan on a wire rack. This crucial step, taking about 30 minutes, ensures clean edges when you cut. Once cooled, use a sharp knife to slice the brownies into squares or circles, depending on your preferred festive style for the Santa Hat Brownies.
Step 3: Secure the Strawberries
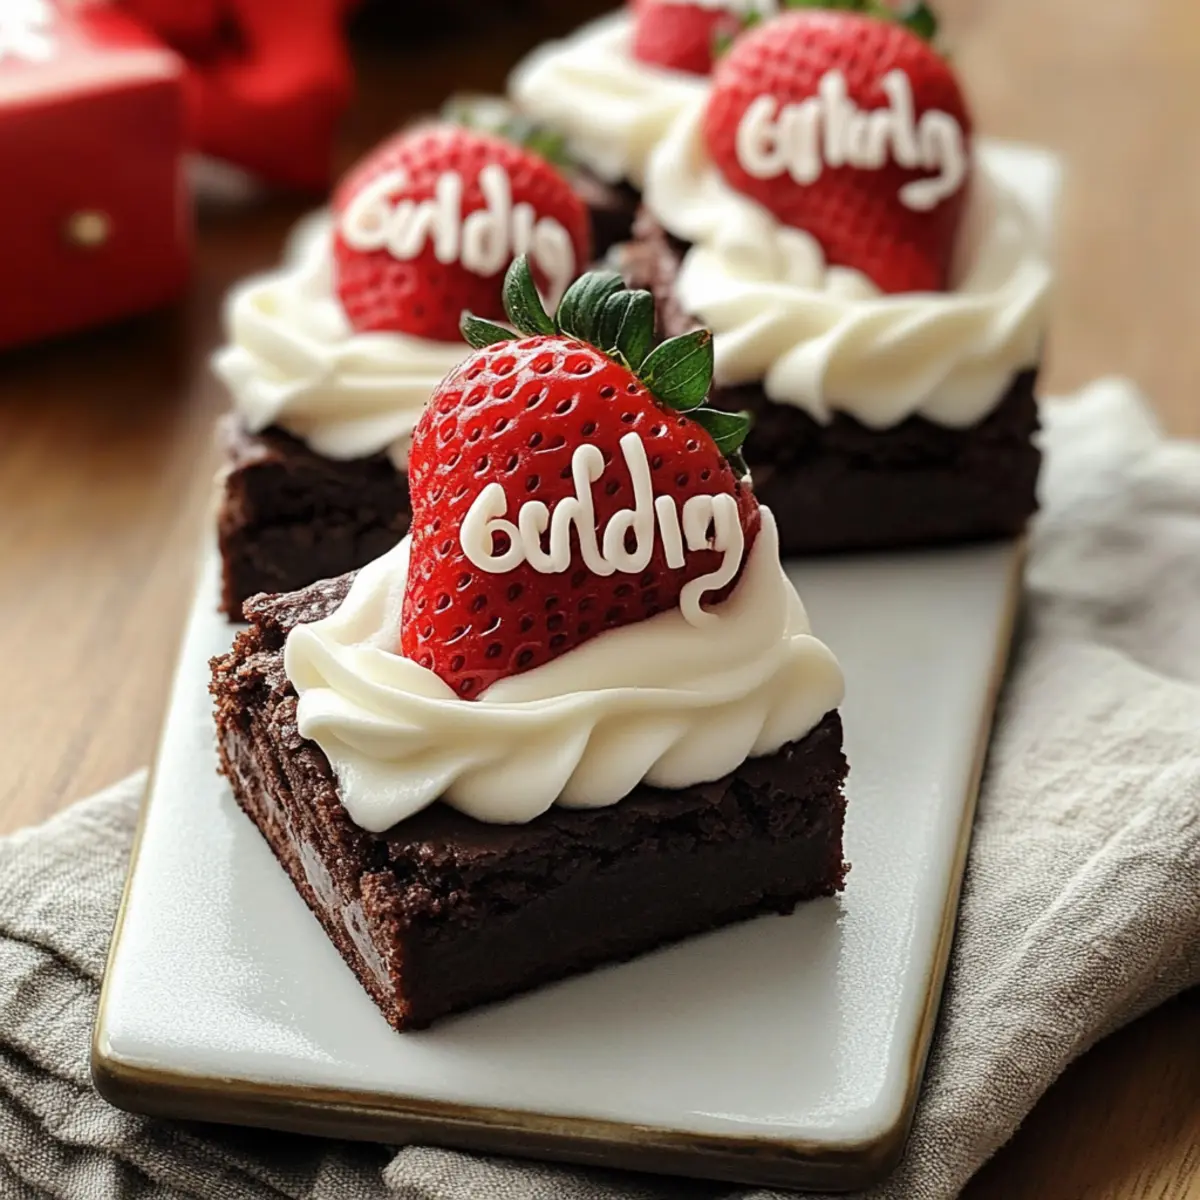
To create the charming Christmas hats, take your freshly cut brownies and dab a small amount of white icing on the center of each brownie. This icing acts as a glue. Next, gently place a fresh strawberry on top, pointed side up, ensuring it firmly adheres to the brownie base while looking delightfully festive.
Step 4: Pipe the Brim of the Hats
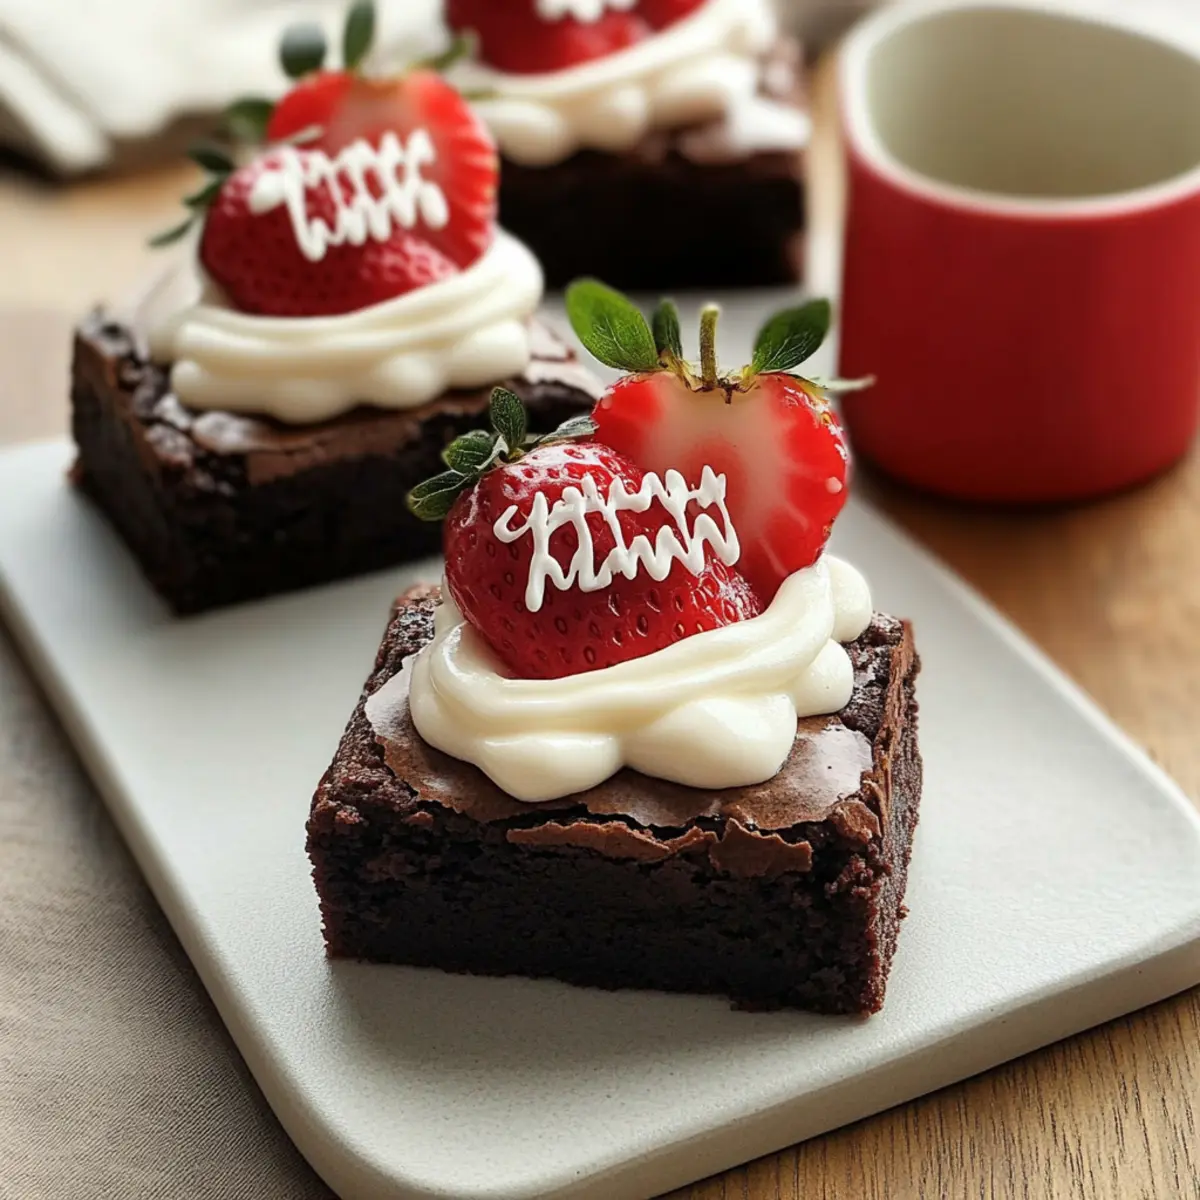
With your piping bag filled with white icing, carefully outline the base of each strawberry to create the hat’s brim. Use a smooth squeezing motion to create a decorative finish. If you don’t have a piping bag, a simple plastic sandwich bag with a corner snipped will work just as well. Take your time for a charming final touch on your Santa Hat Brownies.
Step 5: Allow to Set
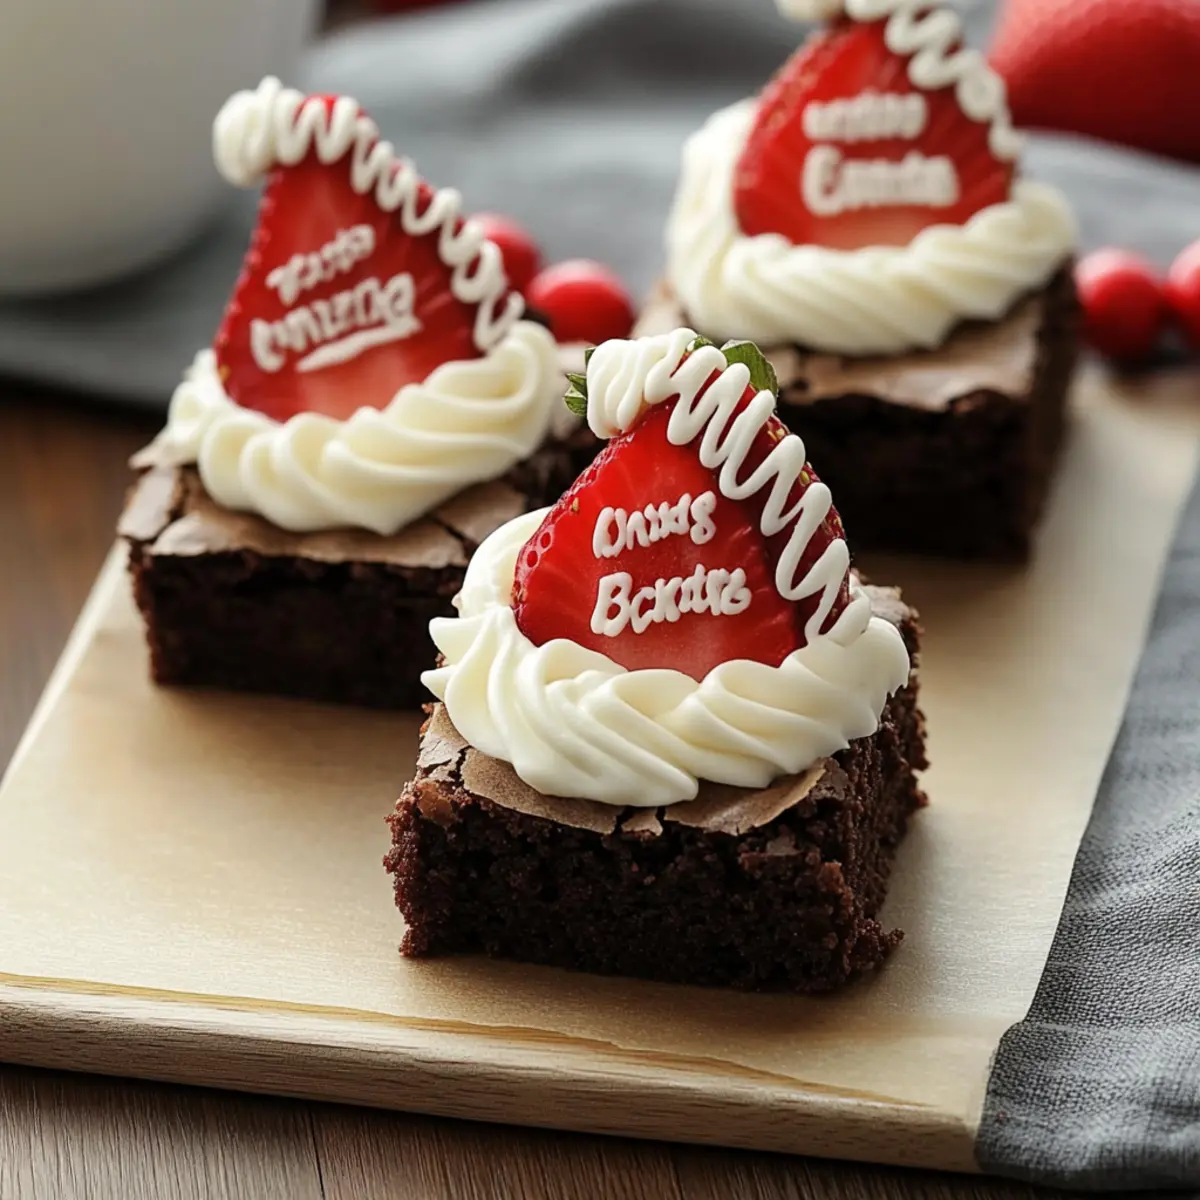
Let your finished Santa Hat Brownies rest for about 15 minutes at room temperature. This allows the icing to firm up slightly, making for a neater presentation when you serve them. Once set, these vibrant, adorable treats are ready to impress your guests at any holiday gathering!
Make Ahead Options
These Santa Hat Brownies are a fantastic choice for busy holiday hosts looking to save time! You can prepare the brownies up to 3 days in advance; simply bake them, cool completely, and store them in an airtight container at room temperature. To maintain their rich, fudgy texture, avoid refrigerating them, which can dry them out. You can also wash and prep the strawberries ahead of time—just refrigerate them separately to keep them fresh. When you’re ready to serve, simply top each brownie with a dab of icing and place a strawberry on top, piping the brim just before serving for that perfect festive touch. You’ll have delightful treats ready with minimal fuss!
Expert Tips for Santa Hat Brownies
-
Cool Completely: Allow your brownies to cool fully before cutting. This prevents messy edges and maintains their delicious fudgy texture.
-
Use Fresh Strawberries: Choose firm, ripe strawberries for the best holiday hats. Overripe berries won’t stand up nicely and may collapse.
-
Piping Practice: If you’re new to piping, practice your technique on parchment paper first. It will help you create beautiful outlines for the Santa hats.
-
Substitution Ideas: Don’t hesitate to switch the strawberries for raspberries or other berries. This slight variation still keeps the festive feel while offering unique flavors.
-
Easy Cleanup: To make cleanup a breeze, line your pan with parchment paper before baking your brownies. This way, you can lift out the entire batch effortlessly when ready to cut.
These Santa Hat Brownies will undoubtedly be a hit at your holiday celebrations!
Santa Hat Brownies Variations & Substitutions
Feel free to get creative and make these treats your own with these fun ideas!
-
Berry Swaps: Replace strawberries with raspberries or blueberries for a delightful twist; they add vibrant colors and unique flavors!
-
Flavorful Icing: Try using dark chocolate ganache or a flavored buttercream for the icing to enhance the sweetness and create new flavor profiles.
-
Cupcake Style: Turn this into an adorable mini cupcake treat by using the same brownie mix in cupcake liners, topped with a strawberry and icing.
-
Sugar-Free Option: Use a sugar-free brownie mix and low-sugar icing to make a guilt-free indulgence that still sparks joy during the festive season!
-
Nutty Brownies: Add chopped nuts into the brownie mix for a delightful crunch and extra texture, making each bite even more satisfying.
-
Minty Fresh: Enhance your holiday treats by adding a small drop of mint extract into the icing for a refreshing twist that pairs beautifully with chocolate!
-
Chocolaty Brims: Use melted chocolate to pipe the brim of the hats instead of icing, giving your Santa Hat Brownies an extra layer of rich, chocolaty goodness.
-
Festive Sprinkles: Add some holiday-themed sprinkles on top of the icing for a cheerful touch that will catch everyone’s eye at your holiday party.
Making these Santa Hat Brownies just the way you like them is part of the fun! If you’re still looking for inspiration, check out our delicious Caramel Brownie Cheesecake or get creative with these festive Halloween Cookies Chocolatey.
How to Store and Freeze Santa Hat Brownies
Fridge: Store your Santa Hat Brownies in an airtight container in the fridge for up to 3 days. This keeps the strawberries fresh and the brownies fudgy.
Freezer: If you want to enjoy these treats later, freeze the cut brownies without toppings in a single layer for up to 2 months. Thaw in the fridge before adding strawberries and icing.
Serving: For best taste, serve your freshly prepared Santa Hat Brownies immediately after topping them with strawberries and icing. The flavors are more vibrant and enjoyable when fresh!
Reheating: If you prefer warm brownies, gently reheat them in the microwave for 10–15 seconds before serving, but avoid warming the strawberries to keep them fresh.
What to Serve with Santa Hat Brownies?
Indulge in the festive spirit with delightful pairings that will elevate your Santa Hat Brownies into a full holiday experience.
-
Velvety Hot Chocolate: Rich and creamy, this classic drink pairs perfectly with the fudgy brownies, adding warmth and comfort to your celebration.
-
Whipped Cream: A dollop of light, fluffy whipped cream adds a luscious touch, balancing the rich chocolate and fresh strawberry flavors beautifully.
-
Peppermint Bark: The crunchy, minty delight of peppermint bark offers a refreshing contrast, creating a harmonious blend of flavors that scream holiday cheer.
-
Vanilla Ice Cream: Serve a scoop alongside your brownies for a delightful à la mode experience, with the melt of ice cream complementing the warm brownies perfectly!
-
Fruit Salad: A fresh, vibrant fruit salad adds a light and refreshing contrast, beautifully cutting through the richness of the brownies with every bite.
-
Mulled Wine: The spicy warmth of mulled wine creates a cozy, festive atmosphere, making it a delightful beverage to enjoy alongside your sweet treats.
-
Festive Cookies: Pair with a selection of holiday cookies for a whimsical dessert table that places your Santa Hat Brownies in profile next to classic favorites.
-
Holiday Punch: A fruity, non-alcoholic holiday punch adds a fun, festive flair that both kids and adults will enjoy, providing a refreshing sip alongside every bite.
These delicious pairings will enhance your holiday gathering, making them a memorable occasion filled with joy and sweetness!
Santa Hat Brownies Recipe FAQs
What type of strawberries should I use for my Santa Hat Brownies?
Absolutely! For the best results, select fresh, firm strawberries that are deep red and free of dark spots. Overripe or soft strawberries might collapse and won’t maintain their “hat” shape, so aim for berries that look pristine and vibrant!
How should I store my Santa Hat Brownies?
You can store your Santa Hat Brownies in an airtight container in the fridge for up to 3 days. This keeps the brownies fudgy and the strawberries fresh. If you want to extend their life, I often recommend freezing them!
Can I freeze Santa Hat Brownies?
Yes! To freeze Santa Hat Brownies, first remove the strawberries and icing. Cut the brownies into squares and place them in a single layer in a freezer-safe container, separated by parchment paper. They can be frozen for up to 2 months. When you’re ready to enjoy, simply thaw in the fridge before adding the toppings.
What should I do if my brownies are too crumbly?
If your brownies turn out crumbly, they may have been overcooked or lacked moisture. Ensure you bake them just until a toothpick inserted in the center comes out with a few moist crumbs. You can also try adding a tablespoon of water or melted butter to the batter next time to achieve that perfect fudgy texture!
Are these brownies suitable for people with allergies?
It’s essential to consider dietary restrictions! If you have guests who may have allergies, inquire about them first. The brownie mix might contain gluten, dairy, or nuts, and strawberries should be checked for pesticides. For gluten-free options, choose a gluten-free brownie mix and be mindful of cross-contamination if you’re serving someone with a severe allergy.
How can I make these brownies more festive?
The more the merrier! You can enhance the festive feel by adding colored sprinkles on top of the icing or using flavored icings like peppermint. You might even try substituting the strawberries with raspberries for a tangy twist, or use mini marshmallows to create a snowy effect around the hats. Everyone loves a little sparkle during the holidays!
Festive Santa Hat Brownies That Will Wow Your Holiday Guests
Ingredients
Equipment
Method
- Preheat your oven to 350°F (175°C) and grease your baking pan as per the brownie mix directions.
- In a mixing bowl, combine the brownie mix, eggs, and oil, stirring until well blended. Pour the mixture into the prepared pan and smooth the top.
- Bake for 20–25 minutes, or until a toothpick inserted comes out with a few moist crumbs.
- Allow the brownies to cool completely in the pan on a wire rack for about 30 minutes.
- Once cooled, use a sharp knife to slice the brownies into squares or circles.
- Dab a small amount of white icing on each brownie center and place a fresh strawberry pointed side up on top.
- Using a piping bag filled with white icing, outline the base of each strawberry to create the hat's brim.
- Let the finished brownies rest for about 15 minutes at room temperature to allow the icing to set.
Leave a Reply