
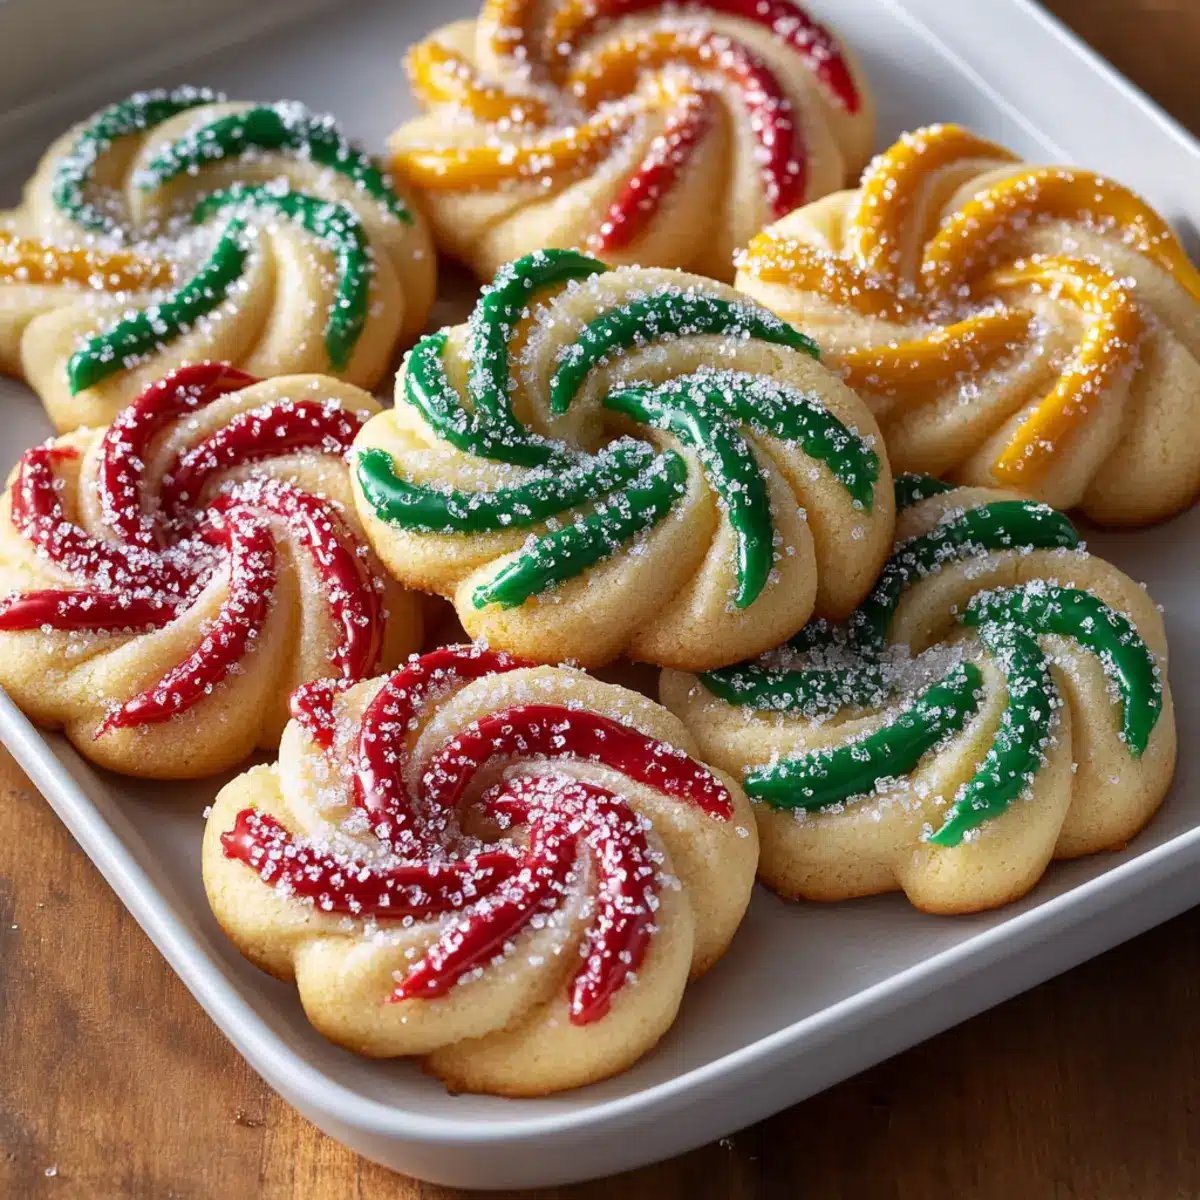
In the midst of holiday cheer, the scent of freshly baked cookies often whisks me back to my childhood kitchen, where laughter and love blended into every batch. This year, I’m thrilled to share my Twisted Christmas Cookies with Almond & Citrus Icing—a delightful twist on a classic that promises to make your festive gatherings even more special. With their buttery texture and vibrant flavors, these cookies not only look stunning, but they also make for a fun and engaging baking project for the whole family. Plus, they’re perfect for customizing with your favorite decorations, ensuring each cookie is as unique as your holiday spirit. Ready to create a sweet masterpiece that will have everyone asking for seconds? Let’s dive into the magic of holiday baking together!
Why Are Twisted Christmas Cookies So Special?
Rich, Buttery Texture: These cookies melt in your mouth, thanks to a perfect balance of butter and sugar, creating an unforgettable indulgence.
Festive Flavor Blend: The almond and citrus combination brings a unique twang that elevates your traditional cookie experience.
Customizable Fun: Each cookie can be adorned with different icing colors and toppings, allowing for endless creativity—think about trying them like classic Christmas Salad Honey or festive Christmas Cranberry Pinwheels!
Easy for Everyone: With simple steps to follow, even beginner bakers can join in on the holiday cheer.
Perfect for Gifting: Stack them in festive tins for a sweet homemade gift that will warm hearts this season!
Twisted Christmas Cookie Ingredients
Bring holiday cheer to your kitchen with these delightful Twisted Christmas Cookies!
For the Cookie Dough
• 1 cup white sugar – Sweetness; substitute with brown sugar for a richer flavor.
• 14 oz (400g) butter, softened – Adds richness; opt for vegan butter for a dairy-free version.
• 2 eggs – Acts as a binder; replace with flax eggs for an egg-free option (1 tbsp ground flaxseed + 2.5 tbsp water).
• 2 tsp vanilla extract – Enhances flavor; almond extract can intensify the holiday vibe.
• 1 tsp almond extract – Adds warmth; optional if you prefer a milder flavor.
• Zest of 1 orange – Brightens the cookie; lemon zest works well if you like a tangier taste.
• 6 cups plain flour – Provides structure; use a gluten-free flour blend for a gluten-free option.
For the Royal Icing
• 6 tbsp meringue powder – Ensures icing is glossy; egg whites (from about 2 eggs) make a good substitute.
• 8 tbsp water – Thins the icing; adjust to your preferred consistency.
• 2 tsp lemon juice – Adds brightness to icing; lime juice can be an alternative.
• 7 cups powdered sugar, sifted – Sweetness and texture; always sift to avoid lumps.
• Gel food coloring – For vibrant decoration; plant-based coloring is a great natural option.
For Decoration
• Sprinkles, edible glitter, or crushed candy canes – Festive toppings to enhance your cookie presentation; feel free to use any holiday decorations that inspire you!
These Twisted Christmas Cookies are just the start of a delightful holiday baking journey!
Step‑by‑Step Instructions for Twisted Christmas Cookies
Step 1: Preheat the Oven
Begin your festive baking by preheating your oven to 350°F (175°C). While the oven is warming up, take a moment to line your baking sheets with parchment paper, ensuring a non-stick surface that promotes even baking. This initial preparation sets the stage for your delightful Twisted Christmas Cookies!
Step 2: Cream the Butter and Sugar
In a large mixing bowl, use an electric mixer to cream together 14 oz of softened butter and 1 cup of white sugar. Mix on medium speed for about 2–3 minutes, until the mixture becomes light and fluffy, reaching a pale yellow color. This step is crucial as it incorporates air into the dough, creating a tender, melt-in-your-mouth texture.
Step 3: Add Eggs and Flavorings
Next, mix in 2 eggs, 2 teaspoons of vanilla extract, 1 teaspoon of almond extract, and the zest of 1 orange. Blend these ingredients until smooth and well combined, about 1–2 minutes. The delightful aroma of the almond and citrus will fill your kitchen, heightening the anticipation for your Twisted Christmas Cookies.
Step 4: Incorporate the Flour
Gradually add 6 cups of plain flour to the wet mixture, stirring on low speed to prevent flour from dusting everywhere. Continue until a soft dough forms, which should take around 3–4 minutes. If the dough is too sticky, you can adjust it by adding a splash of milk. Ensure everything is well combined to achieve that perfect cookie foundation.
Step 5: Shape the Dough
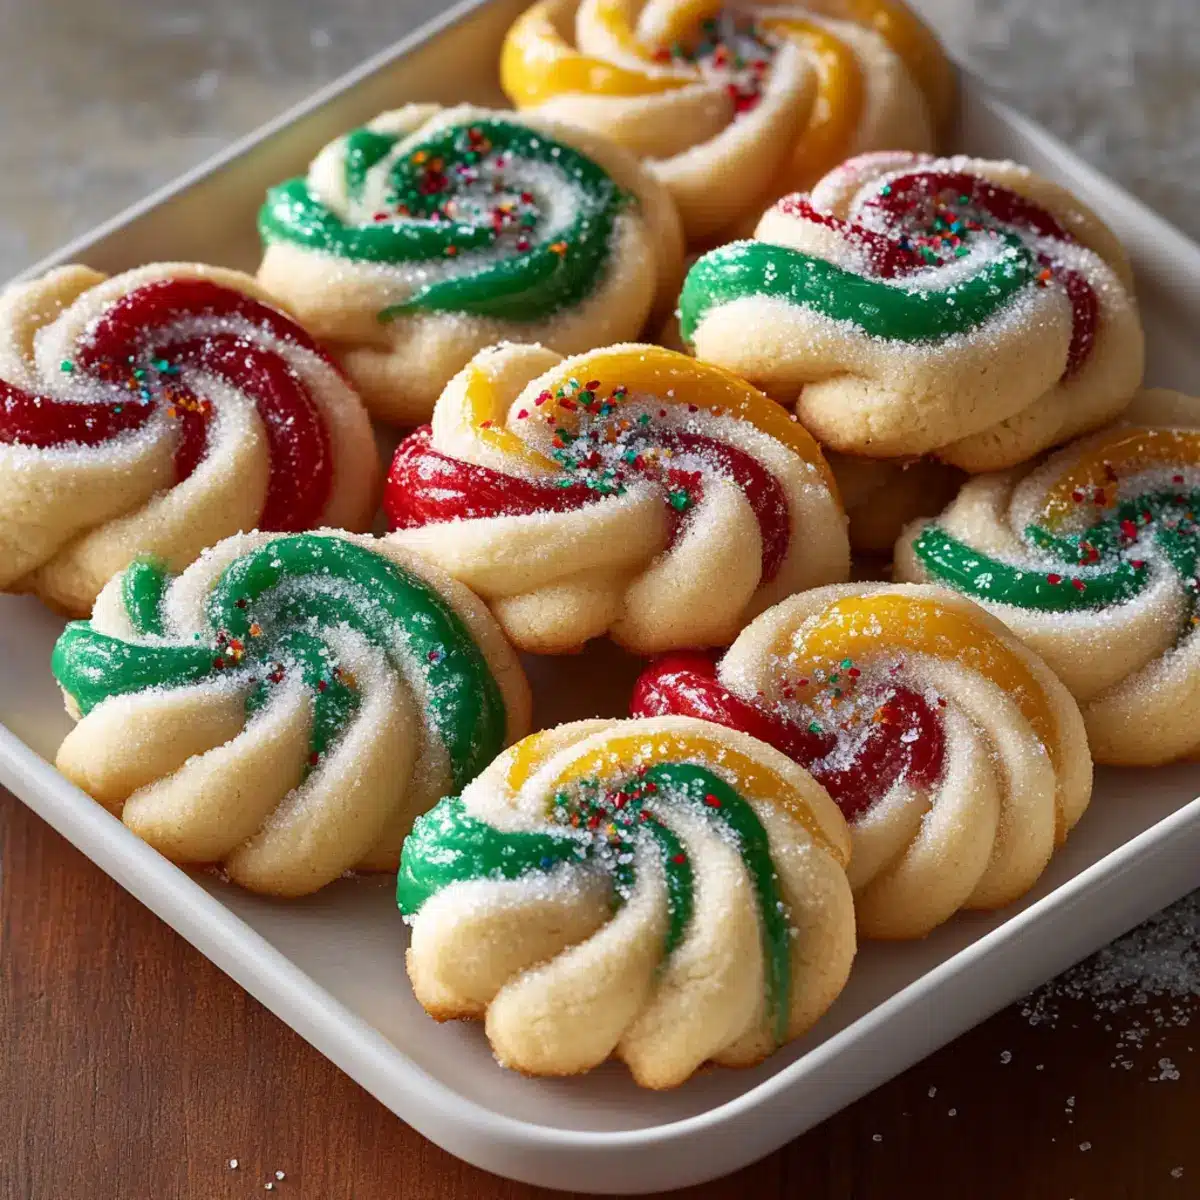
Lightly flour your work surface and roll out the dough to a ¼-inch thickness, making it easy to cut into festive shapes. Use your favorite cookie cutters to create various designs, and carefully place the cut-outs onto the prepared baking sheets. The playful shapes will add a whimsical touch to your Twisted Christmas Cookies.
Step 6: Chill the Cookies
For optimal results, chill the cut cookies in the refrigerator for 10–15 minutes. This step helps maintain their shape during baking. As they chill, you can clean up your workspace and prepare for the exciting next phase of decorating these delicious treats.
Step 7: Bake the Cookies
Once chilled, place the baking sheets in your preheated oven and bake for 10–12 minutes. Keep a close eye on them; they’re ready when the edges are just golden and the centers look set. After baking, let the cookies cool completely on the sheets for a few minutes before transferring them to a wire rack to cool down entirely.
Step 8: Make the Royal Icing
To prepare the royal icing for your Twisted Christmas Cookies, whisk together 6 tablespoons of meringue powder, 2 teaspoons of lemon juice, and 8 tablespoons of water in a large bowl. Gradually add 7 cups of sifted powdered sugar while mixing, creating a glossy and spreadable icing that is perfect for decorating. This icing will give your cookies that festive finish!
Step 9: Decorate the Cookies
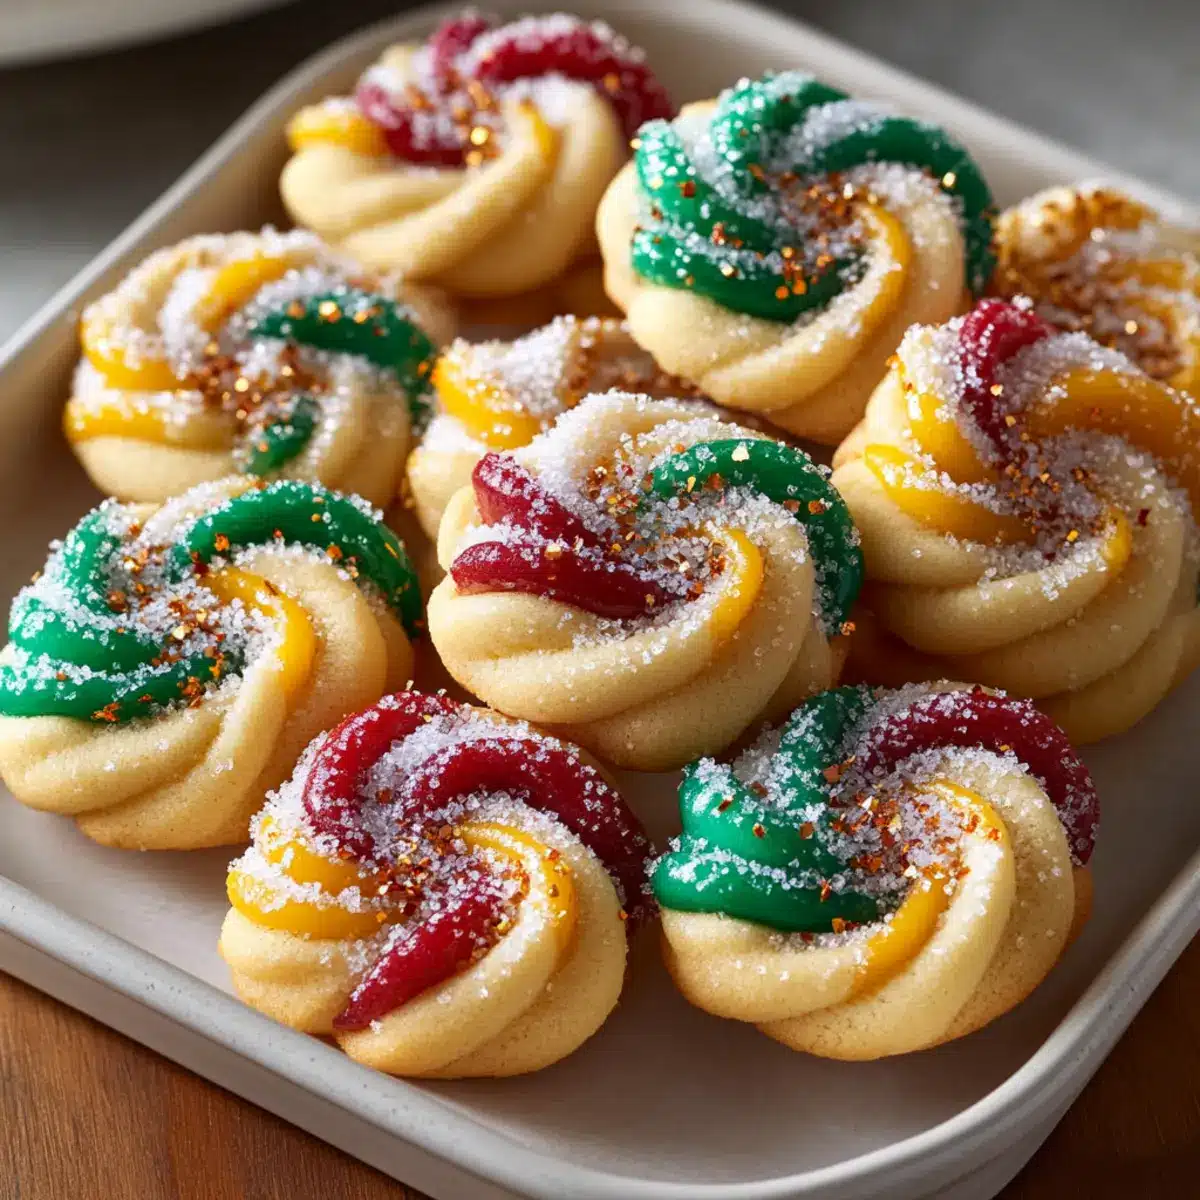
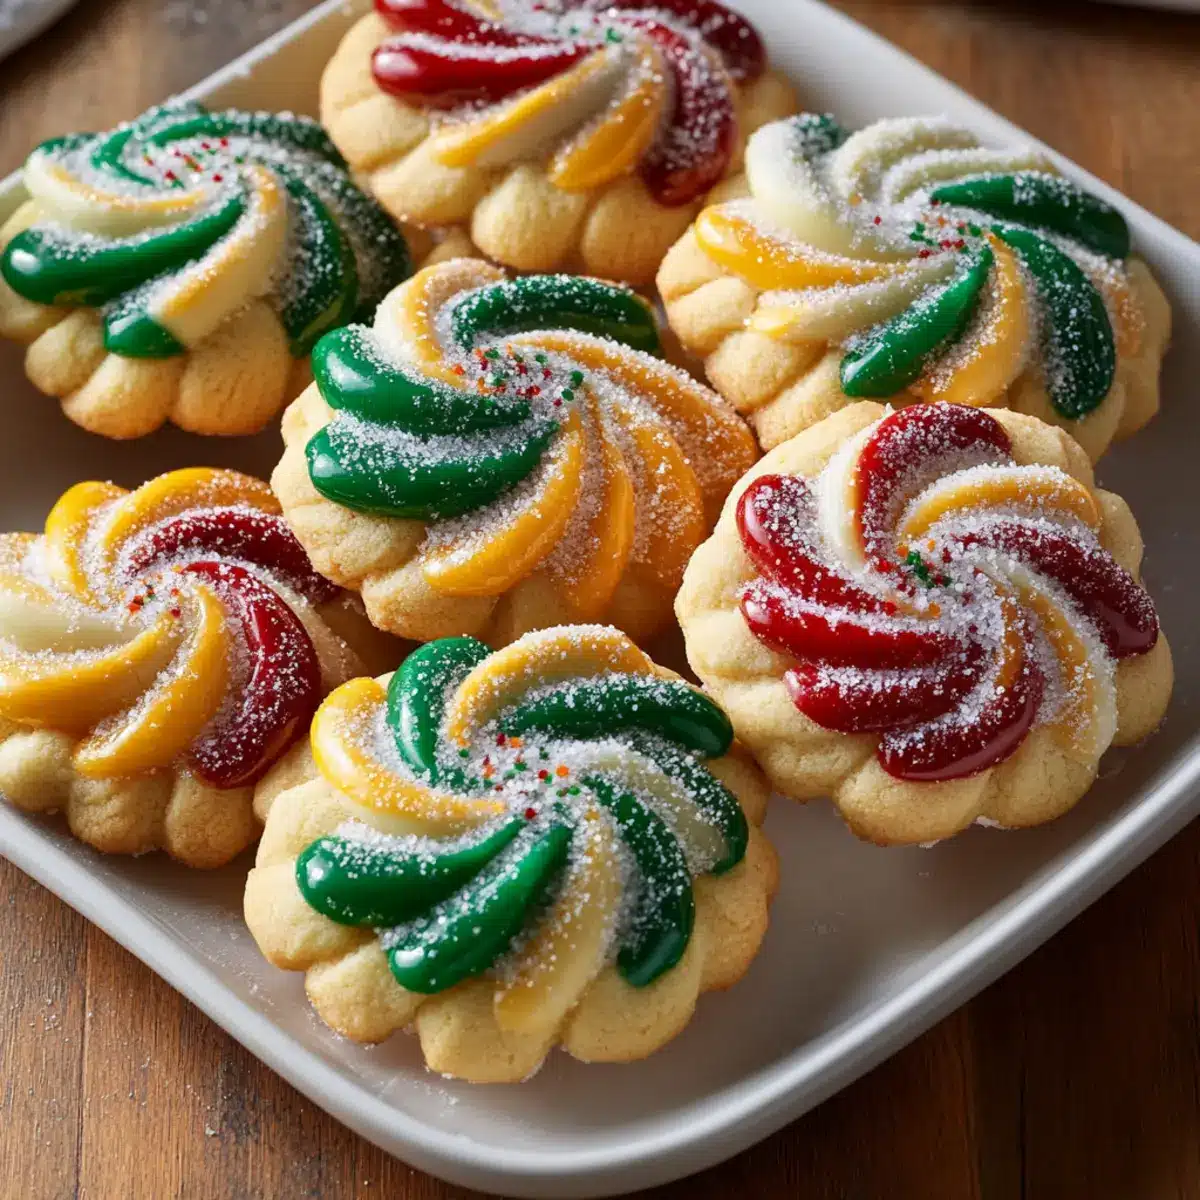
Divide the prepared royal icing into separate bowls and add gel food coloring to each, creating a rainbow of festive hues. Use piping bags or a small spatula to decorate your cookies with beautiful patterns. Top them with sprinkles, edible glitter, or crushed candy canes for an extra holiday sparkle. Let the icing set completely before serving or storing your Twisted Christmas Cookies.
Make Ahead Options
These Twisted Christmas Cookies are perfect for busy home cooks looking to save time during the bustling holiday season! You can prepare the cookie dough up to 3 days in advance; simply wrap it tightly in plastic wrap and refrigerate. Additionally, you can cut the cookies into shapes and keep them on baking sheets in the fridge for up to 24 hours—this prevents any spreading during baking. When you’re ready to bake, simply pop them in the oven as directed. For those who wish to enjoy the cookies later, iced cookies can be frozen for up to 1 month—just layer them in a single layer to maintain their beautiful decorations. Enjoy the convenience of prepared treats without compromising on quality!
Twisted Christmas Cookies Variations & Substitutions
Feel free to unleash your creativity and make these Twisted Christmas Cookies your own—each variation brings a new twist to the holiday classic!
- Nut-Free: Use sunflower seed butter as a great alternative for those with nut allergies, offering a similar texture with a unique flavor.
- Dairy-Free: Substitute the butter with vegan butter or coconut oil for delicious cookies that everyone can enjoy, no matter their dietary needs.
- Gluten-Free: Swap the plain flour for a gluten-free flour blend, ensuring that no one misses out on these festive treats during the holidays.
- Spice It Up: Add 1 teaspoon of cinnamon or ginger to the dough for a warm, spicy twist that complements the almond and citrus beautifully.
- Chocolate Lovers: Mix in a cup of chocolate chips or chunks into your dough for an indulgent chocolatey surprise with each bite.
- Citrus Zing: Instead of orange zest, try lemon or grapefruit zest for a different citrus kick. The bright flavors are sure to wow.
- Icing Variety: Try a cream cheese icing instead of royal icing for a rich, tangy topping that pairs beautifully with the cookie’s sweetness.
- Decorative Twist: Get festive with the toppings! Crushed peppermint candy or holiday themed sprinkles can personalize your cookies and boost the holiday spirit!
These easy substitutions and variations make your holiday baking even more enjoyable. Don’t forget to explore other delightful recipes like Cheesecake Stuffed Cookies and check out my favorite Blueberry Heaven Cookies for even more inspiration!
What to Serve with Twisted Christmas Cookies
These delightful holiday treats are perfect for complementing your festive gatherings, leaving everyone craving more of that sweet, buttery goodness.
- Warm Spiced Cider: Offers a cozy, aromatic drink that pairs beautifully with the cookies’ flavors—the perfect holiday sip.
- Peppermint Hot Chocolate: The sweetness of a chocolatey cup with a hint of mint balances the citrus in the cookies, creating a blissful duo.
- Creamy Mashed Potatoes: A surprising yet comforting choice! The creamy texture complements the cookies’ crunch, making for a delightful contrast.
- Cranberry Sauce: Tart and sweet, this sauce cuts through the richness of the cookies, adding a festive pop of flavor to your dessert spread.
Pairing these cookies with vibrant beverages and savory delights lets you create a memorable holiday feast that warms the heart as much as the oven!
- Gingerbread Cake: The spiced goodness of gingerbread offers a comforting alternate treat that resonates with the holiday theme and adds depth to your dessert table.
- Vanilla Ice Cream: A classic pairing that melts in your mouth; the smooth ice cream balances out the sweetness of the cookies for a delightful after-dinner treat.
- Nutty Biscotti: The crunch of biscotti gives a lovely texture twist to the cookie experience, proving that variety truly enriches your sweet selections.
- Holiday Fruit Salad: A refreshing addition, this bright and colorful medley of fruits can lift the spirit and palate, making it a perfect festive complement.
Expert Tips for Twisted Christmas Cookies
• Butter Temperature: Ensure the butter is just softened, not melted, to maintain cookie shape during baking.
• Chill Dough: Don’t skip chilling the cut cookies; it prevents excessive spreading, keeping your Twisted Christmas Cookies looking festive.
• Icing Consistency: Control icing thickness carefully; remember, it’s easier to add powdered sugar than to take away water.
• Sift Powdered Sugar: Always sift the powdered sugar for your icing to avoid lumps and achieve that smooth finish.
• Storage Solutions: Store iced cookies in a single layer to maintain their beautiful decorations; enjoy them within five days for the best taste.
How to Store and Freeze Twisted Christmas Cookies
Room Temperature: Keep baked, un-iced cookies in an airtight container at room temperature for up to 1 week, ensuring they stay fresh and enjoyable.
Fridge: Refrigerated dough can be kept for 3 days before baking; wrap it tightly in plastic wrap to prevent drying out.
Freezer: Freeze un-iced cookies for up to 1 month. Place them in a single layer in a freezer-safe bag, separating layers with parchment paper.
Reheating: To enjoy frozen, un-iced Twisted Christmas Cookies, thaw at room temperature, then ice as desired. Iced cookies are best consumed within 5 days.
Twisted Christmas Cookies Recipe FAQs
What type of flour should I use for Twisted Christmas Cookies?
I recommend using plain all-purpose flour for a classic texture in your Twisted Christmas Cookies. However, if you’re looking for a gluten-free option, a good gluten-free flour blend will work perfectly! Just make sure it’s designed for baking, as it will yield the best results.
How long can I store leftover Twisted Christmas Cookies?
Baked, un-iced cookies can be stored in an airtight container at room temperature for up to 1 week. For the best flavor and freshness, I suggest enjoying them within the first few days. If you have iced cookies, they’re best consumed within 5 days to keep the icing beautifully intact.
Can I freeze the cookie dough?
Absolutely! You can freeze the prepared cookie dough for up to 3 months. Here’s how: Wrap the dough tightly in plastic wrap, then place it in a freezer-safe bag. When ready to bake, simply thaw it in the refrigerator overnight and roll out as usual. This way, you can enjoy fresh cookies any time you want!
My icing didn’t set properly; what can I do?
If your royal icing isn’t setting, it may be too thin. To remedy it, add more sifted powdered sugar, a tablespoon at a time, until you reach the desired consistency. Alternatively, if the icing has already been applied, you can let it sit longer to dry fully. Just be patient; sometimes it takes extra time for the icing to firm up completely!
Are these cookies suitable for people with allergies?
While the Twisted Christmas Cookies are not inherently gluten-free or vegan, you can easily modify the recipe! For gluten-free cookies, simply use a gluten-free flour blend. To make them dairy-free, substitute regular butter with vegan butter. If anyone has egg allergies, replacing the eggs with flax eggs (1 tablespoon of ground flaxseed mixed with 2.5 tablespoons of water for each egg) works wonderfully!
What’s the best way to decorate Twisted Christmas Cookies?
The fun of these cookies lies in the decoration! Use gel food coloring to brighten up your royal icing, and have fun experimenting with different designs. You can pipe intricate patterns or use a spatula for spreading. Top them off with sprinkles, edible glitter, or crushed candy canes for those festive finishes. Just let the icing fully dry before stacking or storing!
Twisted Christmas Cookies That Melt in Your Mouth
Ingredients
Equipment
Method
- Preheat your oven to 350°F (175°C). Line your baking sheets with parchment paper.
- Cream together the softened butter and white sugar using an electric mixer on medium speed until light and fluffy.
- Mix in eggs, vanilla extract, almond extract, and orange zest until well combined.
- Gradually add the plain flour and mix on low speed until a soft dough forms.
- Lightly flour your work surface and roll out the dough to a ¼-inch thickness. Cut into shapes with cookie cutters.
- Chill the cut cookies in the refrigerator for 10–15 minutes before baking.
- Bake for 10–12 minutes until the edges are golden and the centers look set. Let cool.
- Prepare the royal icing by whisking meringue powder, lemon juice, and water, then gradually mix in sifted powdered sugar.
- Decorate cookies with royal icing and toppings after the icing has set completely.
Leave a Reply