
As the scent of cinnamon and nutmeg fills the air, it hits me—it’s that magical time of year again, when kitchens transform into cookie wonderlands. One of the highlights of my holiday baking is preparing Traditional Italian Christmas Cookies, those soft, anise-flavored delights that whisper sweet nostalgia with every bite. These cookies are not just a treat; they’re a cherished tradition that both the young and young-at-heart can enjoy. With quick prep and simple ingredients, they’re perfect for those who want an easy way to spread holiday cheer. Plus, you can even make a gluten-free version if needed! Ready to impress your family and friends with a festive batch of these irresistible cookies? Let’s dive in!
Why are These Cookies a Holiday Must-Bake?
Tradition: These Traditional Italian Christmas Cookies carry a legacy of warmth and family gatherings, making them a cherished holiday staple.
Irresistible Softness: Enjoy a melt-in-your-mouth texture that combines the light fluffiness of cakes with a delightful sweetness.
Versatile Flavors: While we focus on the enchanting anise, experiment with vanilla or lemon for a unique twist.
Easy Preparation: With straightforward steps, you’ll have a festive treat ready in no time—perfect for busy holiday schedules!
Shareable Joy: Serve these cookies warm with coffee or as a delightful addition to gift baskets, just like my Christmas Salad Honey complements festive meals!
Traditional Italian Christmas Cookies Ingredients
For the Dough
• Unsalted Butter – Provides richness and creates a tender crumb. Substitution: Salted butter can be used if added salt is omitted.
• Powdered Sugar – Essential for a smooth texture in both dough and glaze.
• Eggs – Vital for structure and achieving that soft fluffed goodness.
• Anise Extract – This gives the cookies their signature flavor. Substitution: Consider vanilla, lemon, or almond extracts for a different taste experience.
• All-Purpose Flour – Serves as the main structure ingredient for these cookies. Substitution: Use a 1:1 gluten-free flour blend if needed for a gluten-free version.
• Milk – Adds moisture to the dough while helping to thin the glaze.
For the Glaze and Decoration
• Powdered Sugar – Used in the glaze for a sweet and glossy finish.
• Milk – Adjusts the consistency of the glaze to your preference.
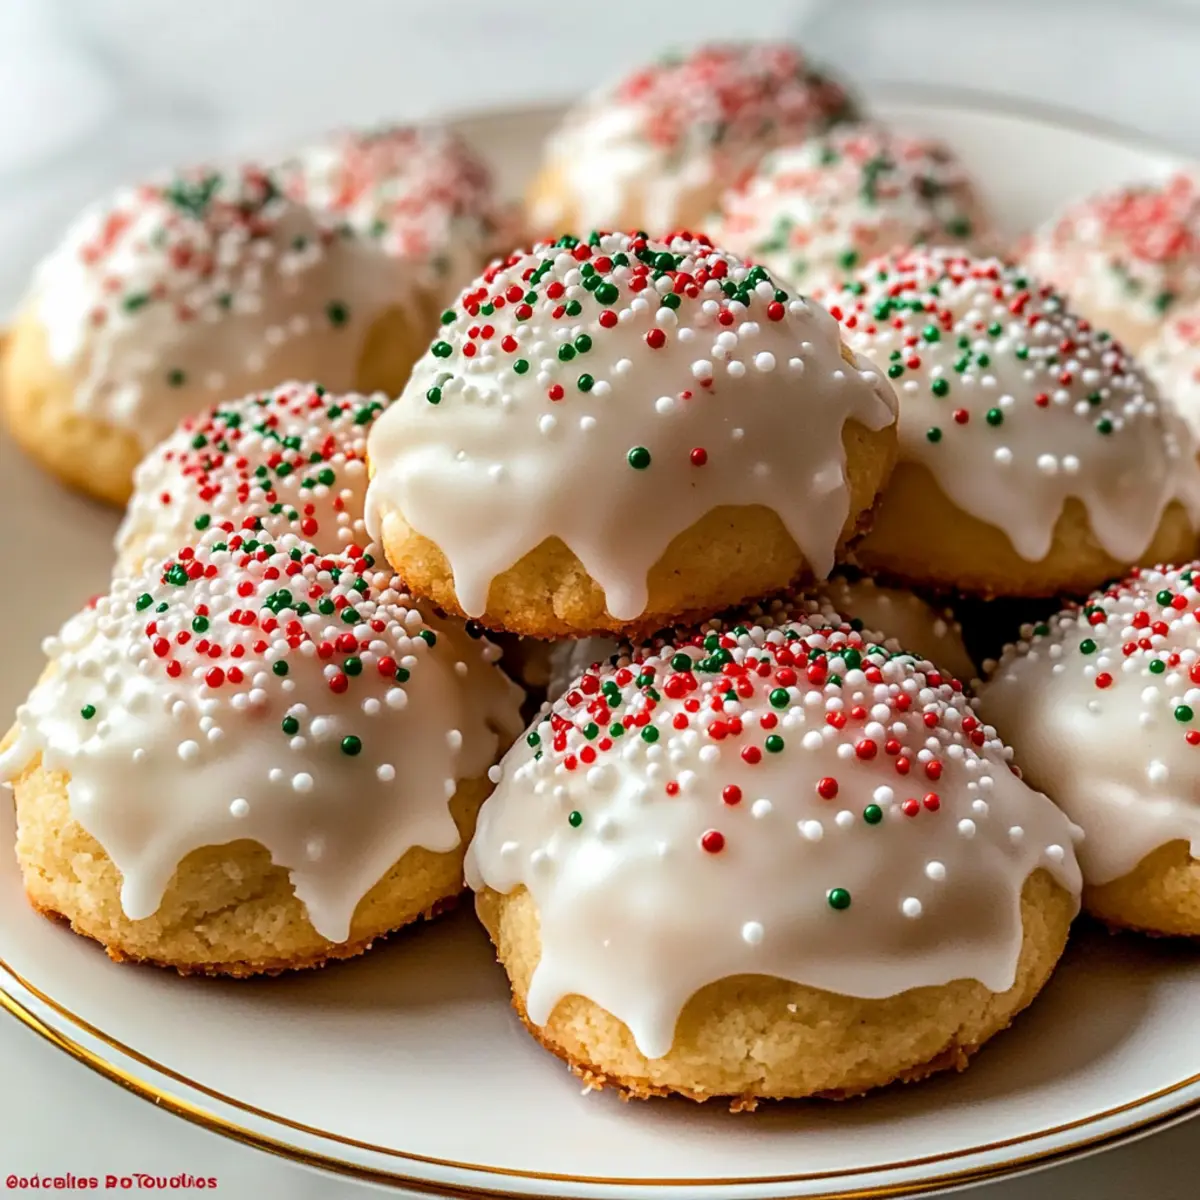
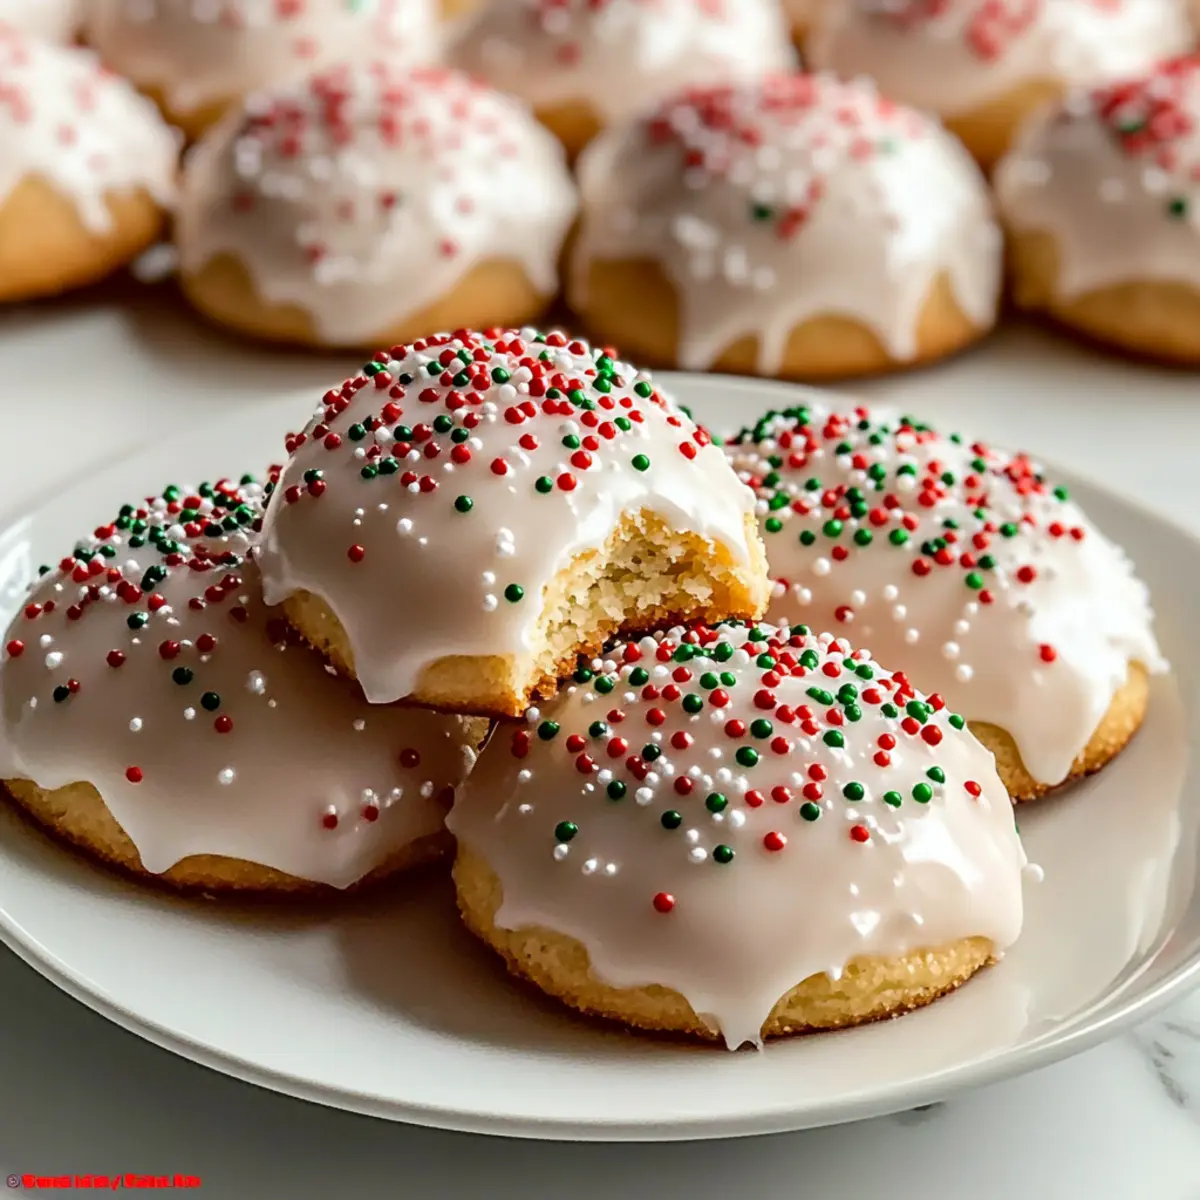
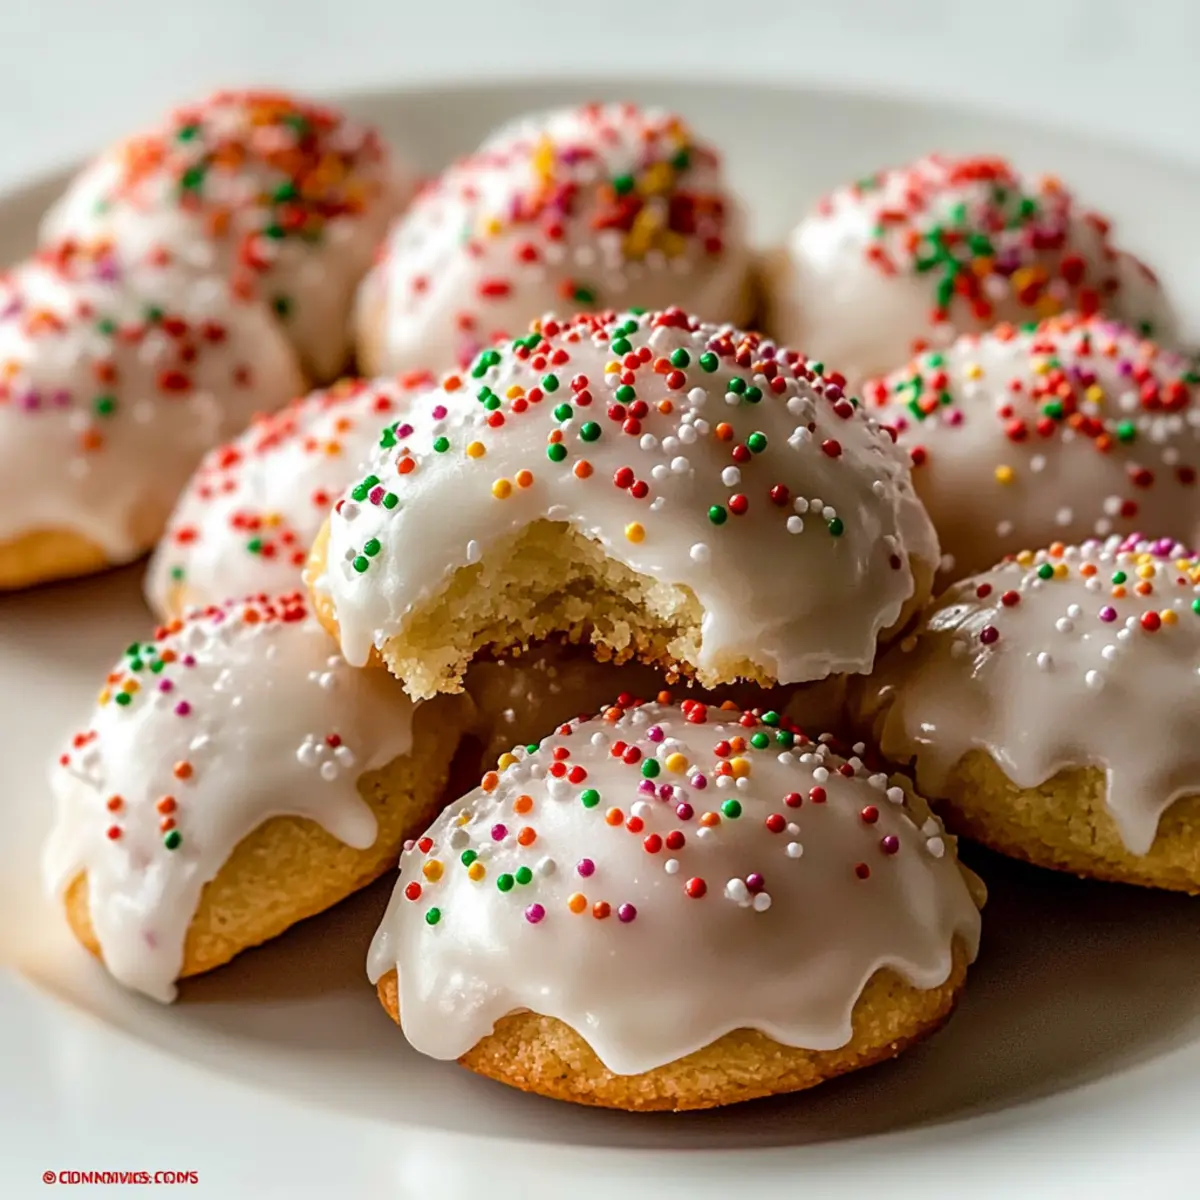
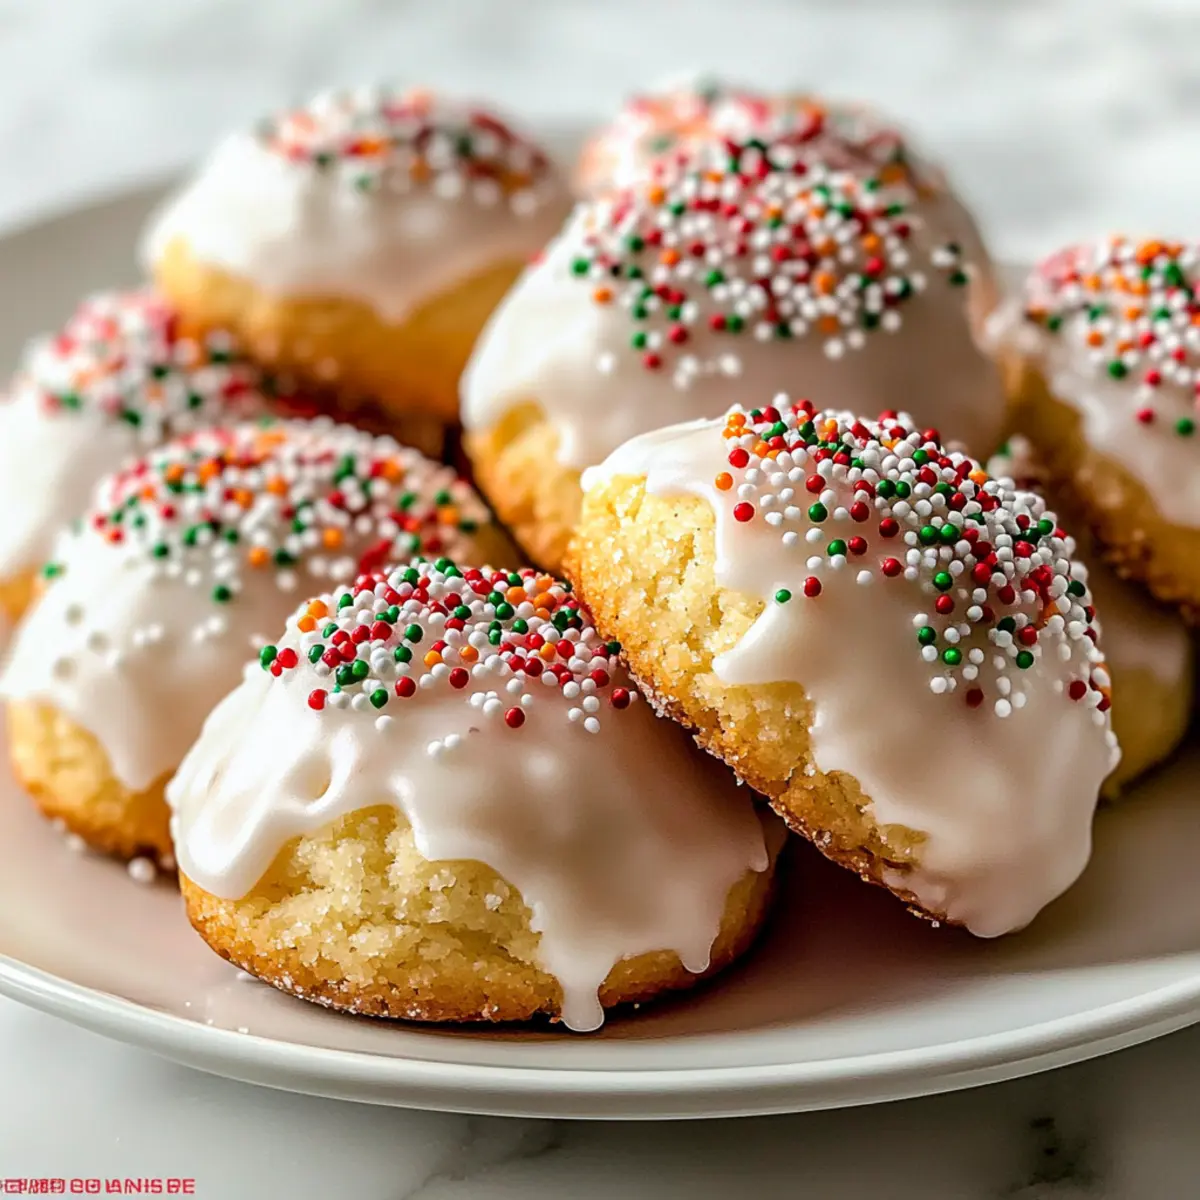
• Festive Sprinkles – These bring a colorful touch to your holiday treats!
With these Traditional Italian Christmas Cookies ingredients prepared, you’re just a few steps away from creating delightful bites that will fill your home with festive cheer!
Step‑by‑Step Instructions for Traditional Italian Christmas Cookies
Step 1: Prepare the Dough
Begin by creaming together 1 cup of unsalted butter with 1 cup of powdered sugar until light and fluffy, about 3-5 minutes. Add in 2 large eggs and 2 teaspoons of anise extract, mixing until well combined. The mixture should be smooth and creamy, creating a delightful base for your Traditional Italian Christmas Cookies.
Step 2: Incorporate Dry Ingredients
Gradually mix in 3 cups of all-purpose flour, ensuring it is fully incorporated into the wet mixture. Stir until a soft dough forms; it should pull away from the sides of the bowl without being too sticky. Take care not to overmix, as you want to keep the texture light and airy for those festive cookies.
Step 3: Chill Dough
Wrap the dough in plastic wrap and refrigerate for about 30 minutes. Chilling is crucial for the dough, making it easier to handle and helping the cookies maintain their shape during baking. Use this time to preheat your oven to 350°F (175°C) so it’s ready when you’re done chilling.
Step 4: Shape and Bake
Once chilled, preheat your oven to 350°F (175°C) and line two baking sheets with parchment paper. Roll the dough into small balls, about 1 inch in diameter, and place them on the prepared sheets, spacing them about 2 inches apart. Bake for 12-15 minutes, watching closely for a light golden color on the bottoms—this indicates they are done for your Traditional Italian Christmas Cookies.
Step 5: Make the Glaze
While the cookies cool, prepare the glaze by whisking together 1 cup of powdered sugar with 2-4 tablespoons of milk until you achieve a smooth, pourable consistency. The glaze should be glossy and thick enough to coat the back of a spoon but pourable enough to drizzle over the cookies. Adjust as necessary for your desired texture.
Step 6: Decorate
Once the cookies are completely cooled, dip the tops in the glaze, allowing excess to drip off. Quickly sprinkle festive sprinkles on top while the glaze is still wet, letting your Traditional Italian Christmas Cookies shine with color. Place them on a wire rack to allow the glaze to set, creating an enticing display for festive gatherings.
Expert Tips for Traditional Italian Christmas Cookies
-
Chilling is Essential:: Make sure to chill the dough for at least 30 minutes. This will help the cookies hold their shape and prevent spreading during baking.
-
Watch the Bake Time:: Don’t let them bake too long—aim for a light golden bottom. Overbaking can lead to dry, crumbly cookies instead of the soft texture we love.
-
Glaze Wisely:: Adjust glaze consistency as needed; too thick, add milk; too thin, incorporate more powdered sugar. This ensures a delightful finish on your Traditional Italian Christmas Cookies.
-
Mix and Match Flavors:: While anise is the star, feel free to substitute with vanilla, almond, or lemon extracts for a fun twist on the classic recipe!
-
Decorate Creatively:: Involve family or friends in decorating—let them customize the sprinkles for a personal holiday touch that makes the cookies even more special.
Storage Tips for Traditional Italian Christmas Cookies
- Room Temperature: Keep your cookies in an airtight container at room temperature for up to 3 days. This preserves their delightful softness and ensures they’re ready for snacking anytime!
- Fridge: If you prefer a longer shelf life, store the cookies in the fridge for up to 2 weeks. Just be sure to wrap them well to prevent them from drying out.
- Freezer: For even longer storage, freeze the cookies in a single layer on a baking sheet, then transfer to an airtight container or freezer bag for up to 3 months. Thaw at room temperature when ready to enjoy!
- Reheating: To restore that fresh-baked taste, warm the cookies in a microwave for a few seconds or place them in a 350°F (175°C) oven for 5 minutes. Enjoy your Traditional Italian Christmas Cookies warm and inviting!
What to Serve with Traditional Italian Christmas Cookies
These festive delights deserve companions that enhance their charm and flavor, creating a joyful holiday spread.
- Italian Hot Chocolate: A rich and creamy drink that pairs well with the aromatic anise, providing a decadent contrast to the cookies.
- Espresso: The boldness of freshly brewed espresso complements the sweetness of the cookies, creating a delightful harmony that’s truly Italian.
- Vanilla Ice Cream: A scoop of smooth vanilla ice cream adds a cold, luscious element, enhancing each bite with a creamy touch.
- Fruit Salad: A refreshing burst of fruits like oranges or berries cuts through the sweetness, offering a bright, fresh flavor that balances the cookies.
- Cheese Platter: Mild cheeses like mascarpone or ricotta provide a savory counterpoint, inviting guests to explore unique flavor combinations.
- Festive Spritzer: A sparkling drink with hints of citrus nourishes both the palate and the holiday spirit, beautifully connecting the cookies to the festive vibe.
- Gingerbread Men: These spiced cookies provide contrasting flavors and textures, making your cookie platter even more inviting for family and friends.
- Pineapple Upside-Down Cake: The moist, caramelized fruit in this classic dessert adds a sweet surprise, pairing delightfully with the anise undertones.
- Nutty Biscotti: Crunchy, nutty biscotti brings a delightful contrast in texture and is perfect for dunking alongside your Traditional Italian Christmas Cookies.
Make Ahead Options
These Traditional Italian Christmas Cookies are perfect for busy home cooks looking to save time during the holiday rush! You can prepare the cookie dough up to 24 hours in advance by following the initial steps, wrapping it tightly in plastic wrap, and refrigerating it. This helps maintain the softness and flavor while also making it easier to handle. Additionally, you can bake the cookies a few days ahead (up to 3 days) and store them in an airtight container to keep them fresh. When it’s time to serve, simply make the glaze, dip the cooled cookies, and add colorful sprinkles for a festive touch—just as delightful as when they were freshly baked!
Traditional Italian Christmas Cookies Variations
Feel free to get creative with these delightful cookies—your family will love your unique twists!
- Dairy-Free: Substitute unsalted butter with coconut oil for a dairy-free version that doesn’t skimp on flavor.
- Gluten-Free: Use a 1:1 gluten-free flour blend to make these cookies suitable for gluten-sensitive family and friends. They’ll be just as festive and tasty!
- Lemon Zest: Add a teaspoon of fresh lemon zest to the dough for a bright, zesty flavor that pairs beautifully with the sweetness of the cookies. It’s a refreshing twist!
- Almond Flour: Replace some of the all-purpose flour with almond flour for a nutty richness and moist texture. This variation brings a delightful depth to traditional flavors.
- Spice It Up: Incorporate a pinch of cinnamon or nutmeg into your dough for added warmth that embodies holiday spirit. This blend takes your cookies to a cozy new level.
- Decadent Drizzle: For a fancier finish, drizzle melted chocolate over the glazed cookies instead of sprinkles—a rich contrast that’s irresistible!
- Candy Cane Crush: Top your cookies with crushed candy canes for a festive crunch and minty flavor that feels like a winter wonderland treat.
- Alternative Extracts: Experiment with flavored extracts such as hazelnut or maple instead of anise to explore new taste sensations while keeping the holiday spirit alive.
Explore these possibilities and make your Traditional Italian Christmas Cookies a cherished tradition in your home, just like my Cheesecake Stuffed Cookies for those extra special occasions!
Traditional Italian Christmas Cookies Recipe FAQs
How do I choose the right anise extract?
Absolutely, when selecting anise extract, look for pure extracts rather than imitation. Pure extracts will bring out the authentic flavor, making your cookies more aromatic and flavorful. I recommend checking the ingredient list for high-quality brands, which will enhance the overall taste of your Traditional Italian Christmas Cookies.
How should I store my cookies for optimal freshness?
To keep your Traditional Italian Christmas Cookies fresh, store them in an airtight container at room temperature for up to 3 days. If you’d like to extend their shelf life, place them in the fridge wrapped tightly for up to 2 weeks. Just remember to allow them to come to room temperature before serving for that soft and chewy texture!
Can I freeze my cookies, and how should I do it?
Absolutely! Freezing is a great option to enjoy your cookies later. Start by placing your cookies in a single layer on a baking sheet and freeze them for about 1-2 hours. Once they’re firm, transfer them to a freezer-safe bag or airtight container, separating layers with parchment paper to avoid sticking. They can be stored this way for up to 3 months. When you’re ready to indulge, just thaw them at room temperature overnight or reheat them in a 350°F (175°C) oven for 5 minutes.
What should I do if my dough is too sticky to handle?
If you find that your dough for the Traditional Italian Christmas Cookies is too sticky, don’t worry! Simply dust your hands and work surface with a bit of powdered sugar or flour to help manage the dough better. If it remains too tacky, refrigerate it for an additional 10-15 minutes, as a chilled dough is easier to shape and will prevent spreading during baking.
Are there any dietary concerns I should be aware of?
Yes, if you’re baking for others, keep in mind potential allergies: these cookies contain eggs and dairy. For a gluten-free option, simply substitute all-purpose flour with a 1:1 gluten-free flour blend. I often make a batch with these substitutions, and they turn out just as delicious! If sharing with pets, it’s best to avoid giving them cookies containing anise and sugar, as these can be harmful to them.
Traditional Italian Christmas Cookies: Soft Anise Joys to Share
Ingredients
Equipment
Method
- Begin by creaming together 1 cup of unsalted butter with 1 cup of powdered sugar until light and fluffy, about 3-5 minutes. Add in 2 large eggs and 2 teaspoons of anise extract, mixing until well combined.
- Gradually mix in 3 cups of all-purpose flour until fully incorporated into the mixture. Stir until a soft dough forms.
- Wrap the dough in plastic wrap and refrigerate for about 30 minutes.
- Preheat your oven to 350°F (175°C) and line two baking sheets with parchment paper. Roll the dough into small balls and place them on the prepared sheets, spacing them about 2 inches apart. Bake for 12-15 minutes.
- While the cookies cool, prepare the glaze by whisking 1 cup of powdered sugar with 2-4 tablespoons of milk until smooth.
- Dip the tops of the cooled cookies in the glaze and sprinkle with festive sprinkles while still wet.
Leave a Reply