
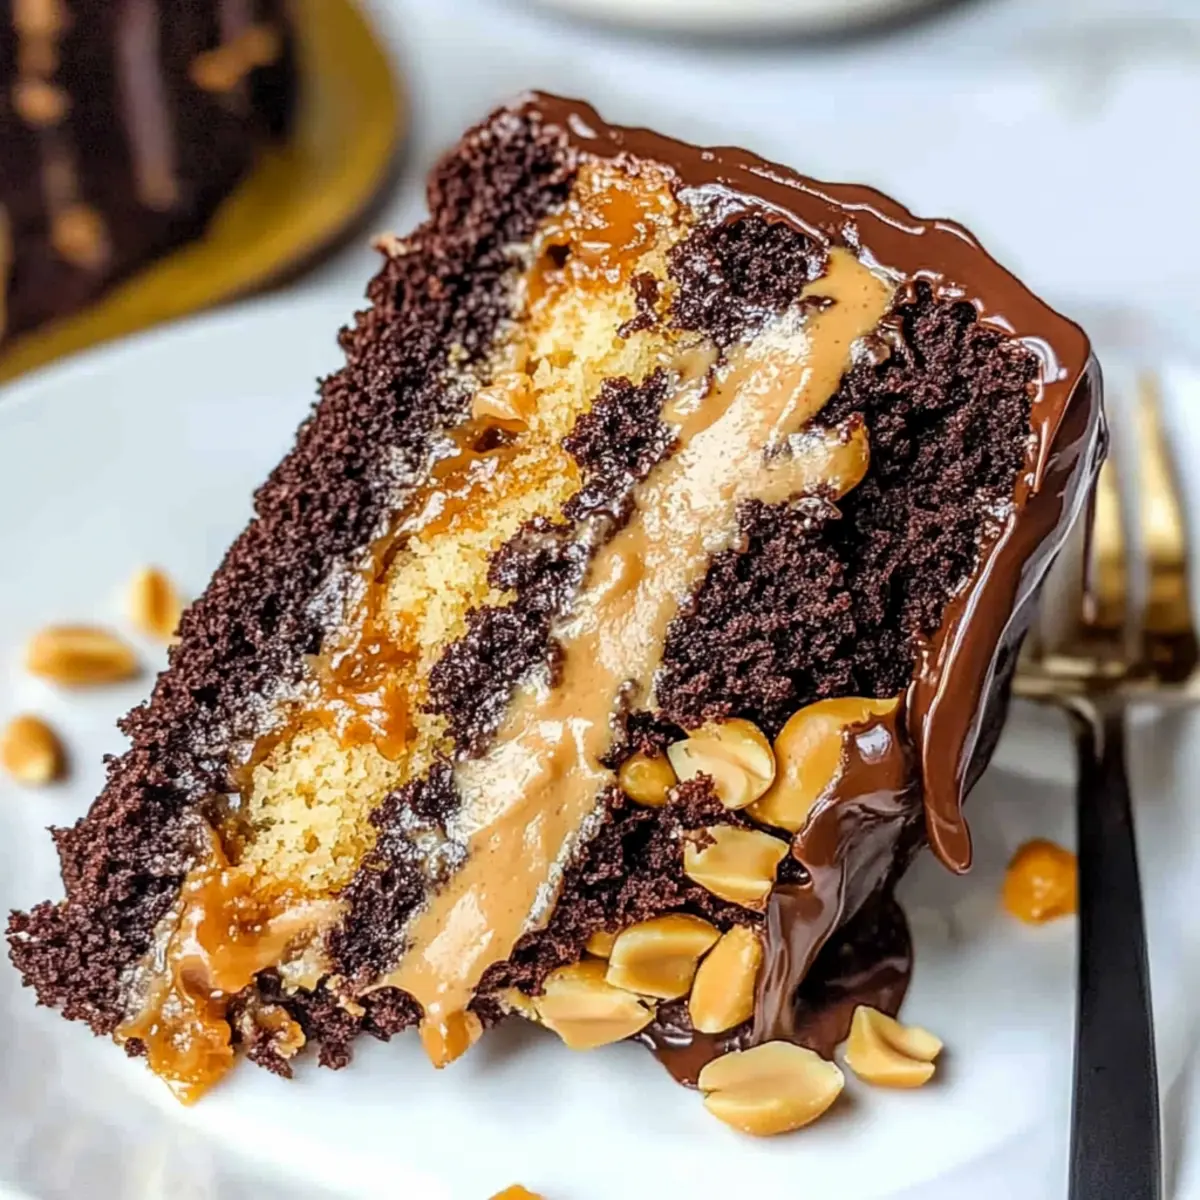
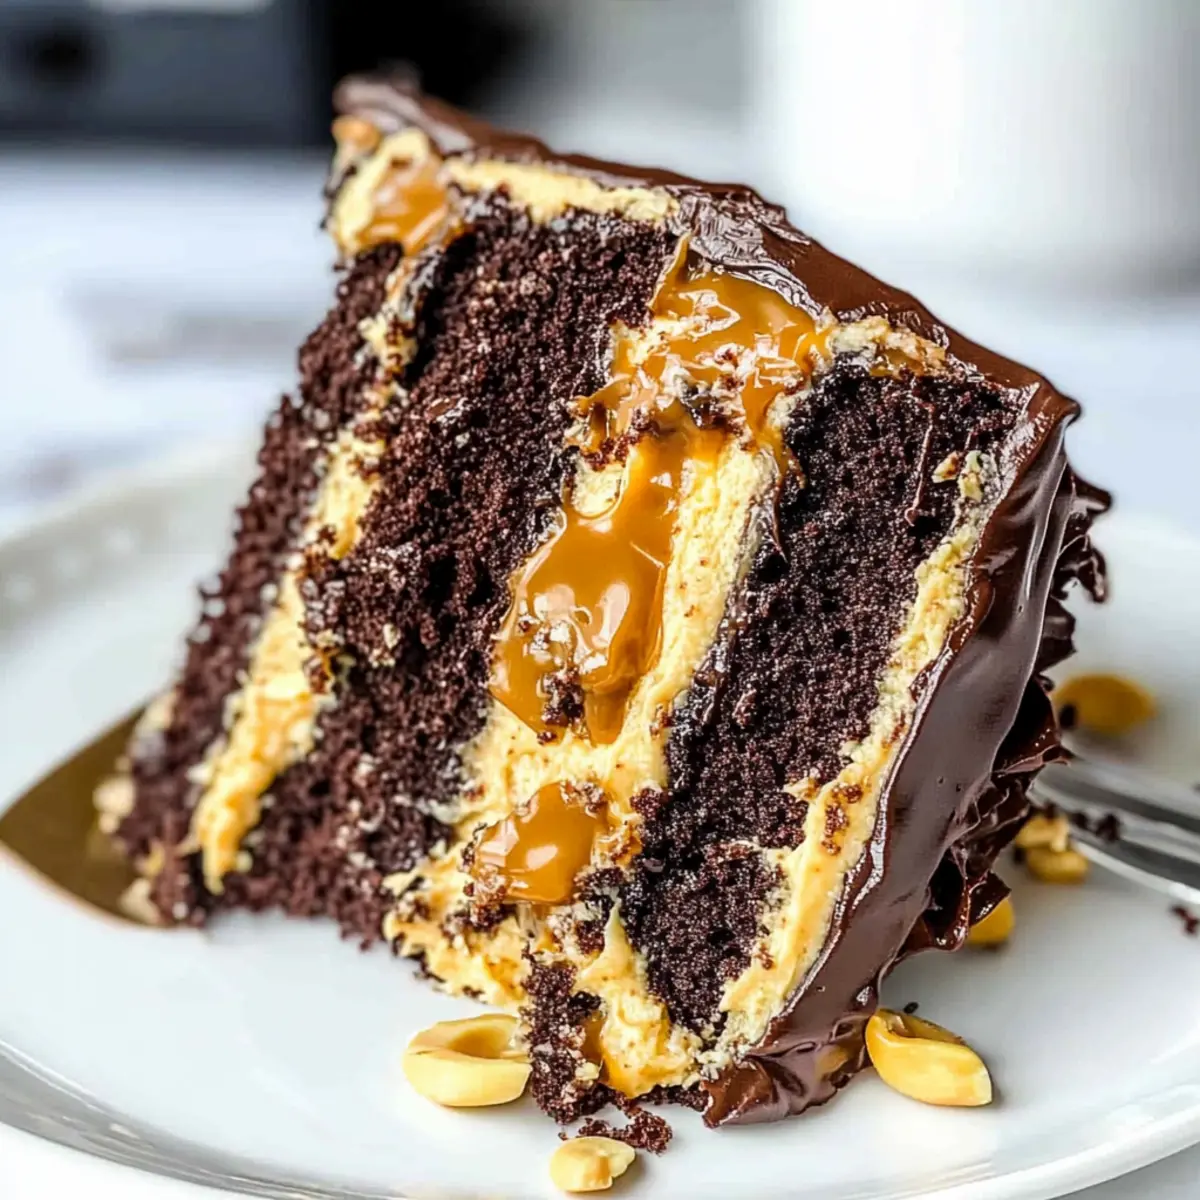
With each forkful of this Chocolate Snickers Cake, you’re embarking on a sweet journey that, much like the beloved candy bar, strikes that perfect balance of chocolate, peanut butter, and caramel. As a passionate home-chef, I understand how vital it is to create something not only delicious but also show-stopping—making this cake an ideal centerpiece for your next celebration or even an indulgent treat just because. The best part? This layered delight comes together quickly, ensuring you can enjoy its rich, moist layers filled with creamy peanut butter frosting and luscious caramel without hours in the kitchen. So, are you ready to elevate your baking game and impress everyone with a slice of nostalgia?
Why is this cake a must-try?
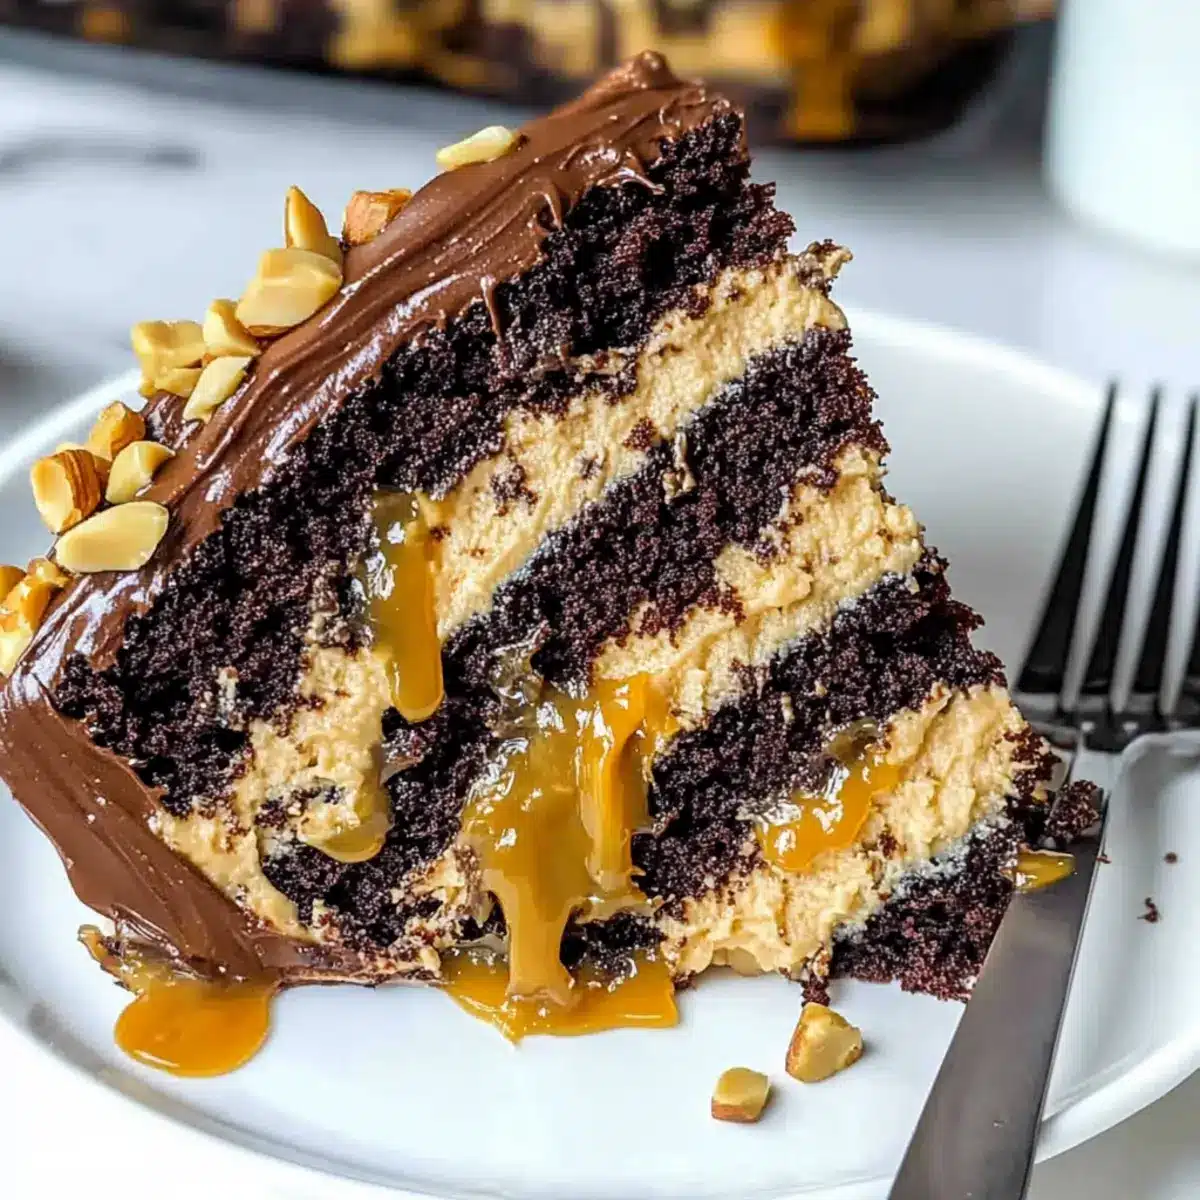
Decadent Flavors: Experience the rich, indulgent taste of chocolate layered with creamy peanut butter and gooey caramel. Visual Delight: Its towering layers and glossy ganache make this cake a stunning showstopper for any gathering. Ease of Preparation: This recipe is user-friendly, allowing home chefs of all skill levels to create a masterpiece. Crowd Favorite: The combination of flavors is sure to please everyone, whether they’re fans of the classic Snickers bar or just love chocolatey desserts. Versatile Options: Change it up with different nut butters or bake as cupcakes for a delightful twist. Get ready to impress with this delicious Chocolate Snickers Cake!
Chocolate Snickers Cake Ingredients
• Get ready to gather your yummy essentials!
For the Cake
- All-Purpose Flour – Provides structure; substitute with gluten-free flour blend for a gluten-free version.
- Granulated Sugar – Sweetens and adds moisture; brown sugar could enhance flavor.
- Unsweetened Cocoa Powder – Adds chocolate flavor; use Dutch-processed for a richer taste.
- Baking Powder – Leavening agent for rise; can substitute with baking soda.
- Baking Soda – Helps the cake rise; ensure it’s fresh for effectiveness.
- Fine Salt – Enhances flavors; sea salt or kosher salt are good alternatives.
- Warm Water – Hydrates and helps dissolve ingredients; use hot coffee for deeper flavor.
- Buttermilk – Adds moisture and tang; substitute with milk + vinegar for a DIY buttermilk.
- Vegetable or Canola Oil – Keeps the cake moist; melted coconut oil can be an alternative.
- Large Eggs – Binds ingredients; use egg replacer for a vegan option.
- Vanilla Extract – Adds warmth and depth; use vanilla bean paste for a richer flavor.
For the Caramel Filling
- Granulated Sugar (for Caramel) – Main component for caramel; light brown sugar can be used for a flavor twist.
- Unsalted Butter – Provides richness; coconut oil can be a dairy-free substitute.
- Heavy Whipping Cream – Creates a creamy texture in caramel and frosting; half-and-half can be used in a pinch.
- Chopped Salted Peanuts – Adds crunch; almonds can be an alternative.
For the Frosting and Ganache
- Powdered Sugar – Sweetens frosting and thickens texture; use less for a less sweet frosting.
- Milk Chocolate Chips – Forms ganache; dark chocolate can be substituted for a more intense flavor.
- Mini Snickers Bars – For decoration; can replace with any chocolate candy of choice.
Now that you have all your ingredients ready, let’s dive into creating this delightful Chocolate Snickers Cake that will surely be the highlight of any occasion!
Step‑by‑Step Instructions for Chocolate Snickers Cake
Step 1: Prepare Cake Layers
Preheat your oven to 350°F (175°C) and grease two 9-inch round cake pans, lining the bottoms with parchment paper. In a large mixing bowl, sift together the all-purpose flour, cocoa powder, baking powder, baking soda, and salt. In a separate bowl, combine the warm water, buttermilk, oil, eggs, and vanilla extract. Mix the wet ingredients into the dry until just combined for a smooth batter, then divide it evenly between the prepared pans. Bake for 22-25 minutes, or until a toothpick inserted comes out clean.
Step 2: Cool Layers
Once the cake layers have baked, remove them from the oven and let them cool in the pans for about 10 minutes. Carefully invert the pans onto a wire rack to release the cakes. To lock in moisture, place the cakes in the freezer for 30 minutes, allowing them to chill completely before removing the parchment paper and preparing for assembly.
Step 3: Make Peanut Caramel
In a medium-sized saucepan over medium heat, add granulated sugar and cook until it melts into a golden amber liquid, about 8-10 minutes. Once melted, carefully whisk in unsalted butter and heavy whipping cream until smooth and combined. Continue to cook for an additional 2-3 minutes until it thickens slightly, then remove from heat and fold in the chopped salted peanuts. Allow the caramel to cool to room temperature.
Step 4: Prepare Peanut Butter Buttercream
In a mixing bowl, beat together unsalted butter and peanut butter on medium speed until light and fluffy, about 3 minutes. Gradually add the powdered sugar and a splash of heavy cream, continuing to mix until you achieve a smooth and spreadable consistency. Adjust the cream or sugar as needed to ensure the peanut butter buttercream is fluffy and holds its form for the Chocolate Snickers Cake assembly.
Step 5: Assemble Cake
Place one cake layer on a serving platter and spread a generous layer of peanut butter buttercream over the top. Drizzle some of the cooled peanut caramel over the buttercream before adding the second cake layer on top. Repeat the process, spreading buttercream and caramel between each layer while stacking, before chilling the assembled cake for about 30 minutes to firm up.
Step 6: Prepare Ganache
In a small saucepan, heat heavy whipping cream over medium heat until it begins to simmer. Remove from heat and pour it over the milk chocolate chips in a bowl, letting it sit for 5 minutes. Stir until the mixture is smooth and glossy. Carefully pour the ganache over the chilled cake, allowing it to drip down the sides for that decadent finish.
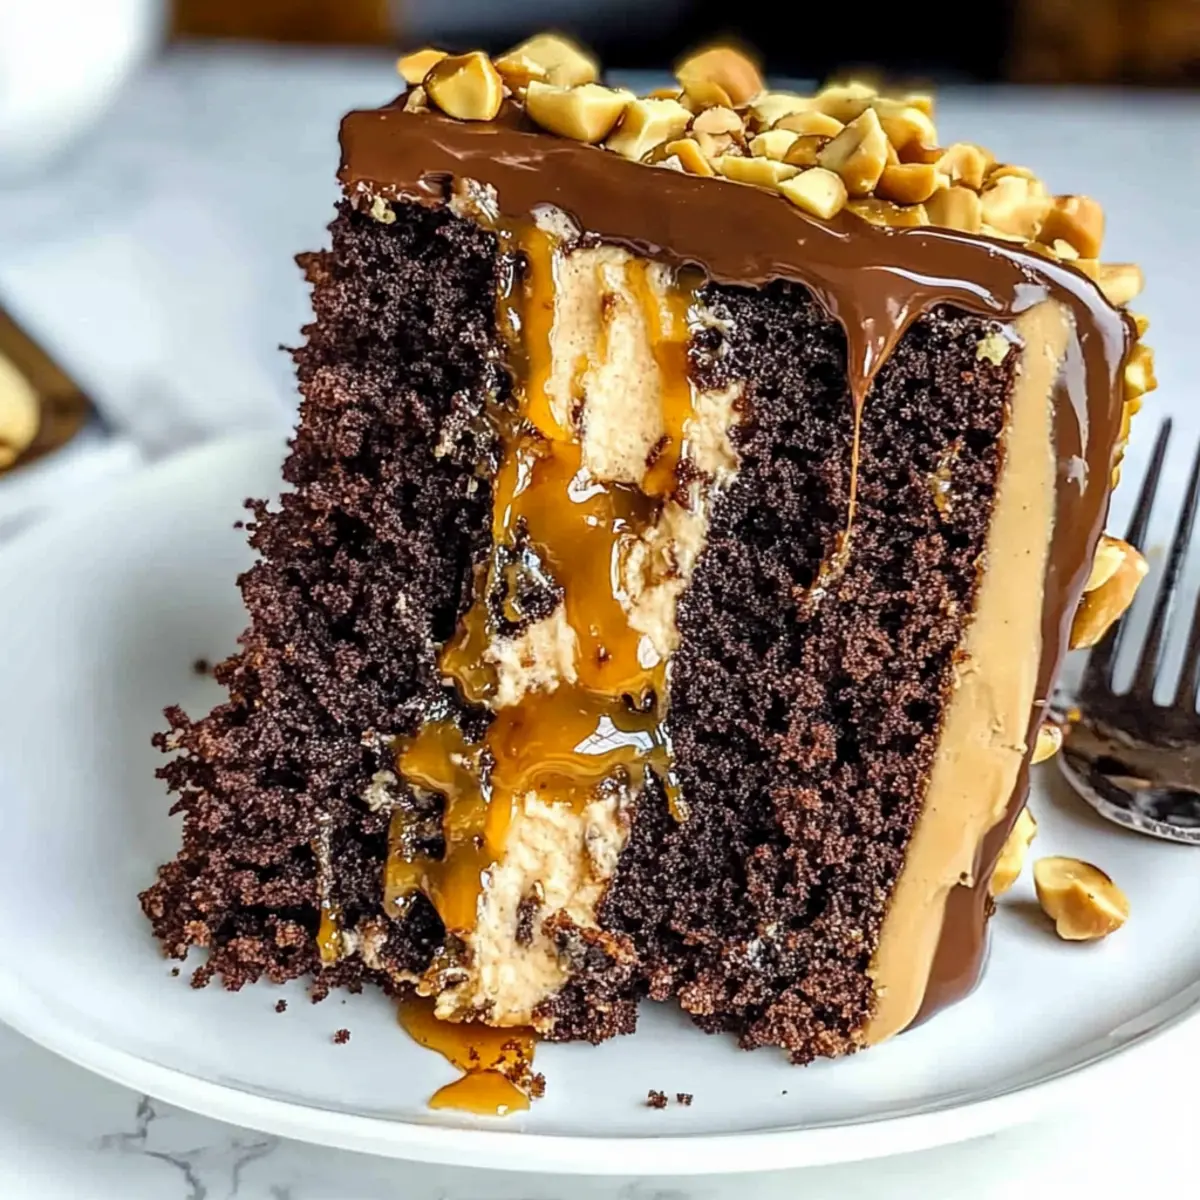
Step 7: Decorate
Once the ganache sets slightly, drizzle any remaining peanut caramel over the top of the Chocolate Snickers Cake. For the final touch, garnish with chopped salted peanuts and mini Snickers bars around the edges. Your beautiful creation is now ready to be sliced and served, perfect for making any occasion special!
Chocolate Snickers Cake Variations
Feel free to get creative with this Chocolate Snickers Cake and make it truly yours with these delightful twists!
-
Dairy-Free: Use coconut cream and dairy-free chocolate chips for a delicious vegan-friendly alternative that doesn’t skimp on flavor. You’ll still enjoy that creamy texture without any dairy guilt!
-
Gluten-Free: Substitute the all-purpose flour with a gluten-free flour blend for a cake that everyone can enjoy. It’s perfect for gatherings where dietary restrictions might be at play.
-
Nut-Free: Swap out the peanut butter for sunbutter or tahini to create a nut-free version that’s still rich and satisfying. This way, nut allergies won’t keep anyone from delighting in your cake!
-
Flavor Boost: Add a hint of espresso powder to the cake batter or frosting for an extra depth of flavor—perfect for coffee lovers. Just a teaspoon can elevate the chocolate taste to new heights.
-
Caramel Variation: Experiment with different types of caramel, like salted caramel or even chocolate caramel, to change the profile of the cake. Every variation offers a unique twist that makes each bite a surprise!
-
Cupcake Form: Transform this recipe into cupcakes by pouring the batter into liners, filling them with peanut caramel, and topping them with the same peanut butter frosting. Great for portion control, plus they’re easy to share!
-
Fruity Addition: Fold in some crushed raspberries or sliced bananas into the batter for a fruity touch that brightens each slice. The sweetness will beautifully complement the rich chocolate and peanut flavors.
-
Gourmet Topping: For a decadent finish, top with a sprinkle of sea salt or a drizzle of chocolate ganache before serving. It adds a restaurant-quality touch that elevates your creation.
Embrace these suggestions to personalize your Chocolate Snickers Cake experience, and if you’re feeling adventurous, you might want to check out our delectable Chocolate Cherry Cookies or delightful Black Forest Cake for even more inspiration!
What to Serve with Chocolate Snickers Cake
The perfect accompaniment to this rich, tempting cake will elevate your dessert experience.
- Fresh Berries: The tartness of strawberries or raspberries cuts through the sweetness, offering a refreshing contrast.
- Vanilla Ice Cream: A scoop of creamy vanilla ice cream adds a delightful coolness, making every bite even more indulgent.
- Coffee: A rich, aromatic coffee enhances chocolate flavors, creating a cozy pairing perfect for any occasion.
- Chocolate Sauce: Drizzling some silky chocolate sauce over the cake not only adds extra decadence but also heightens the visual appeal.
- Caramel Sauce: A warm drizzle of caramel emphasizes the cake’s filling, tying the entire dessert together beautifully.
- Whipped Cream: Light, fluffy whipped cream adds a soft texture that balances out the dense layers of cake and frosting.
- Nutty Biscotti: The crunchy texture of biscotti provides a satisfying contrast, making it a perfect side for a cozy dessert platter.
- Mint Tea: A soothing mint tea adds a fresh twist, cleansing the palate after each rich layer of this decadent cake.
- Chocolate-Covered Pretzels: Their salty crunch pairs surprisingly well with the sweet layers, giving your dessert plate an exciting variety of flavors.
Make Ahead Options
These Chocolate Snickers Cake components are perfect for meal prep enthusiasts seeking to save time during busy weeks! You can bake and cool the chocolate cake layers up to 24 hours in advance—just wrap them tightly in plastic wrap to maintain moisture. The peanut caramel can be prepared 3 days ahead; simply store it in an airtight container in the refrigerator and warm it slightly before use to prevent any hardening. For the peanut butter frosting, feel free to mix it 2 days ahead—just keep it refrigerated. When you’re ready to assemble, stack your chilled layers with the frosting and caramel, add the ganache, and garnish. This way, you’ll enjoy a crowd-pleasing dessert with minimal effort on the day of serving!
How to Store and Freeze Chocolate Snickers Cake
Fridge: Cover leftover cake with plastic wrap or place it in an airtight container to keep it moist; it can be stored in the fridge for up to 1 week.
Freezer: If you want to extend its life, wrap the cake tightly in plastic wrap and foil before freezing; it can be frozen for up to 3 months.
Thawing: To enjoy the frozen Chocolate Snickers Cake, transfer it to the fridge for 4-6 hours or overnight to thaw; this will preserve its texture and moisture.
Reheating: If you’d like to warm a slice, pop it in the microwave for 10-15 seconds for a deliciously gooey treat!
Tips for the Best Chocolate Snickers Cake
-
Room Temperature Ingredients: Ensure all ingredients are at room temperature for a smoother batter and even baking.
-
Precise Baking Time: Avoid overbaking the cake layers; check for doneness with a toothpick at 22 minutes to maintain moisture.
-
Chill for Stability: After assembly, chill the cake before adding ganache to set the layers and prevent crumbling during frosting.
-
Caramel Consistency: For the perfect creamy caramel, cook sugar slowly over medium heat, stirring gently to avoid burning.
-
Decorative Finish: For an impressive display, drizzle remaining caramel artfully over the top of the Chocolate Snickers Cake and add a sprinkle of chopped peanuts.
Chocolate Snickers Cake Recipe FAQs
What type of chocolate should I use for the ganache?
It’s best to use high-quality milk chocolate chips for a smooth, creamy ganache that complements the rich layers of the Chocolate Snickers Cake. If you prefer a deeper flavor, feel free to substitute with dark chocolate chips instead!
How can I ensure my cake layers don’t dry out?
To keep your cake layers moist, make sure to cool them in the pans for only about 10 minutes, then transfer them to the freezer for 30 minutes. This locks in moisture. Additionally, always cover leftover cake properly with plastic wrap or an airtight container when storing it in the fridge.
Can I use other nut butters in the frosting?
Absolutely! While the recipe calls for peanut butter, you can easily substitute it with almond butter or any other nut butter you prefer for a unique twist. Just keep in mind that the flavor profile will change slightly, but it will still be delicious!
How should I store the leftover cake, and how long will it last?
After enjoying your Chocolate Snickers Cake, cover it with plastic wrap or place it in an airtight container. You’ll be able to keep it in the fridge for up to 1 week. If you want to store it longer, wrap the cake tightly in plastic wrap and aluminum foil, and it can be frozen for up to 3 months.
What should I do if my caramel becomes too hard?
If your caramel turns out too hard, don’t worry! You can simply return it to low heat in a saucepan and add a splash of heavy cream to rehydrate it. Stir it well until smooth, and make sure to let it cool down before using it in your Chocolate Snickers Cake!
Are there any dietary considerations I should keep in mind?
If you’re making this cake for someone with dietary restrictions, consider swapping the all-purpose flour for a gluten-free flour blend and using a plant-based butter for the frosting to make it dairy-free. Also, you can substitute eggs with an egg replacer for a vegan option, ensuring that everyone can enjoy a slice!
Indulge in Chocolate Snickers Cake: A Layered Dream Dessert
Ingredients
Equipment
Method
- Preheat your oven to 350°F (175°C) and grease two 9-inch round cake pans, lining the bottoms with parchment paper.
- In a large mixing bowl, sift together the all-purpose flour, cocoa powder, baking powder, baking soda, and salt.
- In a separate bowl, combine the warm water, buttermilk, oil, eggs, and vanilla extract.
- Mix the wet ingredients into the dry until just combined for a smooth batter, then divide it evenly between the prepared pans.
- Bake for 22-25 minutes, or until a toothpick inserted comes out clean.
- Once the cake layers have baked, remove them from the oven and let them cool in the pans for about 10 minutes.
- Carefully invert the pans onto a wire rack to release the cakes.
- To lock in moisture, place the cakes in the freezer for 30 minutes.
- In a medium-sized saucepan, over medium heat, add granulated sugar and cook until it melts into a golden amber liquid, about 8-10 minutes.
- Once melted, carefully whisk in unsalted butter and heavy whipping cream until smooth and combined.
- Continue to cook for an additional 2-3 minutes until it thickens slightly, then remove from heat and fold in the chopped salted peanuts.
- Allow the caramel to cool to room temperature.
- In a mixing bowl, beat together unsalted butter and peanut butter on medium speed until light and fluffy, about 3 minutes.
- Gradually add the powdered sugar and a splash of heavy cream, continuing to mix until you achieve a smooth and spreadable consistency.
- Place one cake layer on a serving platter and spread a generous layer of peanut butter buttercream over the top.
- Drizzle some of the cooled peanut caramel over the buttercream before adding the second cake layer on top.
- Repeat the process, spreading buttercream and caramel between each layer while stacking.
- Chill the assembled cake for about 30 minutes to firm up.
- In a small saucepan, heat heavy whipping cream over medium heat until it begins to simmer.
- Remove from heat and pour it over the milk chocolate chips in a bowl, letting it sit for 5 minutes.
- Stir until the mixture is smooth and glossy.
- Carefully pour the ganache over the chilled cake, allowing it to drip down the sides.
- Once the ganache sets slightly, drizzle any remaining peanut caramel over the top.
- Garnish with chopped salted peanuts and mini Snickers bars around the edges.
Leave a Reply