
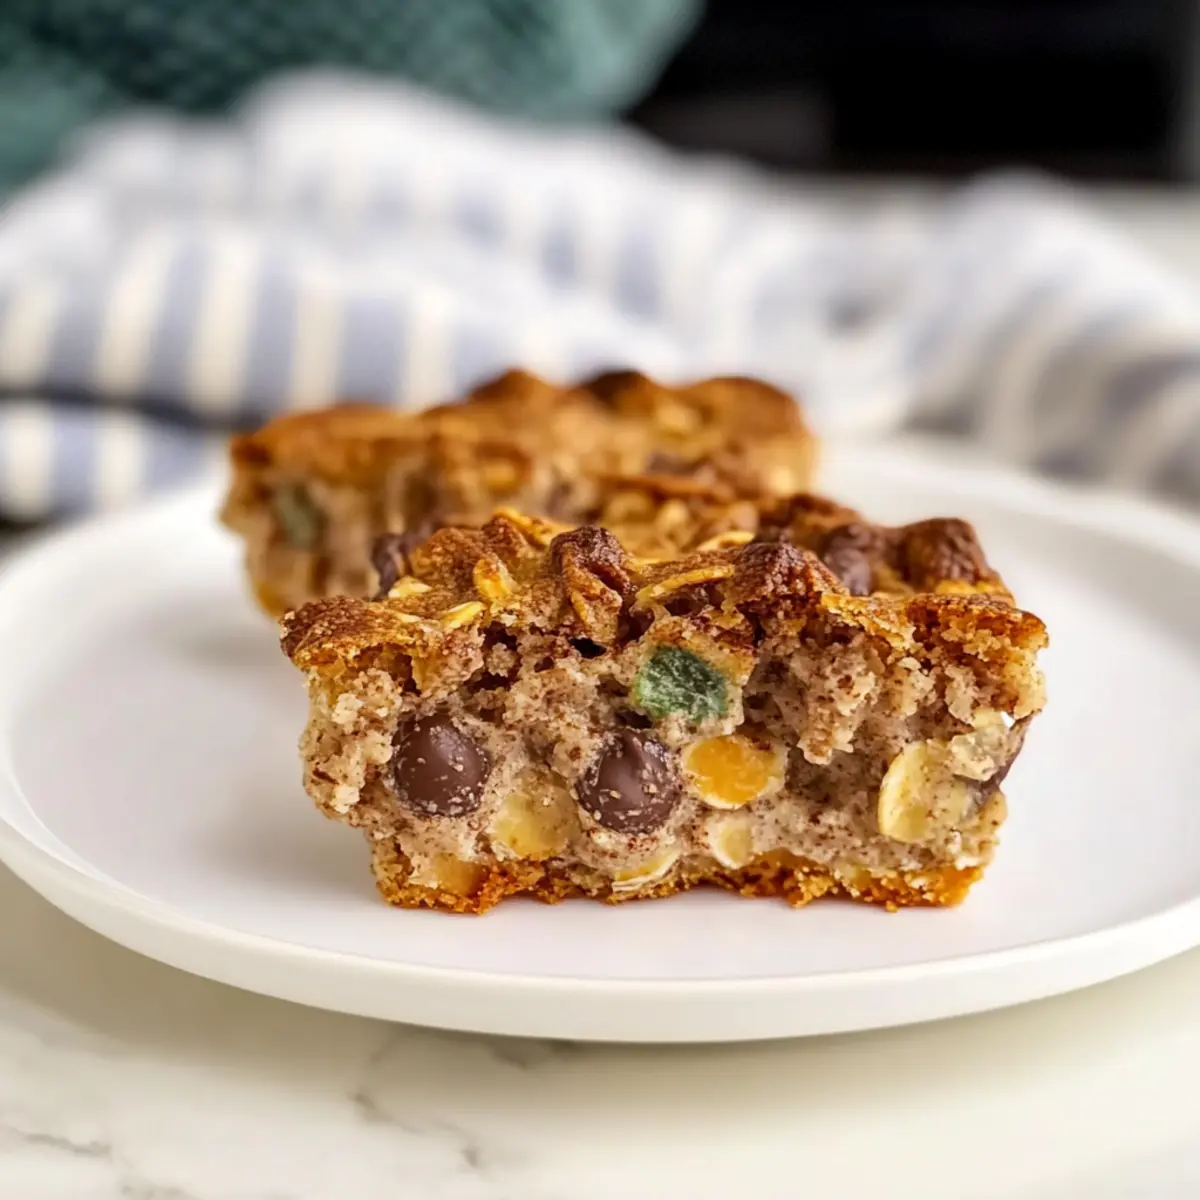
The sweet smell of chocolate and oats swirling through my kitchen transports me to a cozy café where freshly baked goods are always a heartbeat away. If you’re like me and crave the comfort of homemade treats without spending hours in the kitchen, then these 3-Ingredient Chocolate Oat Cookies are your new go-to. With a quick prep and endless opportunities for customization, these cookies strike the perfect balance between chewy and crispy. They’re not just easy to make; they’re also a delicious way to satisfy your sweet tooth while accommodating various dietary preferences. So, are you ready to whip up a batch that might just redefine your cookie experience? Let’s dive in!
Why Are These Cookies So Irresistible?
Quick and Easy: In just a few simple steps, you can whip up a delicious batch without any complicated techniques.
Customizable Flavors: Feel free to tweak the ingredients! Extra chocolate chips or a pinch of cinnamon can elevate your cookies to the next level.
Gluten-Free Option: By choosing the right oats, these cookies can easily fit into a gluten-free lifestyle, making them inclusive for everyone.
Crowd-Pleasing Treat: They’re perfect for sharing with friends or family during gatherings—nobody can resist the warmth of freshly baked cookies!
Simple Ingredients: With only three core ingredients, you likely have everything on-hand to create these delightful treats. For even more options, check out our Cheesy Hamburger Casserole.
Chocolate Oat Cookie Ingredients
• Make sure you’re stocked up!
For the Cookie Base
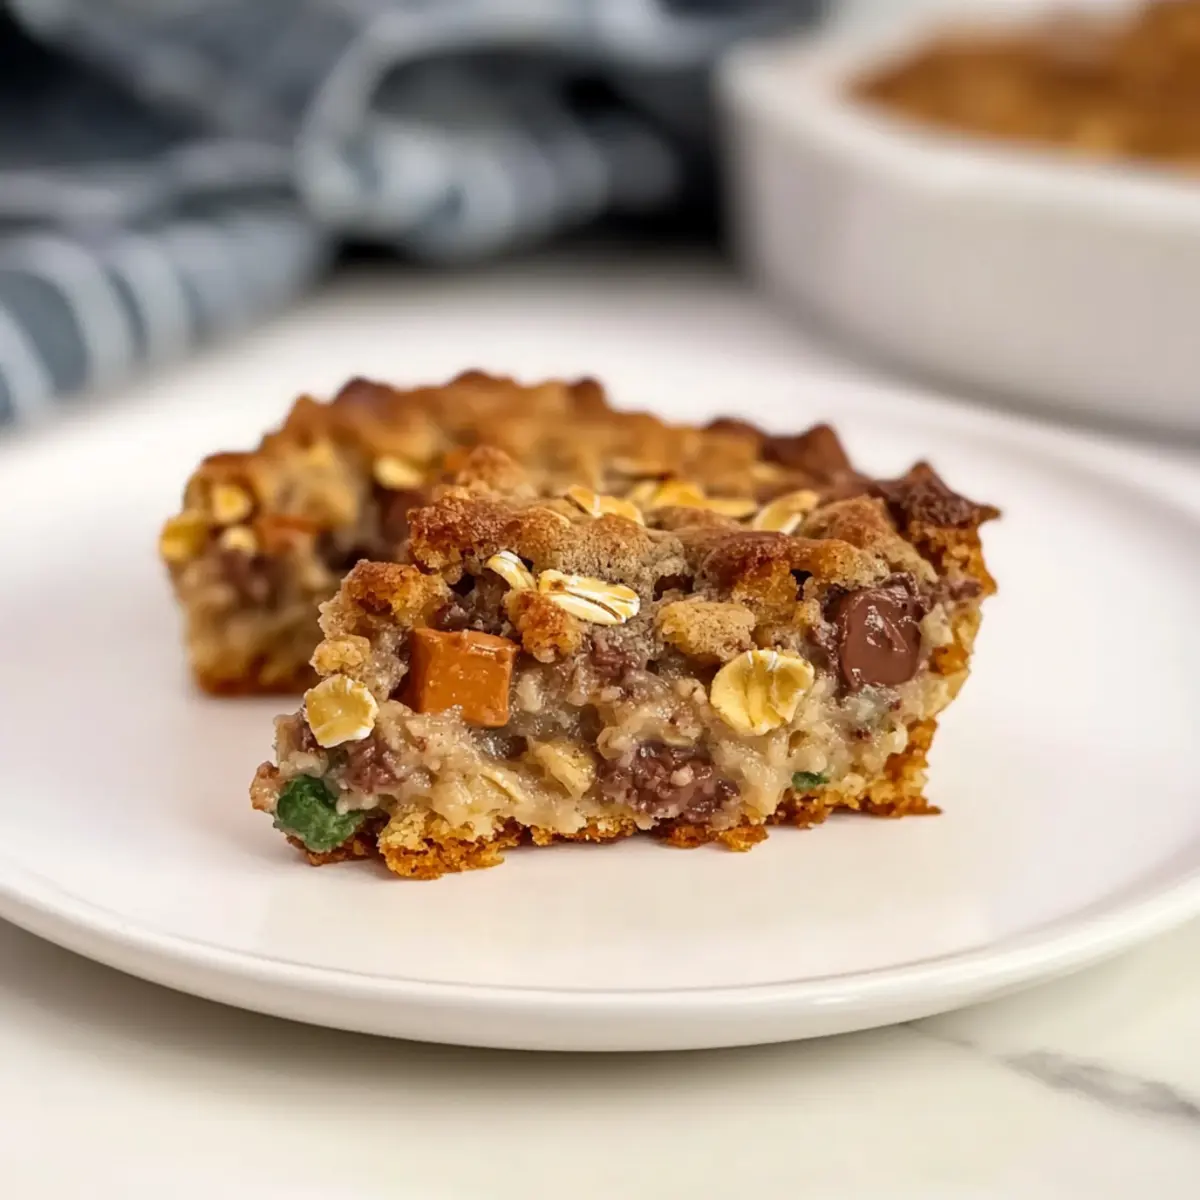
- Oats – Provides structure and chewiness; substitute with quick oats for a finer texture if desired.
- Nut Butter – Adds creaminess and binds the ingredients together; swap with sunflower seed butter for a nut-free cookie.
- Maple Syrup or Honey – Enhances sweetness and moisture; use agave syrup for a vegan alternative.
Optional Add-Ins
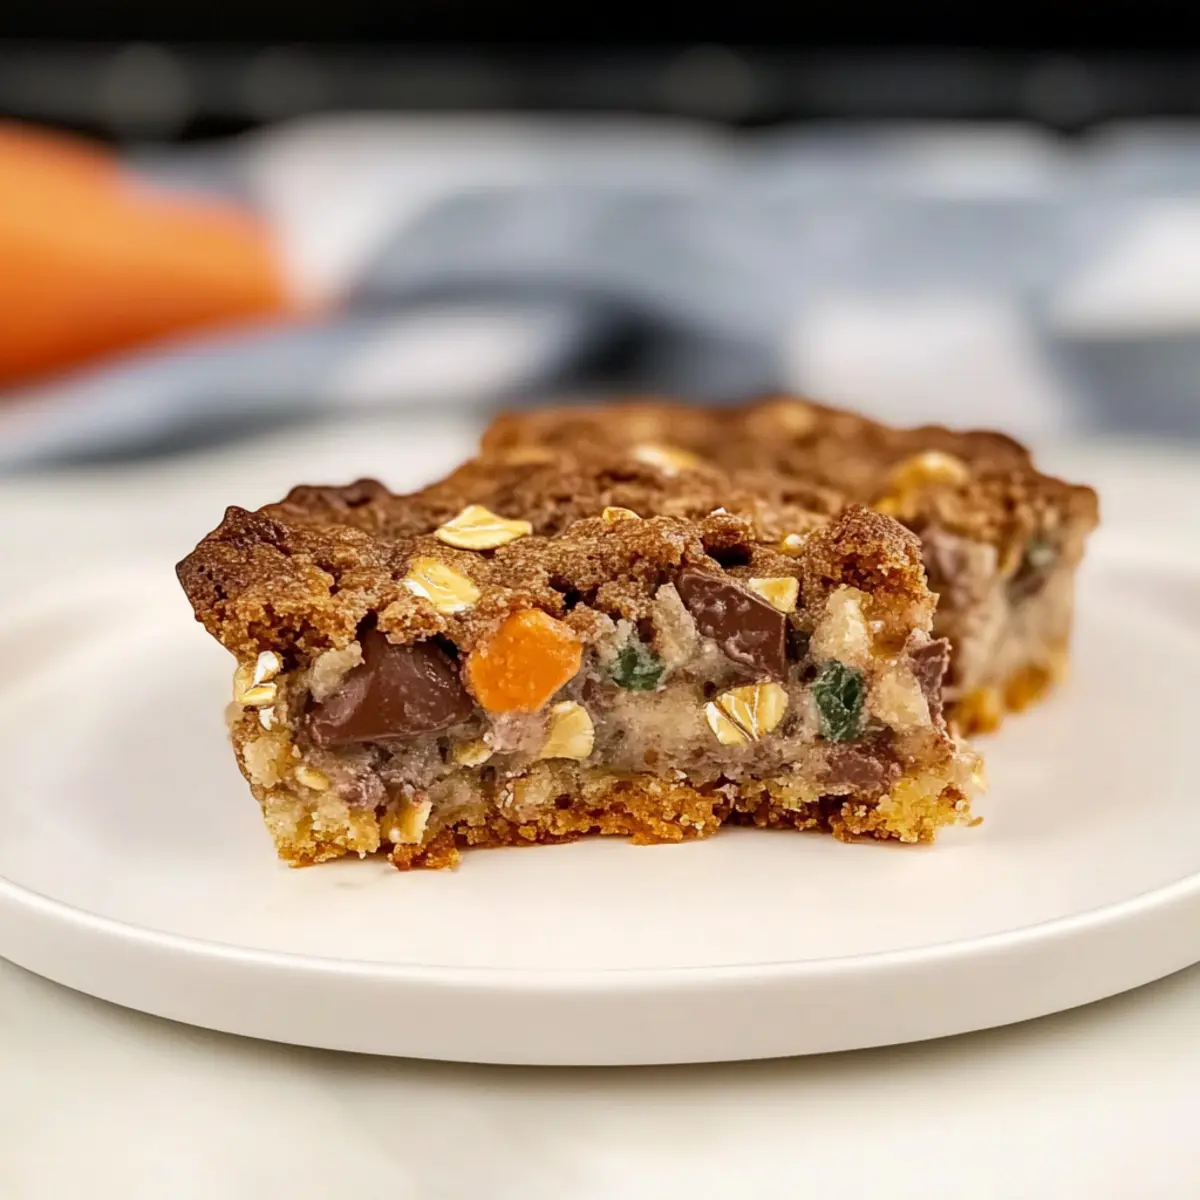
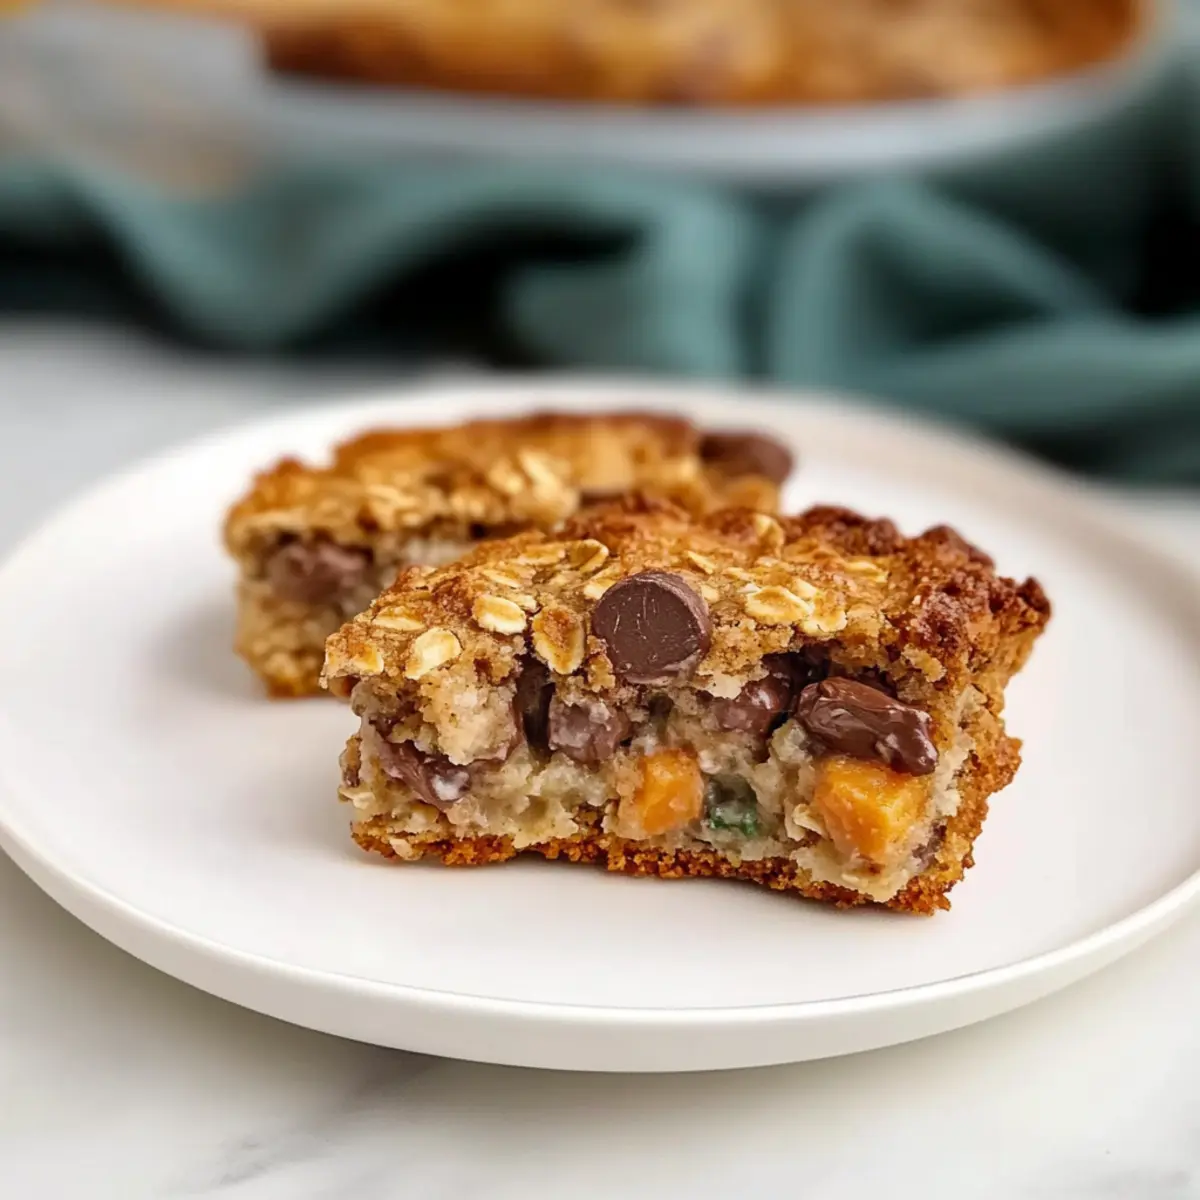
- Chocolate Chips – For an extra burst of sweetness and chocolate flavor; feel free to mix in your favorite kind!
- Dried Fruit – Adds a chewy texture; try raisins or cranberries for a delightful twist.
- Spices – Sprinkle in a bit of cinnamon or nutmeg for added warmth and depth; a little goes a long way!
Ready to try these easy chocolate oat cookies? They’re not only delightful but also a great way to satisfy your cravings with simple and accessible ingredients!
Step‑by‑Step Instructions for 3-Ingredient Chocolate Oat Cookies
Step 1: Preheat the Oven
Begin by preheating your oven to 350°F (175°C) to ensure the perfect baking temperature for your cookies. This step is essential as it allows your cookies to bake evenly, leading to that delightful crispy edge and chewy center. While the oven heats up, gather your ingredients to streamline the preparation process.
Step 2: Mix the Ingredients
In a mixing bowl, combine your oats, nut butter, and maple syrup or honey. Stir gently until everything is fully blended into a cohesive dough. Take care not to overmix, as this can affect the texture of your 3-ingredient chocolate oat cookies. You want a well-combined mixture that holds together but remains light.
Step 3: Shape the Cookies
Using a spoon or cookie scoop, portion out the cookie dough onto a lined baking sheet. Gently shape each scoop into a round cookie, leaving space between them to allow for spreading during baking. The mixture should look rich and chocolatey, with a slight gloss from the nut butter. Aim for about 12 cookies, depending on the size you prefer.
Step 4: Bake to Perfection
Transfer the baking sheet to your preheated oven and bake for 10–12 minutes. Keep an eye on your cookies; they should turn golden brown around the edges while remaining slightly soft in the center. This creates that desirable texture—a bit crispy on the outside and chewy on the inside.
Step 5: Cool and Transfer
Once baked, allow the cookies to cool on the baking sheet for 5 minutes. This step is crucial as it helps them firm up before moving. After the initial cooldown, transfer the cookies to a wire rack to finish cooling completely. They’ll develop the perfect texture while you patiently wait to taste these delicious treats!
What to Serve with 3-Ingredient Chocolate Oat Cookies
These delightful cookies are perfect for creating a cozy and satisfying snack experience that will warm your heart.
- Glass of Milk: A classic pairing, milk balances the rich chocolate flavors and adds creaminess with each bite.
- Fresh Berries: Juicy strawberries or tart raspberries provide a refreshing contrast, brightening the overall flavor profile. Enjoy the sweet and tangy burst as you enjoy your cookies.
- Nutty Granola: For a crunchy sidekick, serve some nutty granola. The texture contrast enhances the chewy cookies while making for a wholesome complement.
- Dairy-Free Yogurt: Creamy and tangy yogurt brings a luscious feel without overpowering the cookie’s taste, especially when drizzled with a little honey.
- Hot Cocoa: For a decadent treat, pair these cookies with warm hot cocoa. The chocolatey goodness creates a comforting experience that feels like a hug in a mug!
- Vanilla Ice Cream: Elevate your snack to dessert by serving with a scoop of vanilla ice cream. The cold sweetness harmonizes beautifully with the warm cookies.
- Coffee or Tea: A cup of brewed coffee or tea complements the cookie’s flavor, making a perfect afternoon or evening treat. The warmth enhances the cookie’s comforting appeal.
- Oatmeal: Surprise your guests by turning snack time into a wholesome breakfast! Pairing with a warm bowl of oatmeal brings a delightful texture combination and hearty satisfaction.
- Chocolate Dipping Sauce: For the ultimate indulgence, warm up some chocolate sauce for dipping. This adds a new layer of chocolatey delight that chocolate lovers will absolutely adore!
Easy Chocolate Oat Cookies Variations
Feel free to add your own twist and make these cookies truly yours with a few creative substitutions!
-
Nut-Free: Swap nut butter for sunflower seed butter to make a delicious allergy-friendly treat. It brings a lovely creaminess without the nuts!
-
Sweet Enhancement: Mix in chocolate chips or dried fruit like cranberries for bursts of extra sweetness. The contrast of textures makes each bite a delightful surprise!
-
Vegan Delight: Use agave syrup instead of honey for a completely vegan version. You won’t lose any of the sweetness, just gain an inclusive treat for all.
-
Flavor Boost: Add a dash of vanilla extract or a sprinkle of cinnamon to elevate the flavor profile. Just a hint of spice can bring warmth and complexity to your cookies.
-
Protein Punch: Stir in some protein powder to the cookie mix. This gives an extra protein boost, perfect for a post-workout snack or a filling breakfast cookie!
-
Texture Twist: If you crave crunch, fold in some chopped nuts or seeds. Almonds, walnuts, or chia seeds add a delightful bite and complement the oats beautifully.
-
Chocolate Lovers: For a richer experience, replace half of the oats with cocoa powder or melted dark chocolate. It transforms your cookies into a chocolatey dream that will satisfy any chocoholic!
-
Chewy Surprise: Soak your dried fruits before mixing them in! This will enhance their flavor and create a chewy texture that makes your cookies even more delightful.
Explore these variations, and for more delicious ideas, don’t miss out on our Glazed Corn Casserole that pairs beautifully with sweet treats!
How to Store and Freeze Chocolate Oat Cookies
Room Temperature: Store cookies in an airtight container at room temperature for up to 7 days. This keeps them chewy and fresh for everyday snacking.
Fridge: If you prefer a chillier treat, refrigerate your cookies in an airtight container for up to 2 weeks. This can enhance their texture, making them refreshingly cool.
Freezer: To extend their life, freeze baked cookies in a single layer, then transfer to a freezer bag or container for up to 3 months. Thaw on the counter before enjoying.
Reheating: For a just-baked experience, reheat cookies in the oven at 300°F (150°C) for 5-10 minutes. This will revive their crispy edges and chewy centers, making your chocolate oat cookies irresistible once more!
Make Ahead Options
These 3-Ingredient Chocolate Oat Cookies are ideal for meal prep and can save you precious time on busy days. You can prepare the cookie dough up to 24 hours in advance; simply mix your oats, nut butter, and maple syrup, then refrigerate it in an airtight container. This will keep the dough fresh and maintain its texture. When you’re ready to bake, scoop the chilled dough onto a lined baking sheet and bake as directed. Remember that chilling the dough enhances the flavors and helps the cookies hold their shape, ensuring that each bite is just as delicious as when they’re freshly made!
Expert Tips for Chocolate Oat Cookies
• Gentle Mixing: Avoid overmixing your dough. A light touch will help keep your cookies chewy and avoid a dense texture.
• Perfect Baking Time: Watch your cookies closely while baking; they can go from perfectly golden to overbaked in a blink!
• Try Different Nut Butters: Feel free to experiment with various nut butters. Each will lend a unique flavor while keeping these easy chocolate oat cookies delightful.
• Check Oat Types: Ensure you use gluten-free oats if needed. This makes them suitable for a wider range of dietary preferences.
• Cool Before Storage: Make sure to cool your cookies completely on a wire rack before storing them. This helps maintain their ideal texture and prevents them from becoming soggy.
3-Ingredient Chocolate Oat Cookies Recipe FAQs
What type of oats should I use for these cookies?
Absolutely! For best results, use rolled oats for a chewy texture. If you prefer a finer crumb, quick oats can also work, though they may yield a slightly different texture. Just ensure any oats chosen are certified gluten-free if you are making the cookies for someone with gluten sensitivities.
How long do these cookies stay fresh?
You can store your chocolate oat cookies in an airtight container at room temperature for up to 7 days. If you’re looking to keep them longer, refrigerating them can extend their freshness to about 2 weeks, making them a great option for meal prep!
Can I freeze these cookies?
Yes, you can freeze your baked cookies! First, lay them out in a single layer on a baking sheet and freeze until solid. Then, transfer them to a freezer-safe bag or container for up to 3 months. When you’re ready to enjoy them, simply thaw on the counter or reheat them in a preheated oven at 300°F (150°C) for 5-10 minutes.
What if I overmixed the dough?
Very! If you find your cookie dough feels dense or tough after mixing, don’t worry. While overmixing can lead to denser cookies, they’ll still be edible and delicious! For future batches, remember to mix gently until just combined for that perfect chewy texture.
Are these cookies suitable for those with nut allergies?
Absolutely! You can easily adapt this recipe to be nut-free by using sunflower seed butter instead of nut butter. This substitution maintains the delicious creaminess while making the cookies accessible for those with nut allergies or sensitivities.
Can I customize the flavor of these cookies?
The more the merrier! Feel free to add your favorite mix-ins like chocolate chips, dried fruits, or even a dash of cinnamon or vanilla extract to enhance the flavor further. Whether you’re in the mood for a burst of chocolate or fruity undertones, the options are endless with these adaptable cookies!
Easy Sausage and Egg Casserole: A Comforting Breakfast Delight
Ingredients
Equipment
Method
- Preheat the oven to 350°F (175°C).
- In a mixing bowl, whisk the eggs with milk.
- Combine the cooked sausage, cubed bread, and shredded cheese in a large dish.
- Pour the egg mixture over the sausage mixture and season with salt, pepper, and garlic powder.
- Bake for 30 minutes or until golden and set.
- Let cool for 5 minutes before slicing and serving.
Leave a Reply