
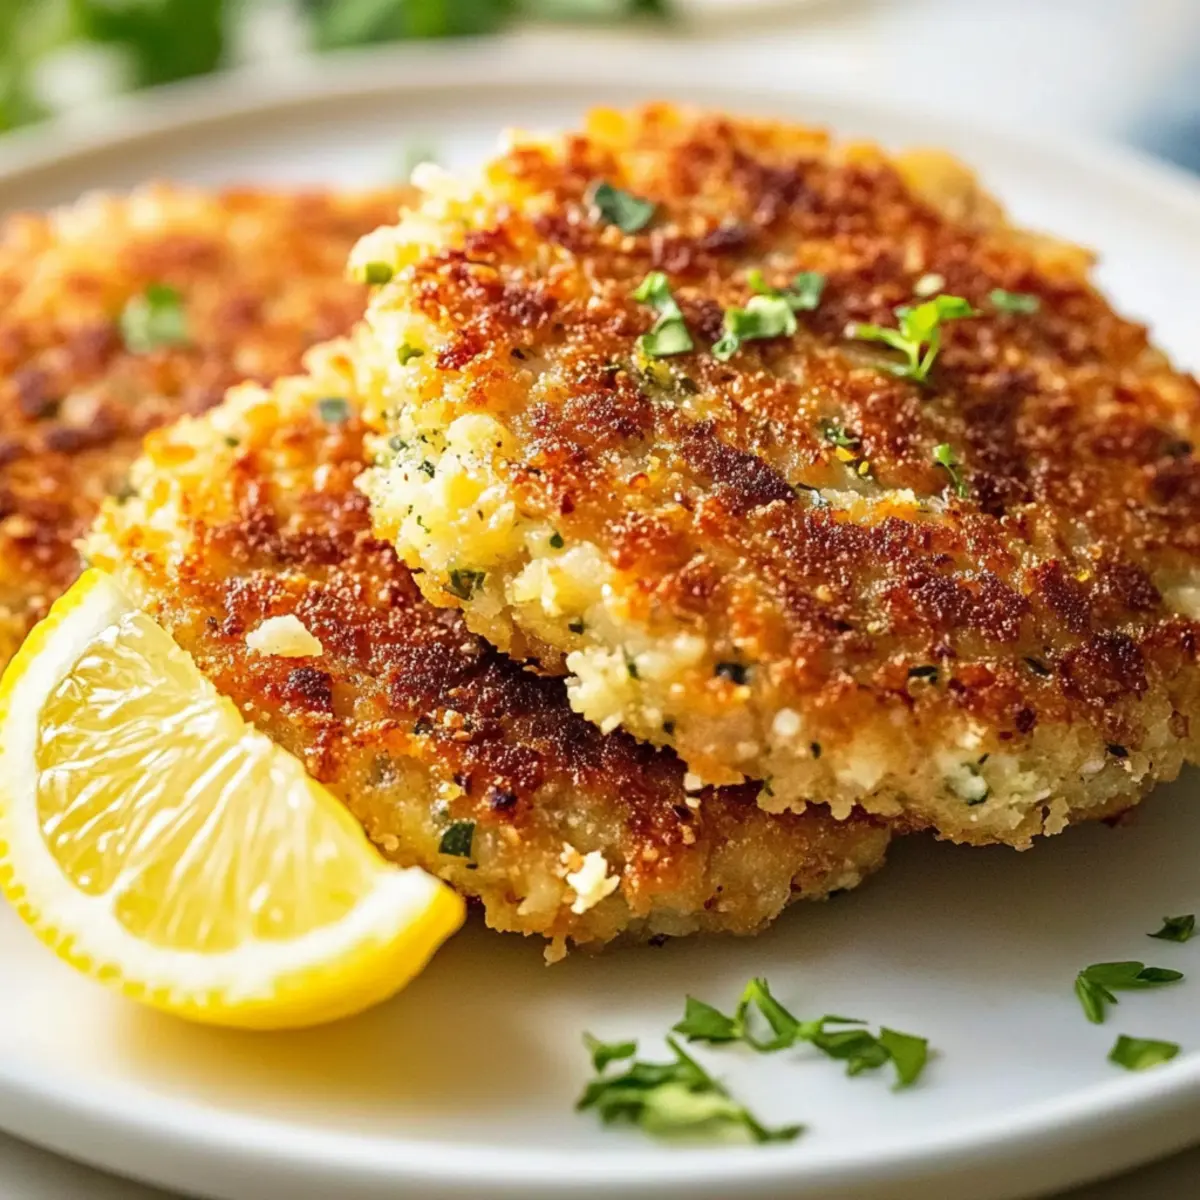
“Wait, did you say tuna?” I overheard my friend exclaim at dinner last week. Often relegated to pantry essentials, canned tuna doesn’t have to be boring! Enter my Crispy Lemon Parmesan Garlic & Herb Tuna Patties—your new go-to family-friendly meal that’s both quick and fun to make. In just about thirty minutes, you can whip up these golden, crunchy patties, transforming simple pantry staples into a delightful dish that even the kids will love. Perfect for busy weeknights or casual weekend gatherings, they bring an irresistible burst of flavor, making mealtime a breeze. Ready to elevate your canned tuna experience? Let’s dive into this recipe that promises to impress without breaking the bank—or your schedule!
Why Choose Garlic & Herb Tuna Patties?
Quick and Easy: These Crispy Lemon Parmesan Tuna Patties come together in just thirty minutes, making them perfect for any night of the week.
Budget-Friendly: Using canned tuna means you can create a delicious meal without straining your wallet—ideal for family dinners that won’t break the bank.
Flavorful Twist: The combination of lemon, garlic, and herbs elevates canned tuna into a gourmet experience that everyone will rave about.
Kid-Approved: Even the pickiest eaters will love these patties! Pair them with a side of southern coleslaw for a complete meal that pleases both adults and children.
Make Ahead: Prep these patties in advance and stash them in the fridge for a quick meal option that saves time on hectic days.
Ready to take your tuna dishes to the next level? Check out our other favorites like Garlic Butter Steak Bites for more delicious inspiration!
Garlic & Herb Tuna Patties Ingredients
Transform your pantry staple into something extraordinary with these tempting patties!
For the Patties
• Canned Tuna – Make sure to use well-drained tuna for the best texture.
• Panko Breadcrumbs – These create an irresistible crunch; you can also use regular breadcrumbs if that’s all you have on hand.
• Parmesan Cheese – Adds a delightful richness; feel free to swap in cheddar for a different flavor!
• Red Onion – Provides a sweet and crunchy element; green onions or shallots work great as substitutes.
• Garlic (minced) – Fresh minced garlic will give the best flavor, but garlic powder can suffice in a pinch.
• Dried Parsley – Adds a lovely herby note; substitute with fresh parsley for a brighter taste.
• Onion Powder – Enhances depth; omit if you’re using freshly chopped onions.
• Dried Dill – Offers a distinct aroma; tarragon or thyme can be used instead.
• Crushed Red Pepper – Adds a spicy kick; adjust to your heat preference or omit for milder patties.
• Celery Seeds – Introduces a unique flavor; you can leave them out if you’re short on time.
• Salt – Essential for elevating the taste; adjust to your liking.
• Pepper – Freshly ground is best; gives a lovely finish to the flavor profile.
• Mayonnaise – Binds everything together and adds creaminess; Greek yogurt is a great low-calorie swap.
• Lemon Zest & Juice – Brightens up the patties; lime juice works as an alternative.
• Eggs – Acts as a binder for your patties; swap for chia eggs if you’re going vegan.
• Vegetable Oil – Needed for frying to achieve those golden-brown edges; olive oil or avocado oil will also do the trick.
Elevate your meals with these Garlic & Herb Tuna Patties—a dish that proves canned tuna can be anything but boring!
Step‑by‑Step Instructions for Garlic & Herb Tuna Patties
Step 1: Prepare the Tuna Mixture
In a large mixing bowl, combine well-drained canned tuna, minced garlic, chopped red onions, dried parsley, onion powder, dill, crushed red pepper, celery seeds, salt, and pepper. Add mayonnaise, lemon juice, and zest, then incorporate beaten eggs and grated Parmesan. Mix thoroughly until every ingredient is evenly distributed, ensuring the flavors meld beautifully to create the base for your Garlic & Herb Tuna Patties.
Step 2: Form the Patties
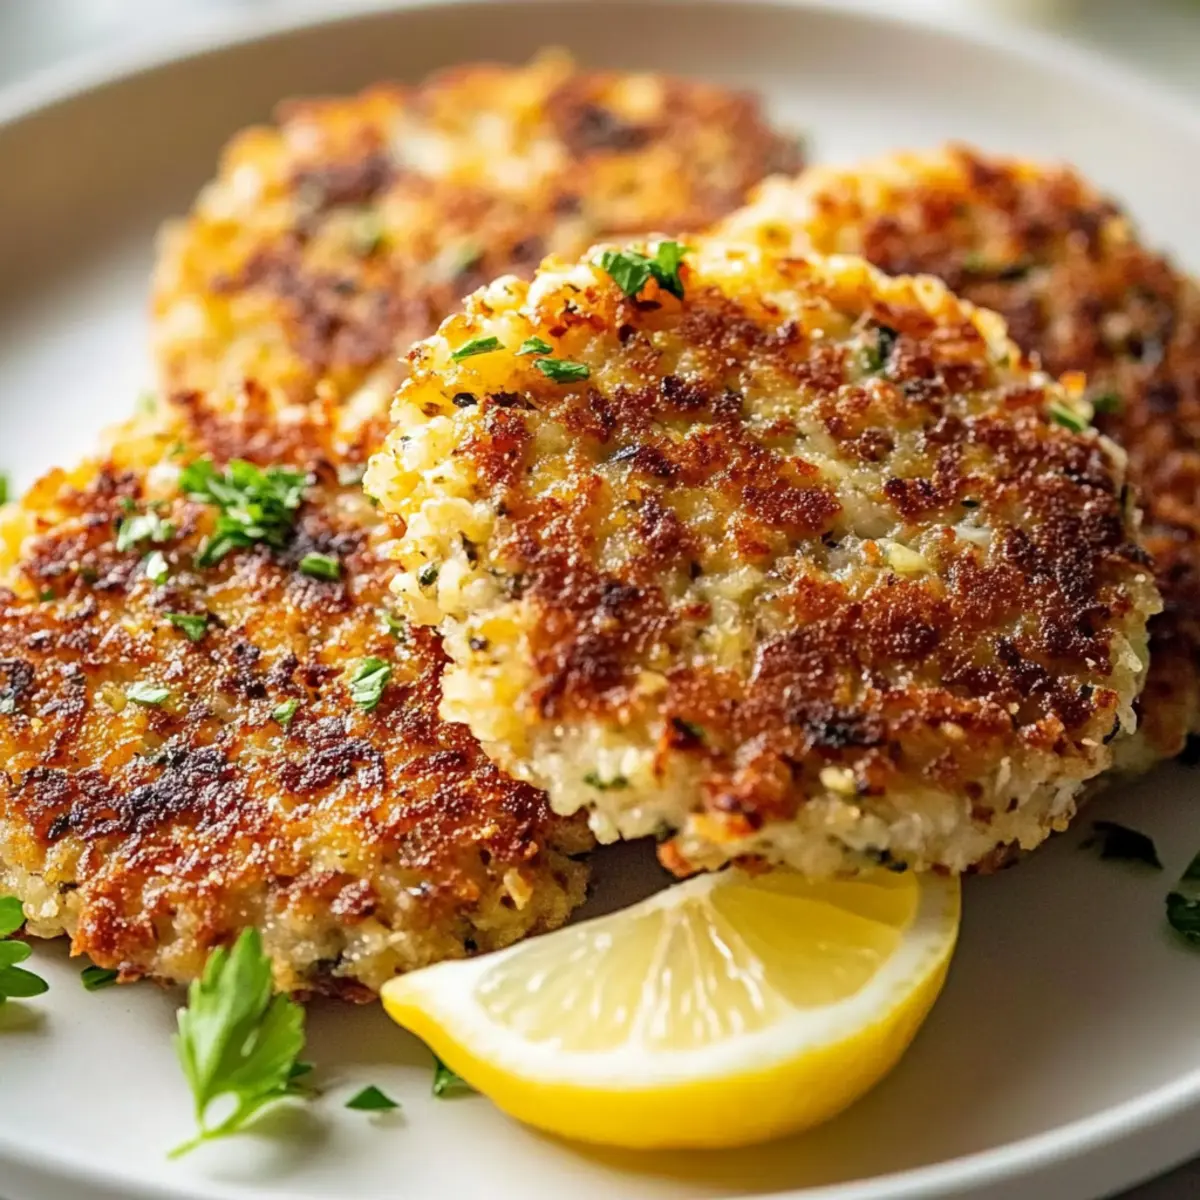
Once your mixture is well combined, scoop about ¼ cup of the mixture and shape it into a patty. Lightly coat each side of the patty with panko breadcrumbs to ensure a deliciously crispy exterior when cooked. Repeat this process until all the mixture is formed into patties, placing them on a plate as you go. This step is essential for achieving that coveted crunch in every Garlic & Herb Tuna Patty!
Step 3: Heat the Skillet
In a large skillet, heat vegetable oil over medium-high heat until it shimmers, around 350°F (175°C). Make sure not to overcrowd the pan, as this will prevent the patties from getting crispy. Carefully place 3-4 patties into the hot oil and fry them for about 3–4 minutes on each side. You’re aiming for a golden-brown color, which promises a delightful texture for your Garlic & Herb Tuna Patties.
Step 4: Drain and Cool the Patties
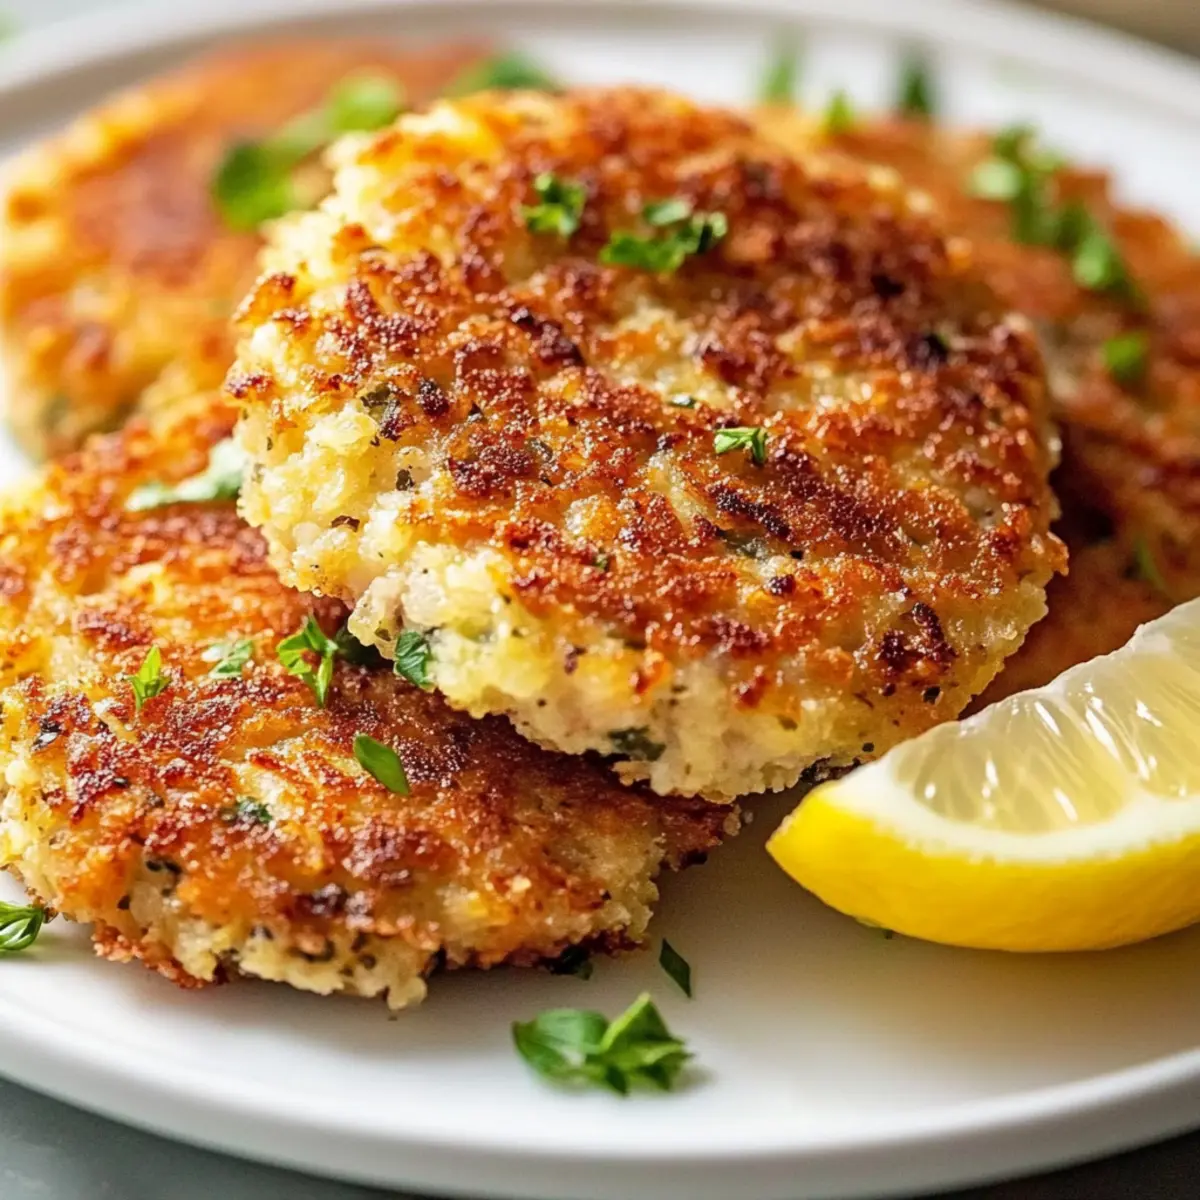
After frying, use a slotted spatula to remove the patties from the skillet and transfer them to a plate lined with paper towels. This will help absorb any excess oil and keep your patties crispy. Allow them to cool slightly before serving, as the flavors will continue to develop during this brief resting period, making your Garlic & Herb Tuna Patties even more scrumptious!
Step 5: Serve and Enjoy
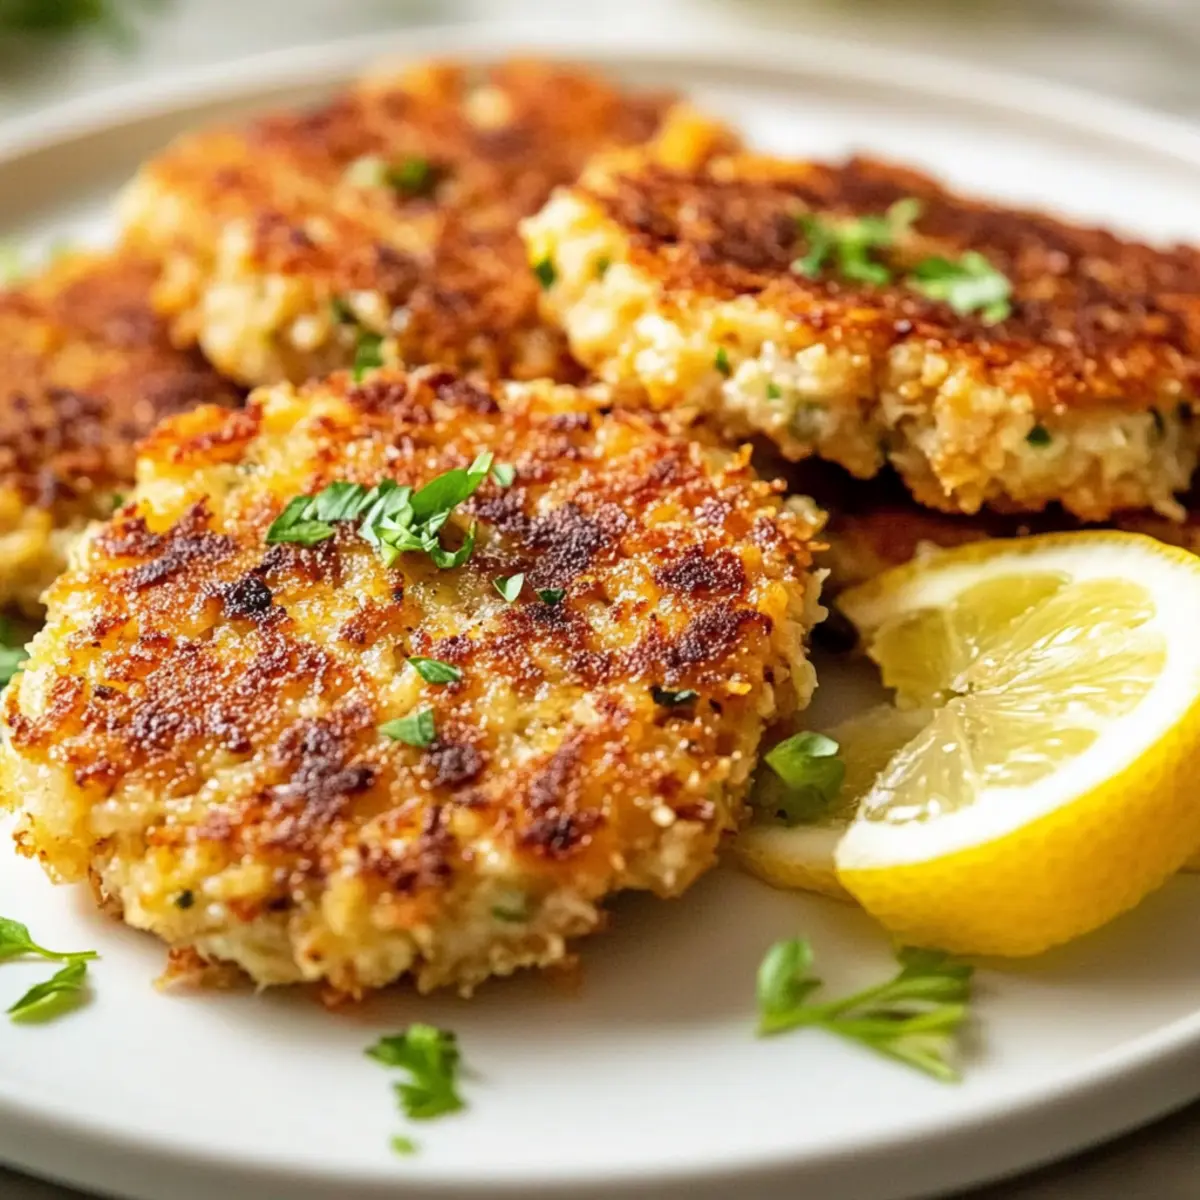
Serve your warm Garlic & Herb Tuna Patties with a side of southern coleslaw or mixed greens for a complete meal. If you’re looking for that extra zing, consider drizzling sriracha mayo on top or serving them with a zesty dip. These crispy patties are perfect for busy weeknights or casual weekend gatherings, promising a delightful family-friendly dish that’s sure to please!
Variations & Substitutions for Garlic & Herb Tuna Patties
Want to make these Garlic & Herb Tuna Patties your own? Let your creativity shine in the kitchen and customize to your taste!
-
Dairy-Free: Replace Parmesan with nutritional yeast for a cheesy flavor without the dairy.
-
Gluten-Free: Swap panko for gluten-free breadcrumbs or crushed rice crackers to keep it crispy without gluten.
-
Veggie-Packed: Incorporate finely diced bell peppers or shredded zucchini for added nutrition and a pop of color.
-
Spicy Kick: Mix in some chopped jalapeños or a dash of cayenne pepper for an exciting heat that will awaken your taste buds.
-
Herb Twists: Experiment with fresh herbs like dill or cilantro instead of dried parsley, giving your patties a unique aromatic touch.
-
Crispy Baking: Instead of frying, bake patties at 400°F (200°C) on a parchment-lined baking sheet for about 20 minutes, flipping halfway for a healthier option.
-
Tangy Citrus: Swap lemon juice for lime juice for a zesty flavor variation that pairs beautifully with tuna.
-
Gourmet Finish: Top with a dollop of avocado crema or serve with Garlic Butter Steak Bites for an elevated dining experience that your family will adore.
Mix and match these variations to suit your taste or dietary needs! Feeling adventurous? Try pairing your patties with a refreshing salad or some delightful Garlic Parmesan Chicken for a full-flavored meal that’s sure to impress.
Expert Tips for Garlic & Herb Tuna Patties
-
Choose Quality Tuna: Use high-quality canned tuna for the best flavor. Well-drained tuna ensures your patties won’t be soggy.
-
Chill the Mixture: If possible, chill the tuna mixture for 30 minutes before forming patties. This helps them hold together better while frying.
-
Light Coating: Coat patties lightly with panko before frying. A thick layer can become too crunchy, overshadowing the delightful flavors of the garlic & herb mixture.
-
Watch the Heat: Maintain medium-high heat for frying. Too low and they’ll absorb oil; too high can burn the outside before cooking through.
-
Skip the Overcrowding: Fry in small batches to ensure each Garlic & Herb Tuna Patty gets crispy and evenly cooked without steaming.
-
Customize to Taste: Feel free to adjust herbs and spices based on your preferences. Adding more garlic gives a robust flavor, while extra dill adds a fresh twist!
Make Ahead Options
These Crispy Lemon Parmesan Garlic & Herb Tuna Patties are ideal for meal prep! You can mix the tuna mixture and shape the patties up to 24 hours in advance, storing them tightly covered in the refrigerator to maintain their moisture and prevent them from drying out. If you’re looking to prep even further ahead, feel free to freeze the formed patties, wrapped individually in plastic wrap, for up to two months. When you’re ready to enjoy, simply thaw the patties overnight in the refrigerator. For a quick finish, just heat up some vegetable oil in a skillet and fry until golden brown—it’s a simple way to make mealtime easier while ensuring these patties stay just as delicious!
How to Store and Freeze Garlic & Herb Tuna Patties
Fridge: Store leftover Garlic & Herb Tuna Patties in an airtight container in the refrigerator for up to 3 days. Reheat them in a skillet over medium heat to regain crispness.
Freezer: For long-term storage, freeze uncooked patties on a baking sheet until firm, then transfer to a freezer-safe bag. They can be frozen for up to 2 months.
Reheating: To reheat cooked patties from the fridge, warm them in a skillet over medium heat for about 2-3 minutes on each side. For frozen patties, cook directly from frozen, adding an extra minute or two to the cooking time.
Make Ahead: Prepare the mixture and form the patties a day in advance, storing them in the fridge before frying for a quick dinner solution on busy nights.
What to Serve with Crispy Lemon Parmesan Tuna Patties
Elevate your dinner table with these delicious patties paired perfectly with fresh sides and delightful extras.
-
Southern Coleslaw: This crunchy, tangy side complements the savory tuna patties, providing a refreshing contrast that’s simply irresistible. A classic pairing, it’s both comforting and uplifting!
-
Garden Salad: Mixed greens topped with cherry tomatoes, cucumbers, and a light vinaigrette bring a fresh crunch, brightening the plate and palate alike. It serves as a healthy balance to the rich flavors of the patties.
-
Garlic Bread: The bold garlic flavor in the bread echoes the richness of the patties, making it a hearty, delightful choice that satisfies. Plus, who doesn’t love dipping it into a little zesty sauce?
-
Quinoa Pilaf: Nutty quinoa with stir-fried vegetables offers a wholesome, fiber-packed side that nicely rounds out the meal. It adds texture and nutrition while enhancing the dish’s flavor profile.
-
Crispy Roasted Potatoes: Seasoned with garlic and herbs, these crispy spuds provide a satisfying crunch that pairs well with the tuna. Their earthy flavors complement the tuna patties exquisitely.
-
Zesty Lemon Aioli: A creamy, tart dip that enhances the freshness of the patties, offering an extra layer of flavor that brightens every bite. Perfect for those who enjoy a little extra zing!
-
Chilled White Wine: A crisp Sauvignon Blanc or a light Pinot Grigio pairs beautifully with the savory tuna patties, cleansing the palate and enhancing your dining experience.
Enjoy these pairings to create a delectable and memorable meal centered around your Crispy Lemon Parmesan Tuna Patties!
Garlic & Herb Tuna Patties Recipe FAQs
What type of tuna should I use for the patties?
Absolutely! I recommend using high-quality canned tuna packed in water, as it provides the best flavor and texture. Make sure to drain it well to avoid sogginess in your patties.
How should I store leftover tuna patties?
You can store leftover Garlic & Herb Tuna Patties in an airtight container in the refrigerator for up to 3 days. To reheat, simply warm them in a skillet over medium heat for about 2-3 minutes on each side to regain that delightful crispiness.
Can I freeze tuna patties for later use?
Certainly! To freeze uncooked patties, place them on a baking sheet and freeze until firm, then transfer to a freezer-safe bag. They can be frozen for up to 2 months. When you’re ready to cook, simply fry them straight from frozen, adding an extra minute or two to the cooking time.
What if my patties are falling apart while cooking?
If you find that your Garlic & Herb Tuna Patties are falling apart, try chilling the tuna mixture for about 30 minutes before forming the patties. This helps the mixture bind better. Also, ensure you’re using enough egg, as it acts as a binder. Holding the patties gently while frying can help them maintain their shape, too!
Are these tuna patties suitable for a gluten-free diet?
Yes, you can make these patties gluten-free by substituting regular panko breadcrumbs with gluten-free panko. This way, you can still enjoy the crispy texture without any gluten, making them suitable for those with gluten sensitivities.
What can I serve with these tuna patties?
I often pair Garlic & Herb Tuna Patties with a refreshing side of southern coleslaw, mixed greens, or even a zesty dip like sriracha mayo for an extra kick. They’re versatile and delicious alongside many sides!
Savory Garlic & Herb Tuna Patties – Quick and Delicious Treat
Ingredients
Equipment
Method
- In a large mixing bowl, combine well-drained canned tuna, minced garlic, chopped red onions, dried parsley, onion powder, dill, crushed red pepper, celery seeds, salt, and pepper. Add mayonnaise, lemon juice, and zest, then incorporate beaten eggs and grated Parmesan. Mix thoroughly.
- Scoop about ¼ cup of the mixture and shape it into a patty. Lightly coat each side of the patty with panko breadcrumbs.
- Heat vegetable oil in a large skillet over medium-high heat until it shimmers. Fry 3-4 patties for about 3-4 minutes on each side until golden-brown.
- Remove the patties from the skillet and transfer them to a plate lined with paper towels to absorb excess oil. Allow them to cool slightly before serving.
- Serve warm with a side of southern coleslaw or mixed greens.
Leave a Reply