
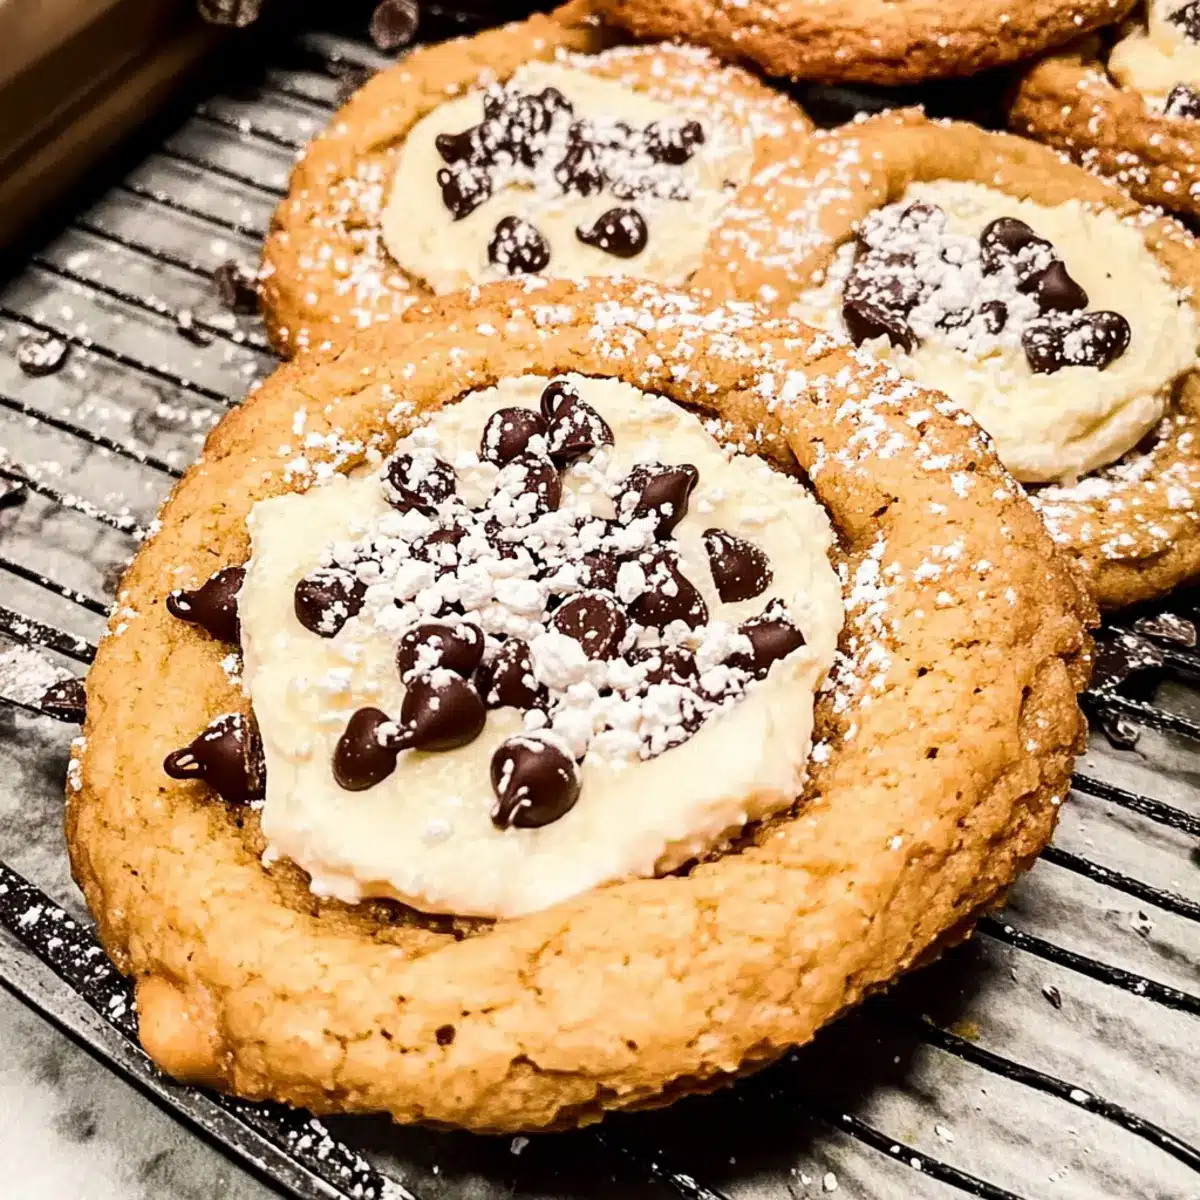
As I stood in my kitchen, the aroma of vanilla and warm butter wafted through the air, reminding me of family gatherings filled with laughter and joy. These Cannoli Cookies are a delightful homage to the classic Italian dessert, offering all the rich flavors of traditional cannoli in a soft, chewy cookie format. What I love most is how easy they are to make—perfect for bakers of any level—and they never fail to impress during the holiday season. With a luscious ricotta filling and a hint of chocolate, these cookies become an instant crowd-pleaser at any gathering. Plus, they can be made ahead of time, allowing you to enjoy the festivities without the last-minute rush. Are you ready to fill your home with the irresistible scent of these Cannoli Cookies? Let’s dive in!
Why Are Cannoli Cookies a Must-Try?
Irresistible Flavor: Imagine the rich, creamy taste of classic cannoli combined with a soft cookie—pure bliss!
Easy Preparation: With simple ingredients and straightforward steps, even novice bakers can whip these up effortlessly.
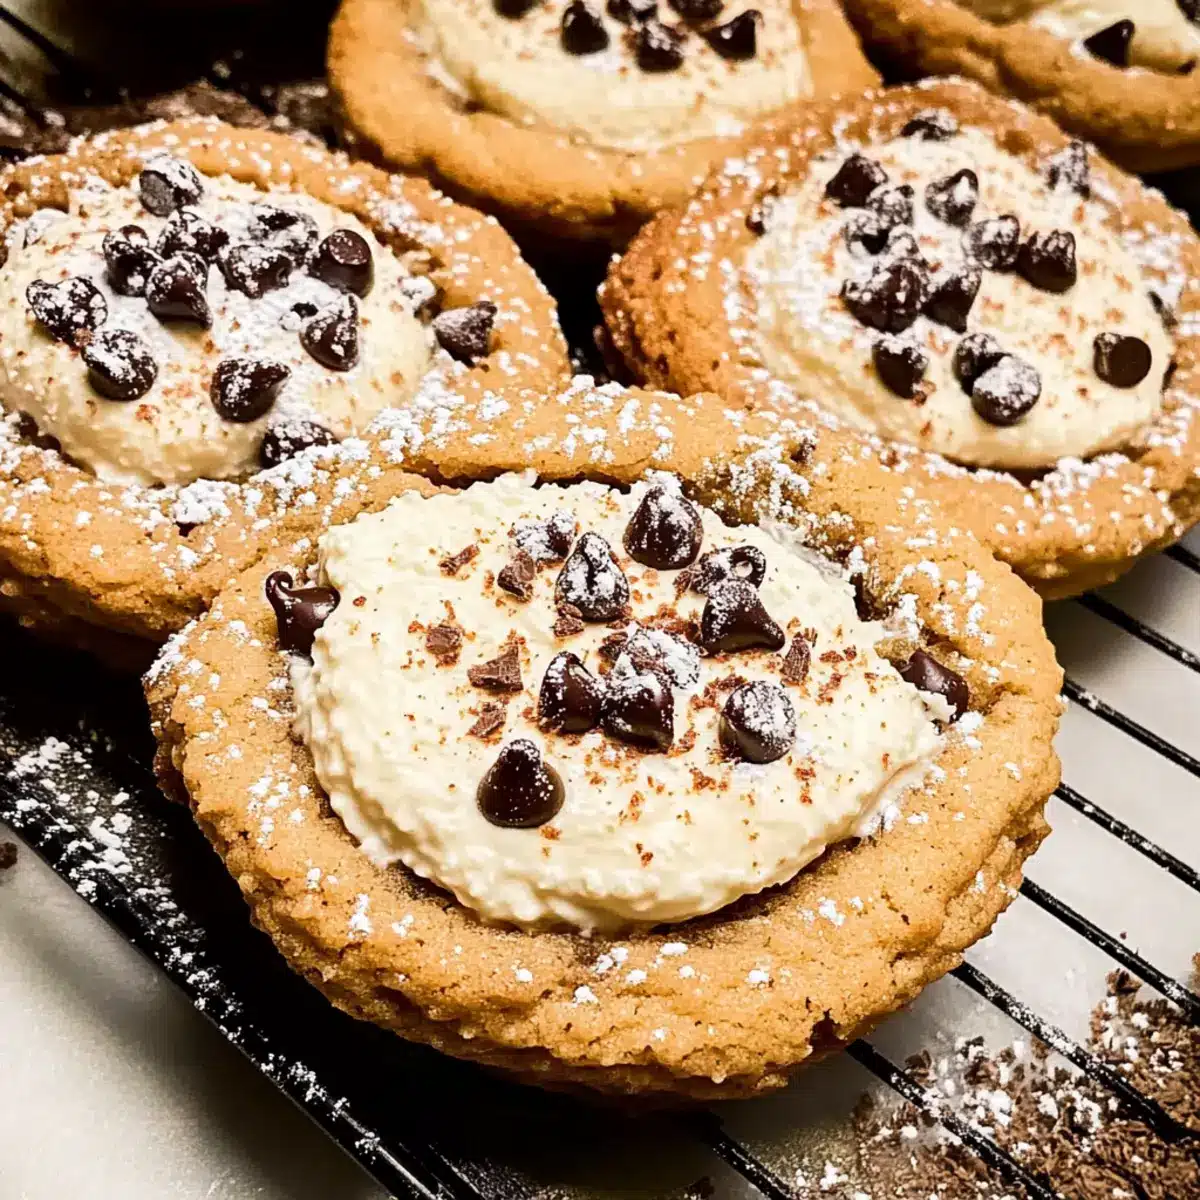
Perfect Addition: These cookies shine on holiday cookie trays, offering your guests a delightful surprise that’s bound to impress.
Make Ahead: Prepare them in advance to save time during busy celebrations and enjoy stress-free entertaining!
Versatile Filling: Feel free to experiment by adding citrus zest or swapping ricotta for mascarpone for a unique twist—versatility at its best!
If you’re curious about more exciting cookie variations, check out these Cheesecake Stuffed Cookies or Blueberry Heaven Cookies to keep your cookie game fresh!
Cannoli Cookies Ingredients
• Get ready to make irresistible Cannoli Cookies!
For the Cookie Dough
- ¾ cup salted butter – Provides richness and moisture; you can substitute with regular butter if preferred.
- ¼ cup sugar – Adds a touch of sweetness.
- 1 cup brown sugar – Contributes a deep caramel flavor and moisture that complements the cookies beautifully.
- 2 eggs – Essential for binding and adding richness to the dough.
- 1 teaspoon vanilla – Enhances the overall flavor profile and warmth of the cookies.
- 2 ¼ cups flour – Acts as the main structure, resulting in a soft and chewy texture.
- 1 teaspoon baking soda – This leavening agent helps the cookies rise for that perfect soft bite.
- ½ teaspoon salt – Balances sweetness and enhances all the flavors.
- 1 cup mini chocolate chips – Provides delightful bursts of chocolate flavor; regular chocolate chips can be used as a substitute.
For the Filling
- 1 cup whole milk ricotta (strained) – The creamy star of the filling; ensure it’s well-strained to prevent a soggy filling.
- 1 cup powdered sugar – Sweetens the filling, creating a delightful balance with the ricotta.
- ¼ cup mini chocolate chips – Adds texture and extra chocolatey flavor to the filling.
- ⅛ teaspoon cinnamon – Offers a warm spice note that harmonizes beautifully with the ricotta.
Embrace the holiday spirit with these Cannoli Cookies—easy to make and utterly delicious!
Step‑by‑Step Instructions for CANNOLI COOKIES
Step 1: Strain Ricotta
Begin by placing 1 cup of whole milk ricotta in a cheesecloth or fine mesh strainer. Squeeze out any excess liquid until the ricotta is thick and creamy, discarding the drained liquid to avoid a soggy filling. This process takes about 5 minutes and is crucial for achieving the ideal texture in your Cannoli Cookies.
Step 2: Prepare Filling
In a medium bowl, combine the strained ricotta, 1 cup of powdered sugar, ⅛ teaspoon of cinnamon, and ¼ cup of mini chocolate chips. Use a sturdy spatula to mix everything until smooth and well incorporated. This delightful filling will set the stage for the rich flavor of your Cannoli Cookies, so be sure it’s blended thoroughly before moving to the next step.
Step 3: Make Cookie Dough
In a large mixing bowl, beat ¾ cup of softened salted butter with an electric mixer until it’s light and fluffy, about 2-3 minutes. Gradually add ¼ cup of sugar and 1 cup of brown sugar, continuing to mix until the sugars are fully combined and the mixture is creamy. This creates a rich base for your Cannoli Cookies, inviting warm aromas into your kitchen.
Step 4: Add Wet Ingredients
Incorporate 2 eggs and 1 teaspoon of vanilla extract into the butter-sugar mixture. Beat on medium speed until the mixture turns pale and well blended, approximately 1-2 minutes. The combination of these wet ingredients adds moisture and enhances the overall richness of your cookie dough, setting the stage for the perfect Cannoli Cookies.
Step 5: Combine Dry Ingredients
In a separate bowl, whisk together 2 ¼ cups of flour, 1 teaspoon of baking soda, and ½ teaspoon of salt. Gradually add this dry mixture to the wet ingredients, mixing on low speed until just combined. Be careful not to overmix, as this ensures your Cannoli Cookies remain soft and chewy, ready to be filled with that luscious ricotta mixture.
Step 6: Incorporate Chocolate Chips
Gently fold 1 cup of mini chocolate chips into the cookie dough using a spatula, ensuring even distribution. This step adds delightful pockets of chocolate that will complement the creamy ricotta filling. The dough should be thick but cohesive, signaling it’s ready for shaping into cookies.
Step 7: Shape Cookies
Preheat your oven to 350°F (175°C). Take small portions of the dough and roll them into balls, about 1.5 inches in diameter. Place them on a parchment-lined baking sheet, lightly pressing each ball to flatten it slightly. Create a small well in the center of each cookie to hold the ricotta filling, which will make for beautifully shaped Cannoli Cookies.
Step 8: Fill Cookies
Spoon about 1 tablespoon of the prepared ricotta filling into the well of each flattened cookie. Be generous but avoid overfilling; this step adds a delicious surprise in every bite of your Cannoli Cookies. The filling will bake beautifully, melding with the cookie to create a delightful dessert experience.
Step 9: Chill
Place the filled cookies in the refrigerator for about 30 minutes. Chilling helps the dough firm up, making them easier to handle and allowing the flavors to meld together, ensuring your Cannoli Cookies turn out perfectly soft and chewy after baking.
Step 10: Bake
Remove the chilled cookies from the fridge and bake in the preheated oven for 14 minutes, or until they are golden around the edges. The centers may look slightly underbaked, which is ideal for maintaining that soft texture. Allow the cookies to cool completely on the baking sheet before transferring them to a wire rack.
Step 11: Dust and Serve
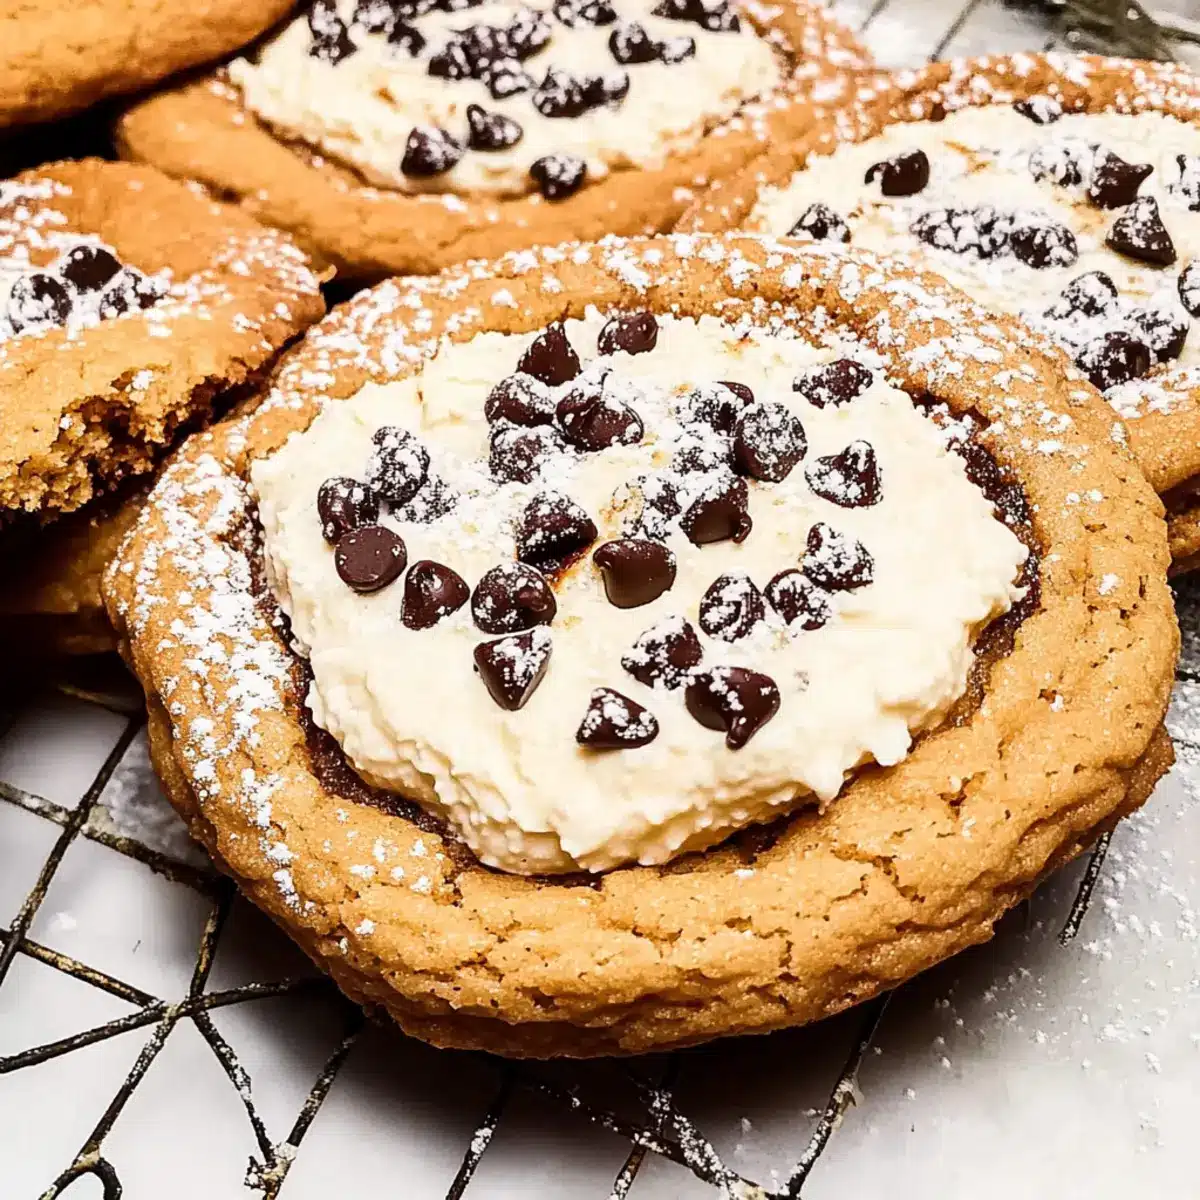
Once fully cooled, dust your Cannoli Cookies with powdered sugar for a festive touch. This final step not only adds a beautiful presentation but also a touch of sweetness that perfectly complements the rich filling. Serve these delightful treats to family and friends during your holiday gatherings and enjoy the compliments!

Expert Tips for Cannoli Cookies
Strain Well: Ensure your ricotta is thoroughly strained to achieve a creamy filling. A soggy filling can ruin the texture of your Cannoli Cookies.
Beat Butter Softly: For a fluffy dough, beat the butter until very soft. This creates airiness, giving your cookies that desirable chewy texture.
Create Deep Wells: When shaping your cookies, press down deeply enough to allow space for the ricotta filling. This ensures each bite is delightfully filled.
Chill for Perfection: Don’t skip the chilling step; it helps the dough hold its shape while baking, resulting in lovely Cannoli Cookies that don’t spread too much.
Avoid Overmixing: Mix the dough until just combined to maintain a soft and tender cookie. Overmixing can lead to a tougher texture.
How to Store and Freeze Cannoli Cookies
Room Temperature: Keep your Cannoli Cookies in an airtight container for up to 3 days to maintain their freshness and flavor.
Fridge: For longer storage, place the cookies in the refrigerator in a sealed container for up to a week. This ensures that the ricotta filling stays fresh and firm.
Freezer: You can freeze the baked cookies for up to 2 months. Place them in a single layer on a baking sheet to freeze, then transfer to an airtight container or freezer bag.
Reheating: If you prefer warm cookies, simply pop them in the microwave for about 10-15 seconds to enjoy that melt-in-your-mouth texture again!
What to Serve with Cannoli Cookies
Baking Cannoli Cookies is just the start; let’s turn these delightful treats into a memorable feast!
-
Rich Hot Chocolate: A thick, creamy hot chocolate pairs perfectly, enhancing the cookie’s sweetness while offering a comforting drink option.
-
Espresso: The bold flavor of espresso complements the cookies, making it a classic Italian pairing that’s invigorating and delicious.
-
Italian Biscotti: These crunchy cookies provide a lovely contrast in texture; dipped in coffee, they create a delightful moment of indulgence.
-
Fresh Fruit Salad: A refreshing mix of berries, citrus, and melons adds brightness to your plate, balancing the richness of the Cannoli Cookies beautifully.
-
Tiramisu Trifle: Layered with mascarpone and coffee-soaked ladyfingers, this dessert echoes the Italian theme and offers a luxurious addition to your cookie ensemble.
-
Zesty Lemon Bars: Their bright, tangy flavor cuts through the sweetness, providing a refreshing palate cleanser that keeps guests returning for more.
Creating a delightful spread around your Cannoli Cookies elevates simple gatherings into cherished memories filled with warmth and flavor. Enjoy!
Variations & Substitutions for CANNOLI COOKIES
Get ready to explore delightful twists on these Cannoli Cookies that can make them uniquely yours!
- Mascarpone Swap: Replace ricotta with mascarpone for an even creamier filling. This luxurious option will elevate the cookies to new heights!
- Citrus Zest Boost: Add a teaspoon of lemon or orange zest to the filling for a refreshing zing. The bright flavor will complement the rich ricotta beautifully.
- Dark Chocolate Delight: Use dark chocolate chips instead of mini chocolate chips for a rich and intense chocolate flavor. It’s a decadent way to satisfy chocolate cravings!
- Nutty Addition: Fold in a handful of finely chopped pistachios into the dough for added crunch and a taste that screams Italian desserts!
- Gluten-Free Option: Swap the all-purpose flour with a gluten-free blend to accommodate those with gluten sensitivities, ensuring everyone can indulge.
- Dairy-Free Twist: Opt for a dairy-free ricotta alternative and use coconut oil instead of butter for a delicious dairy-free version of these cookies.
- Spicy Kick: Mix in a pinch of cayenne pepper or finely chopped candied ginger to the filling for a surprising hint of spice that balances the sweetness.
- Fun Colors: Create festive vibes by adding a drop or two of food coloring to your ricotta filling, making it even more visually appealing for holiday trays.
Feeling adventurous? If you enjoy rich flavors, these Chocolate Cherry Cookies or these Apple Oatmeal Cookies are fantastic alternatives to explore too!
Make Ahead Options
These Cannoli Cookies are an absolute lifesaver for busy home cooks! You can prepare the cookie dough and the ricotta filling up to 24 hours in advance. Simply follow the instructions to make the dough, then shape your cookies and chill them in the refrigerator. For the filling, mix together the strained ricotta, powdered sugar, cinnamon, and chocolate chips, and keep it covered in the fridge until you’re ready to use it. When it’s time to bake, just spoon the filling into the chilled cookies and pop them in the oven for fresh, delightful Cannoli Cookies that taste just as delicious as if made on the same day. This way, you save time and enjoy stress-free entertaining during the holidays!
Cannoli Cookies Recipe FAQs
What type of ricotta should I use for the filling?
Absolutely, it’s best to use whole milk ricotta for a creamy and rich texture in your Cannoli Cookies. Be sure to strain the ricotta well to remove excess moisture, which can lead to a soggy filling. If you’re in a pinch, you can also use part-skim ricotta, but omit any watery residue to ensure the filling stays intact.
How should I store Cannoli Cookies?
To keep your Cannoli Cookies fresh, store them in an airtight container at room temperature for up to 3 days. However, if you’d like to extend their life, refrigerate them in a sealed container for up to a week. This method keeps the ricotta filling firm and delicious!
Can I freeze Cannoli Cookies?
Yes, you can freeze your Cannoli Cookies! To do this, place them in a single layer on a baking sheet and freeze until solid. Once frozen, transfer them to an airtight container or a freezer bag, where they can be stored for up to 2 months. When you’re ready to enjoy them, simply thaw in the fridge and warm them slightly in the microwave.
What if my cookie dough is too sticky?
If you find your dough is too sticky, don’t worry! You can sprinkle a little extra flour onto your work surface and incorporate it gently until the dough is manageable. Just be careful not to add too much flour, as it could toughen the cookies. Also, chilling the dough for about 30 minutes can help firm it up and make it easier to handle.
Are Cannoli Cookies safe for kids or those with allergies?
Very! Cannoli Cookies are generally safe for kids. However, always check for allergies to specific ingredients like eggs or dairy. If you need to make adjustments for dietary restrictions, consider using dairy-free chocolate chips or a vegan ricotta substitute. These adjustments will keep everyone included during your holiday baking!
How can I customize my Cannoli Cookies?
Feel free to get creative with your Cannoli Cookies! You can substitute ricotta with mascarpone for a richer filling or add citrus zest, like orange or lemon, to the ricotta mixture for a refreshing twist. The more the merrier when it comes to flavors! Just keep experimenting until you find your perfect combination.
Delicious Cannoli Cookies That Will Wow Your Holiday Guests
Ingredients
Equipment
Method
- Begin by placing 1 cup of whole milk ricotta in a cheesecloth or fine mesh strainer. Squeeze out any excess liquid until the ricotta is thick and creamy, discarding the drained liquid.
- In a medium bowl, combine the strained ricotta, 1 cup of powdered sugar, ⅛ teaspoon of cinnamon, and ¼ cup of mini chocolate chips. Mix until smooth.
- In a large mixing bowl, beat ¾ cup of softened salted butter with an electric mixer until light and fluffy, about 2-3 minutes. Gradually add ¼ cup of sugar and 1 cup of brown sugar.
- Incorporate 2 eggs and 1 teaspoon of vanilla extract into the butter-sugar mixture. Beat until pale and well blended, approximately 1-2 minutes.
- In a separate bowl, whisk together 2 ¼ cups of flour, 1 teaspoon of baking soda, and ½ teaspoon of salt. Gradually add this dry mixture to the wet ingredients, mixing until just combined.
- Gently fold 1 cup of mini chocolate chips into the cookie dough using a spatula.
- Preheat your oven to 350°F (175°C). Roll small portions of the dough into balls, about 1.5 inches in diameter. Flatten them slightly and create a small well in the center.
- Spoon about 1 tablespoon of the prepared ricotta filling into the well of each cookie.
- Place the filled cookies in the refrigerator for about 30 minutes.
- Remove the chilled cookies and bake in the preheated oven for 14 minutes or until golden around the edges.
- Once cooled, dust your Cannoli Cookies with powdered sugar.
Leave a Reply