
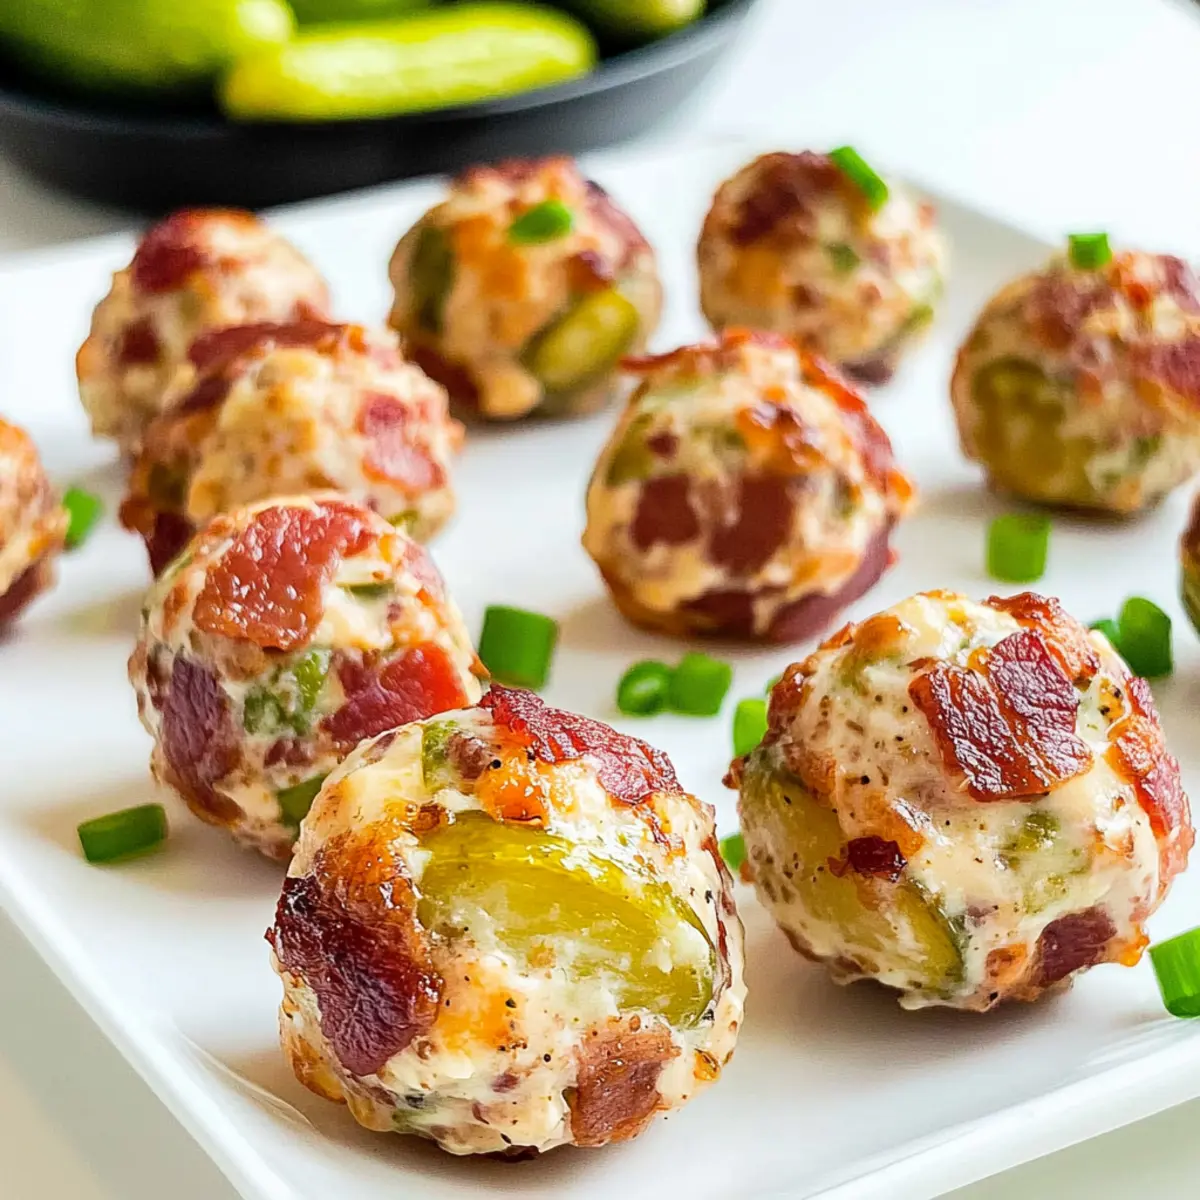
As I rummaged through my fridge one afternoon, the jar of dill pickles caught my eye, and suddenly, inspiration struck. What if I could transform those crunchy, tangy bites into something truly delightful? Enter my Keto Dill Pickle Fat Bombs with Crispy Bacon! These savory, bite-sized wonders are not only a breeze to whip up in just 30 minutes, but they also appeal perfectly to keto devotees looking for a wholesome snack. Packed with creamy cheese and wrapped in crispy bacon, they provide a satisfying crunch that’s equally at home as a low-carb appetizer or a playful addition to your lunch box. Ready to impress your taste buds and simplify your snacking routine? Let’s dive into the joy of making these irresistible treats!
Why Are Dill Pickle Fat Bombs a Must-Try?
Irresistible Flavor: The tangy taste of dill pickles paired with crispy bacon creates a unique flavor that will keep you coming back for more.
Quick and Easy: In just 30 minutes, you can whip up a batch of these delightful fat bombs, making them perfect for busy individuals.
Keto-Friendly: High in healthy fats and low in carbs, these snacks fit perfectly into any keto lifestyle, providing satisfying nourishment without the guilt.
Versatile Snacking: Great for game days, parties, or a personal treat, they’ll please guests and family alike, transforming any gathering into a celebration of flavor.
Make Ahead: Batch cooking is a breeze! Prepare and store them for up to four days in the fridge, or freeze for an easy grab-and-go snack later.anchorText
Dill Pickle Fat Bombs Ingredients
• For the Base
- Cream Cheese – Provides a creamy texture and acts as the base; you can substitute reduced-fat cream cheese if desired.
- Dill Pickles – Essential for flavor; using refrigerated dill pickles adds crunch and brightness.
- Cheddar Cheese – Adds sharpness and creaminess; freshly shredded cheese from a block delivers the richest flavor.
• For Flavor Enhancement
- Garlic Powder – Enhances overall flavor; fresh minced garlic can provide a stronger taste.
- Pickle Juice – Intensifies the dill pickle flavor; there’s no real substitute for its unique tang.
- Fresh Dill – Complements the pickle flavor beautifully; dried dill weed can be used in a pinch.
- Green Onions – Adds a fresh crunch; you can also swap in chives if needed.
• For the Crunchy Coating
- Bacon – Provides a crispy outer layer; alternatives include crispy bacon bits or vegetarian options like Panko breadcrumbs or crushed nuts.
Now you’re all set to whip up the delightful Dill Pickle Fat Bombs that promise to tantalize your taste buds!
Step‑by‑Step Instructions for Dill Pickle Fat Bombs
Step 1: Soften Cream Cheese
Begin by softening the cream cheese, as it’s crucial for making your Dill Pickle Fat Bombs creamy and easy to mix. Leave it at room temperature for about 30-60 minutes. If you need to speed it up, consider microwaving it for 10-15 seconds or submerging the sealed package in warm water, checking until it’s pliable.
Step 2: Mix Ingredients
In a large mixing bowl, combine the softened cream cheese with chopped dill pickles, shredded cheddar cheese, garlic powder, pickle juice, fresh dill, and chopped green onions. Stir the mixture thoroughly using a spatula until all ingredients are well-blended and form a smooth, cohesive mixture. This creamy base is what makes your Dill Pickle Fat Bombs truly irresistible!
Step 3: Prepare Bacon
While your mixture is coming together, take care of the bacon that will add a delightful crunch to your fat bombs. Cook several strips of bacon in a skillet over medium heat until crispy, about 8-10 minutes. Once cooked, drain on paper towels and crumble into small pieces that will easily coat each fat bomb.
Step 4: Form Balls
Next, using your hands (gloves are optional but helpful for cleanliness), scoop out portions of the pickle mixture and roll them into bite-sized balls, about 1 inch in diameter. If the mixture feels too soft to shape, place it in the freezer for about 30 minutes to firm up, making the rolling process easier and more effective.
Step 5: Coat with Bacon
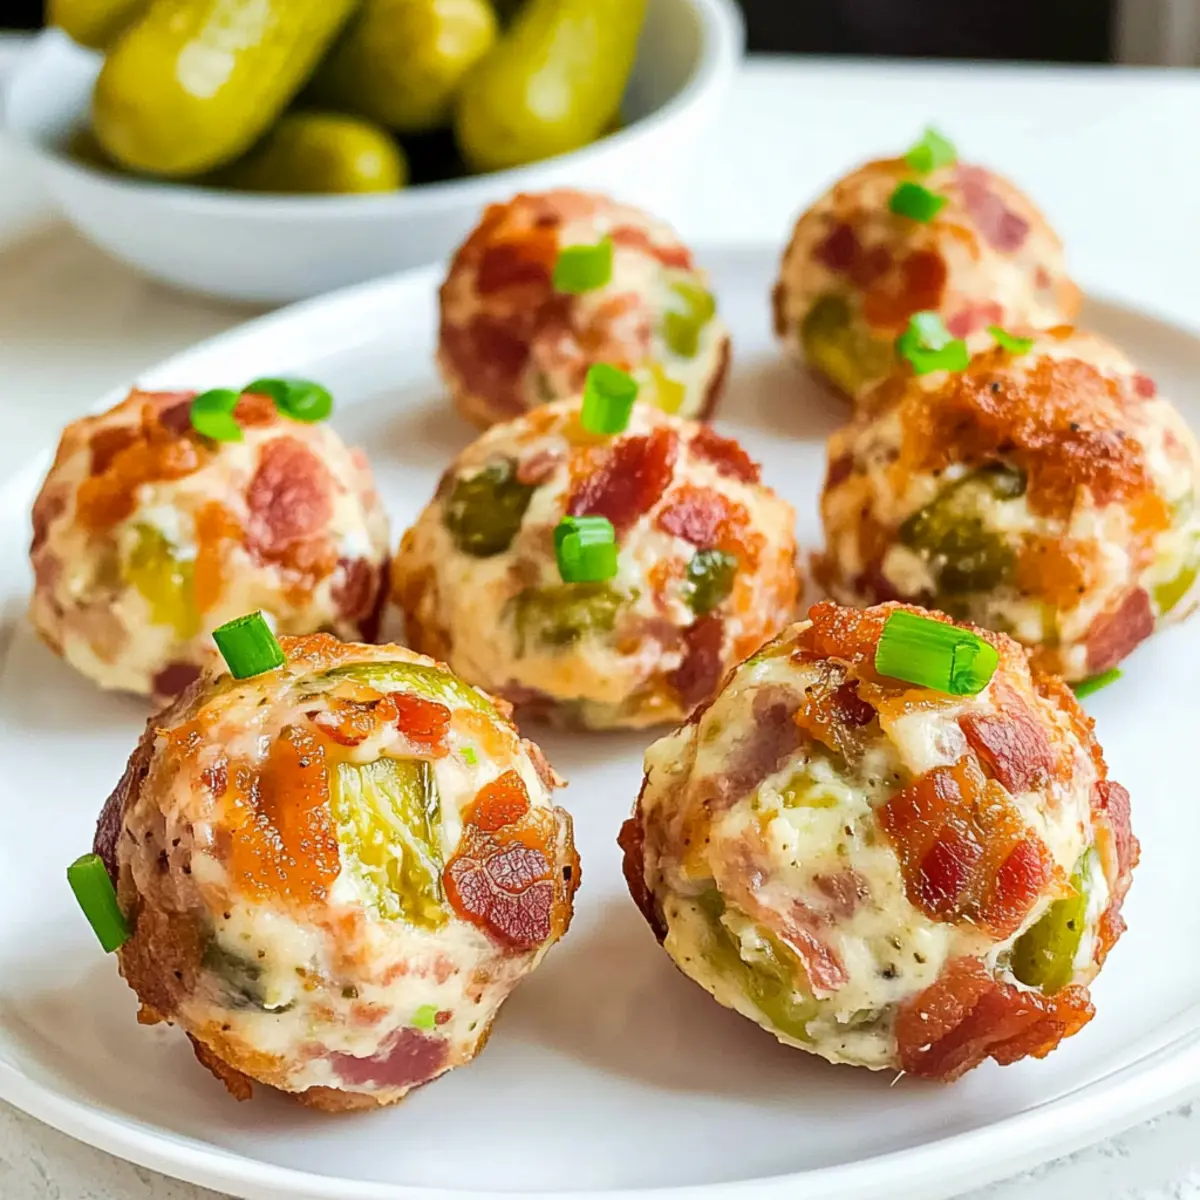
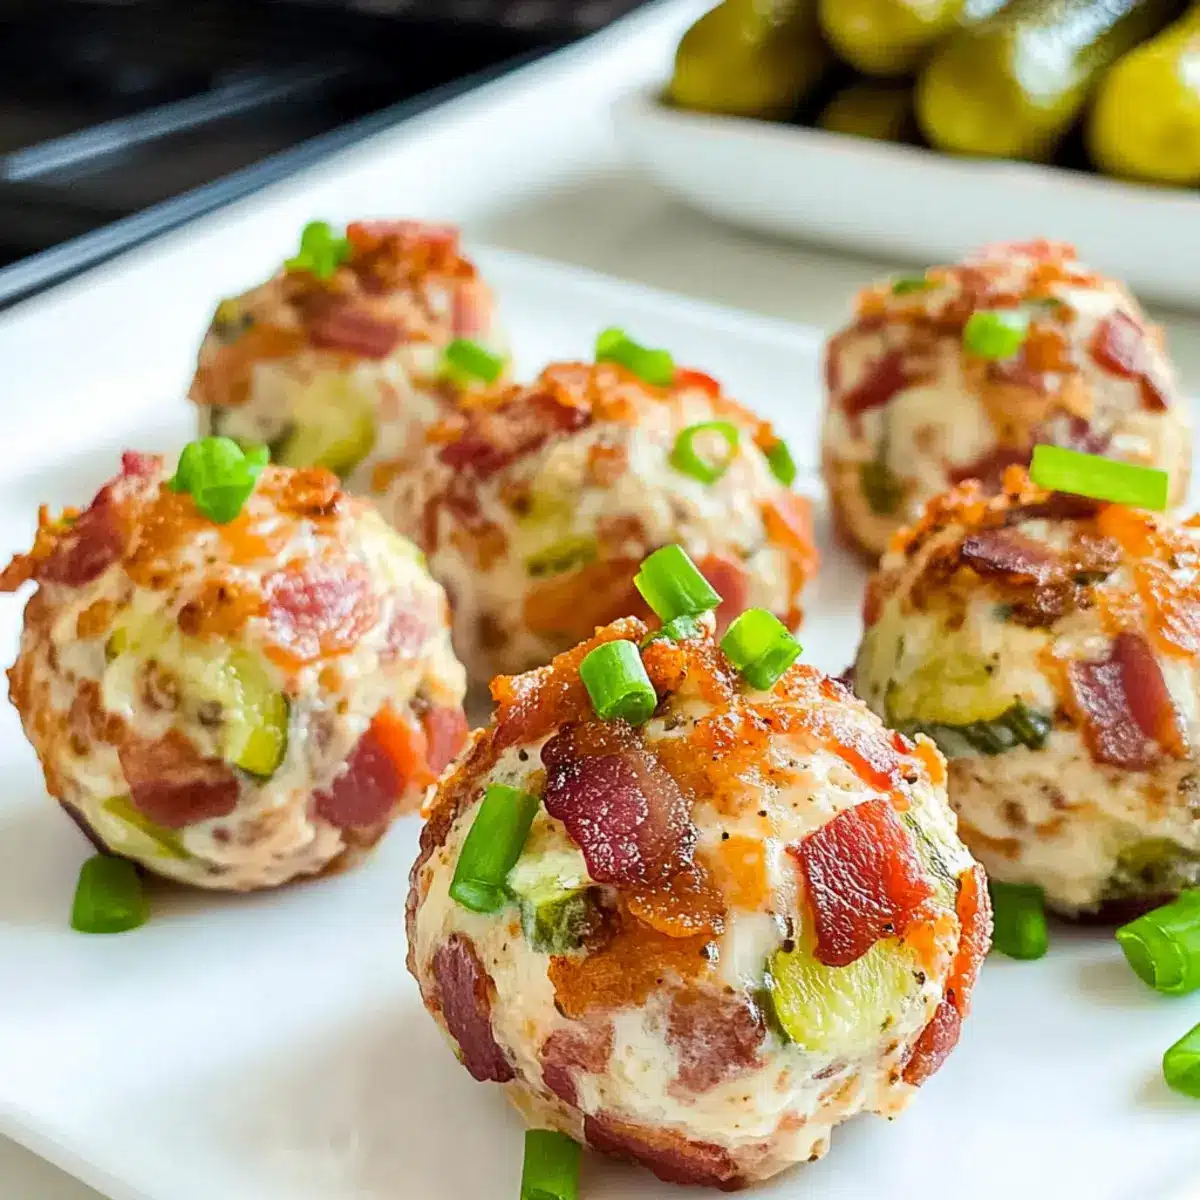
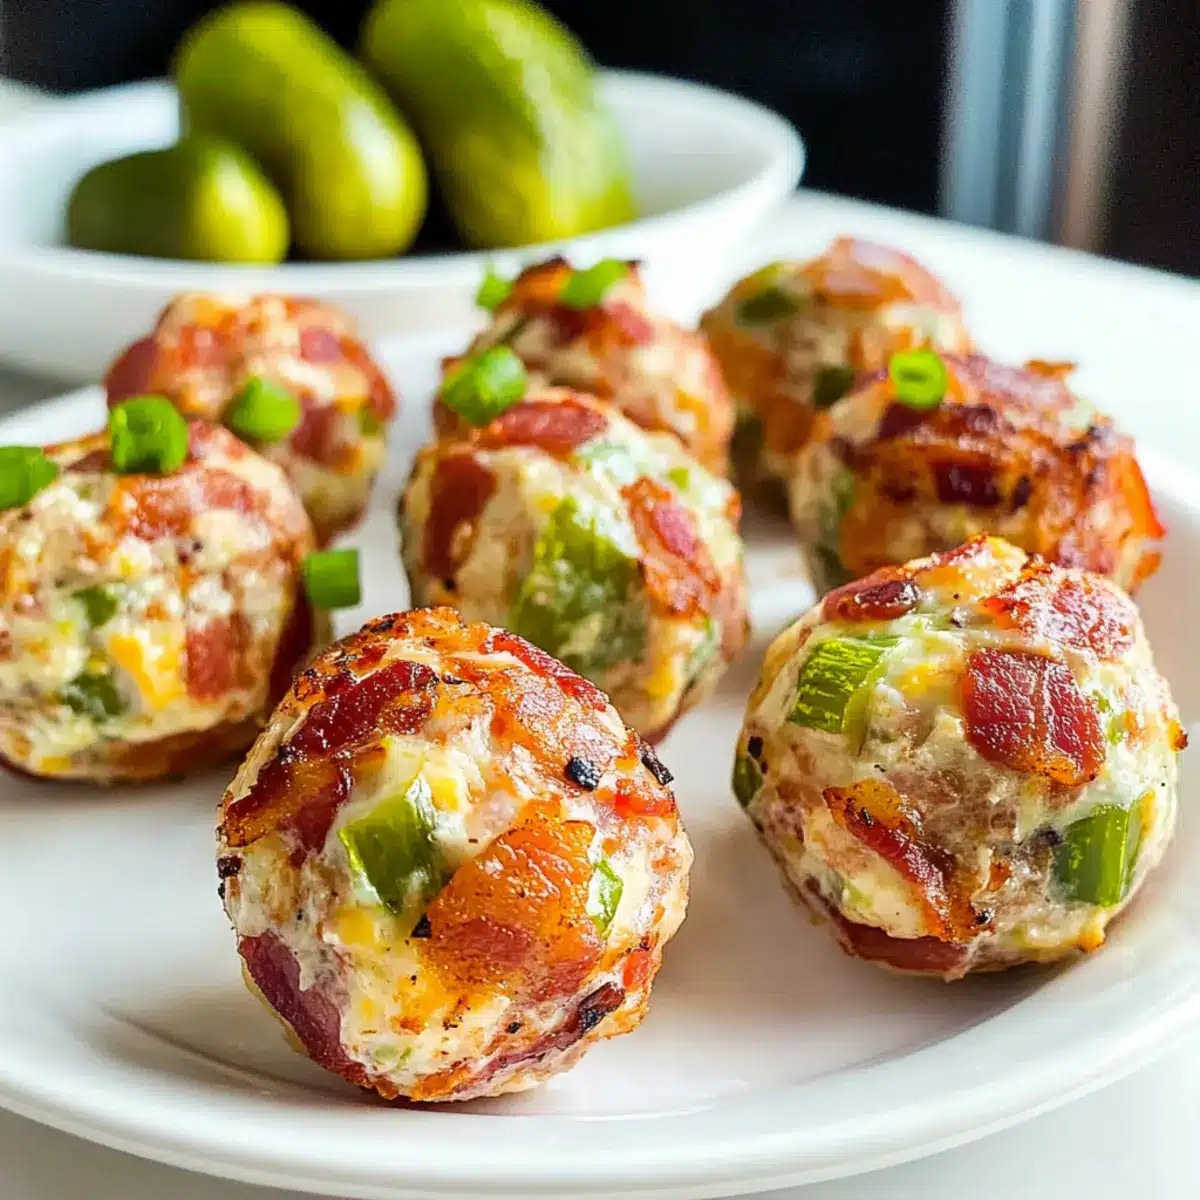
Once your balls are formed, take each one and roll it in the crumbled bacon pieces until completely coated. This step will give your Dill Pickle Fat Bombs that delightful crispy exterior, adding both texture and flavor. Ensure each ball has a generous layer of bacon for maximum satisfaction in every bite.
Step 6: Store
Finally, place your finished Dill Pickle Fat Bombs in an airtight container. They can be refrigerated for up to 4 days, making them a convenient snack option. For longer storage, freeze the fat bombs for up to 3 months, allowing you to enjoy these tangy treats anytime a craving strikes!
Expert Tips for Dill Pickle Fat Bombs
- Softening Cream Cheese: Ensure the cream cheese is properly softened to make mixing easier; avoid using high heat to prevent it from becoming too runny.
- Chill If Necessary: If your mixture is too soft to roll, chill it in the freezer for short bursts—30 minutes at a time—until it’s manageable.
- Use Real Ingredients: Opt for freshly shredded cheddar and avoid pre-shredded cheese, which often contains anti-caking agents that can alter texture.
- Glove Up: Using gloves while rolling the fat bombs keeps your hands clean and makes handling the mixture easier.
- Bacon Alternatives: If omitting bacon, consider using spiced Panko breadcrumbs or crushed nuts to maintain that satisfying crunch.
- Flavor Variations: To switch things up, try adding a teaspoon of ranch seasoning for an extra zing or experiment with different cheeses for unique flavors.
Dill Pickle Fat Bombs Variations
Feel free to get creative with your Dill Pickle Fat Bombs and make them your own with these delicious tweaks!
- Herbed Blend: Add a mix of your favorite herbs, like thyme or parsley, for an aromatic twist.
- Cheese Variants: Swap cheddar for pepper jack to bring a spicy kick to your savory bombs.
- Vegan Option: Replace cream cheese with cashew cream and use coconut bacon for a plant-based version!
- Savory Spice: Toss in some cayenne pepper or smoked paprika for an added layer of heat that dances on your taste buds.
- Crunchy Add-In: Mix in some finely chopped almonds or pecans for an extra crunch in each bite.
- Zesty Ranch: Stir in ranch seasoning mix for a tangy, zesty flavor that complements the dill beautifully.
You might also enjoy serving these alongside a light salad or fresh veggies for a well-rounded healthy meal. Plus, don’t forget to check out spiced Panko breadcrumbs for that satisfying crunch substitute. These delightful variations can elevate your snacking experience and keep every bite exciting!
What to Serve with Keto Dill Pickle Fat Bombs
Elevate your snacking experience by pairing these delightful bites with complementary sides that satisfy your cravings.
-
Crispy Veggie Sticks: Carrot, cucumber, and bell pepper sticks add a refreshing crunch that beautifully contrasts the rich flavors of the fat bombs. Serve them with a tangy dip to enhance the experience.
-
Creamy Avocado Dip: The creamy texture of avocado dip provides a smooth and rich complement, balancing the savory taste of the Dill Pickle Fat Bombs perfectly.
-
Zesty Coleslaw: A tangy coleslaw made with vinegar and crunchy cabbage adds brightness and acidity, cutting through the richness of the fat bombs while offering a satisfying crunch.
-
Stuffed Mini Peppers: Roasted or raw mini bell peppers stuffed with herbed cream cheese create a colorful and flavorful plate that pairs well with the savory bites.
-
Cauliflower Rice: Light and fluffy cauliflower rice seasoned with lime and cilantro brings a refreshing element while keeping the meal low-carb and completely keto-friendly.
-
Chilled Pickle Salad: A simple salad featuring diced cucumbers, diced dill pickles, and a light vinaigrette amplifies the pickle flavor, creating harmony with your fat bombs.
-
Sparkling Water with Lime: Refresh your palate with fizzy sparkling water enhanced by a splash of fresh lime juice, adding a burst of citrus that complements the dill pickle taste.
-
Low-Carb Chocolate Mousse: For a sweet finale, indulge in a rich and creamy low-carb chocolate mousse, balancing the savory snacks with a touch of sweetness to satisfy your dessert cravings.
How to Store and Freeze Dill Pickle Fat Bombs
Fridge: Store your Dill Pickle Fat Bombs in an airtight container in the fridge for up to 4 days. This keeps them fresh and ready for snacking.
Freezer: For longer storage, these fat bombs can be frozen for up to 3 months. Place them in a single layer in a freezer-safe container to avoid sticking, then transfer to an airtight bag.
Reheating: When you’re ready to enjoy them again, simply thaw in the fridge overnight, or pop them in the microwave for a quick reheating—about 15-20 seconds should do the trick!
Avoid Moisture: Always ensure your container is dry before storing to prevent any extra moisture, which can compromise texture and flavor.
Make Ahead Options
These Dill Pickle Fat Bombs are a fantastic choice for meal prep enthusiasts! You can prepare the mixture and form the balls up to 24 hours in advance, storing them in an airtight container in the refrigerator. This allows the flavors to meld beautifully, ensuring each bite is just as delicious as when made fresh. If you’re looking to save even more time, the fat bombs can be frozen for up to 3 months; simply roll them in bacon and freeze before coating. When ready to serve, just let them thaw in the fridge overnight and enjoy, making your busy weeknights effortless and tasty!
Dill Pickle Fat Bombs Recipe FAQs
How do I choose the right dill pickles for this recipe?
Absolutely! For the best flavor and texture, I recommend using refrigerated dill pickles since they tend to be crunchier and pack more zest. Look for pickles that are firm with no dark spots, as this can indicate overripeness. If you’d like more spice, try using spicy dill pickles for a kick!
What’s the best way to store my Dill Pickle Fat Bombs?
Store your Dill Pickle Fat Bombs in an airtight container in the refrigerator for up to 4 days. This will help maintain their freshness and flavor, making them a convenient and ready-to-eat snack option. Ensure the container is completely dry before placing the fat bombs inside to avoid any moisture, which can affect their texture.
Can I freeze Dill Pickle Fat Bombs, and if so, how?
Yes, you can freeze your Dill Pickle Fat Bombs for up to 3 months! To freeze, arrange them in a single layer on a baking sheet lined with parchment paper. Freeze them for about 1-2 hours until solid, then transfer them into an airtight freezer bag, separating layers with parchment if needed to prevent sticking. When you’re ready to enjoy, just thaw them in the fridge overnight or microwave for a quick warm-up!
What if my mixture is too soft to form into balls?
No worries! If your mixture is overly soft, simply place it in the freezer for about 30 minutes, checking regularly. This will firm it up, making it much easier to roll into bite-sized balls. If you skip this step, you might end up with a sticky mess, and nobody wants that!
Are there any dietary considerations I should keep in mind?
Great question! If you’re making these Dill Pickle Fat Bombs for others, be mindful of common allergens. The recipe contains dairy and bacon, which could be problematic for those with lactose intolerance or following a vegetarian diet. You can easily substitute the bacon with crispy Panko breadcrumbs or nuts for a vegetarian-friendly option, and use non-dairy cream cheese for those avoiding dairy.
How long can I keep these fat bombs in the fridge after making them?
Once made, your Dill Pickle Fat Bombs can be kept in the fridge for up to 4 days. They should be stored in an airtight container to preserve their taste and texture. This makes them perfect for meal prep or quick snacks throughout the week!
Delicious Dill Pickle Fat Bombs for Savory Snacking Bliss
Ingredients
Equipment
Method
- Soften the cream cheese at room temperature for 30-60 minutes.
- In a large mixing bowl, combine softened cream cheese with dill pickles, cheddar cheese, garlic powder, pickle juice, fresh dill, and green onions.
- Cook bacon in a skillet over medium heat until crispy, about 8-10 minutes, then crumble.
- Scoop portions of the mixture and roll into 1-inch balls; chill in the freezer for 30 minutes if too soft.
- Roll each ball in crumbled bacon until coated.
- Store in an airtight container in the fridge for up to 4 days or freeze for up to 3 months.
Leave a Reply