
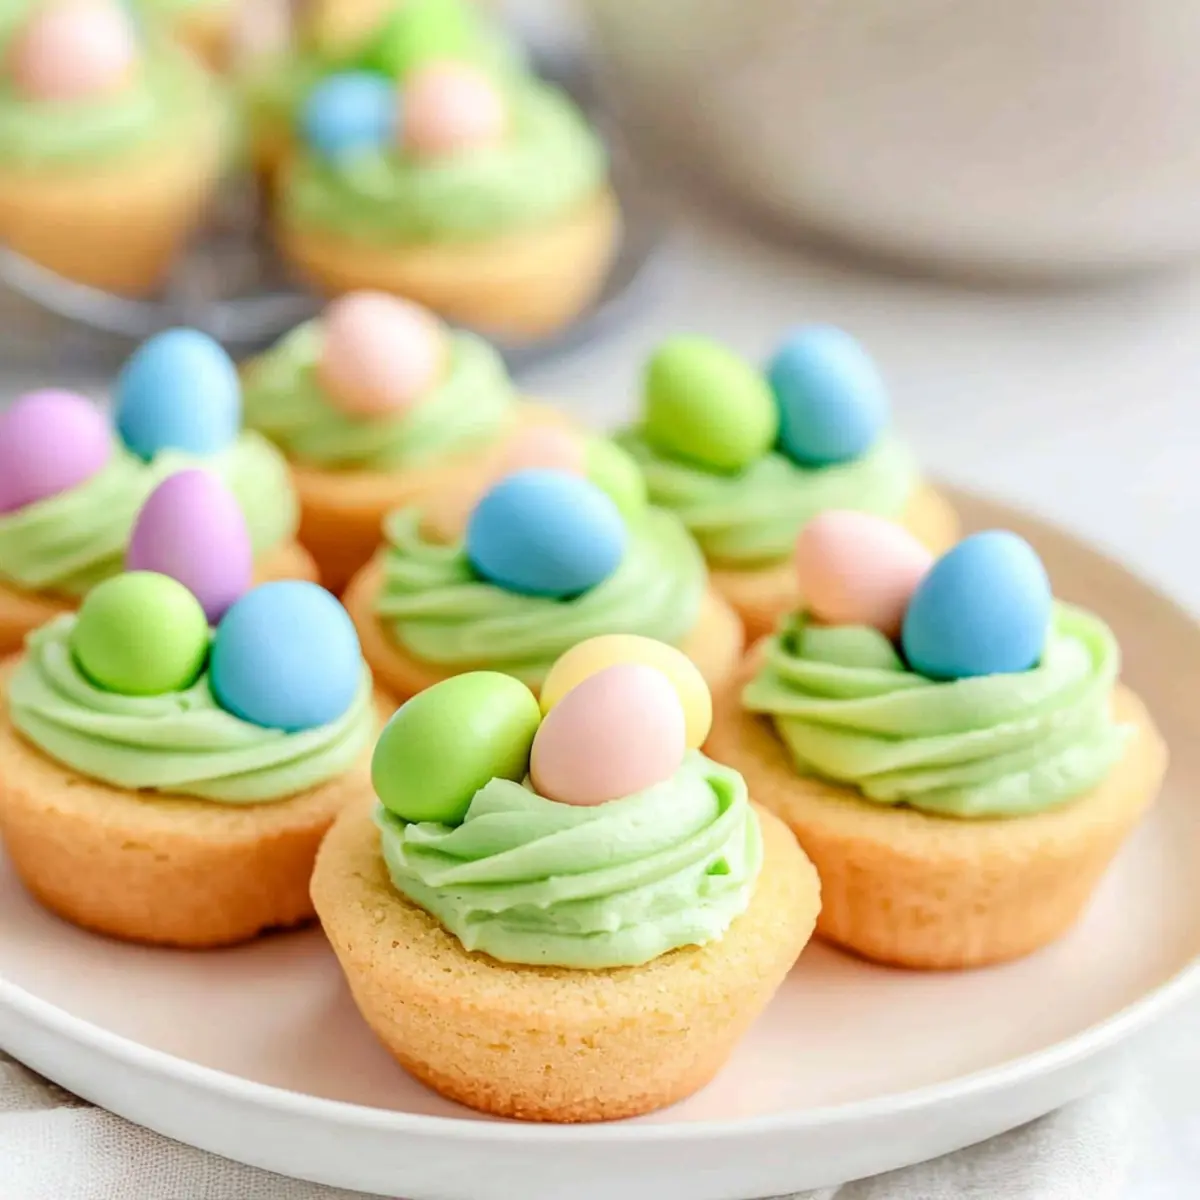
As the oven hums softly, a wave of nostalgia sweeps over me—those familiar scents of baking cookies mingling with spring’s freshness. Today, I’m thrilled to share my recipe for Easter Cookie Cups, a delightful treat that’s not only simple to whip up but also a joy to customize. In just 30 minutes, you can transform ready-to-bake sugar cookie dough into festive mini nests filled with luscious green buttercream and topped with colorful candy eggs. These kid-friendly cookie cups are perfect for gathering friends and family around the kitchen, making them a fun springtime project for everyone. Whether you’re a seasoned baker or just starting, these cookie cups are an easy way to elevate your Easter dessert spread. Ready to dive in and create some sweet memories? Let’s roll up those sleeves and get baking!

Why Are Easter Cookie Cups So Special?
Kid-Friendly Fun: These Easter Cookie Cups are perfect for children to help with, making baking a delightful family activity.
Quick and Easy: With just 30 minutes from prep to table, you’ll have a stunning treat without spending hours in the kitchen.
Endless Customization: Change up the candy toppings to reflect your family’s favorites or theme—try using anything from jellybeans to chocolate bunnies!
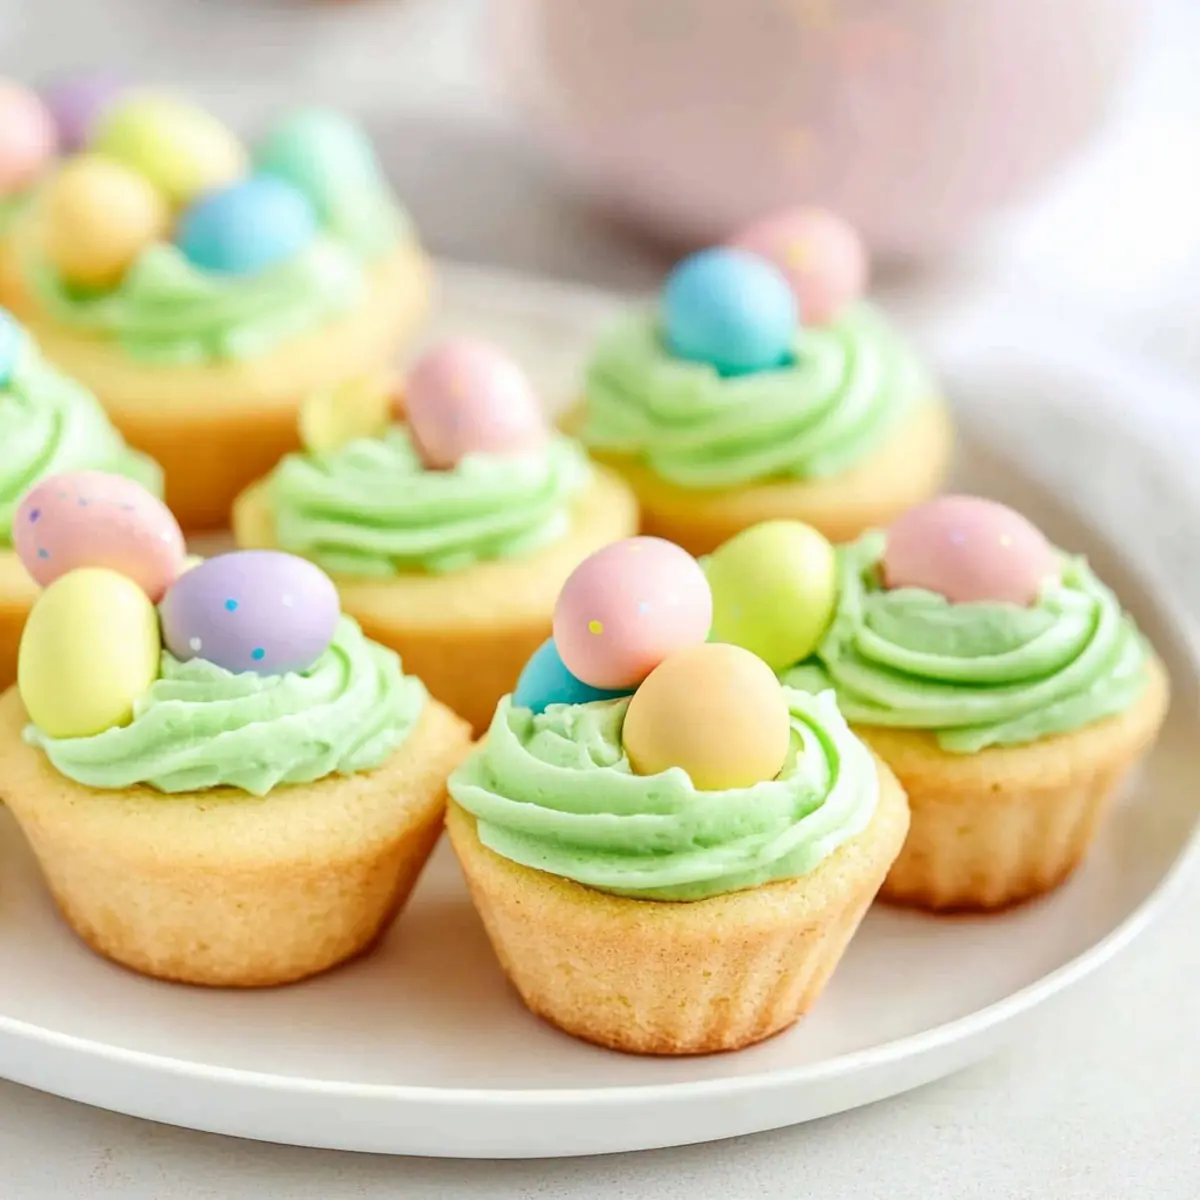
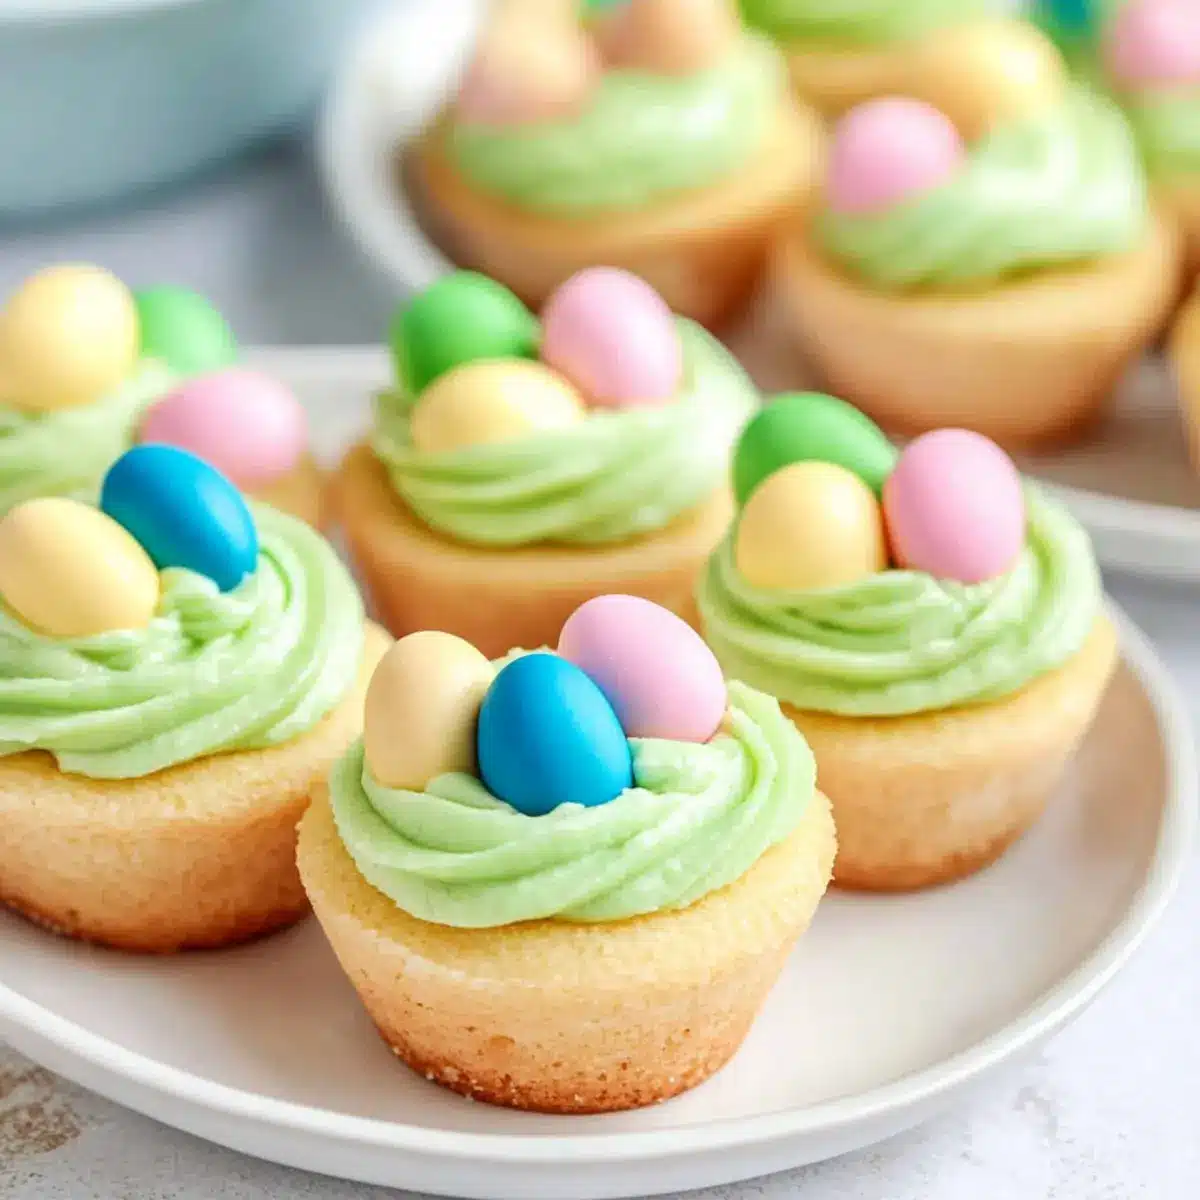
Festive Presentation: Imagine colorful mini nests that are not just tasty but also visually captivating—ideal for any Easter celebration.
Double the Joy: Pair these cookie cups with other treats like Cheesecake Stuffed Cookies or Apple Oatmeal Cookies for a sweet spread!
Delicious Taste: The contrast of the soft, chewy cookie base with rich buttercream creates a satisfying dessert that everyone will love!
Easter Cookie Cups Ingredients
Get ready to make your festive treats with these easy-to-find ingredients!
For the Cookie Cups
• Ready-to-Bake Refrigerated Sugar Cookie Dough – This acts as the base for the cookie cups; feel free to use homemade dough if you prefer.
• Salt – A small amount enhances the sweetness in your cookie base.
For the Buttercream Frosting
• Unsalted Butter – Brings richness and creaminess to the frosting; opt for vegan butter for a dairy-free version.
• Powdered Sugar – Essential for achieving the right sweetness and texture in the buttercream.
• Vanilla Extract – A splash elevates the flavor profile of the frosting.
• Milk – Adjust the consistency of your buttercream; use more for a thinner mix that’s easy to pipe.
• Green Food Coloring – Add this for a festive touch to your buttercream.
For the Topping
• Candy Chocolate Eggs – These decorative treats add color and fun to your cookie cups; you can substitute any favorite candy eggs for variety.
Step‑by‑Step Instructions for Easter Cookie Cups
Step 1: Preheat and Prepare
Begin by preheating your oven to 350°F (175°C). While the oven warms up, take a mini muffin pan and lightly grease each cup to ensure the cookie cups release easily after baking. This step sets the stage for creating your delicious Easter Cookie Cups, giving them a tender, golden crust that everyone will love.
Step 2: Fill the Muffin Cups
Open the ready-to-bake refrigerated sugar cookie dough and scoop a generous portion into each greased muffin cup, filling them to the top. Make sure the dough is evenly distributed to create uniform cookie shapes. This process is essential for achieving that delightful soft base that will hold and highlight the creamy frosting later on.
Step 3: Bake the Cookie Cups
Place the muffin pan in the preheated oven and bake the cookie cups for 15-18 minutes. Watch closely as they bake; you’ll know they’re done when the edges turn a light golden brown, giving off a delightful sugary aroma. Once baked, remove the pan from the oven and let them cool slightly.
Step 4: Create Wells for the Frosting
After baking, use a shot glass or measuring spoon to gently press down in the center of each cookie to create a well. This will allow the icing to sit comfortably in each Easter Cookie Cup. Let them cool in the pan for about 5-10 minutes, which helps maintain their structure before transferring them to a wire rack.
Step 5: Make the Buttercream Frosting
While your cookie cups are cooling, prepare the vibrant green buttercream. In a mixing bowl, beat the softened unsalted butter until smooth and fluffy. Gradually mix in the powdered sugar, followed by the vanilla extract and a pinch of salt. This fluffy buttercream will become the star of your Easter Cookie Cups!
Step 6: Adjust the Buttercream Consistency
Next, add milk gradually until you reach your desired frosting consistency—thicker for piping but still spreadable. Incorporate a few drops of green food coloring to transform your buttercream into a festive hue. This colorful frosting will beautifully contrast with the soft cookie base, ensuring a visually stunning treat.
Step 7: Pipe and Decorate
Now that your cookie cups have cooled, it’s time to fill them with that luscious green buttercream! Using a piping bag or a plastic bag with the corner snipped off, pipe the buttercream into each well of the cookie cup. Finish them off by topping with your favorite candy chocolate eggs, gently pressing them into the frosting to secure, making each cup a festive miniature nest.
Expert Tips for Making Easter Cookie Cups
- Warm Removal: Ensure your cookie cups are slightly warm when taking them out of the muffin pan to prevent breakage. Cold cookie cups can be more brittle.
- Buttercream Texture: Adjust the milk in your buttercream to achieve the perfect piping consistency; too thick will make it hard to pipe, while too thin will run off the cookies.
- Cooling Time: Allow the cookie cups to cool for at least 5-10 minutes before creating wells; this helps maintain their shape and prevents crumbling.
- Creative Toppings: Feel free to experiment with different candy eggs for variety—this is a chance to customize your Easter Cookie Cups and impress your family!
- Chill Ahead: If making in advance, chill decorated cookie cups in the fridge to maintain the firmness of the buttercream without it melting.
Storage Tips for Easter Cookie Cups
Room Temperature: Store your Easter Cookie Cups in an airtight container at room temperature for up to 2 days to keep them fresh and delicious.
Fridge: If you need to keep them longer, place the cookie cups in the fridge for up to 5 days. Just be aware that the buttercream may soften slightly.
Freezer: For longer storage, freeze the undecorated cookie cups for up to 3 months. Allow them to cool completely, then wrap them tightly in plastic wrap and place them in a freezer-safe bag.
Reheating: To enjoy your cookie cups after freezing, thaw them in the fridge overnight and bring them to room temperature before decorating with the buttercream.
Easter Cookie Cups: Fun Variations
Feel free to get creative with your Easter Cookie Cups and make them uniquely yours!
- Dairy-Free: Substitute unsalted butter with vegan butter for a delicious dairy-free frosting. Your loved ones won’t even notice the difference!
- Flavor Burst: Infuse the buttercream with various extracts, like almond or lemon, to enhance the flavor profile. These small changes can create a delightful surprise.
- Chocolate Lovers: Replace half of the sugar cookie dough with cocoa powder for a chocolate cookie base. Chocolate cookie cups filled with green buttercream are simply heavenly!
- Nutty Texture: Fold in finely chopped nuts, such as walnuts or pecans, into the cookie dough before baking for added crunch and flavor. The nutty aroma blends perfectly with the sweet frosting.
- Fruit Twist: Top your buttercream with a variety of colorful fruits like sliced strawberries or blueberries for a refreshing touch. These fruity additions brighten up your dessert table!
- Spicy Kick: Add a hint of cinnamon or nutmeg to your cookie dough for a warm spice note. This twist will take your traditional cookie cups to the next level.
- Candy Swap: Use assorted candies like jellybeans or chocolate-covered marshmallows instead of chocolate eggs. Get adventurous and make each cookie cup a colorful surprise!
- Festive Colors: Experiment with different colors of food coloring in the buttercream to match your holiday theme. Let your imagination run wild for a vibrant dessert centerpiece!
These variations are perfect opportunities to explore new flavors. You can even pair these delightful treats with Halloween Cookies Chocolatey or Blueberry Heaven Cookies for a fun cookie celebration!
Make Ahead Options
These Easter Cookie Cups are a fantastic choice for meal prep, allowing busy cooks to save time without sacrificing flavor! You can prepare the cookie cups (just the base) up to 24 hours in advance by baking and letting them cool completely before storing them in an airtight container at room temperature. The buttercream frosting can also be made ahead and refrigerated for up to 3 days; just store it in an airtight container to keep it fresh. Before serving, simply re-whip the frosting to reach the right consistency, pipe it into the cookie cups, and top with candy eggs. This way, you’ll have delightful, homemade Easter Cookie Cups ready to impress with minimal last-minute effort!
What to Serve with Easter Cookie Cups
As you prepare these festive delights, consider complementary treats that complete your holiday gathering and tantalize taste buds.
-
Fresh Fruit Salad: Bright, juicy fruits like berries and melons provide a refreshing contrast to the sweetness of the cookie cups, cleansing the palate.
-
Whipped Cream: Light and fluffy, whipped cream can balance the rich buttercream frosting, offering a simple and delightful addition.
-
Chocolate Milk: A creamy, nostalgic drink that pairs beautifully with cookies, making every bite feel like a special occasion for both kids and adults.
-
Carrot Cake: Embrace the season with a slice of moist carrot cake; the warm spices harmonize wonderfully with the sweeter cookie cups.
-
Mini Cupcakes: Serve a variety of these little delights with different frostings to create a colorful dessert table that keeps the sweetness going strong.
-
Easter Egg Hunt: Add a fun and festive touch by organizing an egg hunt alongside serving the Easter Cookie Cups—a delightful activity for kids and adults alike.
-
Lemonade: A chilled glass of lemonade provides a zesty burst that enhances the festive mood while battling the sweetness of the dessert.
-
Chocolate Truffles: Indulgent and rich, these bite-sized treats add a touch of elegance and cater to chocolate lovers at your celebration!
-
Coffee or Tea: A warm cup of coffee or herbal tea can provide a comforting contrast to the vibrancy of the cookie cups, perfect for winding down after the festivities.
Easter Cookie Cups Recipe FAQs
What type of sugar cookie dough should I use for the cookie cups?
You can use either ready-to-bake refrigerated sugar cookie dough or your own homemade version! Both options work wonderfully and save you time in the kitchen. If you’re looking for a vegan option, simply substitute with vegan cookie dough.
How should I store my Easter Cookie Cups?
To keep your Easter Cookie Cups fresh, store them in an airtight container at room temperature for up to 2 days. If you would like to keep them longer, you can refrigerate them for up to 5 days, but be mindful that the buttercream may soften a bit.
Can I freeze my cookie cups?
Absolutely! You can freeze the undecorated cookie cups for up to 3 months. After baking, allow them to cool completely. Then, wrap each cookie cup tightly in plastic wrap and place them in a freezer-safe bag. When you’re ready to enjoy them, thaw in the fridge overnight and decorate afterward.
How do I prevent my cookie cups from breaking when removing them from the pan?
To ensure your cookie cups come out intact, it’s best to remove them from the muffin pan while they are slightly warm. Allow them to cool in the pan for about 5-10 minutes, which helps the cookie cups maintain their structure. Use a gentle touch when extracting them to avoid breakage.
What if my buttercream is too thick for piping?
If your buttercream is too thick, simply add more milk, a tablespoon at a time, mixing thoroughly until the desired piping consistency is reached. On the other hand, if it’s too thin, add a little more powdered sugar until it becomes thick enough to hold its shape. Adjustments will help you achieve that perfectly smooth buttercream!
Irresistibly Sweet Easter Cookie Cups That Kids Will Love
Ingredients
Equipment
Method
- Preheat your oven to 350°F (175°C) and lightly grease a mini muffin pan.
- Scoop a generous portion of cookie dough into each greased muffin cup.
- Bake for 15-18 minutes until edges are light golden brown. Allow to cool slightly.
- After baking, press down in the center of each cookie to create a well.
- In a mixing bowl, beat softened butter until smooth. Gradually mix in powdered sugar, vanilla extract, and a pinch of salt.
- Add milk gradually and incorporate food coloring until desired consistency is reached.
- Pipe the buttercream into each well and top with candy chocolate eggs.
Leave a Reply