
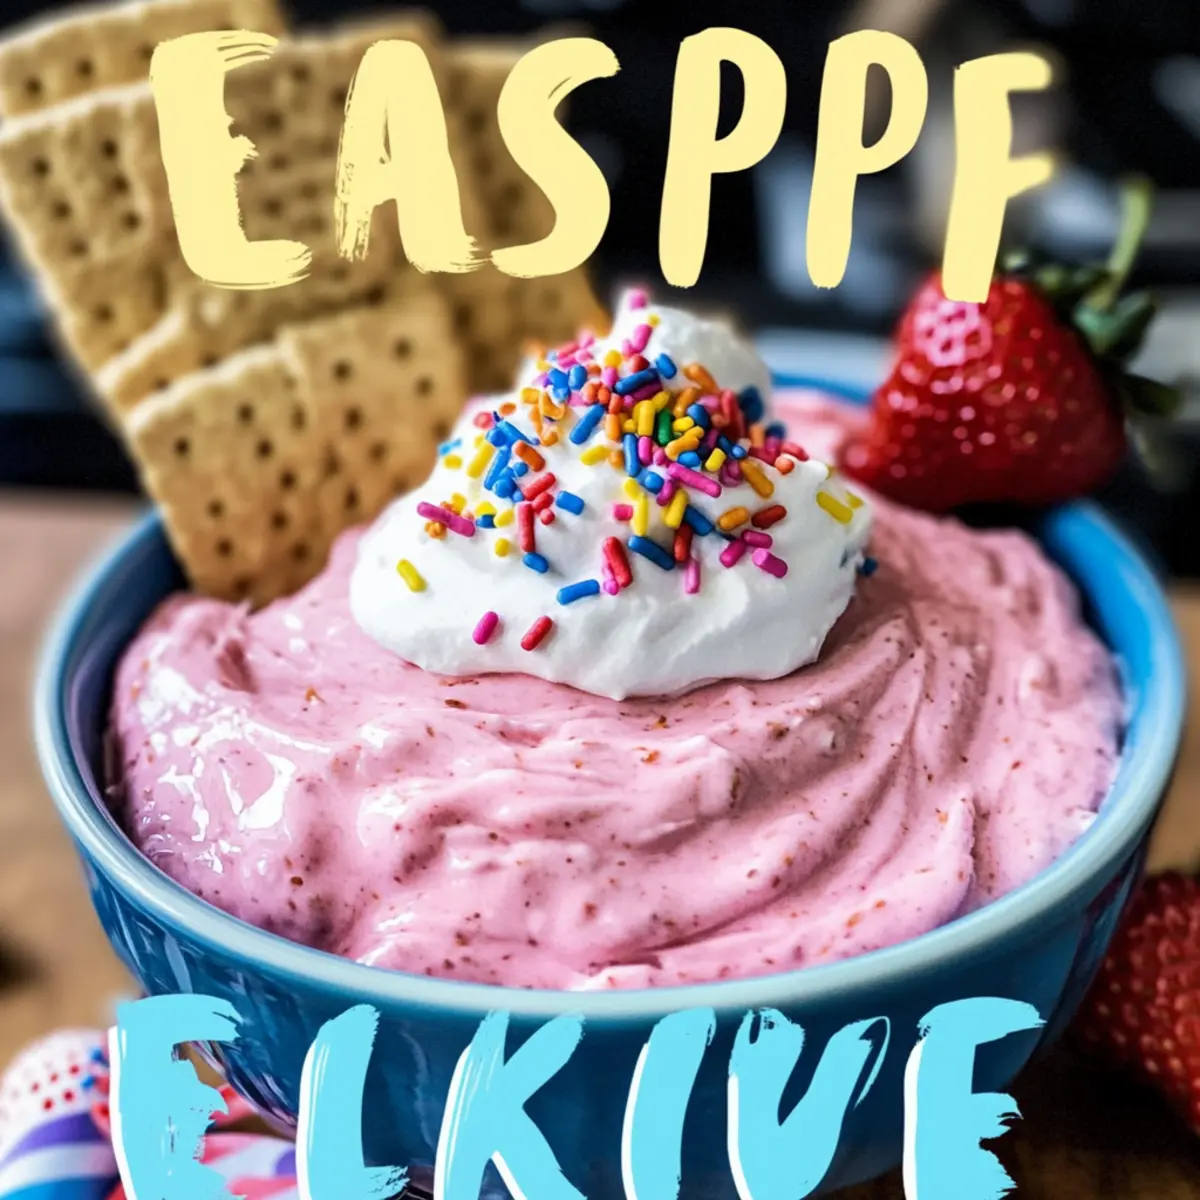
As I stared at the garden bursting with vibrant blooms, it hit me—spring is the perfect time for a festive treat. That’s when I decided to whip up a delightful Easter Dip Recipe that brings smiles to everyone at the table. This sweet and creamy dip, with its gorgeous pastel hues, is a breeze to prepare and makes a wonderful addition to any gathering. Imagine a combination of rich cream cheese and fluffy whipped topping, enhanced by just a hint of salt—perfect for celebrating the season! Whether you’re having a casual get-together or a larger celebration, this crowd-pleaser is sure to elevate your dessert game. Ready to dive into this easy and delectable dip? Let’s make your spring gatherings a little sweeter!
Why is this Easter Dip a must-try?
Simplicity at Its Finest: This Easter Dip Recipe requires minimal ingredients and fuss, making it a hassle-free treat for anyone—even if you don’t consider yourself a seasoned chef!
Irresistibly Creamy: The blend of rich cream cheese and airy whipped topping creates a luscious texture that’s simply addictive.
Versatile Flavors: Feel free to experiment by swapping in different pudding flavors or adding seasonal fruit purees to make it your own!
Kid-Friendly & Fun: This dip is not only delicious but also a colorful centerpiece that kids will adore. Get them involved in pouring sprinkles or choosing dippers!
Perfect for All Occasions: Whether it’s a spring celebration, family gathering, or just a sweet treat at home, this dip is sure to impress everyone—just like the delightful Butter Chicken Easily you might serve alongside it!
Easter Dip Recipe Ingredients
• Get ready to create a delightful dip!
For the Dip Base
- Cream Cheese – a luscious base that must be fully softened for a smooth blend.
- Whipped Topping – adds fluffiness; can be swapped with homemade whipped cream for a fresh twist.
- Instant Pudding Mix (Vanilla) – provides a rich sweetness and thickens the dip; feel free to experiment with other flavors.
- Milk – adjusts the dip’s consistency to perfection; any type works, including nut milk for a lactose-free option.
- Vanilla Extract – enhances the overall sweetness; opt for pure vanilla for the best flavor.
To Enhance the Color
- Pink Food Coloring (Optional) – brightens your dip for a festive look; adjust based on your desired shade.
- Fine Sea Salt – a tiny pinch elevates sweetness and depth; just don’t overdo it!
This Easter Dip Recipe is all about balancing flavors and textures, making it the ideal addition to your springtime celebrations!
Step‑by‑Step Instructions for Creamy Easter Dip Recipe
Step 1: Prepare Your Cream Cheese
Start by taking the cream cheese out of the refrigerator and letting it sit at room temperature for around 30 minutes, until it’s fully softened. This step is crucial for achieving a smooth texture in your Easter Dip. You’ll know it’s ready when it easily gives way to gentle pressure, without any lumps left behind.
Step 2: Mix the Base Ingredients
In a large mixing bowl, use a hand mixer or stand mixer to beat the softened cream cheese on medium speed for about 2 minutes until it’s silky and smooth. Gradually add the vanilla instant pudding mix and ½ cup of milk, mixing continuously until the mixture thickens and becomes a homogeneous base for your Easter Dip.
Step 3: Add Flavor Enhancements
Pour in 1 teaspoon of vanilla extract for a rich flavor boost. If desired, add a few drops of pink food coloring to achieve that festive pastel hue. Mix for another minute until the color is evenly distributed throughout the dip, creating a visually appealing treat that’s as delightful to look at as it is to eat.
Step 4: Fold in the Whipped Topping
Gently fold in an 8-ounce container of whipped topping into your creamy base. Use a spatula to carefully combine until the mixture is light and airy, taking care not to overmix. This step ensures your Easter Dip retains its fluffiness, creating a luscious texture that makes for the perfect dessert.
Step 5: Chill and Set
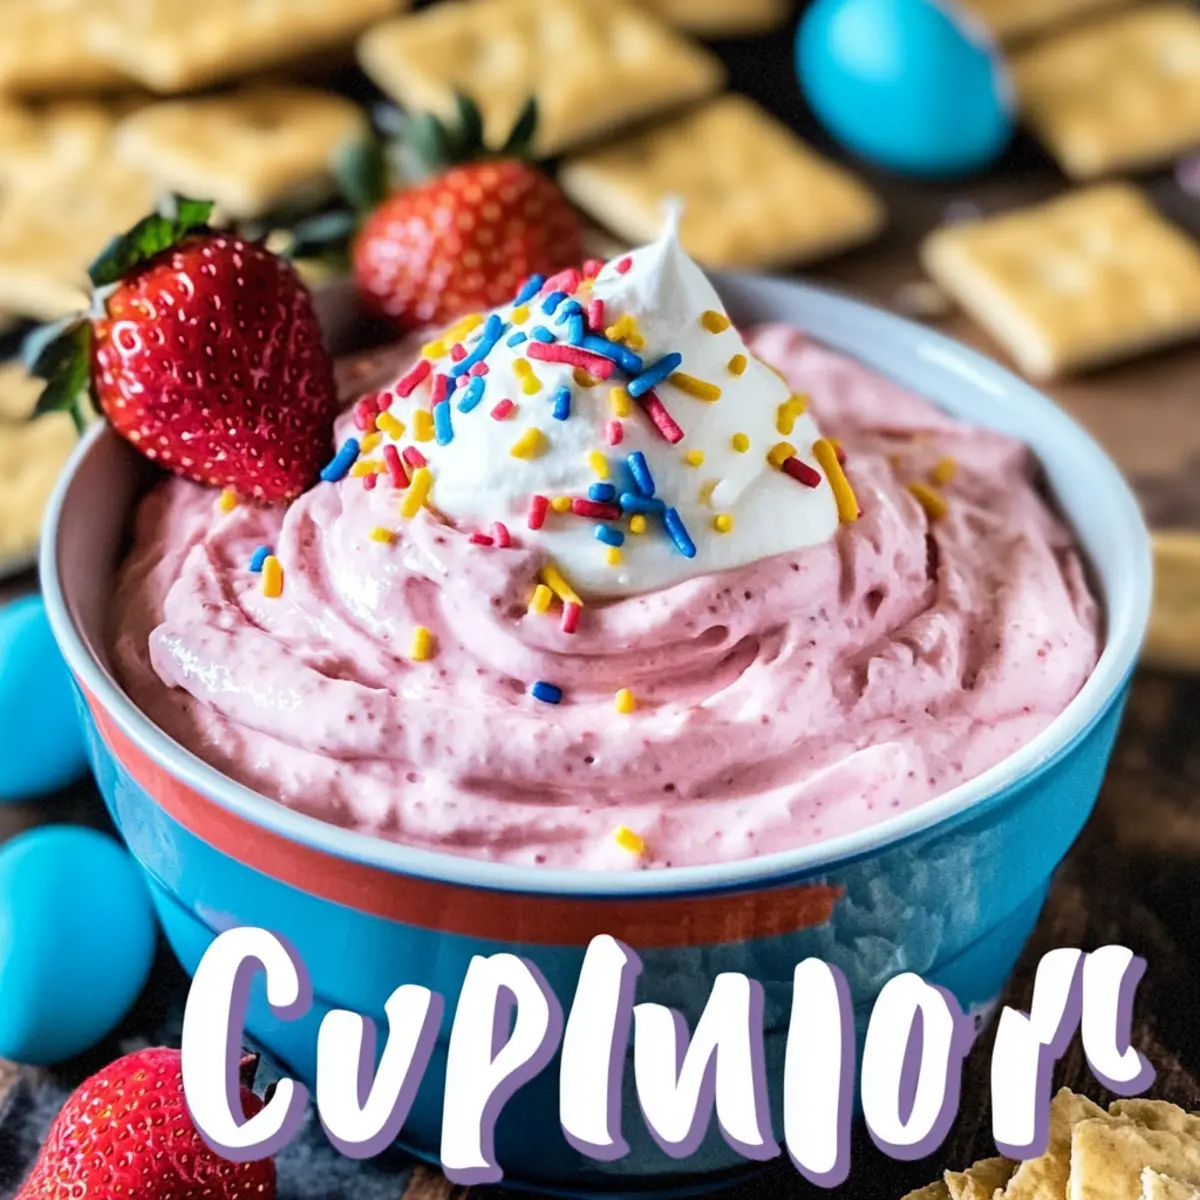
Transfer the finished dip into a serving bowl, optionally topping with colorful sprinkles for added festivity. Cover with plastic wrap and place it in the refrigerator for at least 30 minutes. Chilling allows the flavors to meld beautifully, resulting in an even more delicious Easter Dip when it’s time to serve.
Step 6: Serve with Dippers
When ready to enjoy, take your Easter Dip out of the fridge and arrange a platter of assorted dippers like graham crackers, strawberries, and mini marshmallows around it. This vibrant dip is perfect for spring gatherings, so gather friends and family for a delightful and tasty experience.

How to Store and Freeze Easter Dip
Fridge: Store the Easter Dip in an airtight container in the refrigerator for up to 2 days to maintain its creamy texture and flavors.
Freezer: While not ideal for freezing due to the whipped topping, if you need to, place the dip in a freezer-safe container for up to 1 month. Thaw in the fridge before serving.
Reheating: If the dip loses its fluffiness after freezing, give it a quick whisk to revive its texture before serving again.
Make-Ahead: Prepare the dip base in advance, then fold in whipped topping just before serving to ensure it remains light and airy for your guests.
What to Serve with Easter Dip Recipe
Creating the perfect festive spread is all about balancing flavors, and this creamy dip is the star!
- Graham Crackers: These crunchy dippers provide a sweet, slightly salty contrast, perfectly balancing the dip’s creaminess.
- Fresh Strawberries: The juicy, tart sweetness of strawberries complements the rich flavors of the dip, adding a refreshing element.
- Mini Marshmallows: Soft and chewy, these treats make each bite a delightful surprise and are always a favorite with kids.
Transform your gathering with a playful mix of textures and flavors. Consider serving apple slices for a crisp, refreshing contrast, or decadent chocolate-covered pretzels to indulge those with a sweet tooth. Finally, don’t forget a light sparkling lemonade or refreshing iced tea to wash it all down—this Easter Dip recipe deserves to shine!
Easter Dip Recipe Variations
Feel free to get creative and customize this festive dip to match your taste and occasion!
-
Flavor Twists: Experiment with different flavored pudding mixes like chocolate, butterscotch, or even pistachio for an exciting twist on this classic dip.
-
Fruit-Infused: Swirl in seasonal fruit purees, such as strawberry or raspberry, for a refreshing addition that boosts flavor and nutrition.
-
Nutty Crunch: Fold in chopped nuts or granola to introduce a delightful crunch that contrasts with the dip’s creamy texture. This will make each bite irresistibly satisfying!
-
Chocolate Lovers: Add mini chocolate chips or chunks for a sweet surprise that complements the dip’s sweetness and enhances its appeal.
-
Spicy Kick: For an unexpected zing, include a dash of cinnamon or cayenne pepper for those who enjoy a bit of heat.
-
Festive Sprinkles: Top the dip with vibrant sprinkles, edible glitter, or seasonal candies, adding fun visual appeal and sweetness.
-
Alternative Textures: Swap whipped topping for whipped coconut cream for a dairy-free version that brings a unique flavor twist!
-
Creative Dippers: Serve with fresh fruit slices like apples or bananas, crunchy graham crackers, or even pretzels for a salty-sweet combination that everyone will love. Explore different options such as the delightful flavors of Cooker Korean Beef.
With these variations, your Easter Dip will shine at any gathering, transforming a simple recipe into a customizable delight perfect for your spring celebrations!
Make Ahead Options
These make-ahead tips for the Easter Dip Recipe will save you time on busy spring days! You can prepare the dip base (cream cheese, pudding mix, milk, vanilla extract, and food coloring) up to 24 hours in advance, storing it in an airtight container in the refrigerator. Just be sure to add the whipped topping right before serving to keep the dip light and fluffy. For the best flavor, let it chill for at least 30 minutes prior to serving, allowing the ingredients to meld together beautifully. This way, you can focus on spending quality time with your friends and family, knowing your delicious Easter Dip is ready to impress!
Expert Tips for the Perfect Easter Dip
-
Soft Cream Cheese: Always let your cream cheese reach room temperature before mixing. This ensures a lump-free, silky Easter Dip that’s easy to spread.
-
Don’t Rush the Mixing: Take your time while blending the base ingredients; this helps achieve a smooth consistency and evenly incorporated flavors.
-
Taste as You Go: After mixing in vanilla and food coloring, taste the dip. You can adjust sweetness or color before adding the whipped topping.
-
Light Folding Technique: When incorporating whipped topping, use a gentle folding motion to maintain the airy texture. Overmixing can make the dip dense and heavy.
-
Chill for Best Flavor: Don’t skip the chilling step! Allowing the dip to sit in the fridge for at least 30 minutes enhances the overall taste and makes it more refreshing.
-
Customizable Dippers: Experiment with different dippers like pretzels, apple slices, or cookies to pair with your Easter Dip Recipe for a delightful tasting experience.
Easter Dip Recipe FAQs
What type of cream cheese should I use for the Easter Dip?
Absolutely! Always opt for full-fat cream cheese, as it provides the richest flavor and smoothest texture. Make sure it’s fully softened at room temperature for about 30 minutes before using. You’ll know it’s ready when it easily gives way to gentle pressure without lumps.
How long can I store the Easter Dip in the fridge?
You can keep the Easter Dip in an airtight container in the refrigerator for up to 2 days. It’s best to consume it within this timeframe to enjoy its creamy texture and delicious flavor at its peak.
Can I freeze the Easter Dip?
While I recommend not freezing the dip due to the whipped topping, if you must, place it in a freezer-safe container. It can last up to 1 month in the freezer. Thaw it in the refrigerator overnight before serving to let it regain some of its fluffy texture. If it looks a bit deflated, just give it a gentle whisk to refresh it before serving.
What dippers pair well with this Easter Dip?
The more, the merrier! I often serve this delightful dip with an assortment of dippers, including graham crackers, fresh strawberries, marshmallows, and pretzels. Each offers a unique flavor contrast that enhances the sweetness of the dip.
Can this dip be made ahead of time?
Very much so! You can prepare the base of the Easter Dip a day in advance and store it in the refrigerator. Just remember to fold in the whipped topping just before serving to keep it light and airy. This allows you to enjoy the dip without the last-minute rush.
Is this Easter Dip safe for people with allergies?
If you’re concerned about allergies, be sure to check the labels of your ingredients. The dip contains cream cheese and milk, so it’s not suitable for those with dairy allergies. However, you can use lactose-free cream cheese and milk to make it more inclusive for lactose-intolerant friends and family!

Creamy Easter Dip Recipe for a Sweet Spring Celebration
Ingredients
Equipment
Method
- Prepare Your Cream Cheese by letting it sit at room temperature for around 30 minutes.
- Mix the Base Ingredients by beating the cream cheese and gradually adding vanilla pudding mix and milk.
- Add Flavor Enhancements such as vanilla extract and optional pink food coloring.
- Fold in the Whipped Topping gently to maintain fluffiness.
- Chill and Set the dip in a serving bowl, covered with plastic wrap, in the refrigerator for at least 30 minutes.
- Serve with Dippers like graham crackers, strawberries, or mini marshmallows.
Leave a Reply