
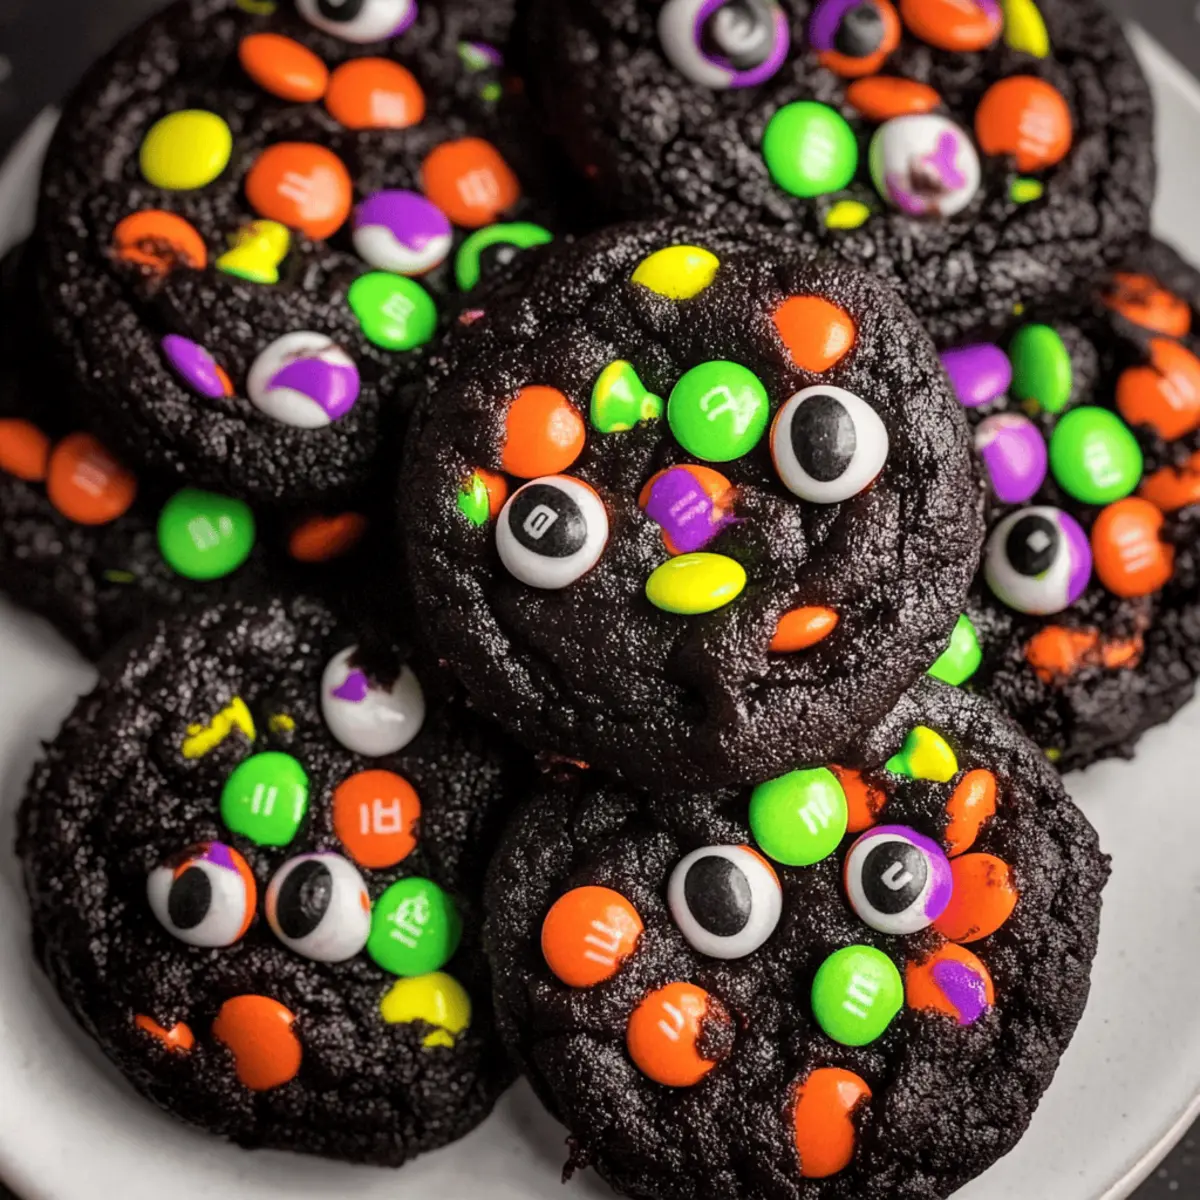
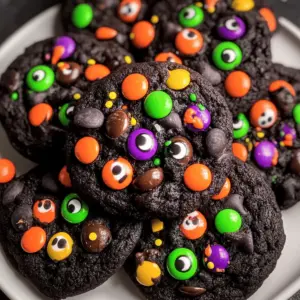
As the autumn leaves start to fall and the crisp air sets in, I can’t help but crave something delightfully spooky. Enter my Deliciously Spooky Black Velvet Halloween Cookies, a treat that combines the richness of chocolate with a playful spirit perfect for the season. These cookies are not just easy to make from scratch, but they also deliver a delightful chewiness that rivals any classic Oreo. With vibrant Halloween M&Ms and candy eyeballs adorning each cookie, they’re a festive addition to any gathering, guaranteed to impress both kids and adults alike. Plus, the best part? You can whip them up in no time, making them an effortless yet impressive choice for your holiday baking. Ready to dive into the fun of creating these Halloween cookies? Let’s transform your kitchen into a spooky bakery!
What Makes These Cookies Spooky Delicious?
Ultra-Chocolatey Goodness: These Halloween cookies bring a deep, rich flavor from the black cocoa powder that chocolate lovers will adore.
Easy to Make: With simple ingredients and straightforward steps, you can have these cookies ready in no time, perfect for a last-minute sweet treat!
Festive Appeal: The colorful M&Ms and candy eyeballs make every cookie a piece of art, ensuring they stand out at any Halloween gathering.
Chewy Texture: Enjoy a delightful chewiness that perfectly captures the essence of classic Oreos, making these cookies perfect for dunking in milk.
Kid-Friendly Fun: They are a hit with both kids and adults, turning any gathering into a lively celebration! For more creative ideas, consider checking out our easy Halloween treats that are sure to impress.
Halloween Cookies Ingredients
Get ready to bake some enchanting treats with these essential ingredients!
For the Cookie Batter
- All-Purpose Flour – Provides structure to the cookies; can substitute with a gluten-free blend for a delightful alternative.
- Black Cocoa Powder – Adds rich chocolate flavor and a dark hue; regular cocoa can also work but will lighten the cookie’s color.
- Baking Powder – Helps the cookies rise; ensure it’s fresh for optimal results.
- Baking Soda – Aids in browning and is necessary for texture.
- Salt – Enhances the flavor and balances the sweetness.
- Unsalted Butter – Creates a rich taste; make sure it’s softened for easy creaming.
- Light Brown Sugar – Adds moisture and a slight molasses flavor; dark brown sugar can be used for a deeper taste.
- Granulated White Sugar – Sweetens the cookies; feel free to adjust to your personal preference.
- Egg Yolks – Provide richness and moisture; using room temperature eggs yields a better emulsion.
- Vanilla Extract – Enhances the overall flavor profile.
For the Toppings
- Halloween M&Ms – A fun festive touch that adds color and sweetness; chocolate chips can be used as a substitute if needed.
- Halloween Jimmies – Sprinkles that add color and decoration; any themed sprinkles can also work beautifully.
- Candy Eyeballs – Decorative elements for a playful finish; feel free to omit or swap for another fun decoration if unavailable.
Embrace the magic of baking with these Halloween cookies that bring together taste and festive charm!
Step‑by‑Step Instructions for Deliciously Spooky Black Velvet Halloween Cookies
Step 1: Preheat the Oven
Begin by preheating your oven to 350°F (175°C). While the oven warms up, line two baking sheets with parchment paper to prevent the cookies from sticking. This prep step is vital, ensuring that your Halloween cookies bake evenly and achieve that delightful chewy consistency.
Step 2: Mix the Dry Ingredients
In a medium bowl, whisk together 2 cups of all-purpose flour, ¾ cup of black cocoa powder, 1 teaspoon of baking powder, ½ teaspoon of baking soda, and ½ teaspoon of salt. This combination creates a rich chocolate base for your cookies and ensures that all the leavening agents are evenly distributed. Set the bowl aside while you move on to the wet ingredients.
Step 3: Cream Butter and Sugars
In a large mixing bowl, beat together ½ cup of softened unsalted butter, ¾ cup of light brown sugar, and ½ cup of granulated sugar using an electric mixer on medium speed for about 2 minutes. The mixture should become light and fluffy, indicating that it’s well combined and ready for the next ingredients. Scraping down the sides of the bowl helps ensure everything is thoroughly mixed.
Step 4: Add Egg Yolks and Vanilla
Next, add 2 egg yolks and 1 teaspoon of vanilla extract to the butter-sugar mixture. Mix on medium speed until the batter turns pale and fluffy, taking about 1-2 minutes. This step adds richness and depth of flavor to your Halloween cookies, setting the foundation for their deliciousness.
Step 5: Combine Mixtures
Gradually incorporate the dry ingredient mixture into the wet batter, mixing on low speed just until combined. Be cautious not to overmix at this stage—the dough should come together with a few flour streaks remaining visible. This gently binds the ingredients while preserving that irresistible chewy texture of the Halloween cookies.
Step 6: Incorporate Add-ins
Gently fold in 1 cup of Halloween M&Ms and a handful of Halloween sprinkles using a spatula. This is where the fun begins, as the vibrant colors add to the festive spirit of your Halloween cookies. Aim to distribute the candies evenly without overworking the dough, maintaining its soft and chewy profile.
Step 7: Scoop Dough
Using a cookie scoop, portion out the dough into balls and place them on the prepared baking sheets, spacing each ball about 2 inches apart. For an extra spook-tacular touch, decorate each cookie with a few additional M&Ms and some candy eyeballs on top before baking. Their playful design will surely delight everyone at your Halloween gathering!
Step 8: Bake for Perfection
Pop the trays into the oven and bake for 10-11 minutes, or until the edges are set while the centers remain soft. Keep an eye on them, as this will achieve that lovely chewy texture characteristic of your Halloween cookies. When done, the cookies will appear slightly puffed and have a faint sheen.
Step 9: Cool and Enjoy
Once baked, allow the cookies to sit on the baking sheet for about 5 minutes. This resting period lets them firm up before transferring them to a cooling rack. Enjoy the aroma that fills your kitchen as you anticipate the deliciously spooky taste of your freshly baked Halloween cookies!
What to Serve with Deliciously Spooky Black Velvet Halloween Cookies
Elevate your Halloween celebration by pairing these delightful cookies with enchanting accompaniments that enhance their festive charm.
-
Creamy Milkshake: A rich chocolate milkshake complements the cookies’ sweetness, making for a decadent pairing that’ll thrill both kids and adults.
-
Warm Spiced Cider: The cozy, spiced aroma of this beverage enhances the Halloween spirit and adds a comforting contrast to the cookies’ richness.
-
Halloween Fruit Salad: Fresh fruit with vibrant colors mirrors the fun decorations on your cookies, offering a refreshing crunch that balances the sweetness.
-
Chocolate Dipped Strawberries: These indulgent treats echo the cookies’ chocolate flavor while adding a fresh twist, perfect for an alluring dessert platter.
-
Pumpkin Spice Latte: Embrace the flavors of autumn with this creamy drink, perfectly warming up the chilly Halloween nights while accentuating the cookies’ chocolatey notes.
-
Ghostly Marshmallow Dip: Pair your cookies with a fluffy, sweet dip made of marshmallows for a playful touch – it’s a fun way to indulge while staying festive.
-
Candy Corn Snack Mix: Create a fun mix of candy corn, nuts, and pretzels for a sweet-and-salty crunch that complements your cookies and adds to the Halloween treats spread.
How to Store and Freeze Halloween Cookies
Airtight Container: Keep your Halloween cookies in an airtight container at room temperature for up to 4 days to maintain their chewy texture and fresh flavor.
Refrigeration: If you’d like to extend their freshness, store the cookies in the fridge for up to a week. Just be sure to wrap them well to prevent any drying out.
Freezing: For longer storage, freeze the cookies in a single layer, then transfer to a freezer bag for up to 2 weeks. To enjoy, thaw at room temperature or pop them in the microwave for a few seconds.
Reheating: If you prefer warm cookies, gently reheat frozen Halloween cookies in the microwave for about 10-15 seconds. This will bring back their delightful chewiness!
Make Ahead Options
These Deliciously Spooky Black Velvet Halloween Cookies are perfect for meal prep enthusiasts looking to save time! You can prepare the cookie dough up to 24 hours in advance. Simply mix the ingredients as directed, then wrap the dough tightly in plastic wrap or store it in an airtight container in the refrigerator to keep it fresh. When you’re ready to bake, allow the dough to sit at room temperature for about 10-15 minutes to soften slightly before scooping it onto baking sheets. This ensures each cookie bakes evenly with that lovely chewy texture just as delicious as if made fresh on Halloween day!
Expert Tips for Halloween Cookies
-
Measure Flour Accurately: Spoon flour into the measuring cup instead of scooping it directly to prevent dense cookies. This ensures your Halloween cookies are perfectly chewy.
-
Butter Temperature Matters: Use softened butter for the best texture. Melted butter can lead to flat cookies that lose their delightful chew.
-
Don’t Overmix: Mix the dough just until combined. Overmixing can lead to tough cookies, so keep it gentle to preserve that tender texture.
-
Chill for Better Cookies: If time allows, chill the dough for 30 minutes before baking. This helps the flavors meld and results in thicker cookies.
-
Fresh Baking Powder: Always check the freshness of your baking powder. Expired ingredients can affect the rise of your Halloween cookies, making them less delightful.
Halloween Cookies Variations & Substitutions
Feel free to let your imagination run wild and customize these cookies to suit your festive style!
-
Chocolate Chips: Swap out the Halloween M&Ms for your favorite chocolate chips. They melt beautifully, creating a rich and gooey surprise in each bite.
-
Different Sprinkles: Switch Halloween jimmies for seasonal sprinkles like autumn leaves or Thanksgiving motifs for a unique touch that’s still festive.
-
Espresso Twist: Add a teaspoon of espresso powder to the dough for a delightful mocha flavor that enhances the chocolate richness in these cookies.
-
Nutty Addition: Mix in chopped nuts like walnuts or pecans for added crunch and a toasty flavor that complements the sweetness of the chocolate.
-
Fruity Delight: Try adding dried cranberries or cherries for a surprising tartness that pairs really well with the sweet chocolatey base.
-
Vegan Option: Replace the butter with coconut oil and use flaxseed meal as an egg substitute for a vegan version, ensuring everyone can enjoy these spooky treats!
-
Peppermint Flavor: Incorporate a few drops of peppermint extract for a holiday twist that’ll bring the spirit of the season to your Halloween cookies.
Don’t hesitate to explore these ideas! And for more inspiration, check out our easy Halloween treats that will surely round out your festive baking.
Halloween Cookies Recipe FAQs
What type of black cocoa powder should I use?
Absolutely! For these Halloween cookies, I recommend using a high-quality black cocoa powder for the richest chocolate flavor. If that’s unavailable, you can substitute it with regular unsweetened cocoa powder, but keep in mind that the cookies will have a lighter color and a slightly milder taste.
How should I store leftover Halloween cookies?
To keep your cookies fresh, store them in an airtight container at room temperature for up to 4 days. If you want to keep them longer, you can refrigerate them for up to a week. Just be sure they’re well-wrapped to maintain moisture and flavor!
Can I freeze these Halloween cookies?
Definitely! To freeze, place the cookies in a single layer on a baking sheet and freeze until solid. Then, transfer to a freezer bag or airtight container, where they can be stored for up to 2 weeks. To enjoy, simply thaw at room temperature or microwave for a few seconds for a warm treat!
Why are my cookies flat instead of chewy?
Very! If your Halloween cookies turn out flat, it may be due to melted butter instead of softened butter. Always ensure your butter is properly softened for optimal texture. Additionally, check your baking powder for freshness, as expired leavening agents can also contribute to flat cookies.
Are these cookies safe for children with allergies?
Yes, but modifications may be necessary. The Halloween cookies primarily contain common allergens like eggs, gluten, and dairy due to the use of all-purpose flour and butter. If baking for someone with allergies, consider using gluten-free flour, egg substitutes, and dairy-free butter as alternatives. Always consult with the person’s dietary restrictions to ensure safety.
How can I get my cookies to keep their shape while baking?
To maintain the shape of your Halloween cookies while baking, you can chill the dough for about 30 minutes before scooping and baking. This step encourages the cookies to hold their form rather than spread, resulting in a thicker, chewier texture and festive appearance!
Chocolatey Halloween Cookies That Wow Every Bite
Ingredients
Equipment
Method
- Preheat your oven to 350°F (175°C) and line two baking sheets with parchment paper.
- Whisk together flour, cocoa powder, baking powder, baking soda, and salt in a medium bowl.
- Beat together butter, brown sugar, and granulated sugar until light and fluffy, about 2 minutes.
- Add egg yolks and vanilla to the mixture, mixing until pale and fluffy.
- Gradually combine the dry ingredients into the wet batter, mixing just until combined.
- Fold in M&Ms and sprinkles gently using a spatula.
- Scoop dough into balls and place on baking sheets, decorating with extra M&Ms and eyeballs.
- Bake for 10-11 minutes until edges are set and centers remain soft.
- Let cookies sit on the baking sheet for 5 minutes before transferring to a cooling rack.
Leave a Reply