
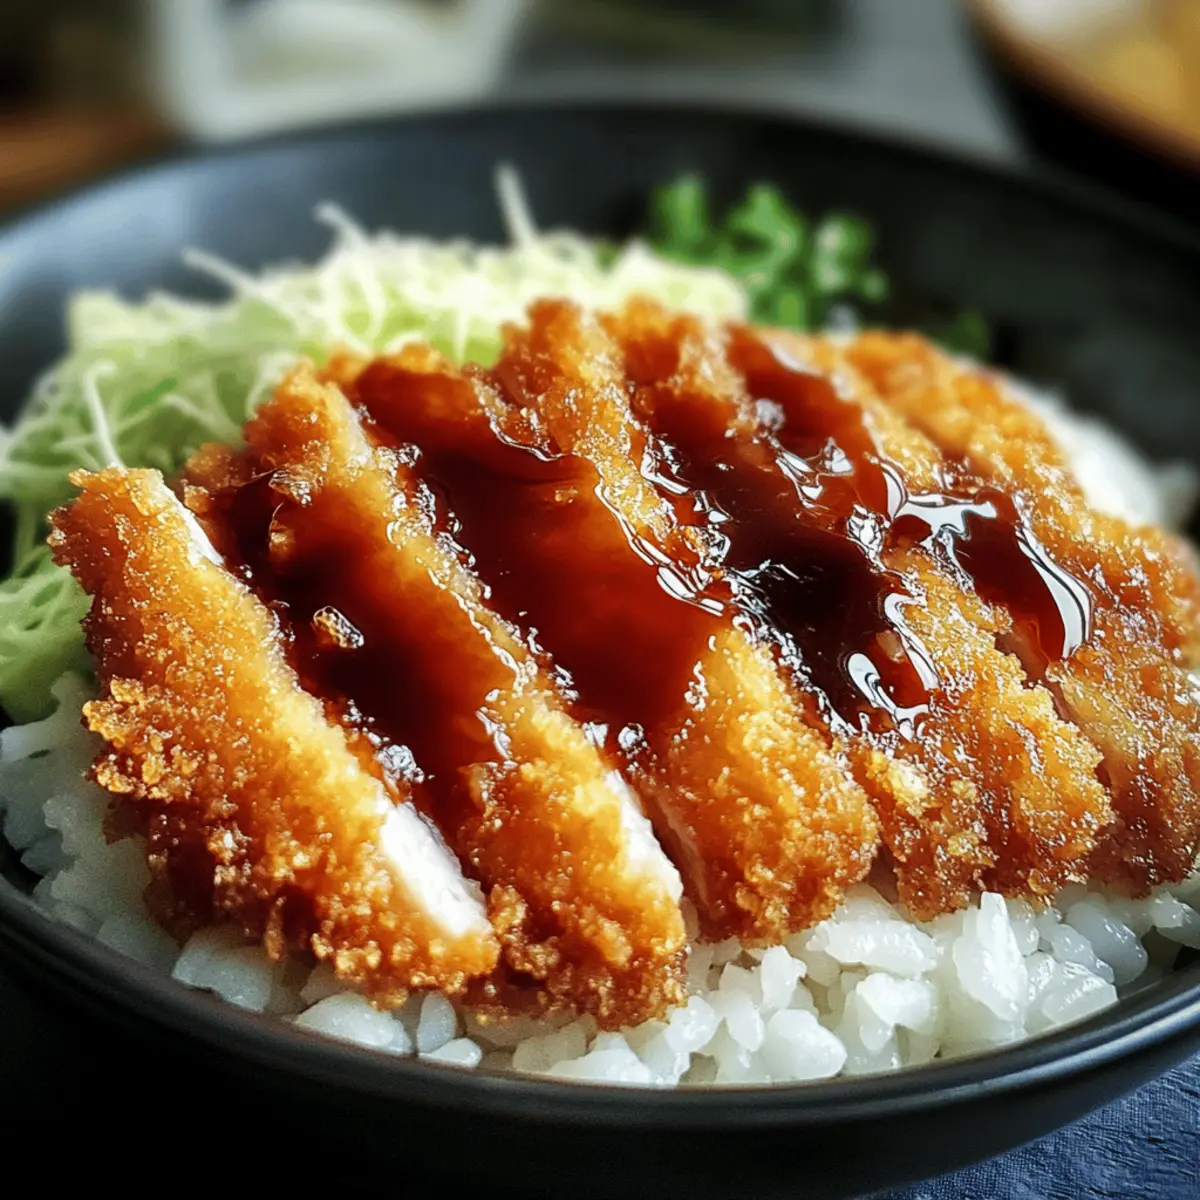
As I reached for that bottle of tonkatsu sauce, the tantalizing aroma filled the air, instantly transporting me to a quaint little Japanese bistro I used to love. This recipe for Japanese Katsu Bowls is a delightful nod to that experience, turning crispy, panko-crusted pork or chicken cutlets into a comforting home dish, all served over fluffy rice. The best part? It’s not just a restaurant-quality meal; it’s easy to whip up at home, making it perfect for busy weeknights or impressing friends at your dinner table. With its crispy texture and satisfying umami flavor, this bowl will quickly become a family favorite that even picky eaters can’t resist. Are you ready to unlock the secret to this mouthwatering dish?

Why Are Japanese Katsu Bowls So Irresistible?
Crispy Perfection: Each bite offers a delightful crunch thanks to panko crumbs, guaranteeing a texture experience that’ll have you hooked.
Savory Umami: The rich, savory flavors from the tonkatsu sauce bring a depth that elevates the entire bowl, making it a taste adventure.
Easy to Prepare: With straightforward steps, you can enjoy this dish even on a busy weeknight; it requires minimal effort but delivers maximum flavor!
Family Crowd-Pleaser: Kids and adults alike will adore these bowls, turning mealtime into a shared favorite.
Versatile Options: Swap out proteins or customize with veggies for a personal twist and endless possibilities. Discover new flavor combinations by exploring variations like miso soup or pickled vegetables on the side!
Japanese Katsu Bowls Ingredients
For the Cutlets
• Pork or Chicken Cutlets – Your choice of protein; for a vegetarian twist, use tofu instead.
• Panko Breadcrumbs – These create the signature crunch; regular breadcrumbs can work but lack that delightful texture.
• Flour – Coats the cutlets for adhesion; substitute with gluten-free flour if needed.
• Eggs – Essential for binding; beat until pale yellow for best results and don’t skip this step!
For the Rice
• Rice – The comforting base for your bowl; opt for jasmine or white rice, or choose brown rice for a healthier alternative.
For the Sauce
• Tonkatsu Sauce – The star of the dish, this adds rich flavor; feel free to use store-bought or make your own for extra freshness.
Seasoning
• Salt & Pepper – Essential for seasoning the cutlets; adjust to your taste preferences for the perfect flavor profile.
With these ingredients in hand, you’re well on your way to creating delicious Japanese Katsu Bowls that will delight your loved ones and transform your dinner routine!
Step‑by‑Step Instructions for Japanese Katsu Bowls
Step 1: Prep Cutlets
Start by seasoning your pork or chicken cutlets with salt and pepper, ensuring they are evenly coated for flavor. Next, set up your breading station: place flour in one shallow dish, beaten eggs in another, and panko breadcrumbs in a third. This organized setup will streamline the process, making it easy to create your crispy Japanese Katsu Bowls.
Step 2: Bread the Cutlets
Dredge each seasoned cutlet in flour, shaking off any excess to avoid clumps. Next, dip the floured cutlet into the beaten eggs, allowing any extra egg to drip off before coating it generously in panko breadcrumbs. Press the breadcrumbs onto each cutlet to ensure a thick, even layer, which will give them that delightful crunch when frying.
Step 3: Fry the Cutlets
Heat a generous amount of oil in a large frying pan over medium heat, ensuring that the oil shimmers but isn’t smoking—this typically takes about 5 minutes. Carefully add the breaded cutlets to the pan, frying for approximately 3-4 minutes on each side, or until they are golden brown and cooked through. Use tongs to flip the cutlets halfway through for even cooking and a beautiful presentation.
Step 4: Cook Rice
While the cutlets are frying, prepare your rice. Rinse the rice under cold water until the water runs clear, then cook it according to the package instructions. This usually involves combining the washed rice with water in a pot and bringing it to a boil before lowering the heat and covering for about 18-20 minutes, resulting in fluffy rice that perfectly complements your Japanese Katsu Bowls.
Step 5: Make Sauce
If you’re opting for homemade tonkatsu sauce, combine ketchup, Worcestershire sauce, soy sauce, and a touch of sugar in a small saucepan. Heat over medium-low heat for about 5 minutes, stirring occasionally, until the mixture thickens slightly. This sauce will add the savory, tangy flavor that elevates your crispy katsu and ties the entire bowl together.
Step 6: Assemble Bowls
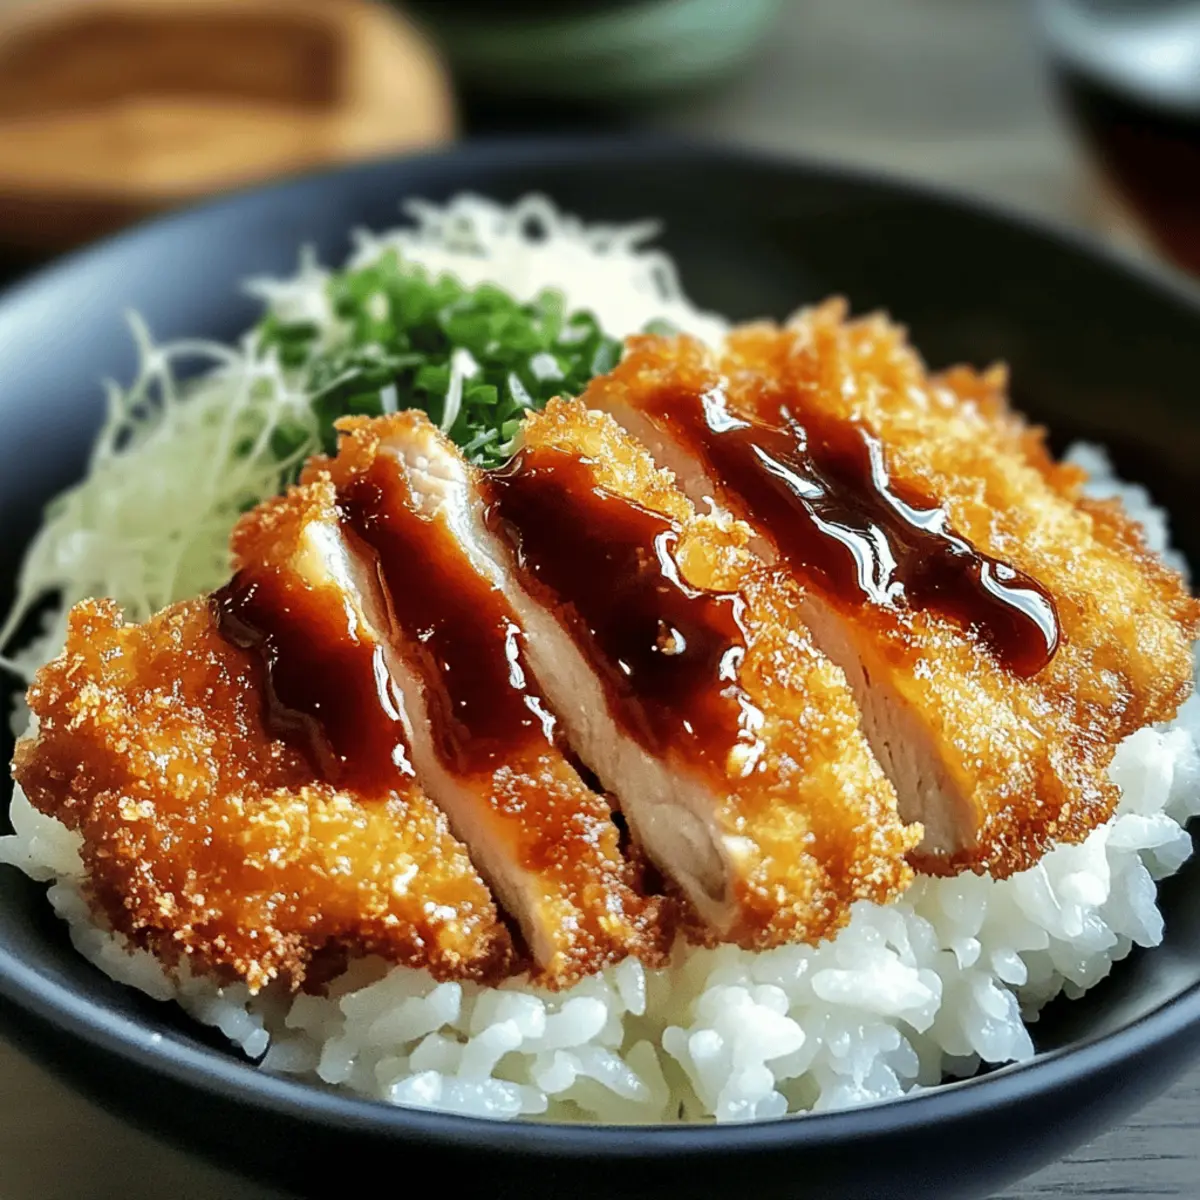
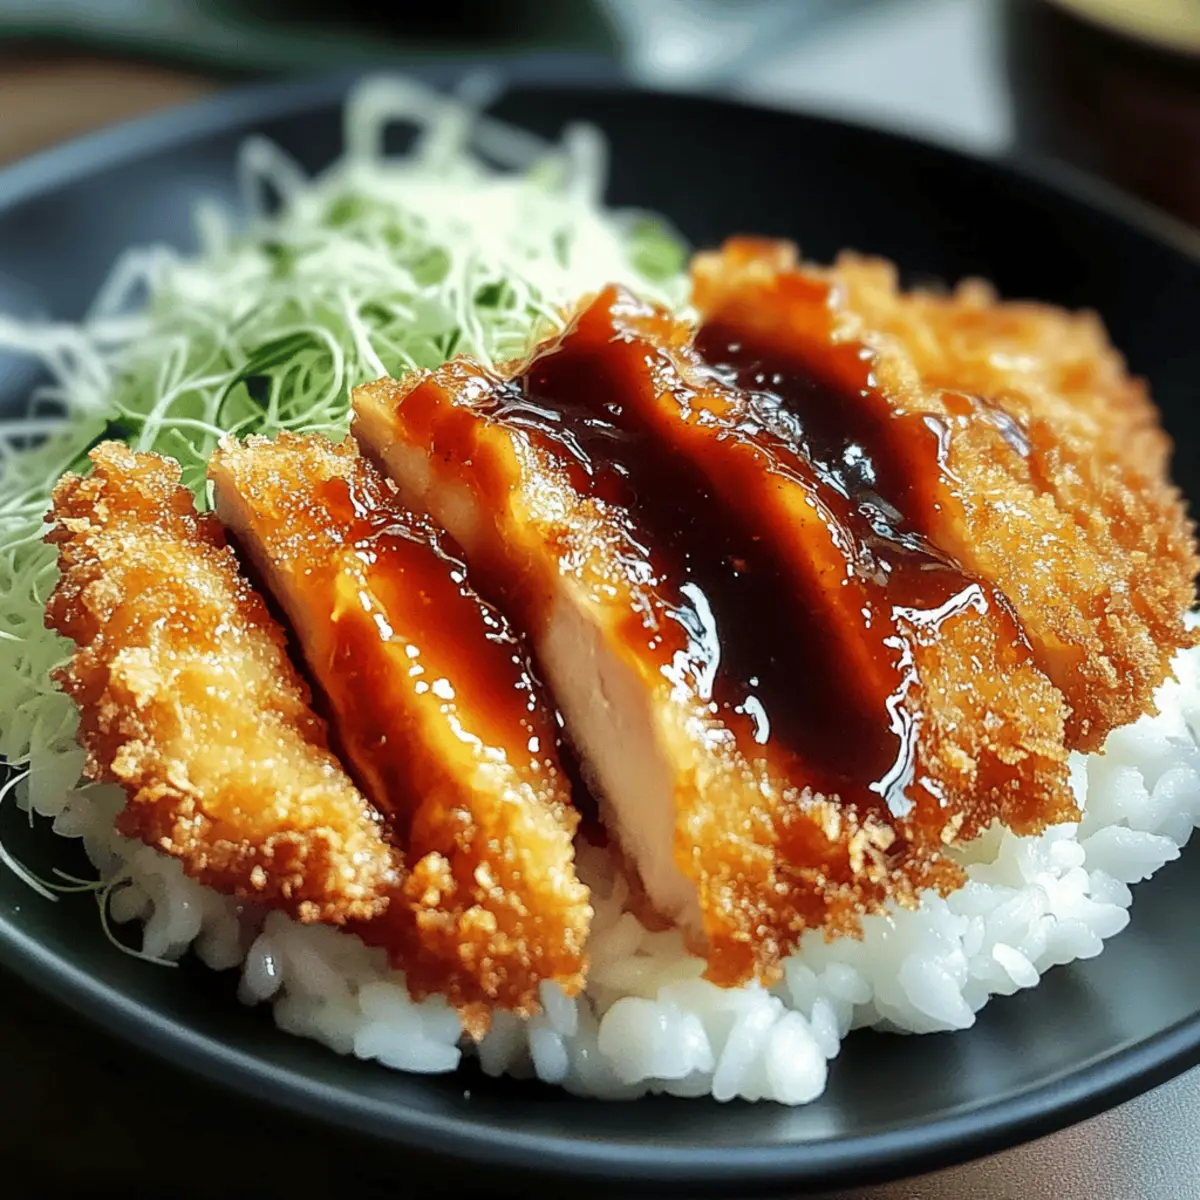
With the cutlets fried and the rice cooked, it’s time to assemble your Japanese Katsu Bowls. Spoon the fluffy rice into individual bowls as the base, then place the crispy cutlets on top. Drizzle a generous amount of the savory tonkatsu sauce over each cutlet, and garnish with pickled vegetables or a sprinkle of sesame seeds if desired. Your delightful meal is ready to serve!
Expert Tips for Japanese Katsu Bowls
- Oil Temperature: Maintain oil temperature around 350°F to achieve the perfect crispy texture. Use a thermometer for best results and avoid soggy cutlets.
- Double Breading: For extra crunch, consider double-breading your cutlets. Repeat the flour, egg, and panko steps to enhance the crispy layer.
- Season Generously: Don’t skimp on seasoning your cutlets with salt and pepper; this ensures flavorful, well-seasoned Japanese Katsu Bowls.
- Rest Before Serving: After frying, let cutlets rest on a paper towel to absorb excess oil. This keeps them crispy without being greasy.
- Customize Your Bowls: Feel free to add your favorite veggies or sauces alongside your cutlets to create a personalized bowl experience—and explore different toppings delightful with tonkatsu sauce!
Japanese Katsu Bowls Variations & Substitutions
Feel free to explore these variations that allow your creativity to shine through in the kitchen, making your Japanese Katsu Bowls truly unique.
- Chicken Option: Swap out pork for chicken cutlets for a lighter alternative. Both options offer delicious, crispy goodness!
- Tofu Delight: For a vegetarian twist, replace the meat with firm tofu, ensuring it’s pressed to remove excess moisture for the best texture. You’ll love the satisfying crunch!
- Baked Version: To cut down on oil, try baking the breaded cutlets at 400°F for about 20 minutes, turning halfway through for even crispness. Healthy and delightful!
- Flavor Boost: Mix in spices like garlic powder or paprika into the flour for an extra punch of flavor that can elevate the whole dish. This simple addition can change the game!
- Nutty Crunch: Experiment with crushed almonds or walnuts instead of panko breadcrumbs for a nutty twist in flavor and added crunch. It adds a unique flavor contrast!
- Sauce Variety: Instead of traditional tonkatsu sauce, drizzle over your favorite teriyaki or sriracha sauce for a spicy kick that will awaken your taste buds.
- Veggie Whirlwind: Incorporate lightly sautéed vegetables, like bell peppers or zucchini, for some color and nutrition. It makes your meal vibrant and wholesome.
- Rice Choices: Use quinoa or cauliflower rice instead of traditional rice for a grain-free or higher-protein option. Feel free to explore these alternatives for a satisfying meal!
By adding side dishes like miso soup or pickled vegetables, you can create an authentic Japanese dining experience right in your home. Enjoy customizing your bowls!
Make Ahead Options
These Japanese Katsu Bowls are perfect for meal prep enthusiasts looking to save time on busy weeknights! You can bread the pork or chicken cutlets up to 24 hours in advance and store them in the refrigerator, ensuring they remain crisp and flavorful. Additionally, cook the rice up to 3 days ahead and simply reheat it in the microwave with a splash of water to keep it fluffy. When you’re ready to enjoy your meal, just fry the cutlets until golden brown and serve over the reheated rice drizzled with the savory tonkatsu sauce. This way, you’ll have a delicious, restaurant-quality dish with minimal effort and maximum flavor!
How to Store and Freeze Japanese Katsu Bowls
Fridge: Store leftover katsu bowls in an airtight container in the refrigerator for up to 3 days. Keep the cutlets separate from the rice to maintain texture.
Freezer: For longer storage, freeze breaded and uncooked cutlets in a single layer on a baking sheet, then transfer to a freezer bag for up to 3 months.
Reheating: Reheat cooked katsu cutlets in a preheated oven at 375°F for about 10-15 minutes, or until crispy again. Reheat rice separately in the microwave or on the stovetop with a splash of water.
Tonkatsu Sauce: Leftover tonkatsu sauce can be stored in an airtight container in the fridge for up to one week, making it ready to drizzle on your newly prepared bowls!
What to Serve with Japanese Katsu Bowls?
Elevate your meal experience with delightful sides that complement the crispy, tender goodness of Katsu in every bowl.
- Miso Soup: This comforting, savory soup warms the soul and balances the richness of the katsu, making it a perfect pairing.
- Cucumber Salad: A refreshing, crisp cucumber salad provides a light, tangy contrast to the crispy cutlets, enhancing your taste journey.
- Steamed Edamame: These lightly salted, tender soybeans are an excellent source of protein, adding a satisfying bite to your meal.
- Pickled Vegetables: This traditional side offers a tangy crunch that brightens the flavors of the katsu and adds depth to the meal.
- Japanese Potato Salad: Creamy and slightly sweet, this dish offers an inviting texture that contrasts beautifully with the crispy cutlets.
- Cold Sake: For an authentic touch, enjoy a glass of chilled sake, as its mild flavors beautifully complement the umami notes of the katsu.
Each of these pairings works beautifully to enhance the delightful taste of your Japanese Katsu Bowls, transforming your meal into a festive feast that wraps you in warmth and comfort!
Japanese Katsu Bowls Recipe FAQs
What type of cutlets work best for Japanese Katsu Bowls?
Absolutely! You can use either pork or chicken cutlets for your Japanese Katsu Bowls. For a vegetarian version, tofu makes a fantastic substitute, giving you that lovely texture and flavor resemblance. Just be sure to press the tofu to remove excess moisture so it can hold up during frying.
How should I store leftover Katsu Bowls?
To store your leftover Katsu Bowls, place them in an airtight container in the refrigerator for up to 3 days. It’s best to keep the cutlets separate from the rice to maintain that delightful crispy texture. When you’re ready to enjoy them again, simply reheat the cutlets in the oven to restore their crunch!
Can I freeze the cutlets for later use?
Yes, you can! To freeze the cutlets, first bread them but don’t fry. Lay them in a single layer on a baking sheet and freeze until solid, about 1-2 hours. Once frozen, transfer them to a freezer-safe bag or container, where they can last up to 3 months. To cook from frozen, simply fry them directly without thawing, adding a few extra minutes to the cooking time.
What should I do if my Katsu cutlets are soggy?
Very! If your cutlets turn out soggy, it often means the oil was not hot enough while frying. To troubleshoot, ensure your oil temperature is around 350°F before adding the cutlets. This will help them cook evenly and develop that desired crispy layer. Also, remember to flip them halfway through frying to ensure both sides are beautifully golden and crunchy.
Is tonkatsu sauce safe for pets?
Great question! Generally, tonkatsu sauce contains ingredients like soy sauce and sugars that can be harmful to pets. Always keep any unused sauce safely stored away from your furry friends. If you have any concerns about specific ingredients or allergies, consult your veterinarian for personalized advice to keep your pets safe.
Can I prepare the Katsu cutlets in advance?
Absolutely! For quicker meal prep, you can bread the cutlets ahead of time and store them in the refrigerator for up to a day. Just make sure they’re covered well to prevent drying out. When you’re ready, fry them fresh for that crispy goodness, and serve them over your freshly cooked rice for the best experience.
Crispy Japanese Katsu Bowls You Can Make at Home
Ingredients
Equipment
Method
- Season the cutlets with salt and pepper. Set up a breading station with flour, eggs, and panko breadcrumbs.
- Dredge the cutlet in flour, dip in beaten eggs, then coat with panko breadcrumbs.
- Heat oil in a frying pan over medium heat. Fry the cutlets for 3-4 minutes on each side until golden brown.
- Prepare the rice by rinsing it and cooking according to package instructions.
- For homemade tonkatsu sauce, combine ketchup, Worcestershire sauce, soy sauce, and sugar in a saucepan and heat until thick.
- Assemble the bowl with rice at the bottom, topped with cutlets and drizzled with tonkatsu sauce.
Leave a Reply