
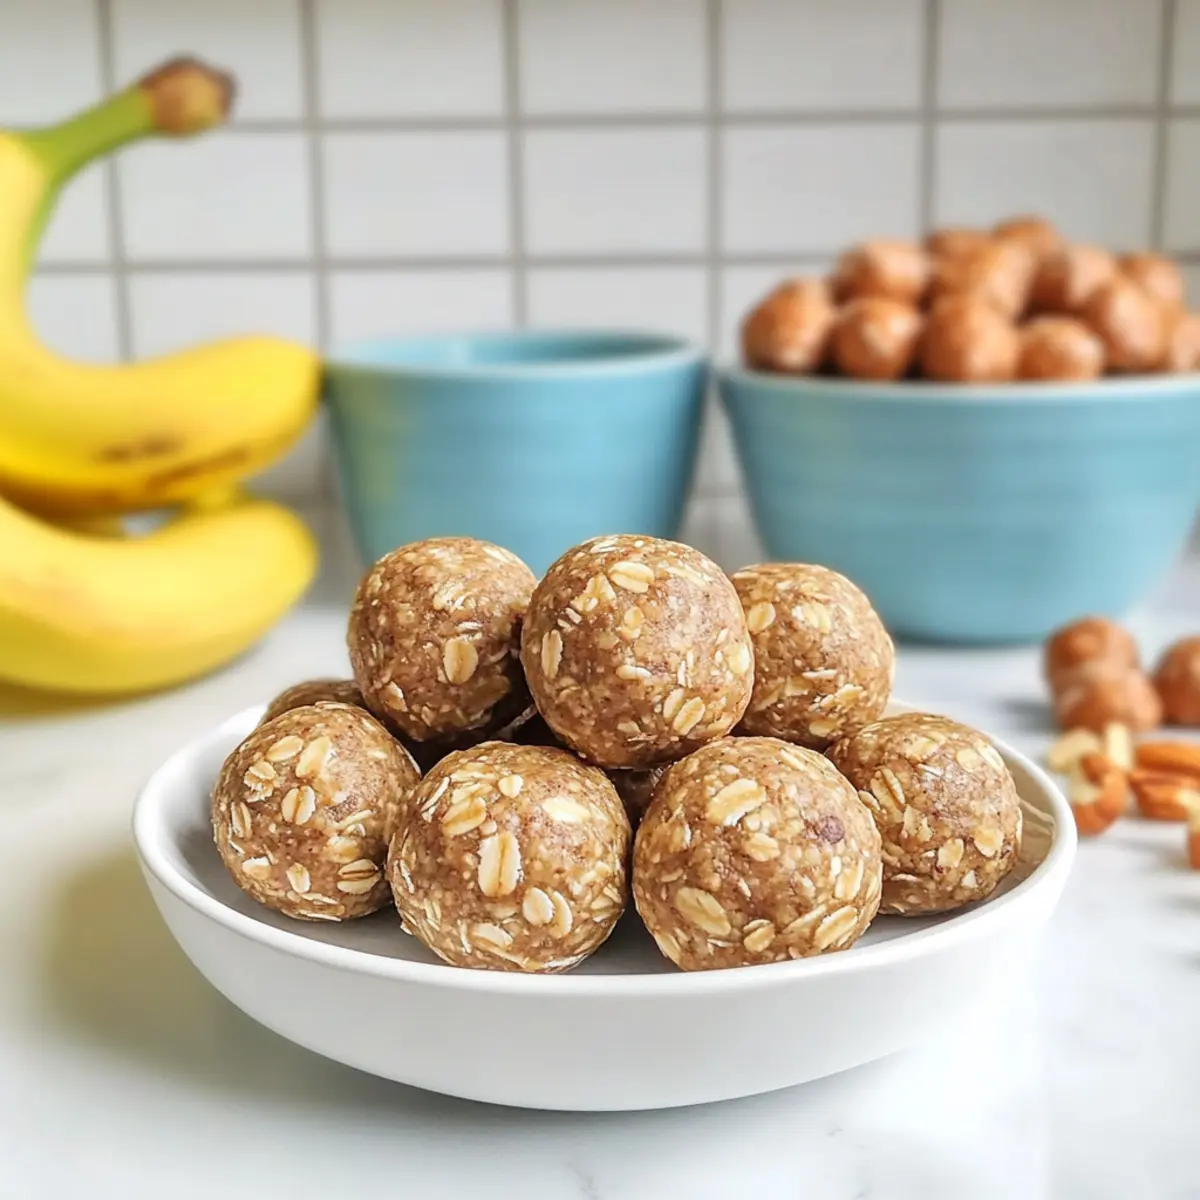
As I rummaged through my pantry for a quick snack, a thought flashed through my mind: what if I could transform the ripe bananas I had into something delightful yet nutritious? Enter the No-Bake Banana Bread Protein Balls. This recipe captures the comforting essence of banana bread while being incredibly easy to whip up. Not only do they provide an energy boost with protein-packed goodness, but they also make for a perfect grab-and-go snack for those hectic days. With simple ingredients and no baking needed, you can customize them to fit your taste and dietary needs, whether you’re prepping for a workout or just looking for a mid-afternoon pick-me-up. Curious how this scrumptious snack can become your favorite new treat? Let’s dive in!
Why Are No-Bake Banana Bread Protein Balls Ideal?
Quick and Easy: You won’t need to turn on your oven; simply mix, shape, and chill!
Protein-Packed: Each bite offers delicious protein to fuel your day and support your active lifestyle.
Flexible Ingredients: Swap peanut butter for almond butter or use maple syrup instead of honey for a vegan twist!
Health Benefits: With oats and bananas, these bites are packed with fiber and essential nutrients—perfect for snacking guilt-free.
Perfect for Meal Prep: Make a batch in advance and have nutritious snacks ready for busy days; they store well in the fridge or freezer.
These No-Bake Banana Bread Protein Balls could potentially be your new go-to for healthy snacks—just like the delightful Banana Baked Oatmeal you love!
No-Bake Banana Bread Protein Balls Ingredients
For the Base
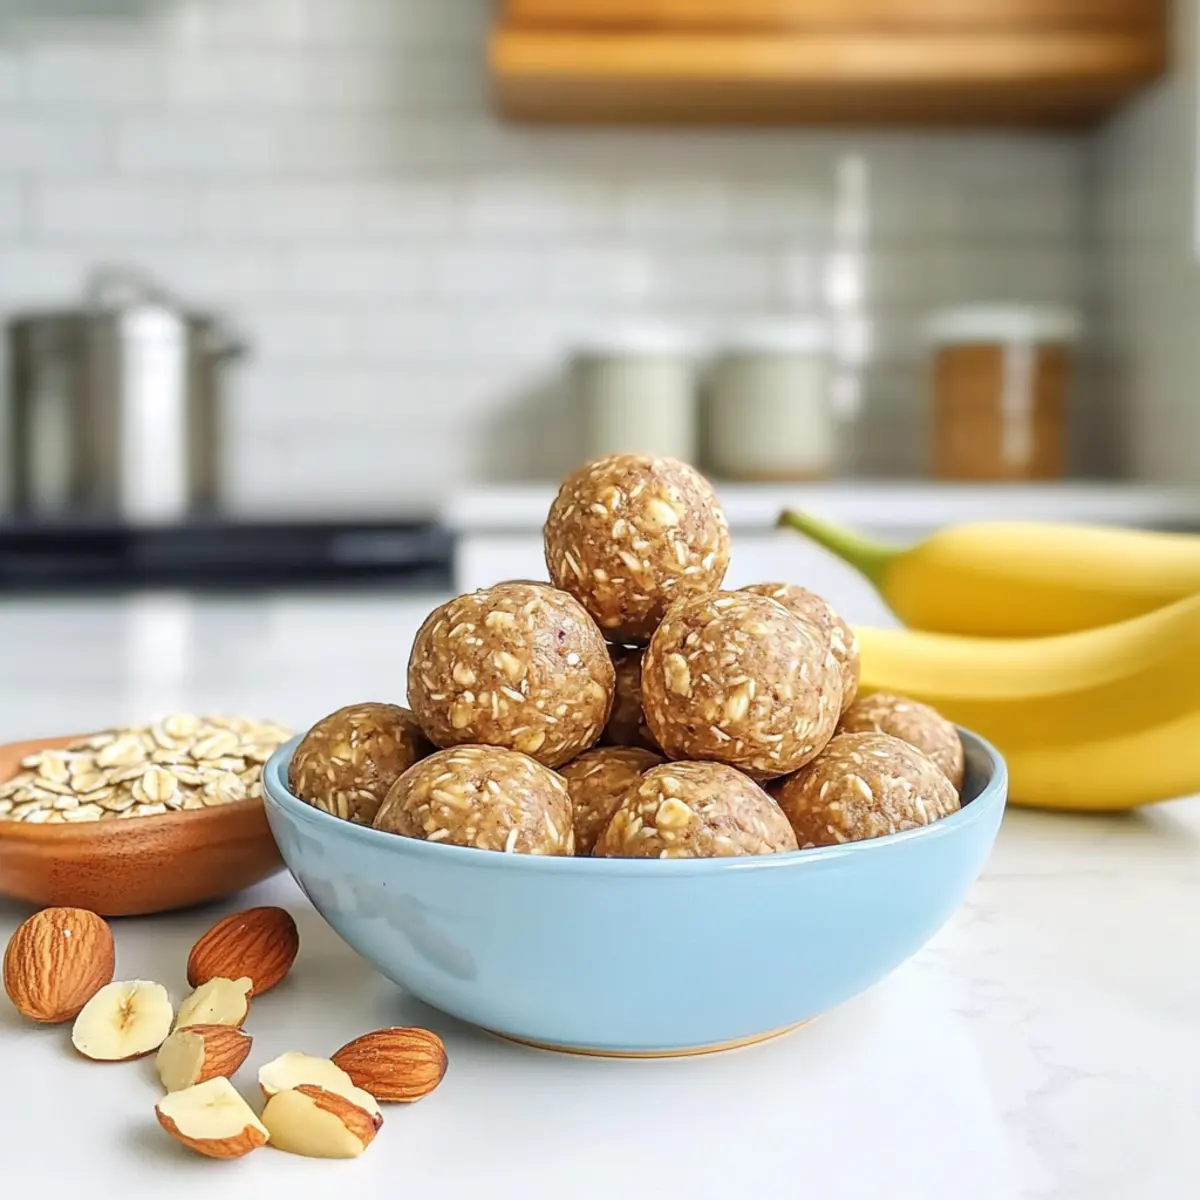
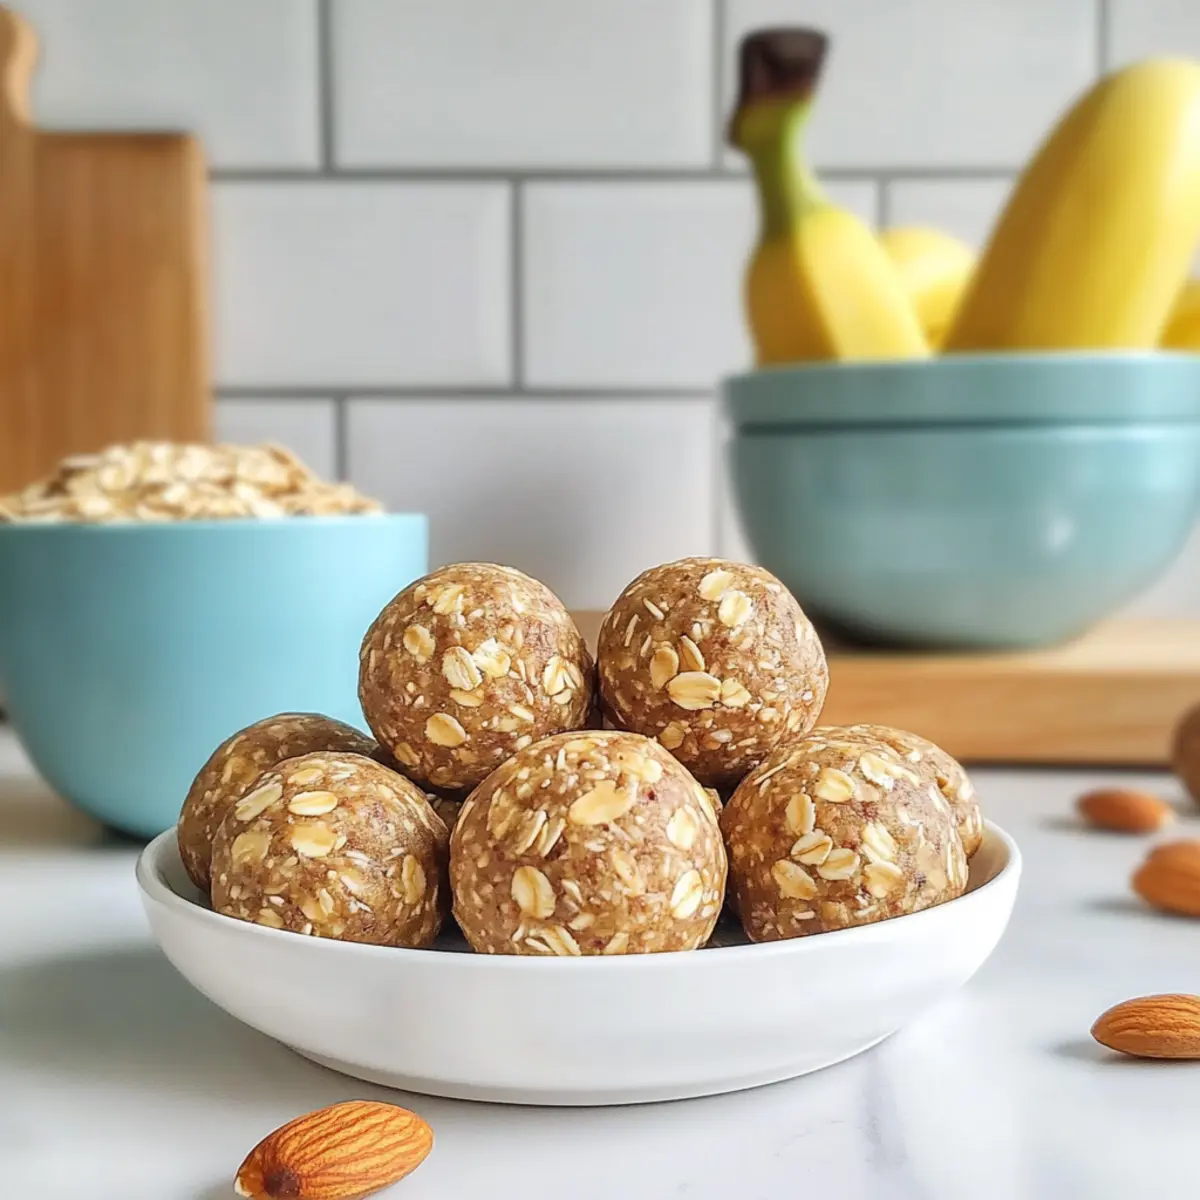
- Rolled Oats – Provides structure and chewiness; use certified gluten-free oats if needed.
- Flaxseed – Adds healthy fats and fiber; can substitute with chia seeds for a different texture.
- Protein Powder – Boosts protein content; choose plant-based or whey per your dietary preference.
- Cinnamon & Nutmeg – Adds warmth and flavor; opt for fresh spices for a more robust taste.
- Salt – Enhances flavor; fine sea salt works best for even distribution.
For the Mixture
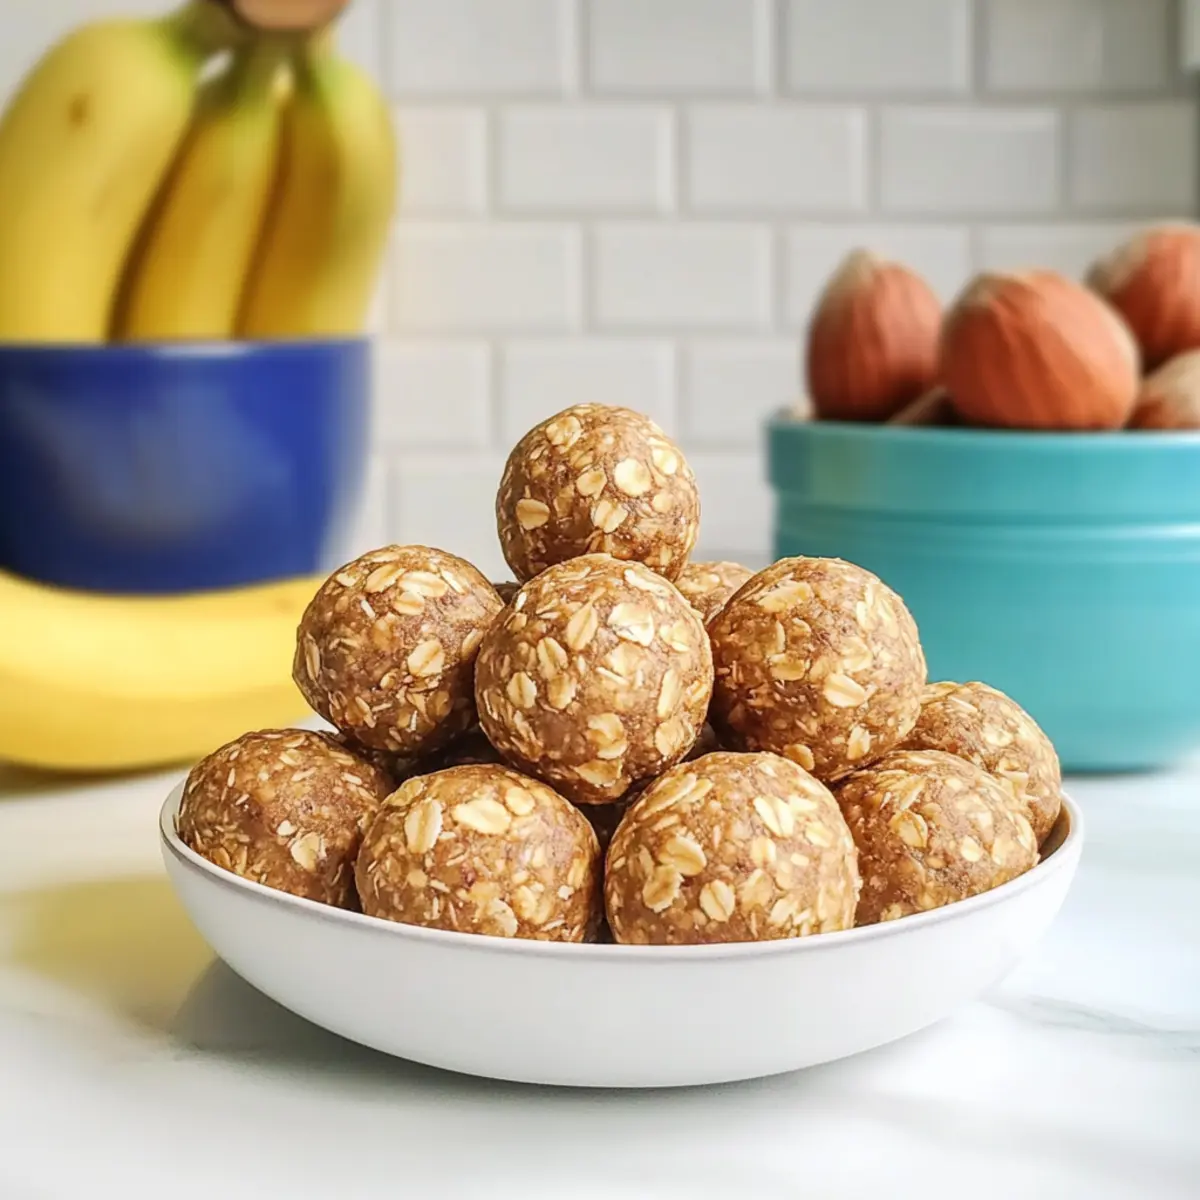
- Ripe Bananas – Natural sweetness and moisture; aim for bananas with brown spots for optimal flavor.
- Peanut Butter – Provides creaminess and healthy fats; almond butter makes a great alternative.
- Honey – Acts as a natural sweetener and binder; replace with maple syrup for a vegan option.
Curious about how to whip these No-Bake Banana Bread Protein Balls together? Let’s get started!
Step‑by‑Step Instructions for No-Bake Banana Bread Protein Balls
Step 1: Prepare the Baking Sheet
Start by lining a baking sheet with parchment paper, creating a non-stick surface for your No-Bake Banana Bread Protein Balls. This simple step ensures easy cleanup later and helps the protein balls hold their shape as they chill in the fridge. Set the prepared baking sheet aside while you move on to mixing the ingredients.
Step 2: Mix Dry Ingredients
In a large mixing bowl, whisk together 2 cups of rolled oats, ¼ cup of ground flaxseed, 1 scoop of protein powder, 1 teaspoon of ground cinnamon, ½ teaspoon of nutmeg, and a pinch of salt. Combine thoroughly for an even distribution of flavors, which will enhance the overall taste of your protein balls. The mixture should feel dry and crumbly at this point before adding wet ingredients.
Step 3: Incorporate Wet Ingredients
Next, add 3 ripe bananas (mashed), ½ cup of peanut butter, and ¼ cup of honey to the dry mixture. Use a sturdy spatula to mix until the ingredients are fully combined and sticky. Aim for a cohesive texture that allows everything to come together. This step is crucial as it provides natural sweetness and binds the No-Bake Banana Bread Protein Balls.
Step 4: Chill the Mixture
Cover the bowl with plastic wrap or a lid and place it in the refrigerator for about 1 hour. This chilling period allows the mixture to firm up, making it easier to roll into balls later. While you wait, you can enjoy a quick break or prep any additional ingredients, like mix-ins or toppings, for future batches.
Step 5: Shape the Protein Balls
Once chilled, scoop out portions of the mixture using a tablespoon, and use your damp hands to roll them into balls, about 1 inch in diameter. The moisture from your hands will help prevent any sticking. As you shape the No-Bake Banana Bread Protein Balls, ensure they are tightly packed and smooth, improving the texture for a delightful bite.
Step 6: Chill Again
Place the shaped protein balls onto the lined baking sheet, ensuring they don’t touch; this will allow for even cooling. Cover them loosely with plastic wrap or foil and return to the fridge for another hour. This step helps the balls to set firmly, making them easier to handle and eat.
Step 7: Store and Enjoy
Finally, transfer the chilled No-Bake Banana Bread Protein Balls to an airtight container. They can be stored in the fridge for up to a week or frozen for up to three months. Enjoy these protein-packed snacks anytime you need a quick energy boost or a nutritious treat on the go!
No-Bake Banana Bread Protein Balls Variations
Feel free to get creative and customize your No-Bake Banana Bread Protein Balls to suit your taste and dietary preferences!
-
Nut-Free: Use sunbutter or tahini in place of peanut butter for a nut-free option that still delivers creaminess.
-
Gluten-Free: Ensure you use certified gluten-free rolled oats, making this snack accessible to those with gluten sensitivities.
-
Vegan Delight: Swap honey for maple syrup to make these protein balls entirely vegan—deliciously sweet and guilt-free!
-
Flavor Booster: Mix in dark chocolate chips or dried cranberries for a chocolatey twist or a hint of tartness.
-
Boosted Texture: Add chopped nuts, such as almonds or walnuts, for an extra crunch that complements the chewy oats and bananas.
-
Spice It Up: Experiment with other spices like ginger or cardamom for a unique flavor profile that keeps things exciting!
-
Protein Punch: If you’re looking for an added protein boost, increase the amount of protein powder or use a different flavor to enhance the taste of your balls.
-
Fruit Fusion: Incorporate shredded coconut or diced apples for extra moisture and tropical vibes, changing the takeaway of these protein bites!
By customizing these No-Bake Banana Bread Protein Balls to your liking, you’ll have your signature snack ready to enjoy as a part of your balanced meal plan. For more delightful ideas, check out the scrumptious Banana Baked Oatmeal or try the Pumpkin Cheese Balls to keep your cravings satisfied!
Helpful Tricks for No-Bake Banana Bread Protein Balls
- Ripe Bananas Are Key: Use bananas with plenty of brown spots for the best flavor and sweetness; they’re ideal for this no-bake recipe.
- Chill Time Matters: Don’t skip the chilling steps; they help the mixture firm up, making it easier to shape your protein balls without sticking.
- Keep Hands Damp: Wet your hands when rolling the balls to prevent sticking; this will make shaping the No-Bake Banana Bread Protein Balls effortless.
- Mix and Match: Feel free to swap ingredients like using almond butter or chia seeds to suit your preference and dietary needs.
- Proper Storage: Store the protein balls in an airtight container to keep them fresh—enjoy them within a week or freeze for longer shelf life!
What to Serve with No-Bake Banana Bread Protein Balls
These delightful snacks pair perfectly with a variety of tasty options to create a complete and satisfying experience.
- Greek Yogurt Parfait: Creamy yogurt layered with fresh fruits adds protein and a refreshing contrast to chewy protein balls.
- Nutty Granola: A sprinkle of homemade or store-bought granola introduces a delightful crunch and extra nutrients to your snack time.
- Chai Tea Latte: The spiced warmth of a chai latte complements the flavors of the protein balls, enhancing their cozy appeal.
- Fruit Smoothie: Pair with a vibrant smoothie loaded with greens and berries for a wholesome, nutrient-packed meal on the go.
- Dark Chocolate Squares: Enjoy a couple of dark chocolate pieces alongside your protein balls for a sweet treat that balances health with indulgence.
- Sliced Apples with Nut Butter: Crisp apples dipped in your favorite nut butter add freshness and varied textures, making for a heartier snack.
- Coconut Water: Hydrating and refreshing, coconut water provides an invigorating complement to the dense protein-rich bites.
- Cheese and Crackers: A savory plate with cheese and whole-grain crackers rounds out your snack, adding richness beside the natural sweetness.
- Cinnamon Oatmeal: Serve these protein balls crumbled over a warm bowl of oatmeal for a comforting breakfast that still feels indulgent.
- Honeydew Melon Slices: Juicy honeydew pairs beautifully with the rich flavors of the protein balls, bringing a refreshing sweetness to your plate.
How to Store and Freeze No-Bake Banana Bread Protein Balls
Fridge: Keep these delicious No-Bake Banana Bread Protein Balls in an airtight container in the fridge for up to a week, making them perfect for quick snacks any time!
Freezer: For longer storage, freeze the protein balls in a single layer on a baking sheet. Once frozen solid, transfer them to a zip-top bag or airtight container where they’ll last for up to 3 months.
Thawing: When ready to enjoy, thaw frozen balls in the fridge overnight or at room temperature for about 30 minutes for the best texture before snacking!
Reheating: No need to reheat, these protein balls are delightful straight from the fridge or freezer, making them a convenient on-the-go option.
Make Ahead Options
These No-Bake Banana Bread Protein Balls are perfect for meal prep enthusiasts! You can prepare the mixture up to 24 hours in advance; simply combine all the dry and wet ingredients, then refrigerate until ready to shape. The formed protein balls can also be chilled beforehand, making them great for quick snacks on busy days. You can store them in an airtight container in the fridge for up to 7 days, or freeze them for up to 3 months for longer storage. To maintain their quality, ensure they are tightly packed and stored properly. When ready to enjoy, simply thaw in the fridge overnight or at room temperature for about 30 minutes before serving, and you’ll have a nutritious snack ready in no time!
No-Bake Banana Bread Protein Balls Recipe FAQs
What type of bananas should I use?
Absolutely, for the best result, use very ripe bananas that have plenty of brown spots. They provide the natural sweetness and moisture needed for these No-Bake Banana Bread Protein Balls, enhancing the overall flavor and texture.
How should I store the No-Bake Banana Bread Protein Balls?
For short-term storage, keep the protein balls in an airtight container in the refrigerator for up to a week. Make sure they’re well-sealed to prevent them from drying out or absorbing other odors from your fridge.
Can I freeze the No-Bake Banana Bread Protein Balls?
Yes! To freeze, start by placing the protein balls in a single layer on a baking sheet and freeze until solid. Then, transfer them to a zip-top bag or airtight container. They’ll stay fresh for up to 3 months. Simply thaw overnight in the fridge or at room temperature for about 30 minutes before enjoying!
What if the mixture is too sticky to roll into balls?
If you find the mixture too sticky, a simple fix is to refrigerate it for an additional 30 minutes to help firm it up. You can also wet your hands more while rolling, which will help shape the No-Bake Banana Bread Protein Balls without sticking to your fingers.
Are there any dietary considerations for these protein balls?
Yes, you can tailor these protein balls to suit various dietary needs. For gluten-free options, make sure to use certified gluten-free oats. If nut allergies are a concern, substitute peanut butter with sunflower seed butter, and for a vegan version, replace honey with maple syrup!
No-Bake Banana Bread Protein Balls for a Boost of Energy
Ingredients
Equipment
Method
- Prepare the Baking Sheet: Line a baking sheet with parchment paper.
- Mix Dry Ingredients: In a large mixing bowl, whisk together rolled oats, ground flaxseed, protein powder, cinnamon, nutmeg, and salt.
- Incorporate Wet Ingredients: Add mashed bananas, peanut butter, and honey to the dry mixture, and mix until fully combined.
- Chill the Mixture: Cover the bowl and refrigerate for about 1 hour.
- Shape the Protein Balls: Roll the chilled mixture into balls, about 1 inch in diameter.
- Chill Again: Place the balls onto the baking sheet and chill for another hour.
- Store and Enjoy: Transfer the protein balls to an airtight container for storage.
Leave a Reply