Go Back
+ servings
Creamy Brazilian Coconut Pudding

Indulge in Creamy Brazilian Coconut Pudding Bliss

Experience the delightful taste of Creamy Brazilian Coconut Pudding, a gluten-free indulgence that's simple to make.
Prep Time 15 minutes
Cook Time 10 minutes
Chill Time 2 hours
Total Time 2 hours 25 minutes
Servings: 4 servings
Course: Desserts
Cuisine: Brazilian
Calories: 250

Ingredients
  

For the Pudding
  • 2 cups Full-fat Coconut Milk Provides a creamy base.
  • 1/2 cup Sugar Adjust sweetness as desired.
  • 1/4 cup Cornstarch Acts as a thickening agent.
  • 1 teaspoon Vanilla Extract Enhances flavor.
For Garnishing
  • 1/4 cup Toasted Coconut Flakes Optional, enhances flavor.
  • 1 cup Fresh Fruit (e.g., mango, passion fruit) Optional, for topping.

Equipment

  • medium saucepan
  • whisk
  • Ramekins
  • Ladle

Method
 

Preparation Steps
  1. In a medium saucepan, whisk together the full-fat coconut milk, sugar, and cornstarch until completely smooth. Place the saucepan over medium heat and stir continuously until the mixture begins to warm and thicken slightly, about 5 minutes.
  2. Keep stirring on medium heat until it starts bubbling gently, about 5–7 minutes, thickening into a custard-like consistency. Do not boil too vigorously.
  3. Once thickened, remove from heat and stir in the vanilla extract thoroughly.
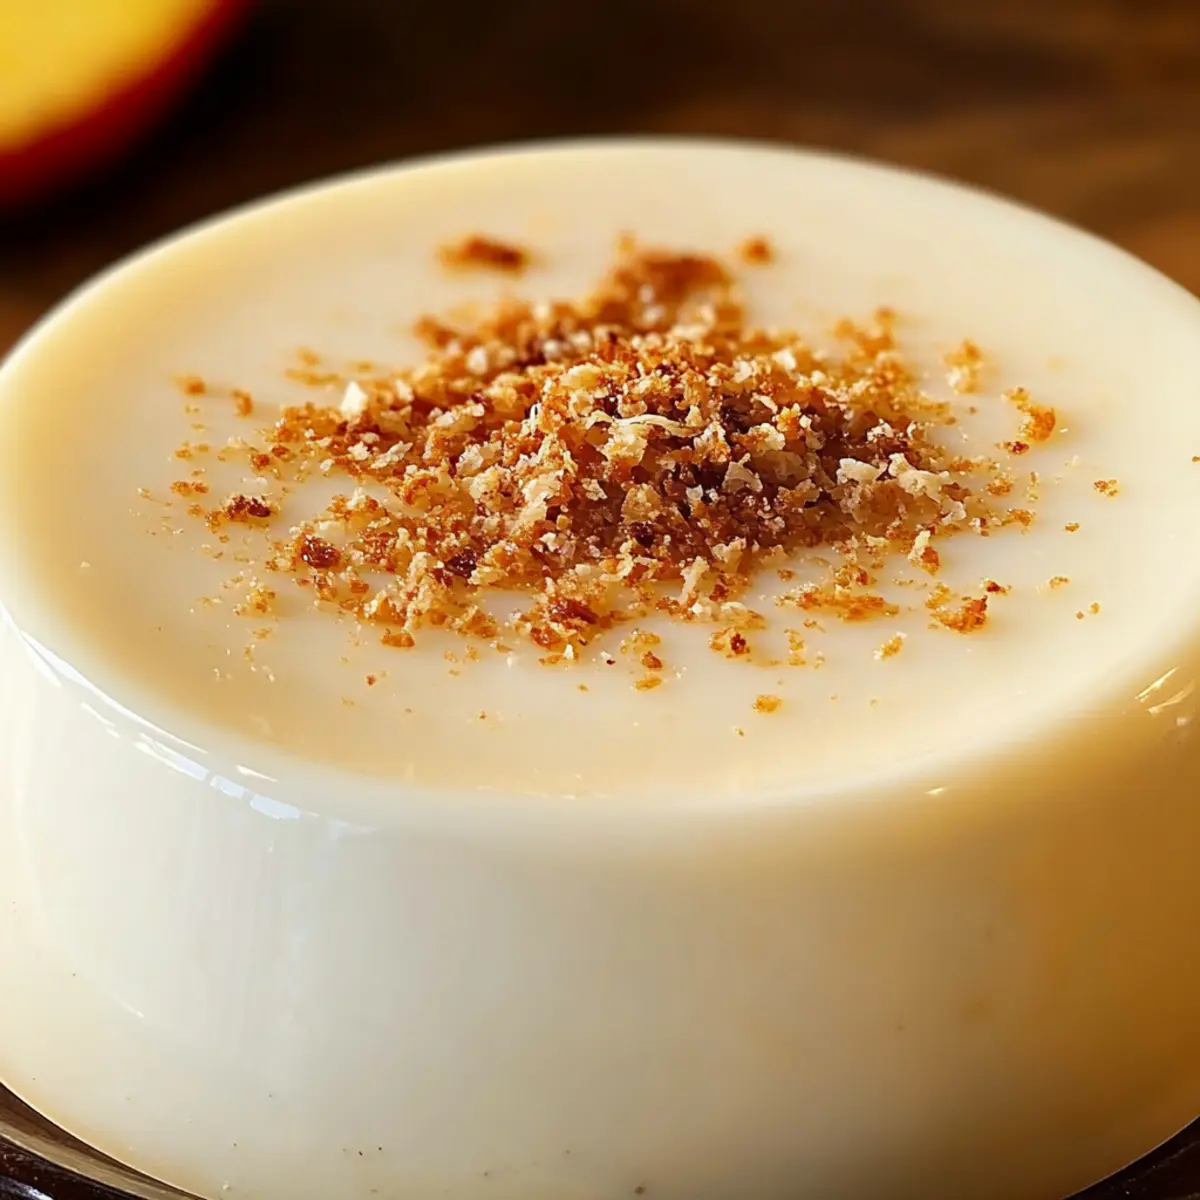
  4. Pour the thickened pudding into individual ramekins or a serving dish, filling each to about three-quarters full. Cool slightly at room temperature for about 15 minutes.
  5. Cover each ramekin with plastic wrap and refrigerate for at least 2 hours or until set.
  6. When ready to serve, uncover and garnish with toasted coconut flakes or fresh fruit slices.

Nutrition

Serving: 1cupCalories: 250kcalCarbohydrates: 30gProtein: 2gFat: 15gSaturated Fat: 13gPolyunsaturated Fat: 0.5gMonounsaturated Fat: 1gSodium: 25mgPotassium: 150mgFiber: 1gSugar: 20gCalcium: 2mgIron: 2mg

Notes

For a smoother texture, strain the pudding after cooking. Use ramekins for individual servings, and refrigerate for at least 2 hours for best results.

Tried this recipe?

Let us know how it was!