
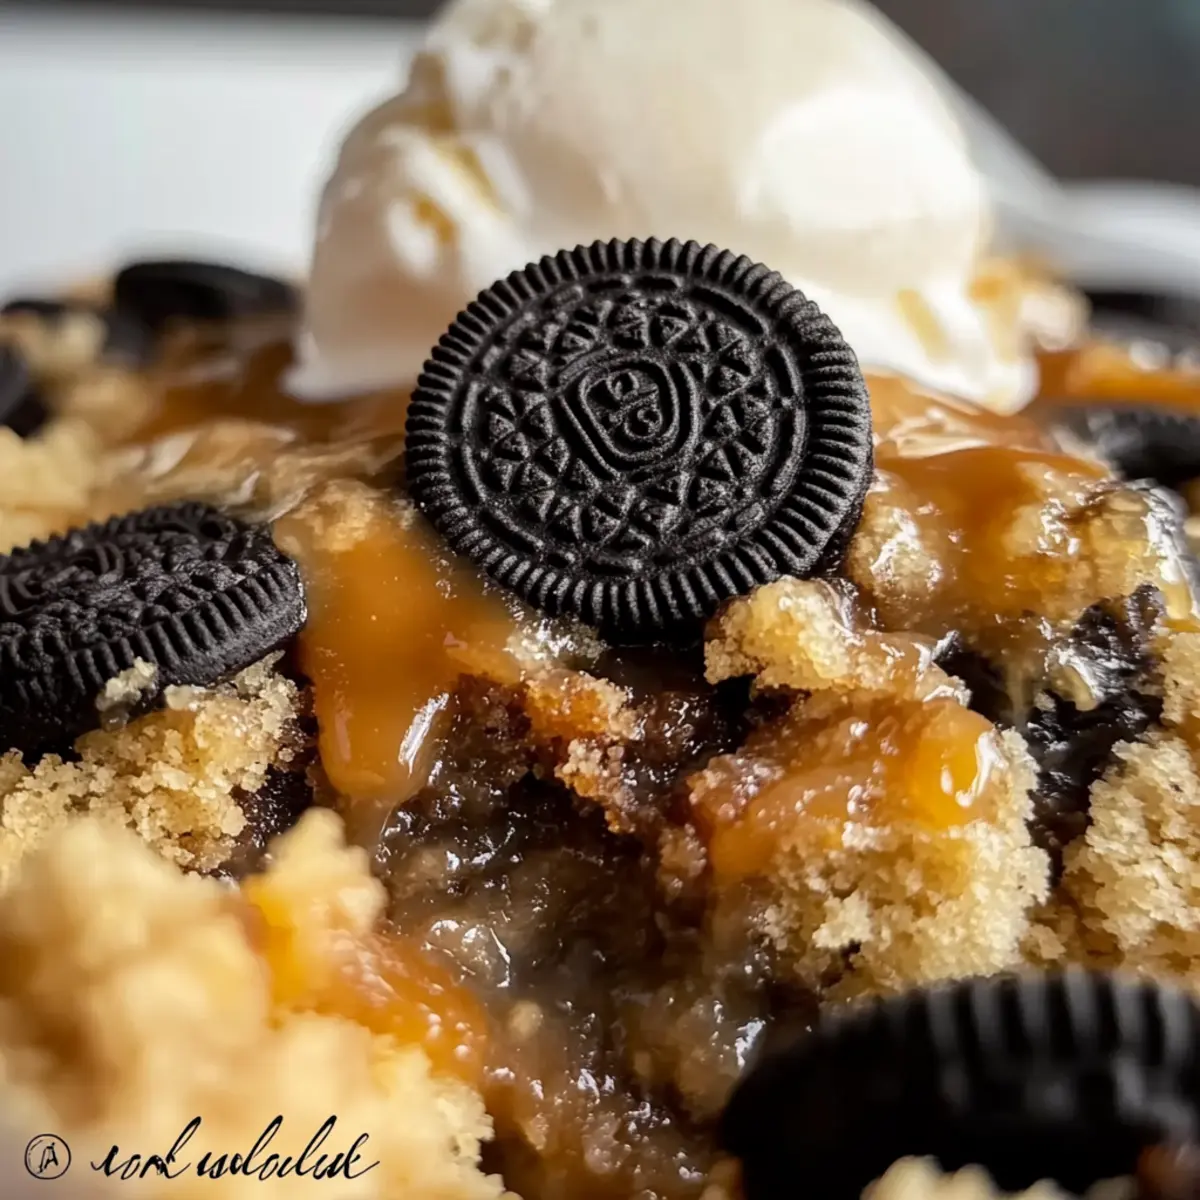
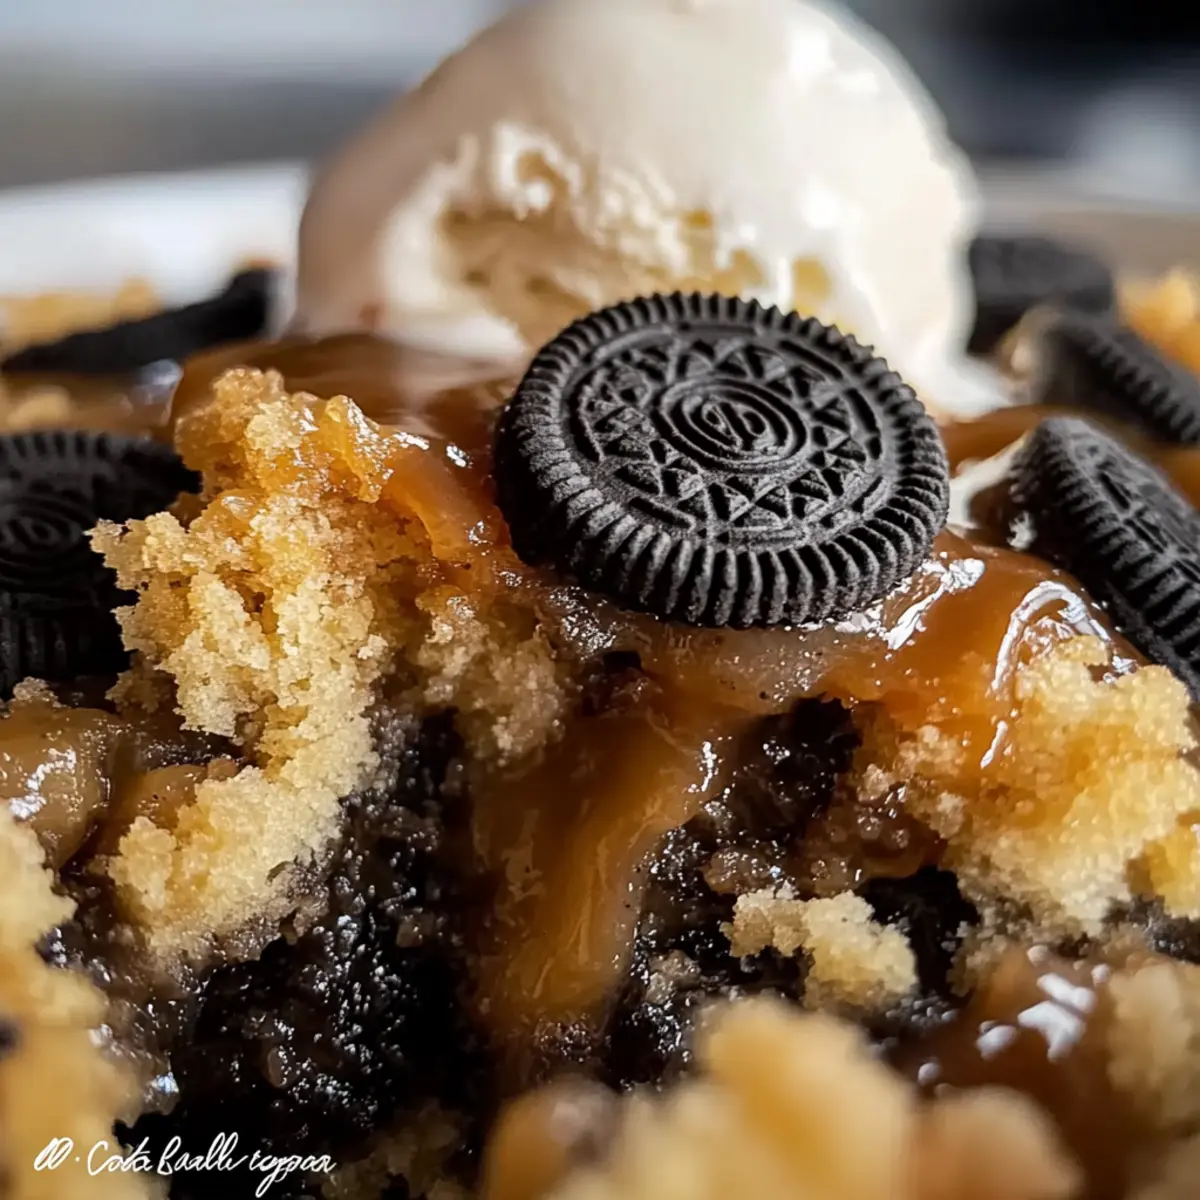
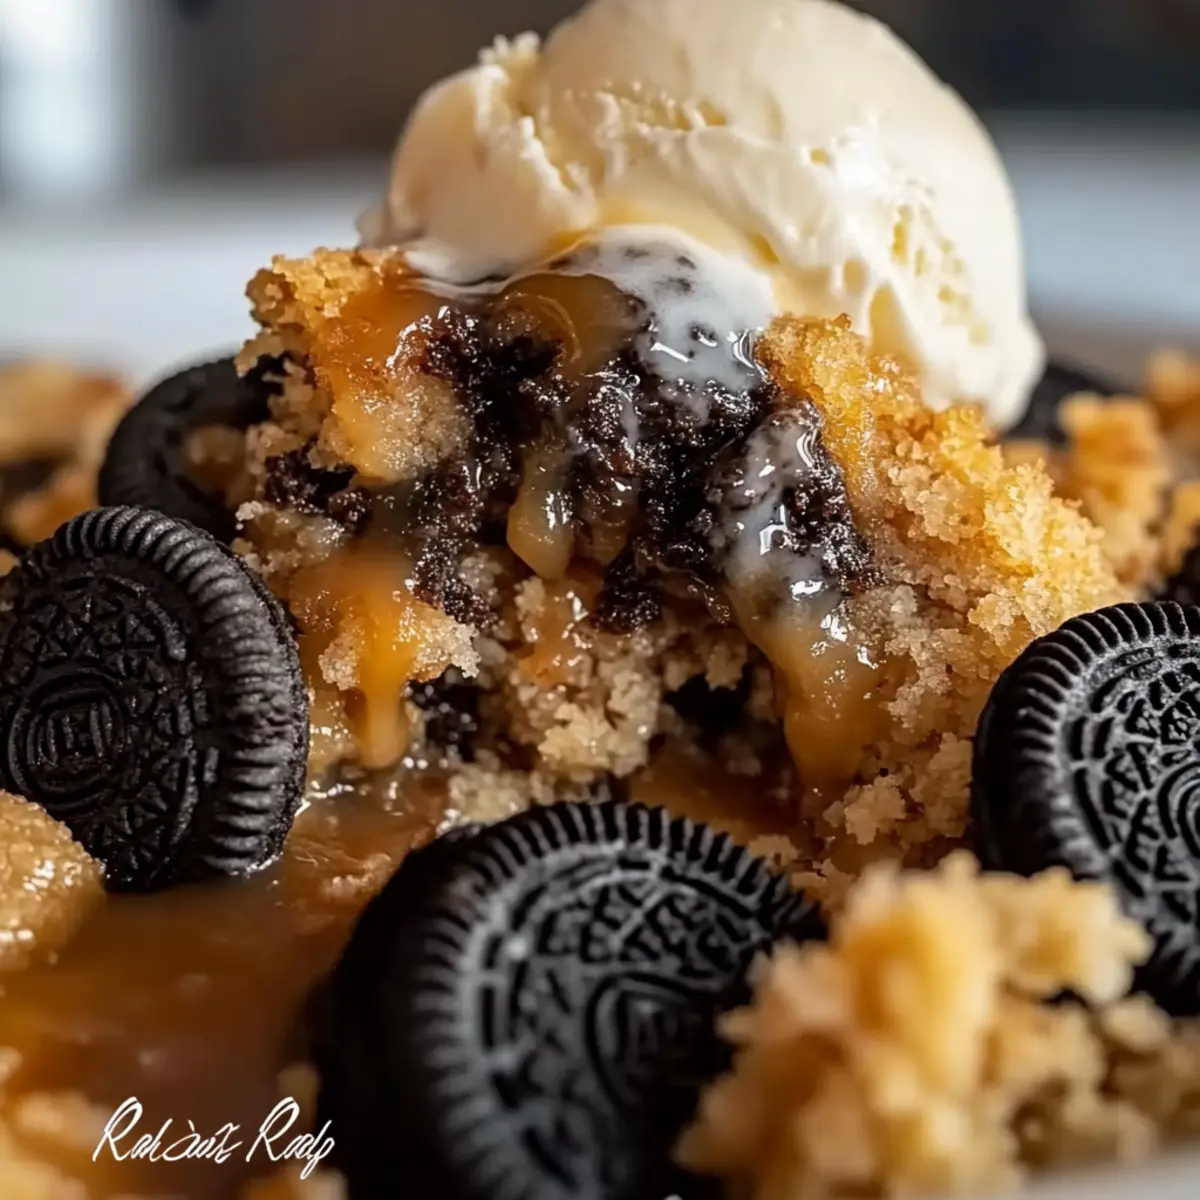
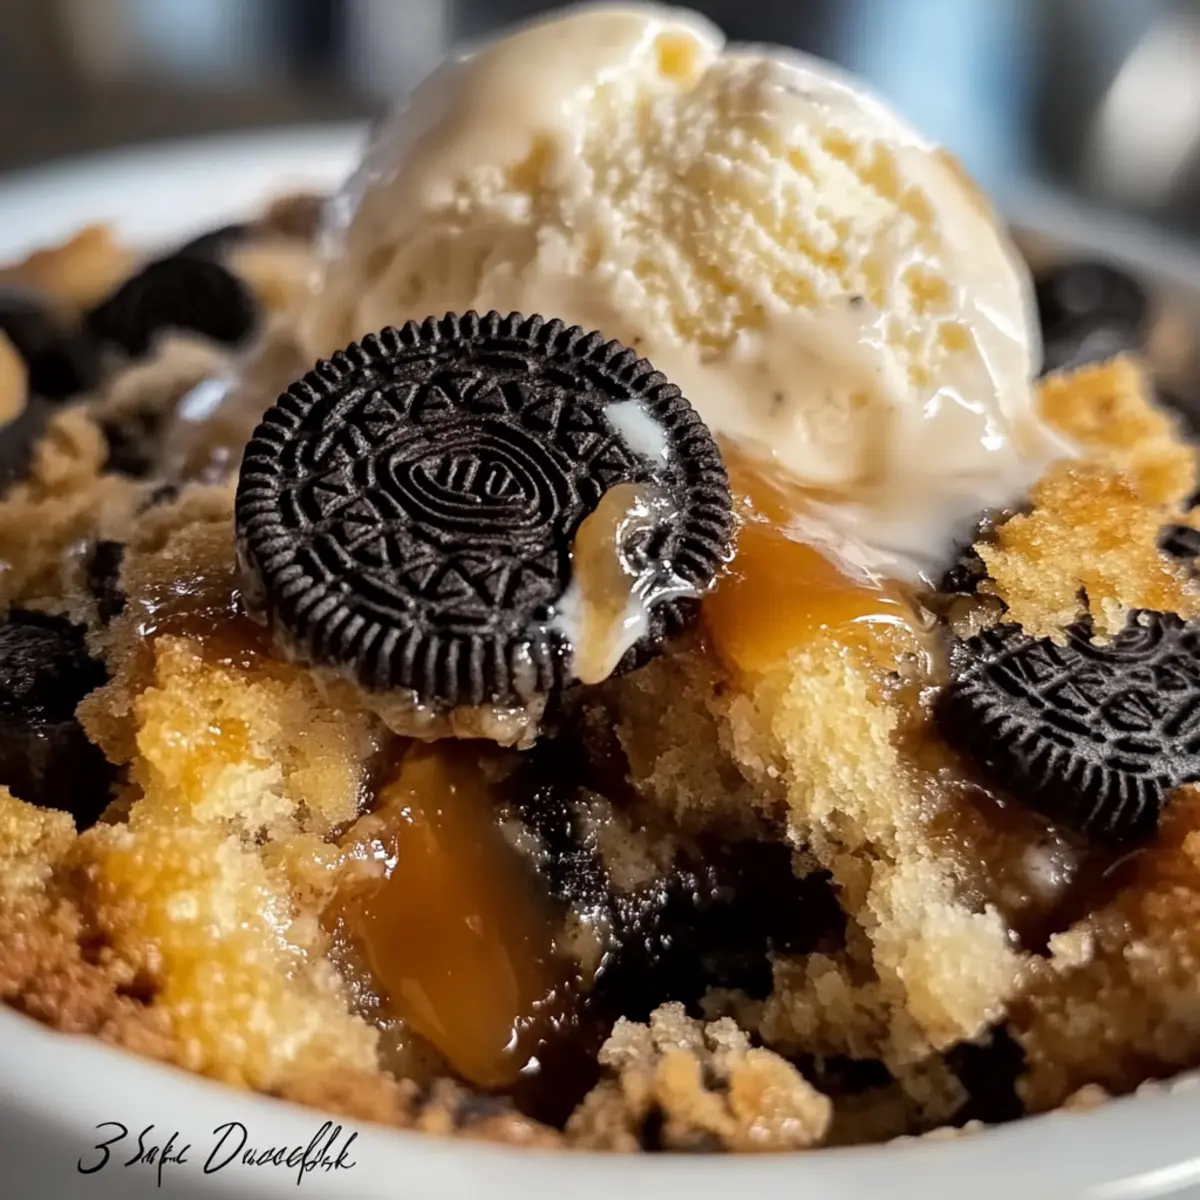
The kitchen was filled with a warm, inviting aroma that made my mouth water—just a hint of sweet caramel blending perfectly with crunchy Oreo pieces. That’s when I knew I had to share my latest creation: the 3 Step Oreo Cookie Dump Cobbler. This dessert is the ultimate crowd-pleaser, striking a balance between rich buttery crust and a gooey, chocolatey underlayer that’s hard to resist. Best of all, it’s easy to whip up in no time, making it your go-to for everything from family dinners to impromptu get-togethers. Trust me, this easy-to-make delight brings a comforting smile to everyone’s face. Who’s ready to impress their friends with this simple yet decadent treat?
Why is this dessert a must-try?
Decadence: The 3 Step Oreo Cookie Dump Cobbler offers a rich, indulgent flavor that blends Oreos with caramel beautifully.
Ease of Preparation: With only three simple steps, it’s perfect for anyone, even novice cooks!
Crowd-Pleaser: This dessert impresses friends and family alike, making it a fantastic addition to gatherings.
Versatile Options: Feel free to swap in different cookies or toppings for a unique twist, like peanut butter or fresh berries.
Perfectly Textured: The gooey layer beneath the soft cobbler creates a delightful contrast that everyone will rave about!
If you’re looking for more inspiration, check out these Cute Cauldron Cookie ideas for your next festive occasion!
3 Step Oreo Cookie Dump Cobbler Ingredients
• Dive into all the simple yet delicious elements that make this treat a standout!
For the Cobbler Base
- Oreo Cookies – Adds sweetness and crunch; swap with gluten-free cookies for a gluten-free version.
- Butter – Provides richness and helps form the cobbler crust; use unsalted butter for better control of flavor.
- Caramel Sauce – Enhances flavor and moisture; feel free to use store-bought or homemade varieties.
- All-Purpose Flour – Forms the cobbler base; can substitute with a gluten-free flour blend for those needing gluten-free options.
- Baking Powder – Helps the cobbler rise; make sure it’s fresh for optimal results.
- Milk – Binds the ingredients and adds moisture; non-dairy milk can be used for a dairy-free version.
For Serving
- Vanilla Ice Cream – A perfect pairing that adds creaminess to each bite; feel free to use dairy-free options if desired.
- Whipped Cream – Adds a light, fluffy touch; can be substituted with lighter alternatives for a healthier option.
Let’s bring the joy of this 3 Step Oreo Cookie Dump Cobbler to your table with these easy-to-follow ingredients!
Step‑by‑Step Instructions for 3 Step Oreo Cookie Dump Cobbler
Step 1: Prep Oven and Pan
Begin by preheating your oven to 350°F (175°C). While the oven warms up, grab a baking dish and generously grease it with butter or non-stick spray. This will ensure your 3 Step Oreo Cookie Dump Cobbler releases easily after baking. Set the greased dish aside and prepare to assemble the delightful layers.
Step 2: Mix Dry Ingredients
In a mixing bowl, combine your all-purpose flour, baking powder, and any other dry ingredients that you prefer. Whisk the mixture thoroughly until well blended; this step is crucial for even flavor throughout the cobbler. Once combined, set this dry mixture aside, ready for the next stage that will bring your 3 Step Oreo Cookie Dump Cobbler to life.
Step 3: Combine with Wet Ingredients
Melt your unsalted butter gently—just until melted, but not hot—and then pour it into the dry ingredients along with the milk. Stir everything together until just combined; be careful not to overmix, as this will keep your cobbler tender. Your batter should be thick, inviting, and ready to pour over the delightful Oreo layer.
Step 4: Layer Oreos
Take your crumbled Oreo cookies and spread them evenly across the bottom of the prepared baking dish. This layer will add sweetness and texture to your cobbler, so make sure they are well-distributed. The contrasting crunch of Oreos will shine through the soft cobbler above, ensuring each bite of your 3 Step Oreo Cookie Dump Cobbler is utterly delightful.
Step 5: Pour Batter
Now, pour the batter gently over the layer of Oreos, using a spatula to cover them evenly. This will create a beautiful cobbler that bakes into a golden treat. Make sure the batter reaches the edges of the dish, enveloping the Oreos underneath. It’s time to let this dessert reach its potential by baking to perfection.
Step 6: Bake
Slide your dish into the preheated oven and bake for approximately 35 minutes. You’ll know it’s done when the top is golden brown and firm to the touch. The aroma of rich caramel and chocolate will fill your kitchen, making it hard to resist. Allow this magic to happen as your 3 Step Oreo Cookie Dump Cobbler transforms in the oven.
Step 7: Cool and Serve
Once baked, take the cobbler out of the oven and allow it to cool for a few minutes. This step is essential as it helps to set the layers before you serve. Consider pairing your warm cobbler with a scoop of vanilla ice cream or a dollop of whipped cream for a truly decadent treat that will impress everyone at the table.
Storage Tips for 3 Step Oreo Cookie Dump Cobbler
- Fridge: Store leftovers in an airtight container in the fridge for up to 3 days. This will keep the flavors fresh and prevent it from becoming too dry.
- Freezer: For longer storage, freeze the cobbler in a tightly sealed container for up to 2 months. Ensure it’s well-wrapped to avoid freezer burn.
- Reheating: To enjoy this decadent dessert again, reheat in the oven at 350°F for 10-15 minutes or in the microwave for 30-60 seconds per serving until warmed through.
- Serving Suggestions: Serve warm or at room temperature, and consider pairing with a scoop of ice cream or a dollop of whipped cream for extra delight!
Make Ahead Options
These 3 Step Oreo Cookie Dump Cobbler components are perfect for meal prep and make your life easier on busy days! You can prepare the dry ingredients (flour, baking powder, and any spices) up to 3 days in advance by storing them in an airtight container to maintain freshness. Additionally, you can crumble the Oreo cookies and layer them in the baking dish up to 24 hours ahead; just keep them covered with plastic wrap to prevent moisture loss. When you’re ready to enjoy this decadent dessert, simply mix the wet ingredients, pour the batter over the Oreos, and bake as directed. With these simple make-ahead steps, you’ll have a delicious cobbler that’s just as delightful as if it were made fresh!
What to Serve with 3 Step Oreo Cookie Dump Cobbler
Treat your guests to a delightful spread that harmonizes perfectly with the warm, gooey layers of the cobbler.
-
Vanilla Ice Cream: A classic pairing that adds a creamy contrast to the cobbler’s rich flavors; melting into the warm dessert creates pure bliss.
-
Whipped Cream: Light and fluffy, it offers a sweet touch while allowing the cobbler’s chocolatey notes to shine through.
-
Fresh Berries: The tartness of strawberries or blueberries brings a refreshing pop of flavor, balancing the sweet decadence of the cobbler beautifully.
-
Chocolate Sauce: Drizzling just a bit of rich chocolate sauce adds an extra layer of indulgence, elevating this dessert to heavenly heights.
-
Nutty Crumble Topping: A sprinkle of chopped nuts mixed with a dash of brown sugar can provide an unexpected crunch and sumptuous texture as a topping.
-
Coffee or Espresso: A warm mug of coffee or espresso complements the dessert’s sweetness and enhances its chocolatey richness; perfect for winding down after a meal.
Expert Tips for 3 Step Oreo Cookie Dump Cobbler
-
Avoid Overmixing: Gently mix wet and dry ingredients to keep your cobbler tender. Overmixing can create a dense texture instead of the lovely softness we want.
-
Butter Temperature Matters: Ensure the melted butter isn’t hot when you combine it with the other ingredients. Hot butter can cause curdling, which affects the cobbler’s consistency.
-
Watch the Baking Time: Ovens can vary, so start checking your cobbler a few minutes before the 35-minute mark. Look for a golden top that’s firm to the touch.
-
Customize Your Cookies: Experiment with different sandwich cookies for a twist on the classic. Flavors like peanut butter or mint can elevate your 3 Step Oreo Cookie Dump Cobbler!
-
Texture Boost: For an added crunch, sprinkle chopped nuts or chocolate chips on top just before baking. This creates a delightful contrast with the gooey layers beneath!
3 Step Oreo Cookie Dump Cobbler Variations
Feel free to personalize this delightful cobbler with all sorts of delicious twists that dazzle the taste buds!
-
Gluten-Free: Substitute regular Oreos with gluten-free cookies and use a gluten-free flour blend for the cobbler base.
-
Fruit-Infused: Add fresh blueberries or raspberries on top of the Oreos before pouring the batter for a fruity burst of flavor.
-
Nutty Addition: Sprinkle chopped nuts like pecans or walnuts on top of the batter before baking for an added crunch and rich taste.
-
Minty Freshness: Use mint-flavored Oreos for an extra refreshing twist that blends beautifully with the caramel.
-
Chocolate Lovers: Mix in chocolate chips with the batter for a double dose of chocolatey goodness in each bite.
-
Caramel Drizzle: Drizzle extra caramel sauce over the baked cobbler right before serving for an indulgent finish.
-
Peanut Butter Delight: Incorporate creamy peanut butter into the batter for a nutty flavor that pairs perfectly with the chocolate.
For more sweet inspiration, check out these Halloween Cookies Chocolatey or try crafting some Cheesecake Stuffed Cookies alongside your cobbler!
3 Step Oreo Cookie Dump Cobbler Recipe FAQs
How do I choose the right Oreos for this recipe?
Absolutely! The classic Oreo works beautifully in this recipe, but feel free to experiment with different flavors like peanut butter or mint for a unique twist. If you prefer a gluten-free option, simply swap the Oreos for gluten-free chocolate sandwich cookies.
How should I store my leftover cobbler?
To keep your 3 Step Oreo Cookie Dump Cobbler fresh, store any leftovers in an airtight container in the refrigerator for up to 3 days. This will help maintain its delectable taste; just make sure to let it cool completely before sealing it up!
Can I freeze the cobbler, and how do I do it?
Certainly! To freeze your cobbler, allow it to cool completely, then wrap it tightly in plastic wrap and place it in a freezer-safe container. When sealed this way, it will stay good for up to 2 months. When you’re ready to enjoy it, simply thaw overnight in the refrigerator, then warm it up in the oven at 350°F for about 10-15 minutes.
What should I do if my cobbler is too dense?
If you find that your cobbler is a bit dense, it may be due to overmixing the batter. Next time, stir just until the ingredients are combined; a few lumps are perfectly fine! Also, make sure your baking powder is fresh, as old leavening agents can affect rise and texture.
Is this recipe safe for those with allergies?
While the 3 Step Oreo Cookie Dump Cobbler contains common allergens like dairy and gluten, you can easily modify it! Use dairy-free milk and gluten-free flour to accommodate different dietary needs. However, always double-check your specific Oreo variety for any potential allergens, especially if sharing with guests or family.
How can I reheat the cobbler without drying it out?
To reheat your cobbler while keeping it moist, I recommend using the oven! Preheat it to 350°F and bake your individual servings for about 10-15 minutes. For a quicker method, the microwave works too; simply heat a serving for 30-60 seconds, checking that it’s warmed through but not overcooked.
3 Step Oreo Cookie Dump Cobbler for an Easy Dessert Delight
Ingredients
Equipment
Method
- Preheat your oven to 350°F (175°C) and grease a baking dish.
- In a bowl, mix together all-purpose flour, baking powder, and any other preferred dry ingredients.
- Melt the butter and combine it with the dry ingredients and milk until just mixed.
- Spread crumbled Oreo cookies evenly across the bottom of the greased baking dish.
- Pour the batter over the Oreos, ensuring even coverage.
- Bake in the preheated oven for about 35 minutes until golden brown on top.
- Allow to cool for a few minutes before serving, optionally with ice cream or whipped cream.
Leave a Reply