
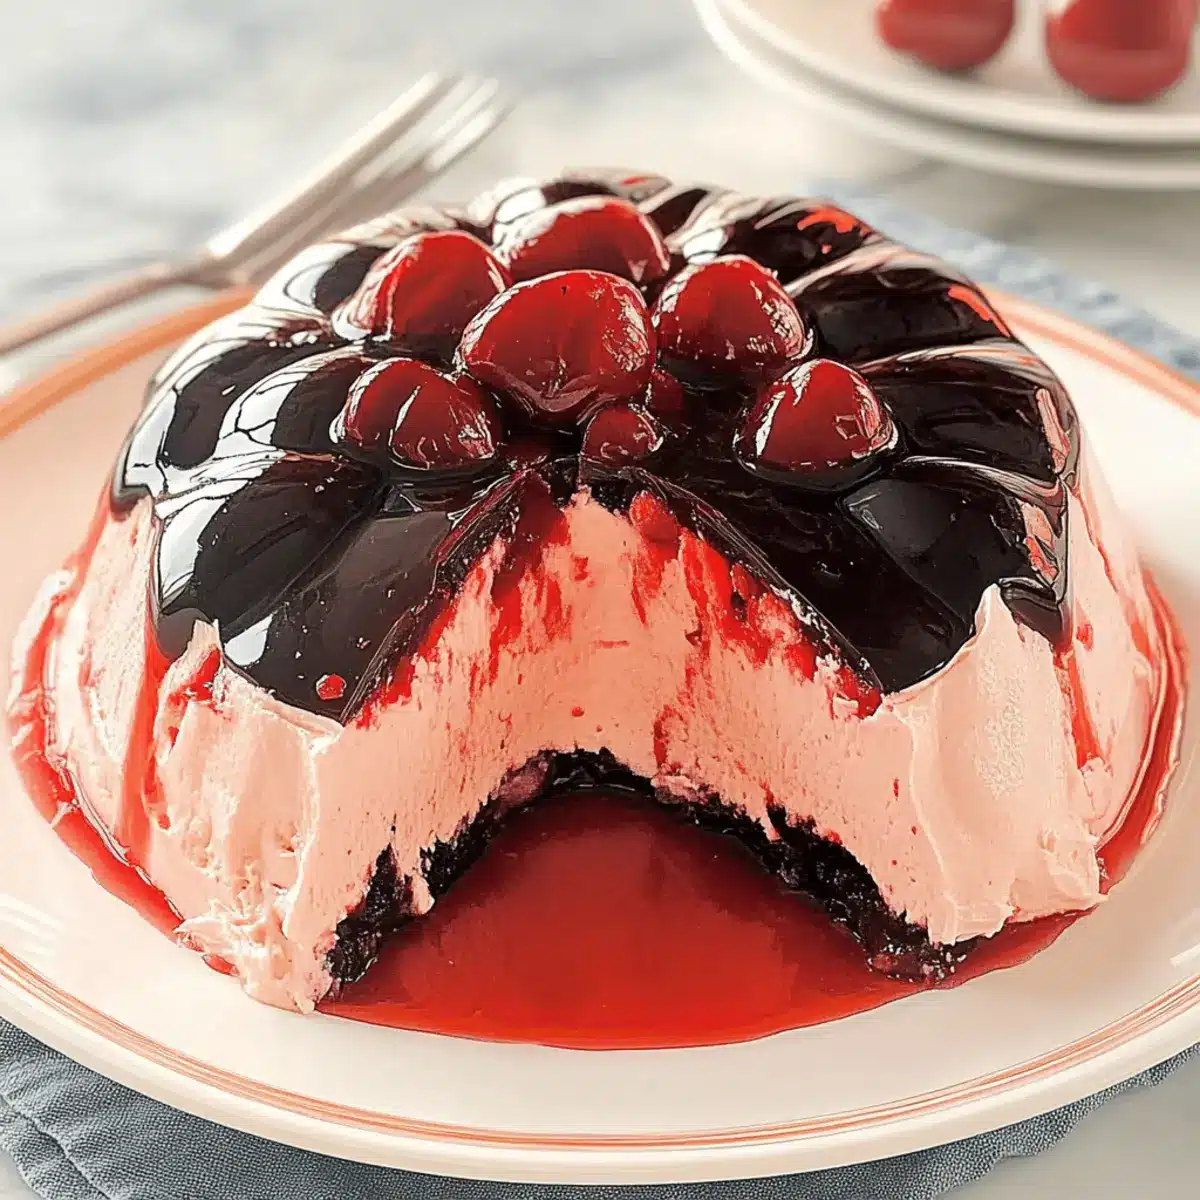
Chilled desserts have a special way of transforming warm days into delightful treats, and my Cherry Chiffon Gelatin is the perfect example of that magic. With its airy texture and vibrant cherry flavor, this quick 10-minute dessert is a showstopper at potlucks and family gatherings alike. Not only will it impress your guests with its jewel-like appearance, but it’s also a lighter option that won’t weigh you down after a hearty meal. This recipe is so easy that you’ll be tempted to whip it up for every occasion, ensuring you always have a refreshing, sweet finish at your fingertips. So, are you ready to dive into this delightful chilled creation? Let’s get started!
Why is Cherry Chiffon Gelatin a Must-Try?
Easy Preparation: In just 10 minutes, you can mix up this gorgeous dessert, making it a breeze for those busy days.
Lively Flavor: The sweet cherry taste combined with a light, airy texture will have your taste buds dancing!
A Showstopper: Its jewel-like appearance makes it an impressive centerpiece at any potluck or gathering.
Light and Refreshing: This dessert is perfect after a hearty meal, offering a lighter finish that’s still satisfies those sweet cravings.
Customizable: Feel free to experiment with flavors! Swap in strawberry or raspberry gelatin for a delightful twist, just like in my Chocolate Cherry Cookies for added fun!
With these fantastic qualities, it’s no wonder my Cherry Chiffon Gelatin has become a go-to for gatherings and celebrations!
Cherry Chiffon Gelatin Ingredients
For the Gelatin Base
• Cherry Gelatin – 2 packages (3 ounces each); this provides the main flavor and color. Opt for sugar-free if desired.
• Boiling Water – 1.5 cups total; this dissolves the gelatin for a smooth finish.
• Cold Water – 2 cups total; essential for gelatin to set properly, ensuring the right consistency.
• Pitted Dark Sweet Cherries – 1 can (15 ounces); adds texture and fruity bursts; you can swap in fresh cherries or other berries for variety.
For the Topping
• Whipped Topping – 2 cups; creates a creamy layer on top, and you can substitute with coconut cream for a dairy-free version.
With these simple Cherry Chiffon Gelatin ingredients, you’re just a few steps away from a delightful and refreshing dessert that’s perfect for any occasion!
Step‑by‑Step Instructions for Cherry Chiffon Gelatin
Step 1: Prepare Gelatin Base
In a large mixing bowl, combine one package of cherry gelatin with 3/4 cup of boiling water. Stir vigorously until the gelatin fully dissolves, which should take about 2-3 minutes. Next, add 1 cup of cold water and mix thoroughly. You’ll notice the vibrant cherry color developing, setting the stage for your delicious Cherry Chiffon Gelatin.
Step 2: Refrigerate
Transfer the gelatin mixture to your refrigerator and let it chill for about 1 hour, or until it’s partially set. You’ll know it’s ready when it thickens to a syrupy consistency and holds its shape but is still jiggle-soft. This step is crucial for incorporating the cherries without them sinking.
Step 3: Add Cherries
Once the gelatin is partially set, take it out of the refrigerator and gently fold in the drained dark sweet cherries. Ensure they’re evenly distributed throughout the mixture for a bursting flavor in your Cherry Chiffon Gelatin. Stir carefully to maintain the fluffy texture you’ve created so far.
Step 4: Mold and Chill
Pour the cherry mixture into a greased 7-cup mold, smoothing the top with a spatula. Refrigerate for an additional hour or until the gelatin is firm to the touch. The mold should feel solid, ensuring your dessert holds its shape when unmolded later.
Step 5: Make Topping
In a small bowl, dissolve the remaining package of cherry gelatin in 3/4 cup of boiling water, stirring until smooth. Next, mix in 1 cup of cold water, allowing the mixture to cool for a few minutes. This gelatin layer will add an extra touch of sweetness to your Cherry Chiffon Gelatin.
Step 6: Incorporate Whipped Topping
Once the gelatin has cooled but is still slightly thickened, fold in the 2 cups of whipped topping gently. You want to create a light, airy mix without deflating the whipped topping. This step adds the creamy layer that complements the cherry base beautifully.
Step 7: Final Chill
Carefully spread the whipped topping mixture over the set cherry layer in the mold. Return to the refrigerator and chill for at least 4 hours, ensuring the entire dessert is completely firm. You’ll know it’s set when the surface is firm with a smooth texture, ready to impress.
Step 8: Serve
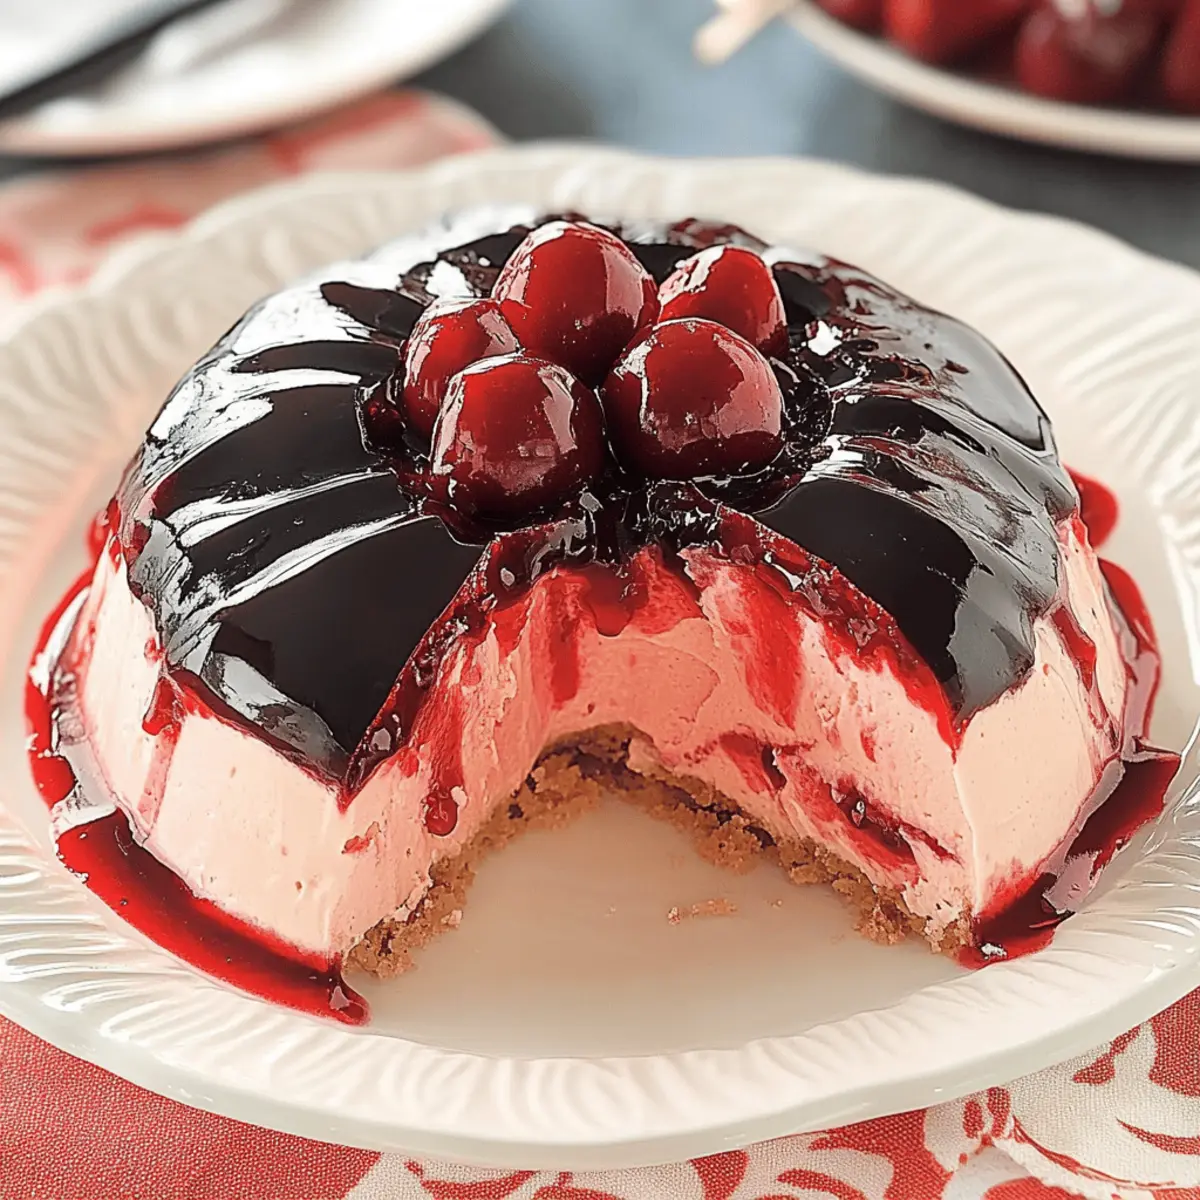
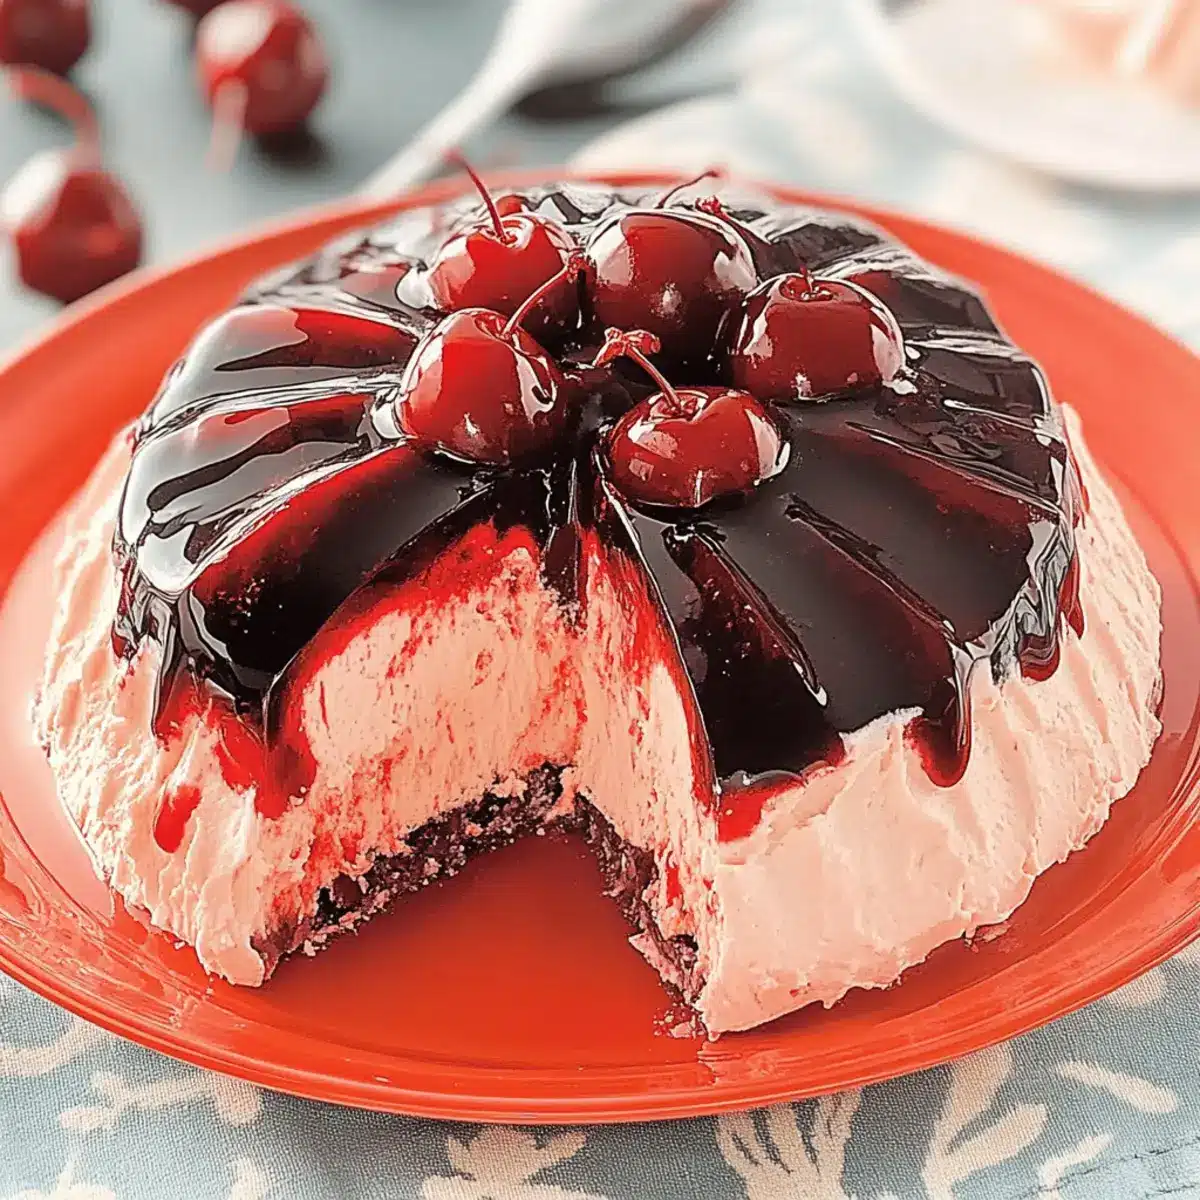
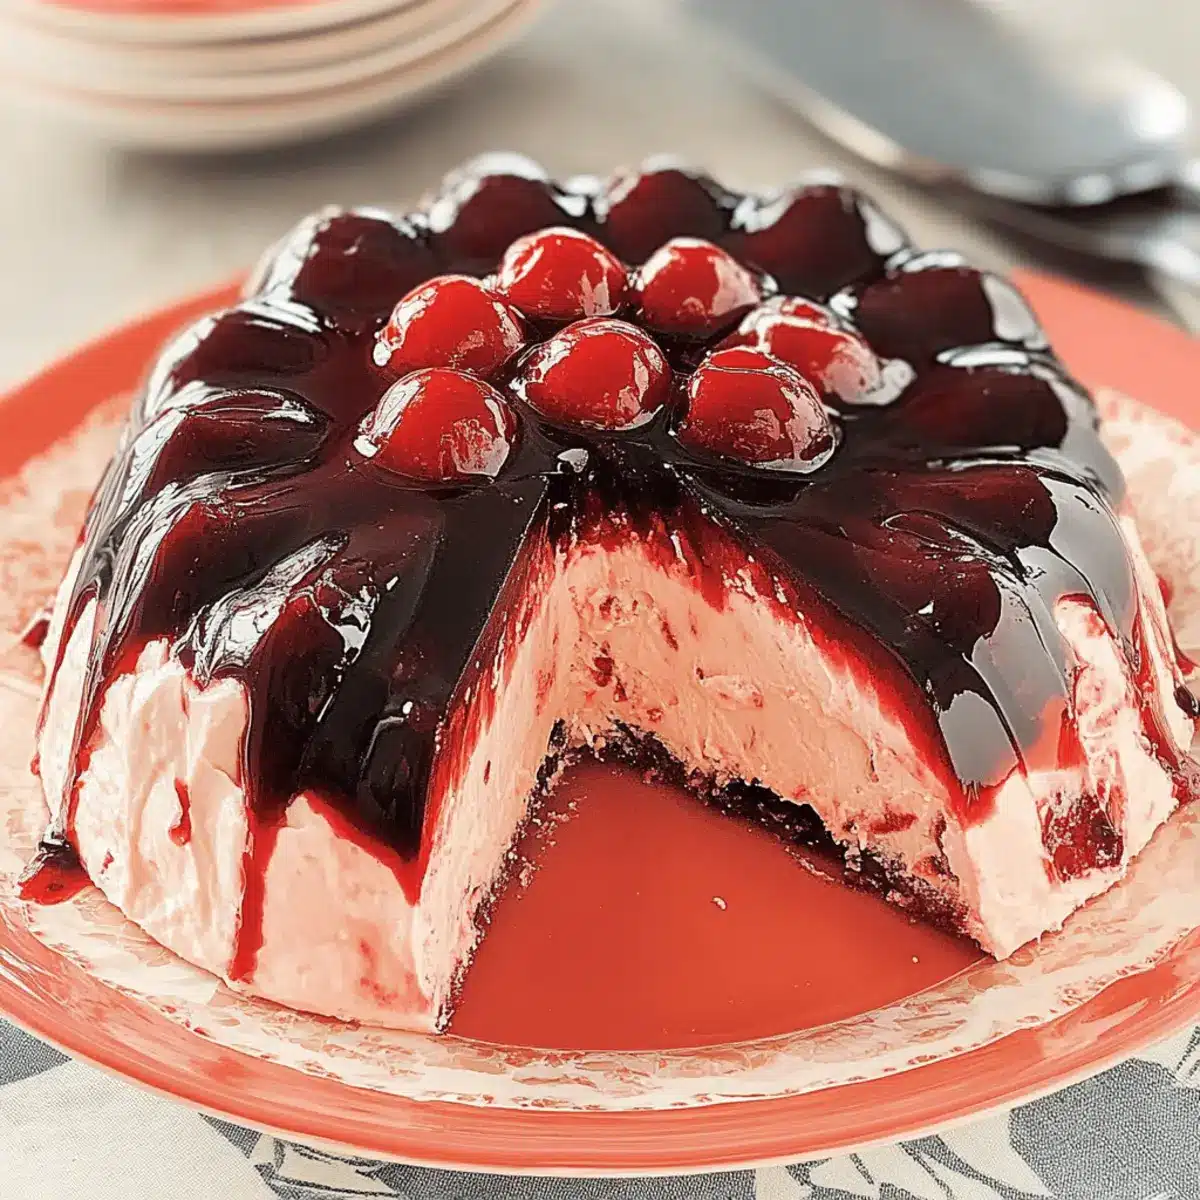
Once fully chilled, remove the Cherry Chiffon Gelatin from the refrigerator. To unmold, gently run a knife around the edge and invert it onto a serving platter. Watch the beautiful, jewel-like shape hold as you serve this delightful dessert to family and friends!
Make Ahead Options
Cherry Chiffon Gelatin is ideal for meal prep, allowing you to savor its deliciousness with minimal effort on busy days! You can prepare the gelatin base up to 24 hours in advance by following steps 1 through 3, then refrigerating it. Once it’s set, add the pitted dark sweet cherries and mold the gelatin (step 4). For best quality, cover the mold with plastic wrap to prevent any absorption of odors. When you’re ready to complete this refreshing treat, proceed with step 5 by making the topping and follow steps 6 through 8. Your guests will never know you made it ahead—it’s just as delightful!
How to Store and Freeze Cherry Chiffon Gelatin
Refrigerator: Store covered tightly in the fridge for up to 5 days. Ensure the container is airtight to maintain freshness and prevent any odors from affecting your dessert.
Freezer: For longer storage, freeze the Cherry Chiffon Gelatin for up to 2 months. Place the gelatin in a freezer-safe container, leaving some space at the top for expansion.
Thawing: To enjoy your frozen Cherry Chiffon Gelatin, transfer it to the fridge for 8 hours to thaw slowly. Avoid refreezing once thawed, as this may affect the texture.
Serving Tip: After thawing, serve chilled for the best flavor and texture experience, as the airy consistency is truly what makes this dessert shine!
Cherry Chiffon Gelatin Variations & Substitutions
Feel free to personalize this lovely dessert with your own creative touches, adding a burst of flavor or adjusting it to fit your dietary needs!
- Raspberry Gelatin: Replace cherry gelatin with raspberry for a tangy twist that complements the cherries beautifully.
- Fresh Berries: Swap canned cherries for fresh strawberries or blueberries for a delightful combo; they add vibrant color and crunchy texture.
- Coconut Cream: Use coconut cream instead of whipped topping for a rich, dairy-free alternative that still keeps it airy.
- Greek Yogurt: Substitute whipped topping with Greek yogurt for a healthier, protein-packed version without sacrificing creaminess.
- Pineapple Chunks: Mix in some drained pineapple chunks along with cherries for a tropical flair that brings sunshine to your table!
- Mint Infusion: Add a few mint leaves to the gelatin mixture before chilling to infuse a refreshing herbal note in every bite; just like in my Chocolate Cherry Cookies.
- Citrus Zest: Incorporate a teaspoon of lime or lemon zest into the topping for a zesty brightness that elevates the entire dessert.
- Spicy Kick: Mix in a pinch of cayenne pepper for a surprising kick that balances the sweetness; a little heat goes a long way!
With these variations, you’ll never grow tired of this classic recipe. Dive into a world of flavors while enjoying the ease of Cherry Chiffon Gelatin!
What to Serve with Cherry Chiffon Gelatin
Chilled desserts can be the cherry on top of any meal, and pairing them thoughtfully can elevate your dining experience to a whole new level.
- Light Salad: A refreshing mixed greens salad with a citrus vinaigrette will cleanse the palate and balance the sweetness of the dessert.
- Grilled Chicken: Juicy, herb-marinated grilled chicken offers savory notes that complement the airy sweetness of the Cherry Chiffon Gelatin, perfect for a summer cookout.
- Creamy Coleslaw: The crunchy texture of coleslaw paired with a tangy dressing provides a delightful contrast, making each bite interesting.
- Roasted Veggies: A medley of roasted vegetables, such as zucchini and bell peppers, adds depth and earthy flavors that harmonize beautifully with the dessert.
For a delightful touch, consider serving chilled sparkling water with lemon wedges alongside your meal to keep things bright and refreshing!
- Shortbread Cookies: Serve with buttery shortbread cookies for a comforting crunch that pairs perfectly with the soft, creamy texture of the gelatin.
- Fruit Tart: A mini fruit tart filled with custard adds a touch of elegance to your spread while echoing the fruity notes of the Cherry Chiffon Gelatin.
Creating a whole meal around this whipped dream dessert will surely impress your guests and have them reaching for seconds. Enjoy the magic of flavors!
Expert Tips for Cherry Chiffon Gelatin
• Perfectly Dissolve Gelatin: Ensure the gelatin is fully dissolved in boiling water to avoid any lumps in your Cherry Chiffon Gelatin. Stir until smooth.
• Release with Ease: Use a non-stick spray or lightly grease your mold to make unmolding a breeze after chilling.
• Avoid Fresh Fruit Overload: Limit the amount of fresh fruit added; too many can break down the gelatin and prevent it from setting properly.
• Chill Times Matter: Allow the gelatin to chill thoroughly at each step; impatience might lead to a runny dessert that won’t hold its shape.
• Experiment with Flavors: Don’t hesitate to swap out cherry gelatin with other fruity flavors like raspberry or strawberry for a fun twist!
Cherry Chiffon Gelatin Recipe FAQs
What cherries should I use in Cherry Chiffon Gelatin?
Absolutely! For this recipe, canned dark sweet cherries are perfect, as they’re sweet and easy to work with. You can also opt for fresh cherries, raspberries, or even strawberries if you prefer a fruity twist. Just make sure to pit them if you’re using fresh cherries!
How should I store leftover Cherry Chiffon Gelatin?
To store your Cherry Chiffon Gelatin, cover it tightly with plastic wrap or place it in an airtight container. It will remain fresh in the refrigerator for up to 5 days. Ensuring it’s tightly sealed will help maintain its delightful texture and prevent any unwanted fridge odors from seeping in.
Can I freeze Cherry Chiffon Gelatin?
Definitely! To freeze your Cherry Chiffon Gelatin, pour it into a freezer-safe container, leaving some space at the top for expansion, as it will slightly grow when frozen. It can be stored for up to 2 months. When you’re ready to enjoy it again, just transfer it to the fridge and let it thaw for about 8 hours before serving.
What should I do if my gelatin doesn’t set properly?
If your Cherry Chiffon Gelatin has not set properly, it may be due to not using enough gelatin or adding too many fresh fruits that can break it down. If you find it’s too runny after chilling, you can reheat the mixture, dissolve another package of gelatin in boiling water, and mix it back in. Chill it again, and it should firm up!
Is Cherry Chiffon Gelatin suitable for my dietary needs?
Sure thing! The recipe can easily be tailored to meet dietary considerations. For a lighter version, you can use sugar-free gelatin instead. If you’re looking for a dairy-free option, substituting the whipped topping with coconut cream will keep it just as creamy and delicious while being suitable for those avoiding dairy. Always check with guests regarding allergies, especially with ingredients like gelatin.
Cherry Chiffon Gelatin: A Whipped Dream for Warm Days
Ingredients
Equipment
Method
- In a large mixing bowl, combine one package of cherry gelatin with 3/4 cup of boiling water. Stir vigorously until the gelatin fully dissolves.
- Add 1 cup of cold water and mix thoroughly.
- Transfer the gelatin mixture to your refrigerator and let it chill for about 1 hour, or until it’s partially set.
- Once the gelatin is partially set, gently fold in the drained dark sweet cherries.
- Pour the cherry mixture into a greased 7-cup mold and refrigerate for an additional hour or until firm.
- In a small bowl, dissolve the remaining package of cherry gelatin in 3/4 cup of boiling water, then mix in 1 cup of cold water.
- Once slightly thickened, fold in the whipped topping gently.
- Spread the whipped topping mixture over the set cherry layer in the mold and chill for at least 4 hours.
- Gently run a knife around the edge and invert onto a serving platter.
Leave a Reply