
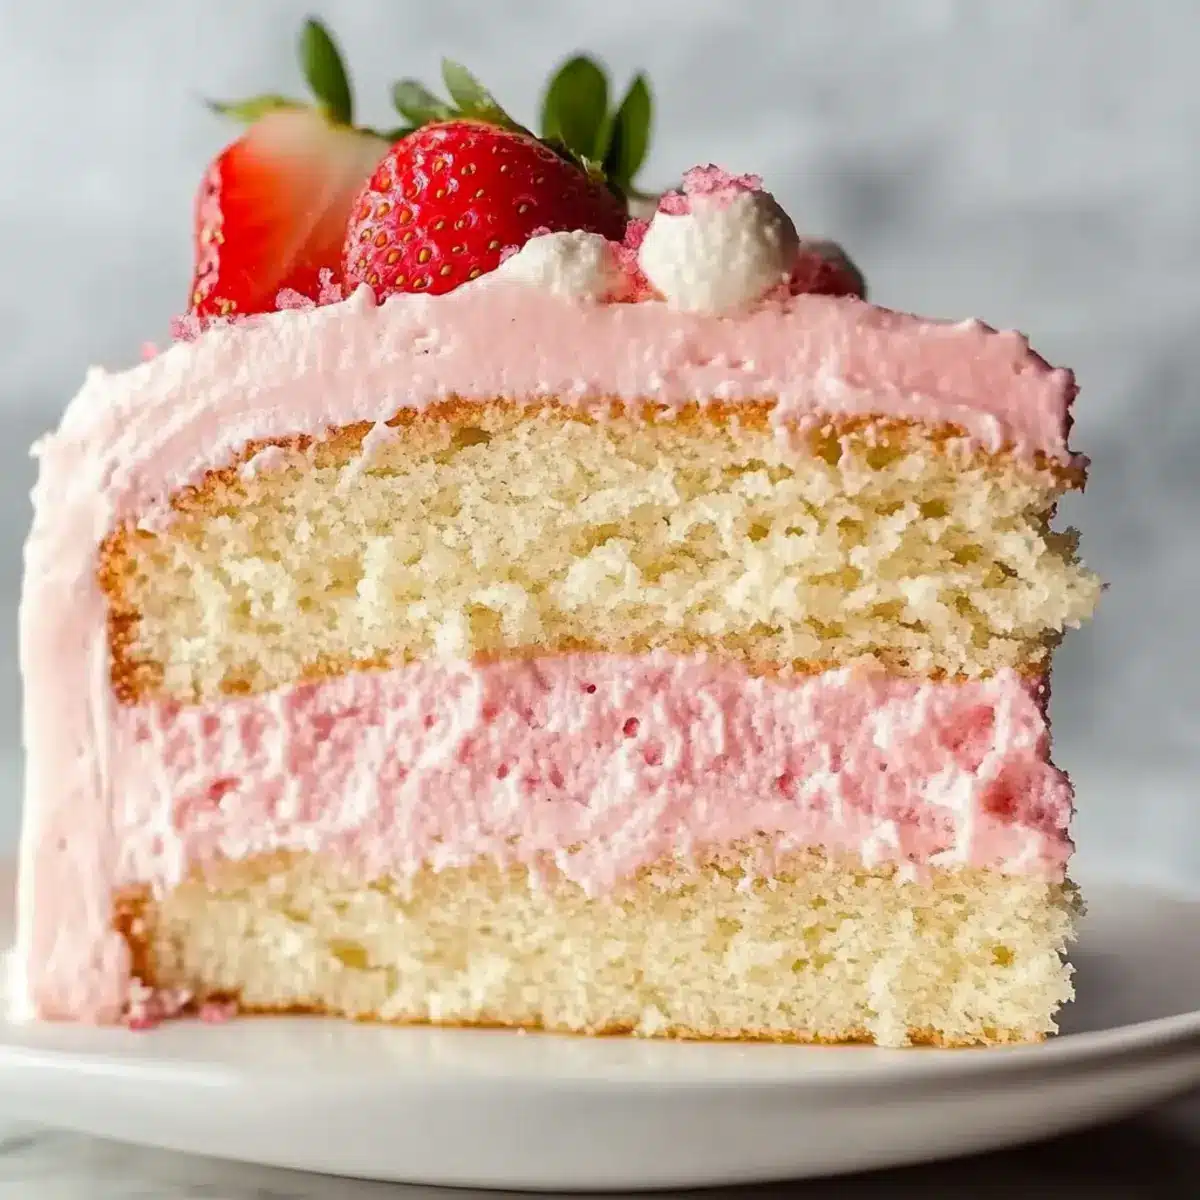
As I sifted through my pantry, the air filled with the enchanting aroma of vanilla, sparking my impulse to bake. This Vanilla Bean Layer Cake is a delightful embrace of nostalgia and celebration, perfect for any occasion or simply to elevate your weekend routine. With the addition of luscious strawberry cream cheese frosting, this cake marries sweetness and tang, ensuring smiles all around. One of the best parts? It’s surprisingly quick to whip up, making it a go-to for both novice and seasoned bakers looking for a rewarding homemade dessert. Plus, this recipe allows you to treat your loved ones without the fuss of complicated techniques. Are you ready to create a cake that steals the show? Let’s bake magic together!
Why is this cake a must-try?
Heavenly Flavor: The combination of pure vanilla bean and fresh strawberries creates a cake that’s not only beautiful but incredibly delicious.
Quick and Easy: This recipe is designed for those short on time, allowing you to whip up an impressive dessert in no time.
Showstopper Appeal: Perfect for any occasion, this cake is an instant crowd favorite that will impress at birthday celebrations or weekend gatherings.
Frosting Delight: The strawberry cream cheese frosting adds a luscious tang that perfectly complements the sweetness of the cake, making every bite a delight!
If you love homemade cakes like the Black Forest Cake or crave something fruity like Apple Crumb Cake with Cinnamon Apple Drizzle, this recipe is your next essential bake!
Vanilla Bean Layer Cake Ingredients
• Delight in crafting this delicious Vanilla Bean Layer Cake!
For the Cake
- All-Purpose Flour – A sturdy base that can also be substituted with cake flour for a more delicate texture.
- Baking Powder – Essential for creating lift; check the expiration date for best results.
- Baking Soda – Works alongside acidic ingredients to provide extra leavening.
- Salt – Enhances sweetness and balances the overall flavor profile.
- Unsalted Butter – Adds a rich taste and moistness; ensure it’s softened to achieve a creamy blend.
- Granulated Sugar – Sweetens the batter while contributing to a delightful crumb.
- Large Egg Whites (room temperature) – Provides lift without adding excess heaviness to the cake.
- Rodelle Vanilla Bean Paste – Infuses delightful vanilla flavor with gorgeous flecks; substitute with pure vanilla extract if needed.
- Sour Cream – Yields a moist and tender cake; use full-fat for the best outcome.
- Milk (whole) – Adds additional moisture; use at room temperature to blend seamlessly.
For the Frosting
- Cream Cheese (full fat) – Creates a luscious, creamy texture that’s essential for your frosting; avoid low-fat options for best results.
- Powdered Sugar – Sweetens the frosting and helps to achieve the desired consistency; adjust based on your frosting thickness preference.
- Pureed Fresh Strawberries – Adds both flavor and stunning color to your creamy frosting; opt for ripe, juicy strawberries for the best taste.
Dive into this delightful Vanilla Bean Layer Cake adventure, and gather these ingredients for an unforgettable dessert experience!
Step‑by‑Step Instructions for Heavenly Vanilla Bean Layer Cake with Strawberry Bliss Frosting
Step 1: Preheat Oven
Begin by preheating your oven to 350°F (175°C). While it warms up, prepare your two 8-inch or three 6-inch round cake pans by greasing them with butter or cooking spray and lining the bottoms with parchment paper. This will ensure your Vanilla Bean Layer Cake releases effortlessly after baking.
Step 2: Mix Dry Ingredients
In a medium bowl, sift together the all-purpose flour, baking powder, baking soda, and salt. Make sure these dry ingredients are well combined and free from lumps, which will help achieve a light and fluffy texture in your cake. Set this mixture aside as you move on to the next step.
Step 3: Cream Butter and Sugar
In your stand mixer fitted with the paddle attachment, beat the softened unsalted butter with the granulated sugar until the mixture becomes light and fluffy—about 3-4 minutes. You want a pale color and creamy consistency. This vital step will incorporate air into the batter, contributing to the fluffiness of your Heavenly Vanilla Bean Layer Cake.
Step 4: Incorporate Eggs and Vanilla
With the mixer on low speed, add the large egg whites one at a time, mixing thoroughly after each addition. Once combined, add the Rodelle vanilla bean paste to the mixture and continue mixing until smooth. The vanilla will elevate the flavor profile of your cake and add beautiful flecks of vanilla.
Step 5: Combine Wet and Dry Ingredients
Gradually add one-third of the dry ingredients to the butter mixture, followed by half of the room-temperature sour cream and a splash of milk. Mix gently to combine, being careful not to over-mix. Repeat this alternating process until all ingredients are just combined, ensuring your batter remains light and airy.
Step 6: Bake
Carefully divide the batter evenly among the prepared pans, smoothing the tops with a spatula for even baking. Place in the preheated oven and bake for 22-28 minutes, or until a toothpick inserted in the center comes out clean. The cakes should be golden brown and spring back when lightly pressed.
Step 7: Cool Cakes
Once baked, remove the cake layers from the oven and allow them to cool in the pans for about 10 minutes. After that, gently transfer them to wire racks to cool completely. Proper cooling is essential for achieving a perfectly frosted Vanilla Bean Layer Cake without the frosting melting.
Step 8: Make Frosting
While the cake layers cool, prepare the frosting by beating the full-fat cream cheese and softened butter in a mixing bowl until smooth and creamy. Gradually add the powdered sugar, and then fold in the pureed fresh strawberries to create a delightful strawberry cream cheese frosting that’s luscious and tangy.
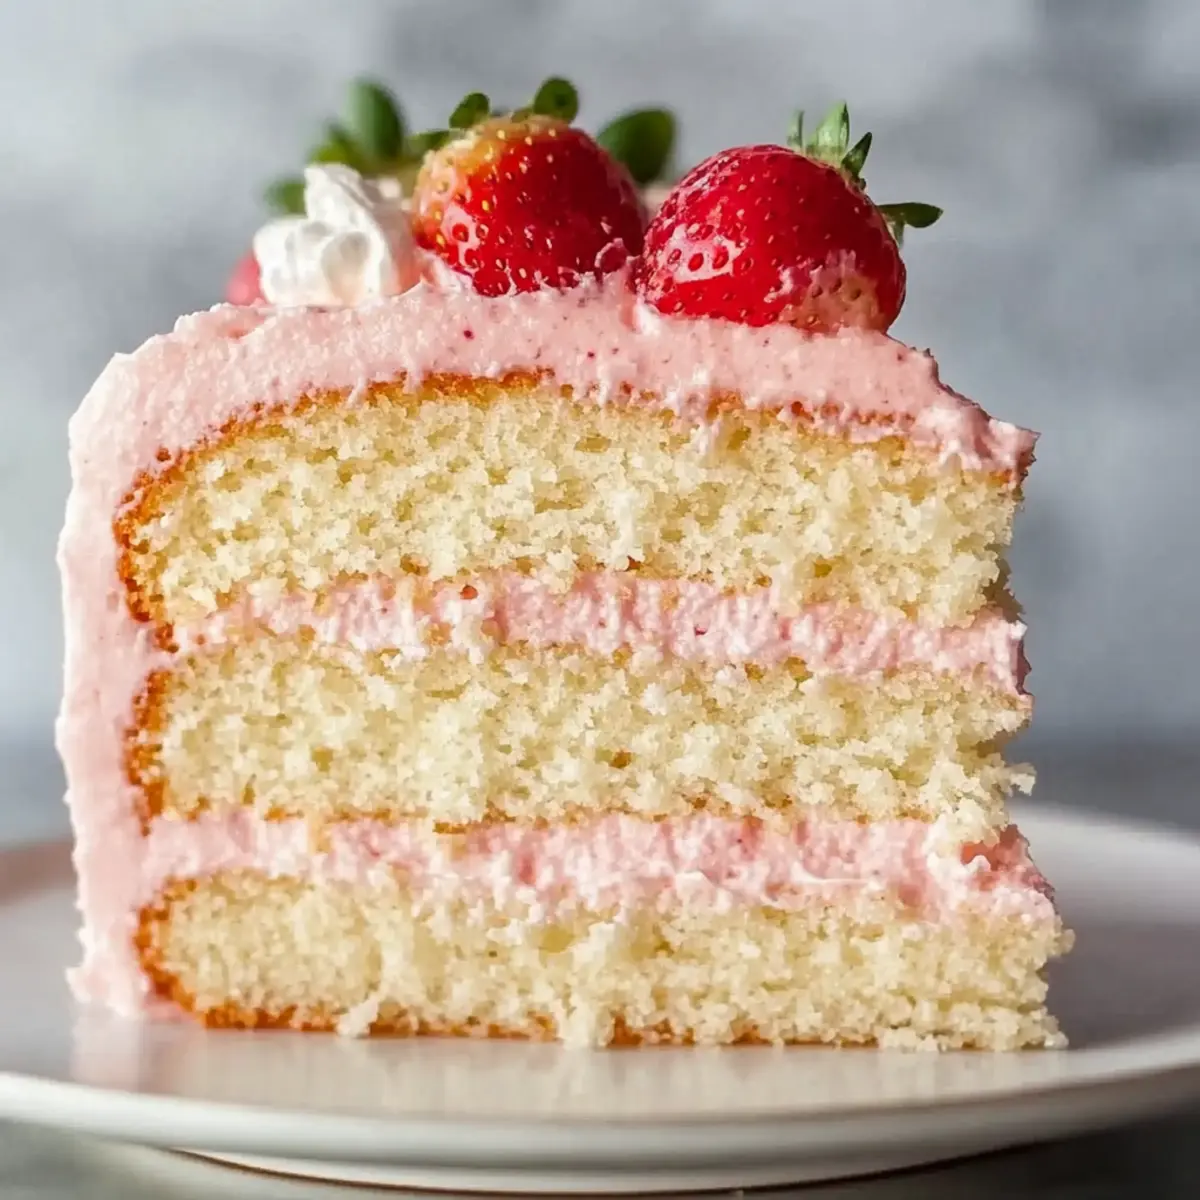
Step 9: Assemble Cake
Once the cake layers are completely cool, level them if necessary by trimming the tops with a serrated knife. Place the first layer on your serving plate, adding a generous layer of frosting between each layer. For a polished finish, apply a thin crumb coat on the outside, chill for about 20 minutes, then complete with a thicker layer of frosting on the outer sides and top.
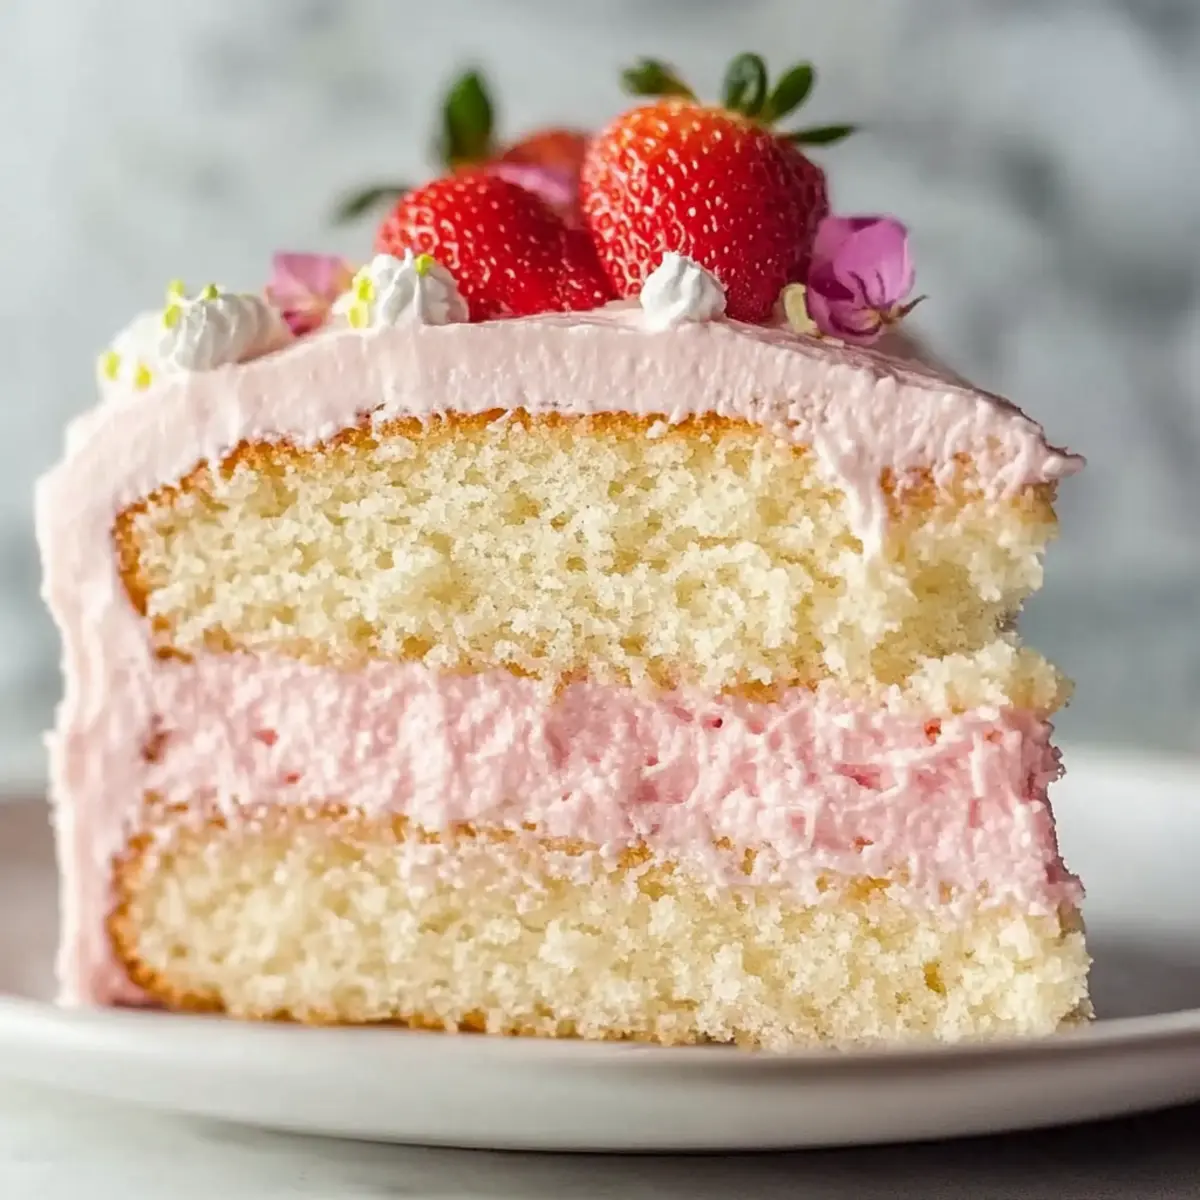
Step 10: Decorate and Serve
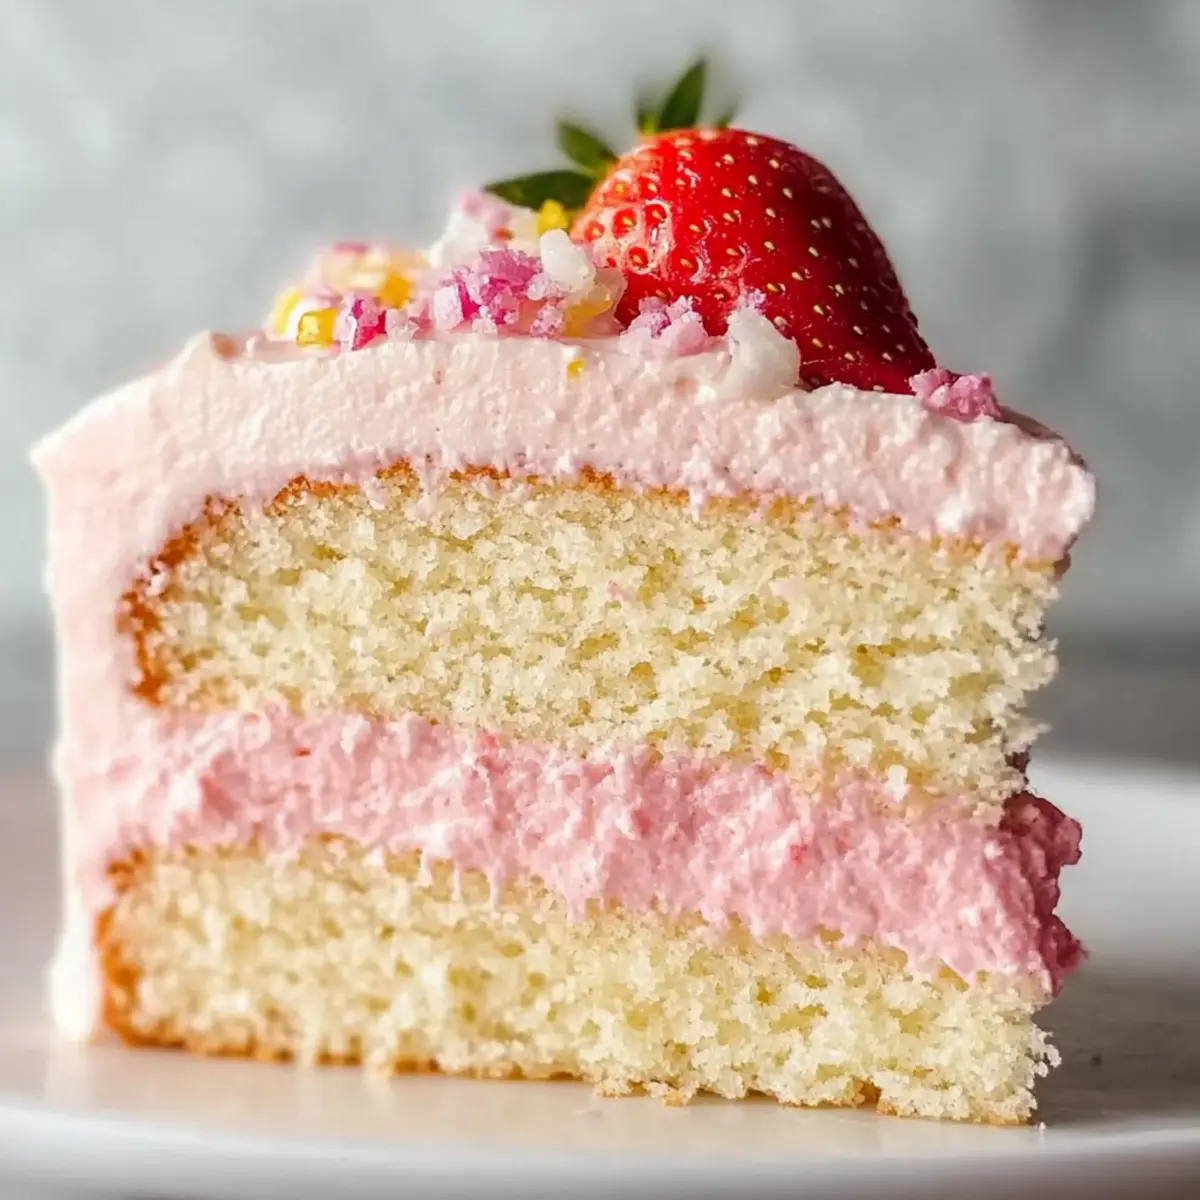
To finish off your masterpiece, decorate the top of your Heavenly Vanilla Bean Layer Cake with fresh strawberries or additional frosting swirls. Serve and share the joy of this gorgeous dessert, making every occasion a little sweeter with each slice!
What to Serve with Luxurious Vanilla Bean Layer Cake with Fresh Strawberry Cream Cheese Frosting
Elevate your dessert experience by pairing this cake with delightful sides and drinks that will make every bite even more special.
-
Light Berry Salad: Fresh mixed berries tossed with a hint of mint brighten the flavors, enhancing the cake’s fruity frosting.
-
Whipped Cream: A dollop of lightly sweetened whipped cream adds a fluffy texture, balancing the richness of the cake beautifully.
-
Vanilla Ice Cream: Creamy vanilla ice cream melts slightly over the warm cake, creating a delicious contrast that is sure to please everyone.
-
Lemonade Spritzer: A refreshing blend of lemonade and sparkling water adds a zesty kick, countering the sweetness of the cake.
-
Chocolate-Covered Strawberries: These elegant treats complement the strawberry frosting and bring a touch of romance to the dessert table.
-
Chilled Rosé Wine: The fruity notes of a chilled rosé harmonize with the cake, making it a perfect choice for summer celebrations.
-
Caramel Sauce Drizzle: A drizzle of warm caramel sauce elevates the cake into a decadent experience, adding a rich, buttery flavor.
Indulging in these pairings alongside your Vanilla Bean Layer Cake will create a memorable dessert experience that your loved ones will cherish.
How to Store and Freeze Vanilla Bean Layer Cake
Room Temperature: Keep the cake covered at room temperature for up to 1 day if you plan to serve it immediately; this keeps it fresh and delicious.
Fridge: Store any leftover cake in an airtight container in the refrigerator for up to 4 days to maintain its moisture and flavor.
Freezer: Wrap the cake tightly in plastic wrap and then in aluminum foil to freeze for up to 2 months. This way, you can enjoy your Vanilla Bean Layer Cake at a later date!
Reheating: If you prefer your cake warm, gently reheat individual slices in the microwave for 10–15 seconds on low power, ensuring it doesn’t dry out.
Expert Tips for Vanilla Bean Layer Cake
-
Room Temperature Ingredients: Ensure all ingredients, especially the butter and eggs, are at room temperature to promote better mixing and a fluffier cake.
-
Sifting Matters: Always sift the dry ingredients before combining, as this helps to aerate the flour and prevent clumps, contributing to a light Vanilla Bean Layer Cake.
-
Don’t Overmix: When combining wet and dry ingredients, mix just until combined to avoid developing gluten, which can create a dense cake.
-
Cool Completely: Allow the cake layers to cool completely before frosting to prevent the frosting from melting, ensuring a beautiful presentation and smooth texture.
-
Frosting Consistency: Adjust the powdered sugar in the strawberry cream cheese frosting based on your desired thickness; a thicker frosting holds up better for decoration.
-
Fresh Strawberries: Use ripe, fresh strawberries for the frosting; frozen strawberries can lead to excess moisture, affecting the consistency of your frosting.
Vanilla Bean Layer Cake Variations
Feel free to explore these delicious twists to make your cake uniquely yours!
-
Strawberry Swirl Buttercream: Substitute half the cream cheese with butter for a lighter, fluffier frosting that melts in your mouth. This twist keeps the strawberry flavor while making it less dense, perfect for those who prefer a more traditional buttercream texture.
-
Lemon-Infused Frosting: Add lemon zest and juice for a refreshing citrus twist that beautifully complements the sweetness of strawberries. The bright, zesty notes elevate the cake and bring a wonderful spring vibe to every bite.
-
Chocolate-Vanilla Marble Cake: Swirl in some cocoa powder into part of the batter for a rich, chocolate contrast. This variation creates a stunning effect with a delightful flavor combination that chocolate lovers will adore.
-
Gluten-Free Option: Replace all-purpose flour with a gluten-free blend, ensuring it contains xanthan gum for proper structure. This way, everyone can enjoy this scrumptious cake without missing out on flavor or texture!
-
Decadent Chocolate Frosting: Swap the strawberry puree with melted dark chocolate for a rich chocolate frosting. Pairing it with the vanilla cake creates a delightful contrast that’s sure to impress at any gathering.
-
Nutty Addition: Add chopped almonds or walnuts to the batter for a delightful crunch. This variation not only adds texture but also a warm, nutty flavor that complements the sweetness of the cake perfectly.
-
Spiced Variation: Incorporate a pinch of cinnamon or nutmeg in the batter for a warm, aromatic twist. This subtle addition elevates the cake experience, reminiscent of cozy family gatherings.
For those who crave something extra special, also explore delectable recipes like Pumpkin Cheesecake Truffles or indulge in the heavenly layers of Caramel Brownie Cheesecake. Each bite brings a story, making dessert the sweetest ending to a memorable meal!
Make Ahead Options
These delightful Vanilla Bean Layer Cakes are perfect for busy home cooks looking to save time! You can bake the cake layers up to 48 hours in advance; simply wrap them tightly in plastic wrap and store in the refrigerator. To maintain their fluffy texture, ensure they cool completely before wrapping. You can also prepare the strawberry cream cheese frosting up to 3 days ahead; just store it in an airtight container in the refrigerator. When you’re ready to assemble your cake, allow the frosting to come to room temperature, then frost as desired—this way, you’ll have a stunning dessert with minimal effort, making it an effortless showstopper!
Vanilla Bean Layer Cake with Strawberry Cream Cheese Frosting Recipe FAQs
How do I select the best strawberries for my frosting?
Absolutely! Look for ripe, fresh strawberries without any dark spots or signs of spoilage. The best strawberries should be plump and vibrant in color. They should also be fragrant, indicating they’re sweet and full of flavor. I often opt for strawberries in season for the best taste!
How should I store my finished Vanilla Bean Layer Cake?
Great question! Store your cake in an airtight container in the refrigerator for up to 4 days. If you plan to keep it longer, wrap it tightly in plastic wrap and then in aluminum foil to freeze it for up to 2 months. This method helps preserve its freshness and prevents freezer burn.
What if my cake layers don’t rise properly?
No worries! If your cake layers aren’t rising as expected, check that your baking powder and baking soda are fresh—old leavening agents can result in dense cakes. Also, ensure you’re not overmixing your batter, as this can hinder the lift. Finally, ensure your oven is preheated to the correct temperature before baking!
Can I make ahead and freeze the cake layers?
Yes, absolutely! You can bake your cake layers up to 48 hours in advance. Allow them to cool completely, then wrap them tightly in plastic wrap and keep them in the refrigerator. For longer storage, after wrapping, freeze them in a sealed container for up to 2 months. When you’re ready to use them, simply thaw in the fridge overnight.
What dietary considerations should I be aware of with this recipe?
Very important! If you’re serving this cake to guests with dietary restrictions, be mindful of potential allergens. This recipe contains gluten, dairy, and eggs. For a gluten-free version, you can substitute all-purpose flour with a gluten-free blend designed for baking. If you need a dairy-free option, consider using dairy-free cream cheese and milk alternatives to make the frosting.
How can I ensure my frosting won’t split?
Sometimes, frosting can separate or become too runny. If this happens, chill the frosting in the refrigerator for about 15 minutes, then whip it again at a low speed until it’s smooth and creamy. Ensure your cream cheese and butter are at room temperature when mixing as well; this helps achieve a better consistency!
Heavenly Vanilla Bean Layer Cake with Strawberry Bliss Frosting
Ingredients
Equipment
Method
- Preheat your oven to 350°F (175°C). Prepare the cake pans by greasing and lining with parchment paper.
- Sift together the dry ingredients: flour, baking powder, baking soda, and salt. Set aside.
- Cream the butter and sugar together in a stand mixer until light and fluffy, about 3-4 minutes.
- Add egg whites one at a time and mix thoroughly. Then add vanilla paste and mix until smooth.
- Gradually add one-third of the dry ingredients to the butter mixture, alternating with sour cream and milk. Mix gently.
- Divide the batter among the prepared pans and bake for 22-28 minutes or until a toothpick comes out clean.
- Let the cake layers cool in the pans for 10 minutes, then transfer to wire racks to cool completely.
- Prepare the frosting by beating cream cheese and softened butter until smooth. Gradually add powdered sugar and fold in strawberry puree.
- Once cooled, level the cake layers if needed. Assemble with frosting between layers and on top.
- Decorate with fresh strawberries or additional frosting swirls. Serve and enjoy!
Leave a Reply