
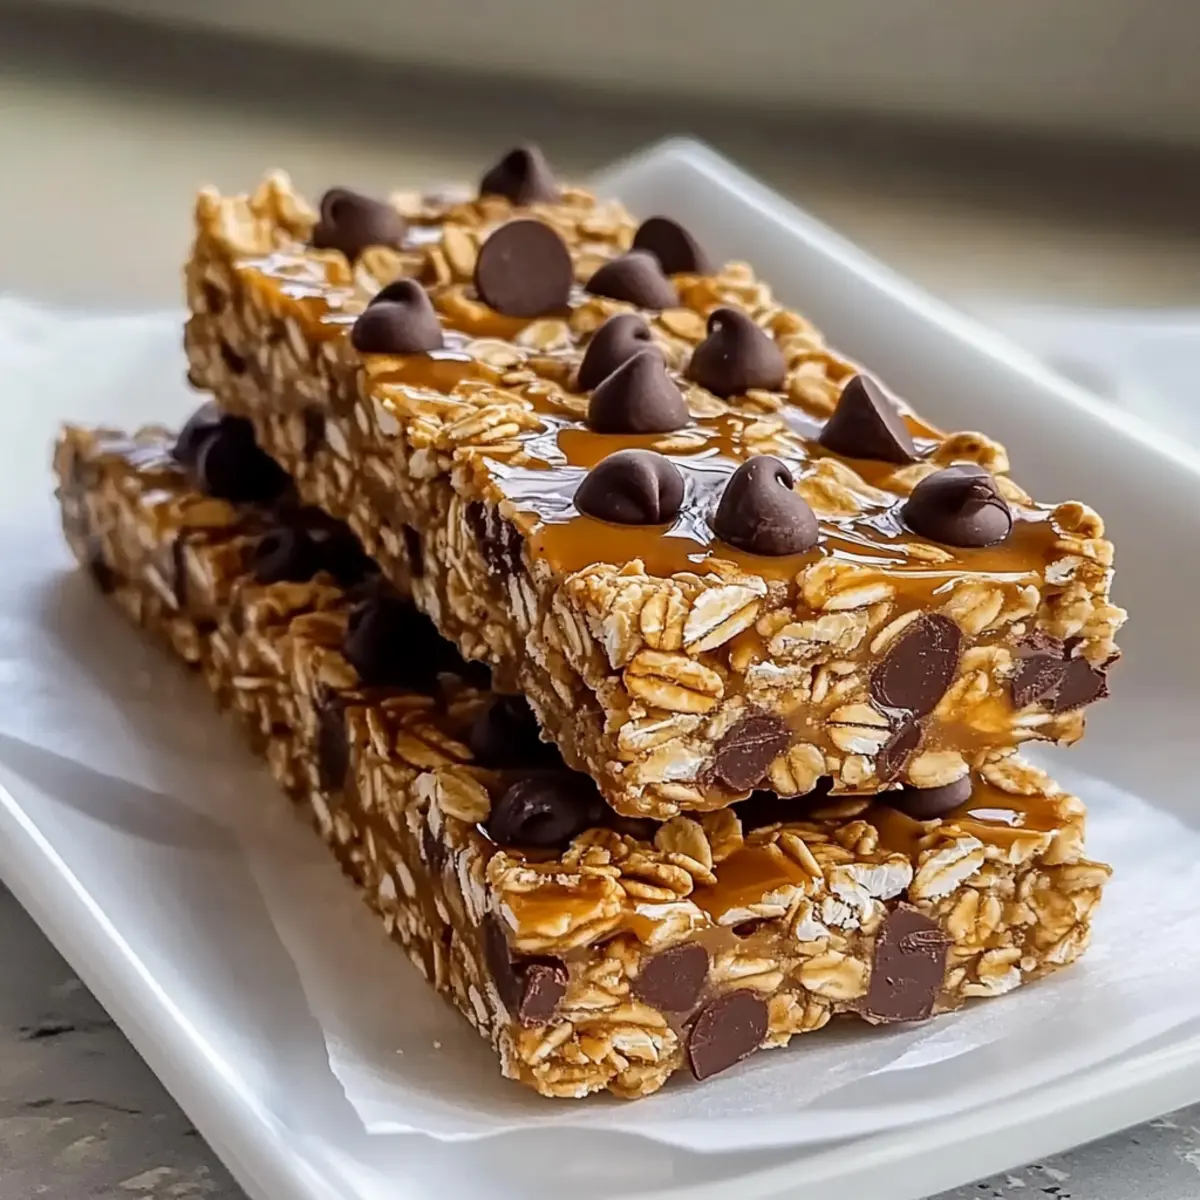
As I rummaged through my pantry one afternoon, I stumbled upon a treasure trove of rolled oats, nut butter, and a dash of chocolate chips just waiting to come together. That’s when the idea struck me: making no-bake oat granola bars was not just a delicious possibility, but a way to bring wholesome goodness into my busy days. These Oat Granola Bars are the ultimate healthy snacks—vegetarian, customizable, and surprisingly easy to whip up without an oven! Whether I’m gearing up for a hectic morning or seeking a satisfying post-workout pick-me-up, this recipe is my go-to. Plus, these bars can be tailored to suit any craving, from sweet to savory! Curious about how to create a homemade snack that’ll leave you feeling fueled and fantastic? Let’s dive into this simple yet satisfying recipe!
Why Are Oat Granola Bars So Great?
Quick and Easy: These no-bake bars come together in just minutes, making them perfect for busy schedules.
Wholesome Ingredients: Packed with rolled oats and nut butter, they offer a healthy balance of nutrients.
Customizable: Add your favorite mix-ins like dried fruits or different nut butters to create a unique snack every time.
Perfect Snack Option: Whether for breakfast or a post-workout treat, these bars satisfy hunger without guilt.
Family-Friendly: Everyone loves the chewy, crunchy goodness that makes them ideal for all ages—think of them as a healthy twist on classic treats! If you’re looking for more delightful snacks, check out my Salted Caramel Bars or crunchy 4-Ingredient Chocolate Oat Cookies.
Oat Granola Bars Ingredients
For the Base
- Rolled Oats – The foundation of these oat granola bars, offering fiber and chewiness. Gluten-free oats can be used for a gluten-free snack.
- Nut Butter (Peanut or Almond) – Adds richness and binds the ingredients together; you can swap it for sun butter for a nut-free option.
- Honey or Maple Syrup – Provides natural sweetness; honey gives a floral note, while maple syrup adds depth; agave syrup works as a vegan alternative.
- Vanilla Extract – A splash enhances the flavor profile, creating a comforting taste.
- Salt – Just a pinch helps elevate the natural sweetness and balances all the flavors.
For the Mix-Ins
- Mini Chocolate Chips – These create delightful pockets of sweetness; can be replaced with dried fruits like cranberries or apricots for a fruity alternative.
- Chopped Nuts or Seeds (optional) – Add a crunch and boost of nutrition; consider chia seeds, pumpkin seeds, or walnuts for extra texture.
This simple ensemble of ingredients comes together to create the most scrumptious oat granola bars that are not only quick to make but also a healthy treat to have on hand!
Step‑by‑Step Instructions for Oat Granola Bars
Step 1: Combine Ingredients
In a large mixing bowl, add 2 cups of rolled oats, 1 cup of nut butter (like peanut or almond), ½ cup of honey or maple syrup, 1 teaspoon of vanilla extract, and a pinch of salt. Use a sturdy spatula to mix everything together until well combined, ensuring that no dry oats remain. This should take about 3-5 minutes, and you’ll notice a thick, sticky consistency forming.
Step 2: Add Mix-Ins
Once the base is prepared, fold in ½ cup of mini chocolate chips and any optional chopped nuts or seeds you’d like to include, such as chia or pumpkin seeds. Stir them in gently but thoroughly, ensuring that the chocolate chips are evenly distributed throughout the mixture. This adds a delightful richness to your oat granola bars, creating delicious pockets of sweetness.
Step 3: Prepare Baking Dish
Line an 8×8 inch baking dish with parchment paper, allowing some parchment to hang over the edges for easy removal later. This step is crucial as it helps prevent sticking and makes it easier to lift your granola bars out. With the dish prepared, you’re now ready to transfer your mixture for chilling.
Step 4: Press Mixture
Transfer the oat granola mixture into the lined baking dish. Use the back of a spatula or your hands to press it down firmly and evenly, ensuring it’s compacted. A firm packing helps prevent the bars from being crumbly when cut. Aim for a uniform thickness, about ½ inch or so, to achieve the perfect texture.
Step 5: Refrigerate
Place the baking dish in the refrigerator for at least 1 hour. This chilling time is essential for the oat granola bars to set properly. The mixture will firm up and bind together beautifully, giving you that perfect chewy yet firm texture once ready to slice.
Step 6: Cut and Serve
After an hour, carefully lift the oat granola mixture out of the dish using the parchment paper overhang. Transfer it to a cutting board and slice it into bars or squares, depending on your preference. These homemade Oat Granola Bars are now ready to be enjoyed; you can store any leftovers in an airtight container for up to a week!
Storage Tips for Oat Granola Bars
-
Room Temperature: If you’re planning to eat the bars quickly, they can be kept at room temperature in an airtight container for up to 3 days.
-
Fridge: Store your oat granola bars in an airtight container in the fridge for optimal freshness, lasting up to 1 week. This helps retain their chewy texture and flavor.
-
Freezer: For long-term storage, freeze the bars in a single layer wrapped in plastic wrap or placed in a freezer bag, where they will stay fresh for up to 3 months.
-
Reheating: When ready to enjoy, simply thaw the bars overnight in the fridge or microwave them for a few seconds to bring back their delightful softness.
What to Serve with Oat Granola Bars
Indulging in homemade oat granola bars opens the door to endless pairing possibilities that elevate your snack time.
- Yogurt Parfait: Creamy yogurt topped with fresh fruit and a sprinkle of granola creates a delightful texture contrast that enhances your bars’ chewiness.
- Fresh Fruit Salad: Seasonal fruits add sweetness and juiciness, balancing the hearty flavors of the oat granola bars while boosting nutrition.
- Nutty Trail Mix: A mix of assorted nuts and seeds provides a satisfying crunch and a protein punch, making it a great companion for your bars.
- Smoothie Bowl: A refreshing smoothie bowl filled with bananas, berries, and greens complements the wholesome goodness of your oat granola bars.
- Milk or Plant-Based Drink: Pairing with a chilled glass of milk or almond milk complements the sweetness of the bars, making every bite more enjoyable.
- Dark Chocolate Dip: For an indulgent twist, consider dipping the bars in melted dark chocolate; the richness adds decadence while maintaining a healthy edge.
- Nut Butter Spread: A scoop of your favorite nut butter on the side not only enhances flavor but also boosts healthy fats for sustained energy.
- Herbal Tea: A warm cup of soothing herbal tea rounds out the experience, offering a calming effect that makes snack time more relaxing.
- Ice Cream Treat: For a sweet finish, serve a bar alongside a scoop of vanilla or dairy-free ice cream, creating a delightful contrast of temperatures and textures!
Expert Tips for Oat Granola Bars
-
Sturdy Bowl: Use a sturdy mixing bowl to prevent spills and ensure proper combining. A stable base means less mess and easier mixing!
-
Pack Firmly: When pressing the mixture into the baking dish, pack it down firmly. This key step prevents crumbly oat granola bars and ensures they hold their shape when sliced.
-
Chill Properly: Don’t skip the refrigeration time! Chilling the bars properly helps them set and hold together. Cutting too soon can lead to messy results.
-
Mix-In Variety: Don’t hesitate to get creative with mix-ins. Experiment with different nut butters or add spices like cinnamon for a unique twist on your oat granola bars!
-
Storage Tips: Store bars in an airtight container in the fridge for freshness. You can freeze extra bars for later enjoyment; simply thaw before munching!
Make Ahead Options
These Oat Granola Bars are perfect for meal prep enthusiasts looking to save time! You can prepare the base of the granola bars—mixing together the rolled oats, nut butter, honey or maple syrup, and vanilla—up to 24 hours in advance. Simply refrigerate the mixture after pressing it into the baking dish, ensuring it is packed tightly to prevent crumbling. When you’re ready to enjoy, just chill in the fridge for that hour to set, then cut into bars. This way, you have delicious, healthy snacks ready to go whenever you need them, making busy weeknights a breeze! Just remember to store any leftovers in an airtight container for optimal freshness, allowing them to last up to one week in the fridge.
Oat Granola Bars Variations & Substitutions
Feel free to explore these variations that bring delightful twists to your homemade oat granola bars!
-
Nut-Free: Swap nut butter with sunflower seed butter for a nut-free treat. It’s creamy, delicious, and perfect for school lunches!
-
Grain-Free: Use a mix of coconut flakes and almond flour instead of oats for a grain-free option. This will provide a wonderfully chewy texture while keeping the sweetness intact.
-
Choco-Lover: Replace mini chocolate chips with dark chocolate chunks for a richer chocolate flavor. These bars will be a chocoholic’s dream come true!
-
Fruity Delight: Stir in dried fruits like cranberries or chopped apricots for a pop of color and natural sweetness. They’ll brighten up your snacks and add a chewy texture!
-
Spicy Twist: Add 1 teaspoon of cinnamon or ginger for a warm, spiced flavor. This can elevate your oat granola bars, giving them a cozy aroma that’s irresistible.
-
Protein Boost: Mix in protein powder or crushed nuts to enhance the protein content. These bars will fuel your busy day while keeping you satisfied for longer!
-
Cocoa Love: Incorporate unsweetened cocoa powder to create a chocolaty base. This adds depth and a lovely balance to the sweetness, making your bars decadent.
For more inspiring treats, try making some chewy Caramel Apple Oatmeal Cookies or indulge in the rich flavors of my 4-Ingredient Chocolate Oat Cookies. The possibilities are endless!
Oat Granola Bars Recipe FAQs
How can I tell if my oats are fresh enough to use?
Absolutely! Fresh rolled oats should have a clean, nutty aroma without any off-putting smells. If you see any dark spots or signs of moisture in the packaging, it’s best to toss them. Always store oats in a cool, dry place, preferably in an airtight container to extend their shelf life.
What’s the best way to store Oat Granola Bars?
I recommend keeping these bars in an airtight container in the fridge for up to one week to maintain their chewy texture. If you want to enjoy them beyond that, you can freeze the bars—just wrap them individually in plastic wrap or place them in a freezer bag. They’ll stay fresh for up to 3 months! When you’re ready to snack, simply thaw them overnight in the fridge or microwave briefly to warm them up.
Can I make these Oat Granola Bars nut-free?
Very! You can easily swap the nut butter for sunflower seed butter or coconut oil to make these bars nut-free. In addition, be sure to check if your additional mix-ins, like mini chocolate chips or seeds, are also free of nuts if you’re serving them to someone with an allergy.
What should I do if my granola bars crumble when cut?
No worries! If your bars crumble, it might be due to not pressing the mixture down firmly enough in the dish or not chilling them for the recommended time. Next time, make sure to really pack the mixture tightly for a compact texture, and allow it at least 1 hour in the fridge to set. If you find they’re a bit too crumbly, consider adding a bit more nut butter or honey to help bind the ingredients together.
Can I add more ingredients or change the recipe?
Absolutely! These Oat Granola Bars are incredibly customizable. Feel free to throw in different mix-ins like dried fruits (think cranberries or apricots), seeds (like flax or chia), or spices (like cinnamon) to suit your preferences. Just keep the base ingredients balanced, and let your creativity shine!
Wholesome Oat Granola Bars – No-Bake Delight for Everyone
Ingredients
Equipment
Method
- In a large mixing bowl, add 2 cups of rolled oats, 1 cup of nut butter, 1/2 cup of honey or maple syrup, 1 teaspoon of vanilla extract, and a pinch of salt. Mix until combined.
- Once the base is prepared, fold in 1/2 cup of mini chocolate chips and any optional chopped nuts or seeds you'd like to include. Stir gently until evenly distributed.
- Line an 8x8 inch baking dish with parchment paper. This helps prevent sticking and allows for easy removal.
- Transfer the oat granola mixture into the lined baking dish and pack it down firmly using a spatula to ensure it’s compacted.
- Place the baking dish in the refrigerator for at least 1 hour to let the mixture firm up.
- After an hour, carefully lift the mixture out using the parchment paper. Transfer it to a cutting board and slice into bars.
Leave a Reply