
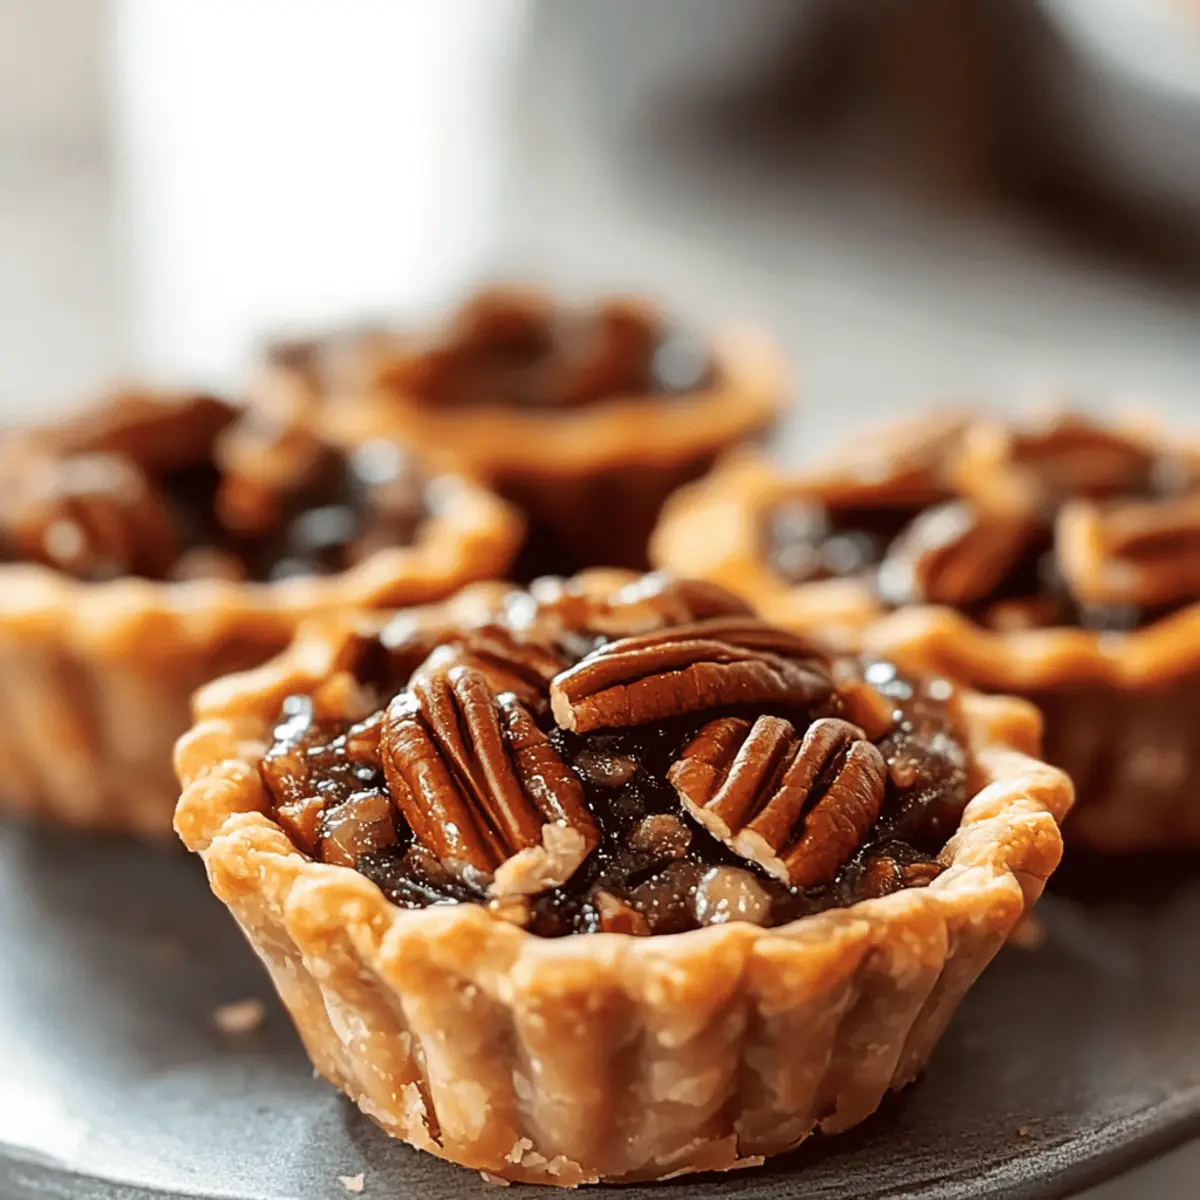
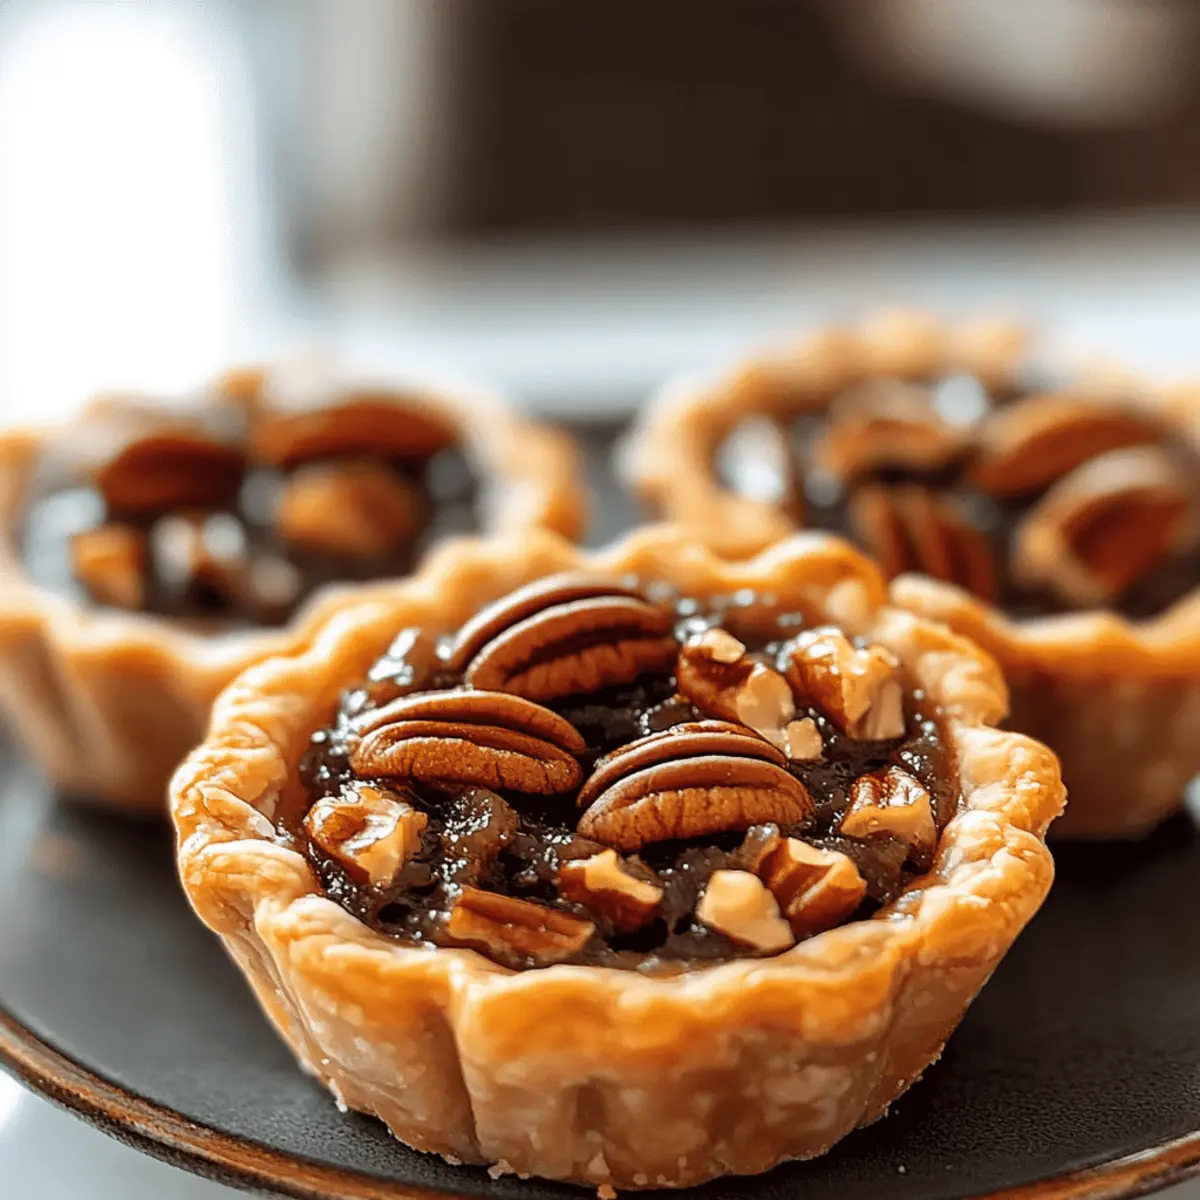
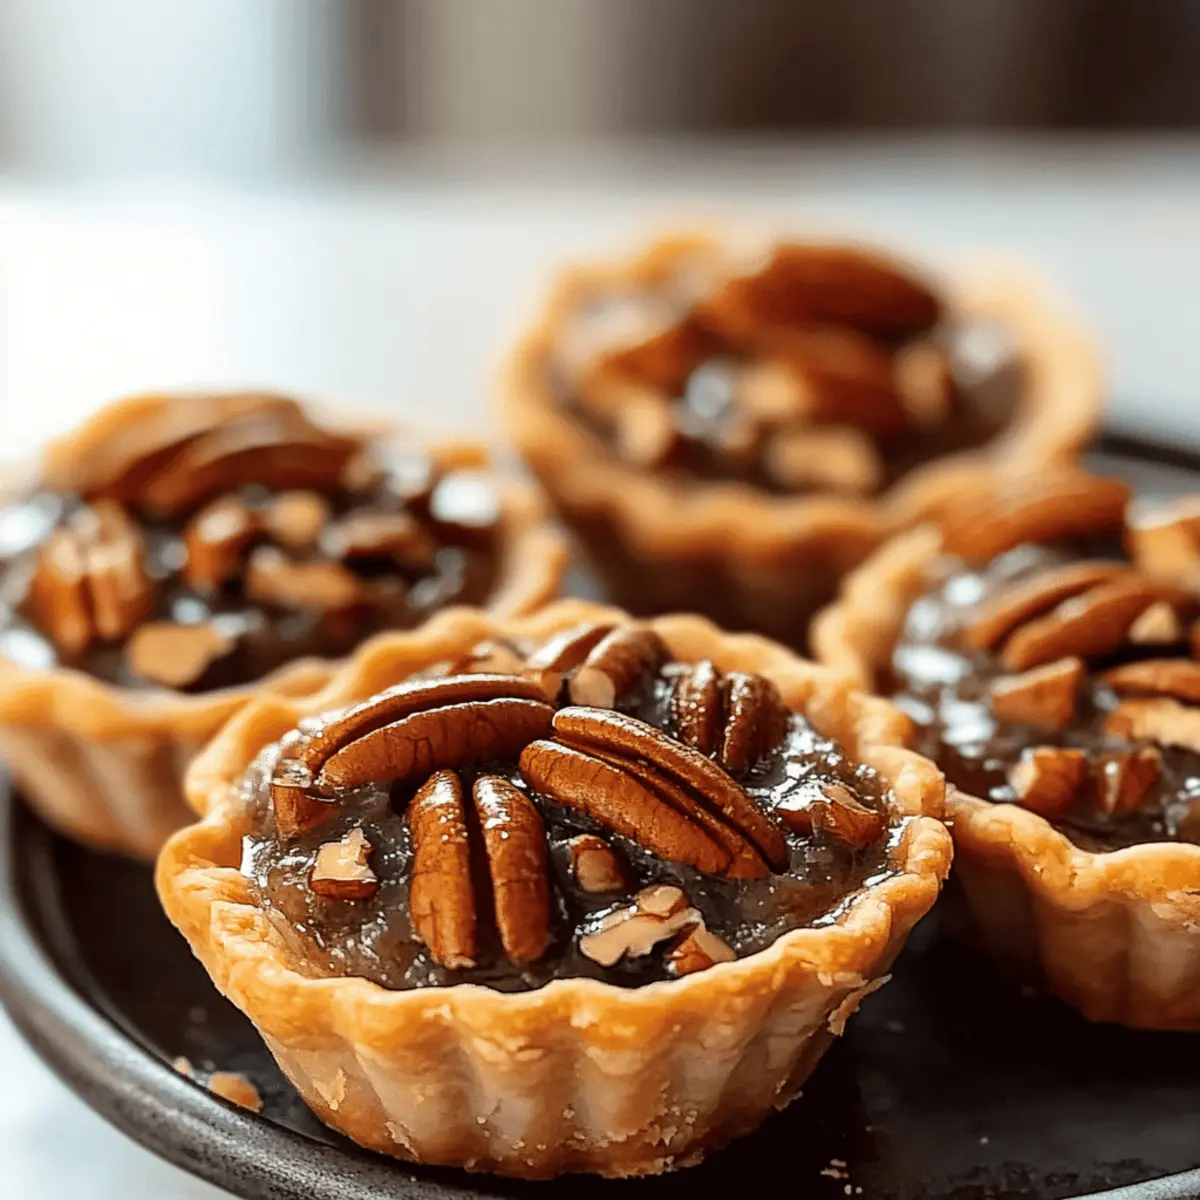
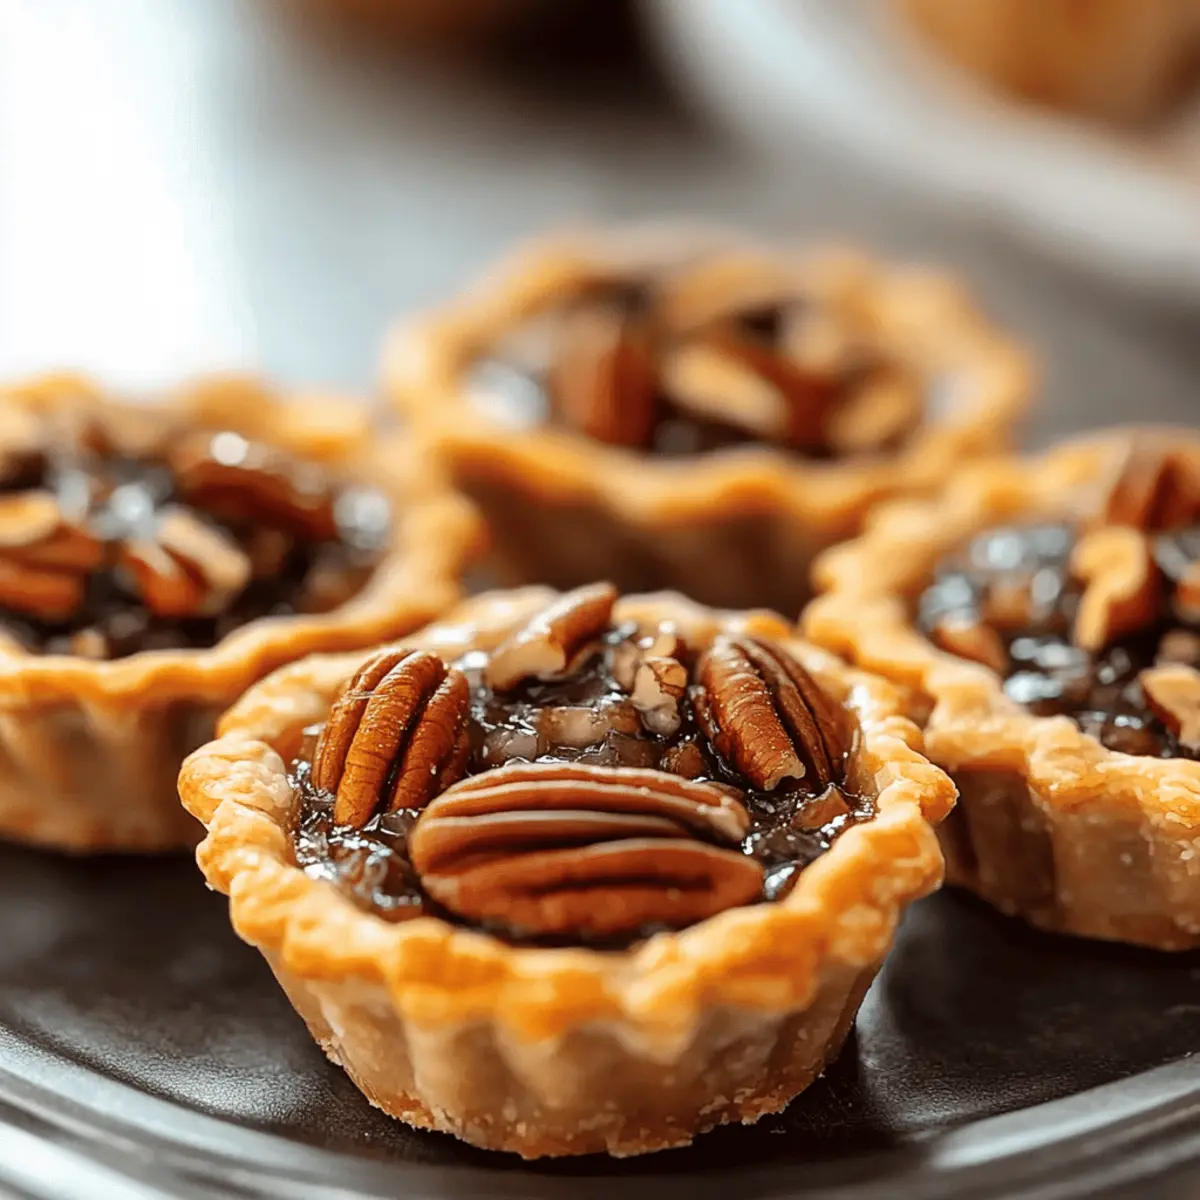
The sweet aroma of toasted pecans fills the air, instantly transporting me to cozy gatherings and cherished celebrations. These irresistible mini pecan pies are the perfect bite-sized indulgence, seamlessly combining a flaky crust with a gooey, nutty filling that promises to delight. Not only are they a spectacular treat for any occasion, but they also come together in just a few easy steps, making this recipe an ideal choice for both seasoned bakers and kitchen novices alike. Plus, with straightforward gluten-free options and alternatives to corn syrup, you can customize them to fit various dietary needs without sacrificing flavor. Ready to impress your friends and family with these little gems? Let’s dive into the delicious world of mini pecan pies and discover how easy it is to create a classic with a twist!
Why Are Mini Pecan Pies a Must-Bake?
Irresistible flavors make these pies a standout dessert! Imagine a flaky crust meeting a rich, gooey filling – pure bliss in each bite. Customizable for everyone, you can easily substitute corn syrup for honey or maple syrup, ensuring even dietary restrictions won’t keep anyone from enjoying. Quick to prepare, these gems come together in no time, perfect for those busy holiday gatherings or last-minute get-togethers. Crowd-pleasing appeal is guaranteed; they’re mini, sweet, and utterly delightful. And for another festive treat, check out my Mini Pumpkin Cheese balls or these playful Marshmallow Rice Krispies for an added touch of creativity on your dessert table!
Mini Pecan Pie Ingredients
Unlock the secrets to these flavorful bites!
For the Crust
- All-Purpose Flour – Provides a flaky texture; substitute with gluten-free flour for a gluten-free option.
- Unsalted Butter (cold) – Adds richness and tenderness; keep it chilled to maintain the dough’s structure.
- Salt – Enhances sweetness and flavor balance; just a pinch is enough.
For the Filling
- Chopped Pecans – The star ingredient, bringing crunch and flavor; fresh pecans are best, but walnuts or hazelnuts can work in a pinch.
- Brown Sugar (packed) – Adds the signature caramel-like sweetness typical of mini pecan pies.
- Eggs (large) – Binds the filling; beat them well for an even texture.
- Vanilla Extract – Elevates the flavor profile; opt for pure vanilla to get the best taste.
- Light Corn Syrup – Contributes gooey sweetness; try maple syrup or honey for a twist instead.
Feel free to use these ingredients for your next baking adventure and bring the joy of homemade treats into your kitchen!
Step‑by‑Step Instructions for Mini Pecan Pies
Step 1: Prepare the Dough
In a large bowl, combine 1 cup of all-purpose flour and a pinch of salt. Cut in 1/2 cup of cold unsalted butter using a pastry cutter until the mixture resembles coarse crumbs. Gradually add ice water, about a tablespoon at a time, mixing until the dough just holds together without being sticky. Wrap the dough in plastic wrap and refrigerate for at least 30 minutes to firm up.
Step 2: Preheat the Oven
While the dough chills, preheat your oven to 350°F (175°C). This ensures that when your mini pecan pies are ready to bake, they will start rising and setting immediately. The warm air will create a perfect environment for the crust to develop a golden, flaky texture, setting the stage for these beautiful desserts.
Step 3: Roll Out the Dough
After chilling, lightly flour your work surface and roll the dough to about 1/8 inch thick. Use a round cutter to create circles that will fit into your muffin tin. Press each circle into the cups of the greased muffin tin, ensuring the dough comes up the sides. This will form the perfect crust for your mini pecan pies.
Step 4: Prepare the Filling
In a separate bowl, whisk together 2 large eggs until well beaten, then mix in 3/4 cup packed brown sugar, 1/2 cup light corn syrup, and 1 teaspoon of vanilla extract. Blend until smooth and well combined, then gently fold in 1 cup of chopped pecans. This mixture will be the rich, gooey filling that makes your mini pecan pies so irresistible.
Step 5: Fill the Crusts
Spoon the pecan filling into each prepared crust until they are about three-quarters full. Be careful not to overfill, as the filling will rise slightly during baking. Each little pie should be brimming with that luscious combination of flavors, ensuring every bite is a delight.
Step 6: Bake the Pies
Place the muffin tin in the preheated oven and bake for 20-25 minutes. You’ll know they’re done when the filling is set and the tops are golden brown. Keep an eye on them in the final few minutes to prevent burning, allowing the delightful aroma of mini pecan pies to fill your kitchen.
Step 7: Cool and Serve
Once baked, remove the muffin tin from the oven and let the mini pecan pies cool in the tin for 10 minutes. This will help them set and make removing them easier. After cooling, transfer the pies to a wire rack to cool completely—a crucial step for achieving that perfect bite and ensuring they hold their shape!
Storage Tips for Mini Pecan Pies
- Room Temperature: Store mini pecan pies in an airtight container at room temperature for up to 3 days to maintain their freshness and flaky crust.
- Fridge: If you would like to extend their life, refrigerate the pies in an airtight container for up to 1 week. The cooling will enhance the gooey texture of the filling.
- Freezer: For longer storage, wrap the mini pecan pies tightly in plastic wrap or aluminum foil and freeze them for up to 3 months. Thaw in the fridge before enjoying.
- Reheating: To warm chilled or frozen pies, preheat the oven to 350°F (175°C) and bake for 10-15 minutes until heated through, keeping their delightful texture intact.
Expert Tips for Mini Pecan Pies
- Chill the Dough: Always refrigerate your dough for at least 30 minutes. This helps ensure your crust bakes up flaky instead of tough, making your mini pecan pies irresistible.
- Avoid Overfilling: Fill crusts three-quarters full to prevent spilling over during baking. An overflowing filling can create a messy kitchen and less-than-perfect pies.
- Use Fresh Pecans: Always opt for fresh pecans for the best flavor. Stale nuts can lead to a lackluster taste, diminishing the overall enjoyment of your mini pecan pies.
- Cool Completely: Allow the pies to cool thoroughly before removing them from the muffin tin. This helps set the filling and makes for easier removal and serving.
- Grease the Tins: Lightly grease your muffin tins to prevent sticking. Even if the crust seems sturdy, a little grease goes a long way in ensuring clean removal of your delicious mini pecan pies.
Make Ahead Options
These Mini Pecan Pies are perfect for meal prep enthusiasts! To save time during busy days, you can prepare the dough up to 24 hours in advance; simply wrap it tightly in plastic wrap and refrigerate it. Additionally, you can mix the filling and refrigerate it separately for up to 3 days—just be sure to give it a good stir before using to maintain texture. When you’re ready to bake, roll out the chilled dough, fill the crusts with the prepared filling, and pop them into the oven. You’ll have fresh, warm mini pecan pies that taste just as delicious as if you made them from scratch that day, all ready to impress your family or guests!
What to Serve with Irresistible Mini Pecan Pies
Imagine a warm gathering where these sweet treats are just the beginning of a memorable feast!
- Whipped Cream: A dollop of fluffy whipped cream adds a light, airy contrast to the rich, gooey filling, creating a perfect balance.
- Vanilla Ice Cream: The creamy sweetness of vanilla ice cream melts beautifully into the warmth of the mini pecan pies, elevating each bite to pure bliss.
- Coffee: Rich, aromatic coffee complements the nutty flavors of the pecan pies, making it an ideal pairing for an after-dinner treat.
- Fresh Berries: Adding a handful of tart berries brings a refreshing burst of flavor that cuts through the sweetness, delighting your palate.
- Chocolate Drizzle: A drizzle of warm chocolate sauce enhances the dessert’s richness while adding a touch of indulgence that chocolate lovers will adore.
- Nutty Caramel Sauce: Drizzling nutty caramel sauce over the pies infuses them with a luscious sweetness that perfectly harmonizes with the pecans.
- Coconut Whipped Cream: For a dairy-free twist, coconut whipped cream adds a tropical flair that beautifully complements the nutty filling.
- Sparkling Cider: Consider a glass of sparkling cider to toast joyful moments, as its effervescence pairs nicely with the mini pecan pies’ sweetness.
- That’s Why these mini pecan pies are destined to be the star of any gathering, engaging both the taste buds and the heart!
Mini Pecan Pies Variations & Substitutions
Get ready to explore exciting twists on classic mini pecan pies that’ll make your taste buds dance!
-
Gluten-Free: Use a gluten-free flour blend instead of all-purpose flour for a safe and delicious alternative. This allows everyone to delight in these treats!
-
Sweetener Swap: Substitute light corn syrup with maple syrup or honey. Each alternative brings a unique flavor profile that complements the pecans beautifully.
-
Nut Twist: While pecans reign supreme, try using walnuts or hazelnuts for an unexpected crunch. Experimenting with different nuts can offer delightful flavor variations.
-
Chocolate Lovers: Add a handful of semi-sweet chocolate chips to your filling for a rich and decadent twist. It’s a chocolate lover’s dream come true!
-
Spice It Up: Incorporate a teaspoon of cinnamon or nutmeg into the filling for added warmth and depth. This simple addition creates a cozy holiday aroma.
-
Creamy Delight: Top these mini pies with a dollop of freshly whipped cream or a scoop of vanilla ice cream to elevate your dessert. The cold creaminess pairs deliciously with the warm filling.
-
Nutty Crunch: Consider toasting your pecans lightly before adding them to the filling. This enhances their flavor and adds a delightful crunch that takes these pies to the next level.
-
Fruit Fusion: Add a tablespoon of dried cranberries or cherries into the filling for a fruity contrast. These little bursts of flavor make for a refreshing surprise in each bite.
These delightful variations are sure to inspire creativity in your kitchen, ensuring that every batch of mini pecan pies is a memorable experience. For more dessert inspiration, check out my playful Marshmallow Rice Krispies or the charming Mini Pumpkin Cheese that will elevate your next gathering!
Mini Pecan Pies Recipe FAQs
How do I choose the best pecans for my mini pecan pies?
Absolutely! When selecting pecans, look for fresh, unbroken nuts that are not stale. They should smell nutty and sweet, with no signs of rancidity. If they have dark spots all over or an off odor, it’s best to leave them on the shelf. Fresh chopped pecans will enhance the flavor of your pies. If you’re looking for a twist, walnuts or hazelnuts can make tasty substitutes!
What’s the best way to store leftover mini pecan pies?
Very good question! After your mini pecan pies cool, store them in an airtight container at room temperature for up to 3 days. If you want them to last longer, you can refrigerate them for up to 1 week. Just be aware that the filling might become a bit more gooey after being chilled. For even longer storage, wrap them tightly in plastic wrap or aluminum foil and freeze them for up to 3 months!
Can I freeze mini pecan pies, and how?
Certainly! To freeze mini pecan pies, start by letting them cool completely after baking. Once cool, wrap each pie tightly in plastic wrap or aluminum foil. Place them in a freezer-safe bag or airtight container and label them with the date. They’ll keep well for up to 3 months. When you’re ready to enjoy, thaw them overnight in the refrigerator and reheat in the oven at 350°F (175°C) for about 10-15 minutes to restore their wonderful texture.
What should I do if my filling overflows while baking?
Oh no, that can be a hassle! To avoid overflow, make sure to fill the crusts only about three-quarters full. If you find yourself with overflowing filling even after taking precautions, you can place your muffin tin on a baking sheet while it bakes to catch any drips. And remember, if it overflows, just let it cool completely, and use a small knife to gently lift out the excess filling.
Are there any allergy considerations I should be aware of with this recipe?
Great question! This mini pecan pie recipe contains common allergens such as nuts and eggs. If you’re making these for someone with nut allergies, consider using seeds like sunflower seeds instead of pecans. Additionally, if you want to make it egg-free, you can use a flax or chia seed mixture as a substitute—mix 1 tablespoon of flaxseed meal or chia seeds with 3 tablespoons of water and let it sit for 5 minutes until it thickens! Always check ingredient labels carefully to avoid cross-contamination.
Can I make these mini pecan pies gluten-free?
Absolutely! To make gluten-free mini pecan pies, simply substitute the all-purpose flour with a good quality gluten-free flour blend. Make sure it includes xanthan gum, as it helps mimic the elasticity of gluten. This way, you won’t compromise on the texture or flavor, and everyone can enjoy these delightful treats!
Dreamy Mini Pecan Pies: Perfect for Any Sweet Occasion
Ingredients
Equipment
Method
- In a large bowl, combine 1 cup of all-purpose flour and a pinch of salt. Cut in 1/2 cup of cold unsalted butter until the mixture resembles coarse crumbs. Gradually add ice water, mixing until the dough just holds together without being sticky. Wrap in plastic wrap and refrigerate for at least 30 minutes.
- Preheat your oven to 350°F (175°C).
- Roll the dough to about 1/8 inch thick and use a round cutter to create circles fitting into your greased muffin tin.
- In a separate bowl, whisk together 2 large eggs, then mix in 3/4 cup packed brown sugar, 1/2 cup light corn syrup, and 1 teaspoon of vanilla extract. Blend until smooth, then fold in 1 cup of chopped pecans.
- Spoon the pecan filling into each prepared crust until about three-quarters full.
- Bake in the preheated oven for 20-25 minutes until the filling is set and tops are golden brown.
- Let cool in the tin for 10 minutes before transferring to a wire rack to cool completely.
Leave a Reply