
As the aroma of freshly baked Peach Crisp wafts through my kitchen, I’m instantly transported to sunlit summer days. This delightful dessert combines the irresistible sweetness of ripe peaches with a crunchy, golden topping, all brought together in the rustic charm of a cast iron skillet. These 10 cast iron skillet dessert recipes, including my favorite Peach Crisp, not only create a cozy atmosphere but also offer an easy way to impress family and friends without a mountain of dishes to wash afterward. The beauty of baking in a skillet lies in how it encourages a shared experience—perfect for gatherings or quiet evenings at home. Plus, the adaptable nature of these recipes allows for seasonal fruit swaps or a sprinkle of your favorite nuts for added texture. Ready to elevate your dessert game and bring a little warmth into your home? Let’s explore these scrumptious creations together!
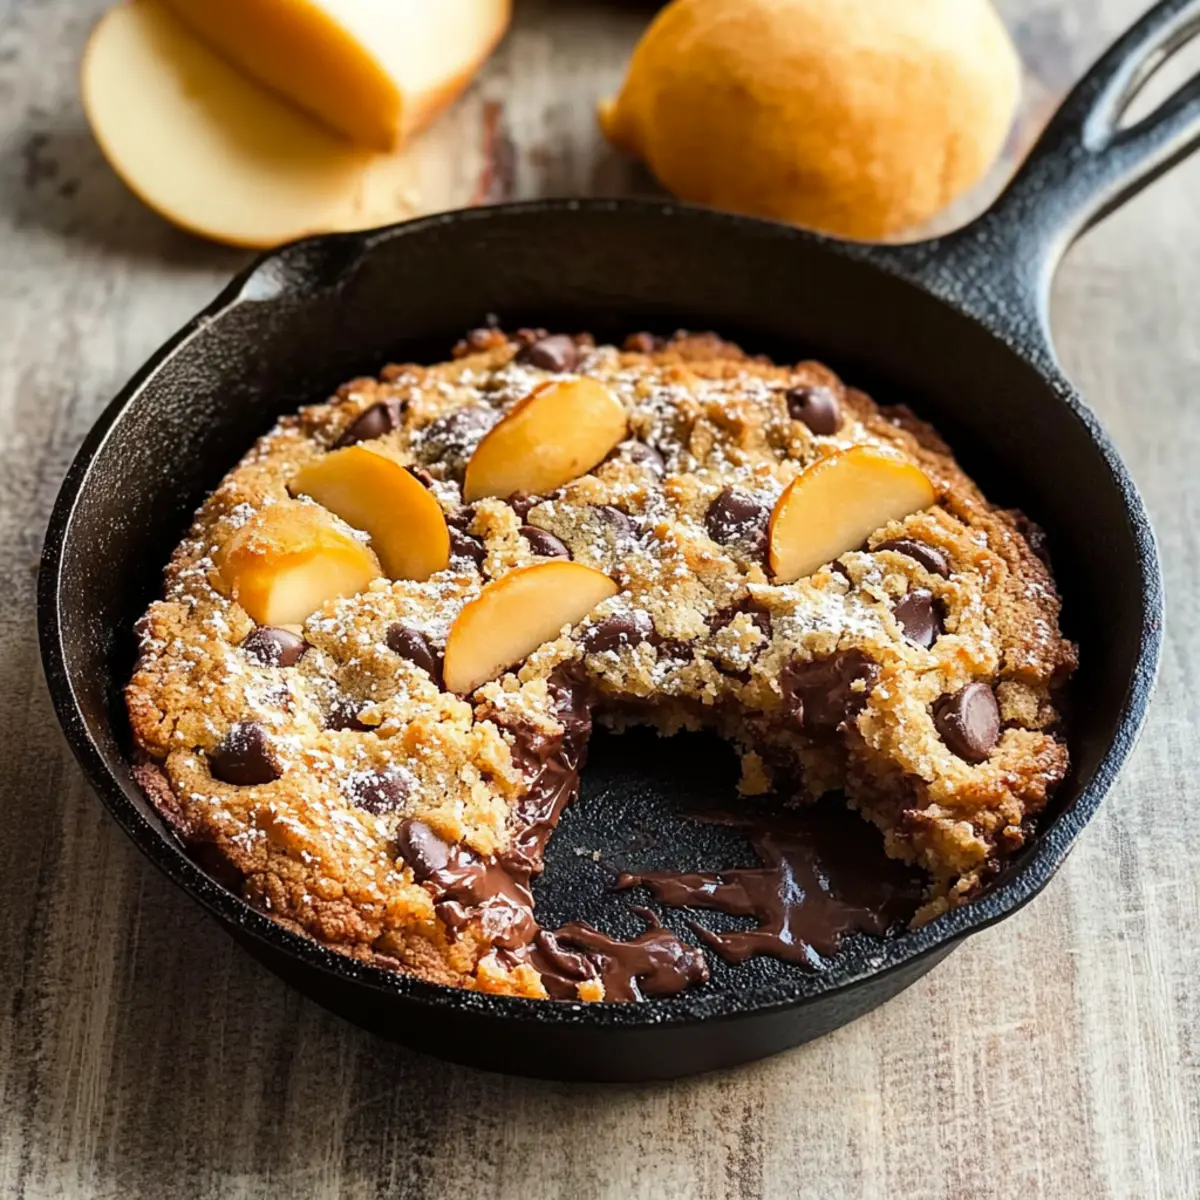
Why is Peach Crisp a Must-Bake?
Irresistible combination: The juicy sweetness of ripe peaches pairs perfectly with a crunchy, buttery topping, creating a dessert that’s hard to resist!
Easy prep: With minimal steps and straightforward ingredients, anyone can whip up this delightful dish.
Crowd-pleaser: Perfect for family gatherings, this Peach Crisp will please both kids and adults alike, keeping everyone coming back for seconds.
Seasonal versatility: Swap peaches for your favorite fruits like berries or apples—this recipe adapts beautifully!
Rustic charm: Baking in a cast iron skillet adds both flavor and an inviting presentation for your table.
Why not try this alongside other enticing recipes like our famous Chilli Beef Flavor for a well-rounded evening? Enjoy!
Peach Crisp Ingredients
For the Crisp Topping
- Unsalted Butter – Adds richness and helps create a golden, crunchy topping.
- Brown Sugar – Enhances the sweetness and deepens the flavor; for a lighter option, use coconut sugar.
- Oats – Provides a hearty texture; rolled oats work best for this recipe.
- All-Purpose Flour – Forms the base for the topping; can substitute with almond flour for a gluten-free variation.
- Cinnamon – Adds warmth and a hint of spice, elevating the flavor profile.
- Salt – Enhances the overall flavor balance of the crisp topping.
For the Peach Filling
- Fresh Peaches – The star of this dessert—ripe, juicy peaches are essential; feel free to substitute with other seasonal fruits!
- Granulated Sugar – Balances the tartness of the peaches; or use honey for a natural sweetener.
- Lemon Juice – Brightens the peach flavor and prevents browning; adds a zesty kick.
- Cornstarch – Helps thicken the filling and create the perfect consistency.
Feel free to use this delightful Peach Crisp recipe to warm your heart and home! With its easy-to-follow steps and rustic charm, you’ll have a beautiful dish to share with loved ones.
Step‑by‑Step Instructions for Peach Crisp
Step 1: Preheat the Oven
Begin by preheating your oven to 350°F (175°C). This is crucial for achieving that perfect, golden crisp topping on your Peach Crisp. While it warms up, get your cast iron skillet ready by greasing it with a bit of unsalted butter, which will help prevent sticking and enhance flavor.
Step 2: Prepare the Peach Filling
In a large bowl, combine sliced fresh peaches, granulated sugar, lemon juice, and cornstarch. Toss the ingredients gently until all the peaches are coated evenly and the sugar begins to draw out their natural juices. Let the mixture sit for about 10 minutes to allow the flavors to meld beautifully, creating a delicious filling.
Step 3: Make the Crisp Topping
In another bowl, mix together the unsalted butter, brown sugar, oats, all-purpose flour, cinnamon, and salt using a pastry cutter or your fingertips until crumbly. The mixture should resemble coarse crumbs with small cohesions. This will form the deliciously crunchy topping that pairs perfectly with the sweet peach filling.
Step 4: Assemble the Peach Crisp
Once the peach filling is ready, pour it into the greased cast iron skillet, spreading it out evenly. Then, sprinkle the crisp topping generously over the peach layer, ensuring an even distribution for an attractive, golden finish. This layering creates an irresistible contrast of textures in your Peach Crisp.
Step 5: Bake the Crisp
Transfer the skillet to your preheated oven and bake for about 30–35 minutes. Keep an eye on it—the edges should be bubbling, and the topping will turn a beautiful golden brown. This visual cue indicates that your Peach Crisp is perfectly baked and developing a divine aroma that will fill your kitchen.
Step 6: Cool Before Serving
Once baked, remove the Peach Crisp from the oven and allow it to cool for about 10–15 minutes. This cooling time helps the filling set and enhances the flavors. Not only does it make serving easier, but it also allows the topping to maintain its delightful crunch when you dig in.
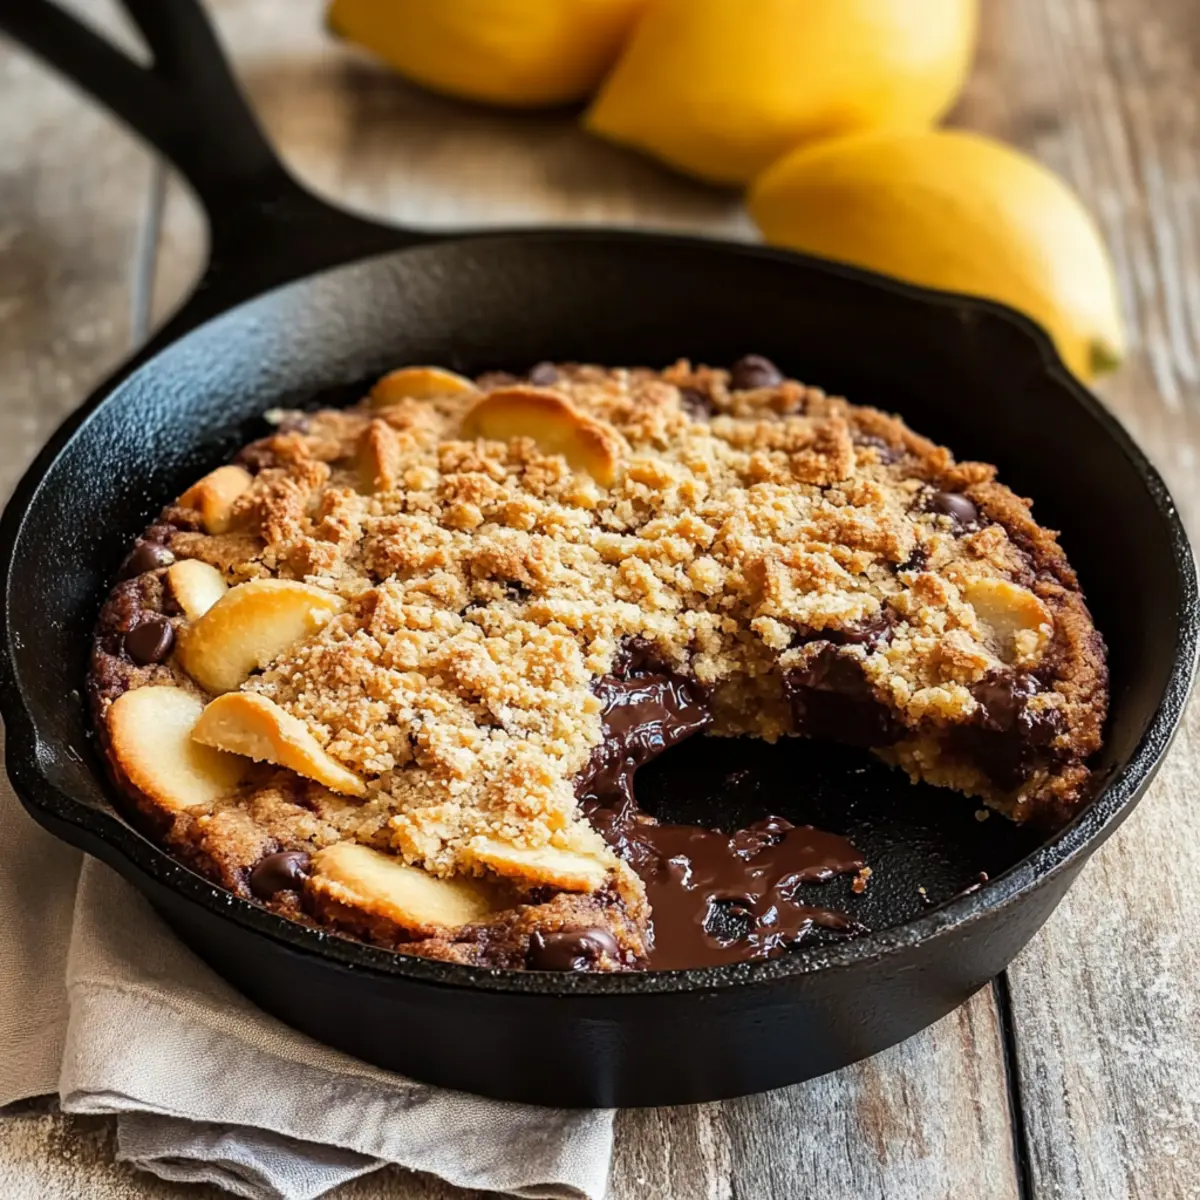
Expert Tips for Perfect Peach Crisp
-
Use Ripe Peaches: Choose fresh, ripe peaches for the best flavor and sweetness. Under-ripe peaches may lead to a tart filling that lacks richness.
-
Customize the Topping: Add chopped nuts or shredded coconut to the crisp topping for extra texture and flavor. Experiment with your favorite add-ins to make this Peach Crisp uniquely yours.
-
Don’t Skip the Lemon Juice: This ingredient brightens the peach flavor and helps prevent browning. It’s a small but crucial step for a vibrant filling.
-
Keep an Eye on Baking: Ovens can vary, so check the Peach Crisp a few minutes before the suggested baking time. Look for bubbling edges and a golden topping for perfect doneness.
-
Cool for Best Texture: Allow the Peach Crisp to cool for 10–15 minutes before serving. This helps set the filling and maintain a crispy topping, making each bite irresistible!
What to Serve with Peach Crisp
Indulging in a warm bowl of Peach Crisp is pure bliss, but adding the right accompaniments can elevate the experience to a whole new level.
-
Vanilla Ice Cream: The creamy sweetness of vanilla ice cream contrasts perfectly with the warm, spiced flavors of the peach crisp. You can’t go wrong with this classic pairing!
-
Whipped Cream Delight: A dollop of freshly whipped cream enhances the richness and adds a light, airy texture that beautifully complements the crisp topping.
-
Greek Yogurt: For a healthier twist, serve with a scoop of tangy Greek yogurt. It balances the sweetness and creates a deliciously creamy contrast.
-
Berry Compote: Drizzling some homemade berry compote over the crisp adds a burst of tartness that can make every bite feel refreshing. It heightens the dessert’s overall flavor.
-
Chilled Sparkling Water: A refreshing glass of sparkling water with a twist of lemon lifts the palate after each bite, cleansing your taste buds for the next delicious spoonful.
-
Sweetened Almond Milk: For a dairy-free option, pair with sweetened almond milk. Its nutty flavor resonates well with the baked fruit, creating a fulfilling finish to your meal.
Remember, the best part about serving Peach Crisp is that it invites love and warmth into your home, making every gathering a memory to cherish!
Variations & Substitutions for Peach Crisp
Feel free to get creative with your Peach Crisp—these variations will tickle your taste buds and add a personal touch!
-
Seasonal Fruit: Swap peaches for apples, pears, or berries to celebrate seasonal flavors. Each fruit brings its unique sweetness and charm.
-
Nutty Crunch: Add walnuts or pecans to the crisp topping for an extra crunch. The nuttiness complements the sweetness of the fruit beautifully.
-
Dairy-Free Delight: Use coconut oil instead of butter in the topping for a delicious dairy-free alternative. The subtle coconut flavor harmonizes wonderfully with the peaches!
-
Sugar Alternatives: Try using maple syrup or honey in place of granulated sugar for a natural sweetness. This can add depth and complexity to your dessert.
-
Spice it Up: Enhance the flavor by adding a pinch of nutmeg or ginger to the peach filling. These warm spices create an inviting aroma and elevate each bite.
-
Gluten-Free Option: Substitute all-purpose flour with a gluten-free blend or almond flour for a delicious gluten-free version of this classic dessert.
-
Chocolate Twist: For the chocolate lovers, sprinkle some dark chocolate chips into the peach filling. The melty chocolate creates a decadent surprise within the crisp!
Why not pair your Peach Crisp with a lovely scoop of Buttermilk Fried Chicken for a charming evening? Enjoy exploring these variations to make your dessert truly yours!
Make Ahead Options
Preparing your Peach Crisp ahead of time is a fantastic way to save time for busy weeknights or gatherings! You can slice and mix your peaches with sugar, lemon juice, and cornstarch up to 24 hours in advance, letting the flavors meld in the refrigerator. Additionally, you can prepare the crisp topping by combining the dry ingredients and butter, storing it in an airtight container for up to three days. When you’re ready to bake, simply layer the filling and topping in your cast iron skillet and pop it in the oven. This method ensures your Peach Crisp is just as delicious and maintains its tempting textures while saving you time in the kitchen!
How to Store and Freeze Peach Crisp
Fridge: Store leftover Peach Crisp covered in the fridge for up to 3 days. The flavors will continue to meld, but for best texture, reheat before serving.
Freezer: To freeze, cool completely, then transfer to an airtight container or wrap tightly in foil. It can be frozen for up to 3 months.
Reheating: For optimal results, reheat in the oven at 350°F (175°C) for about 15–20 minutes, until warmed through. A quick blast in the microwave will also work but may soften the topping slightly.
Room Temperature: Allow freshly baked Peach Crisp to cool at room temperature if serving immediately. If you have leftovers, remember to cover them properly for freshness!
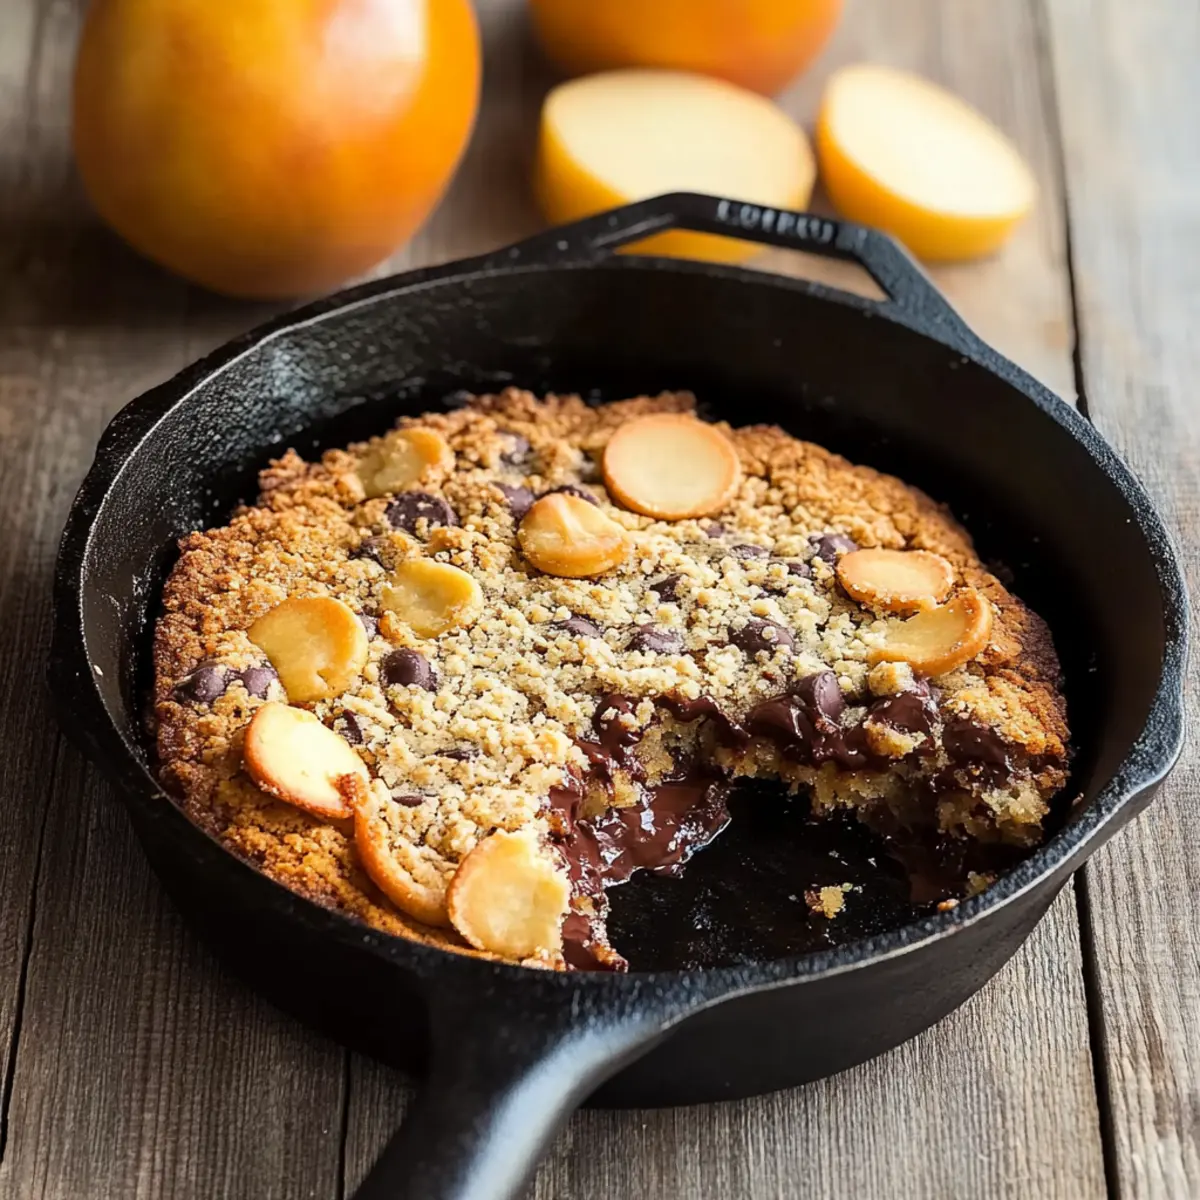
Peach Crisp Recipe FAQs
What kind of peaches should I use for the Peach Crisp?
Absolutely! Use ripe, juicy peaches for the best flavor. Look for peaches with a slight give when gently pressed and a sweet aroma. Avoid those with dark spots or firmness, as they may be under-ripe.
How should I store leftovers from the Peach Crisp?
Very! Store leftover Peach Crisp covered in the fridge for up to 3 days. For the best flavor and texture, I recommend reheating it in the oven at 350°F (175°C) for about 15 minutes before serving.
Can I freeze Peach Crisp?
Yes, you can! Allow your Peach Crisp to cool completely after baking. Then transfer it to an airtight container or wrap it tightly in foil. It can be frozen for up to 3 months. When ready to enjoy, reheat in the oven at 350°F (175°C) for 15–20 minutes until warmed through.
What should I do if my Peach Crisp topping is soggy?
If you find your topping is soggy, it could be due to too much fruit juice or not enough cooking time. To avoid this, ensure your peach filling is properly thickened with cornstarch, and consider baking it a few minutes longer. You can also try baking it on a lower rack to give extra crispiness to the topping.
Is this Peach Crisp recipe suitable for gluten-free diets?
Absolutely! Simply substitute the all-purpose flour with a gluten-free flour blend or almond flour. This way, everyone can enjoy this delightful Peach Crisp, making it a perfect dessert for all your gatherings!
Can I use other fruits in this recipe?
Yes, indeed! Feel free to swap in other seasonal fruits like berries, apples, or pears. Each variation brings its unique flavor and charm to your Peach Crisp, making it a versatile treat for any occasion!
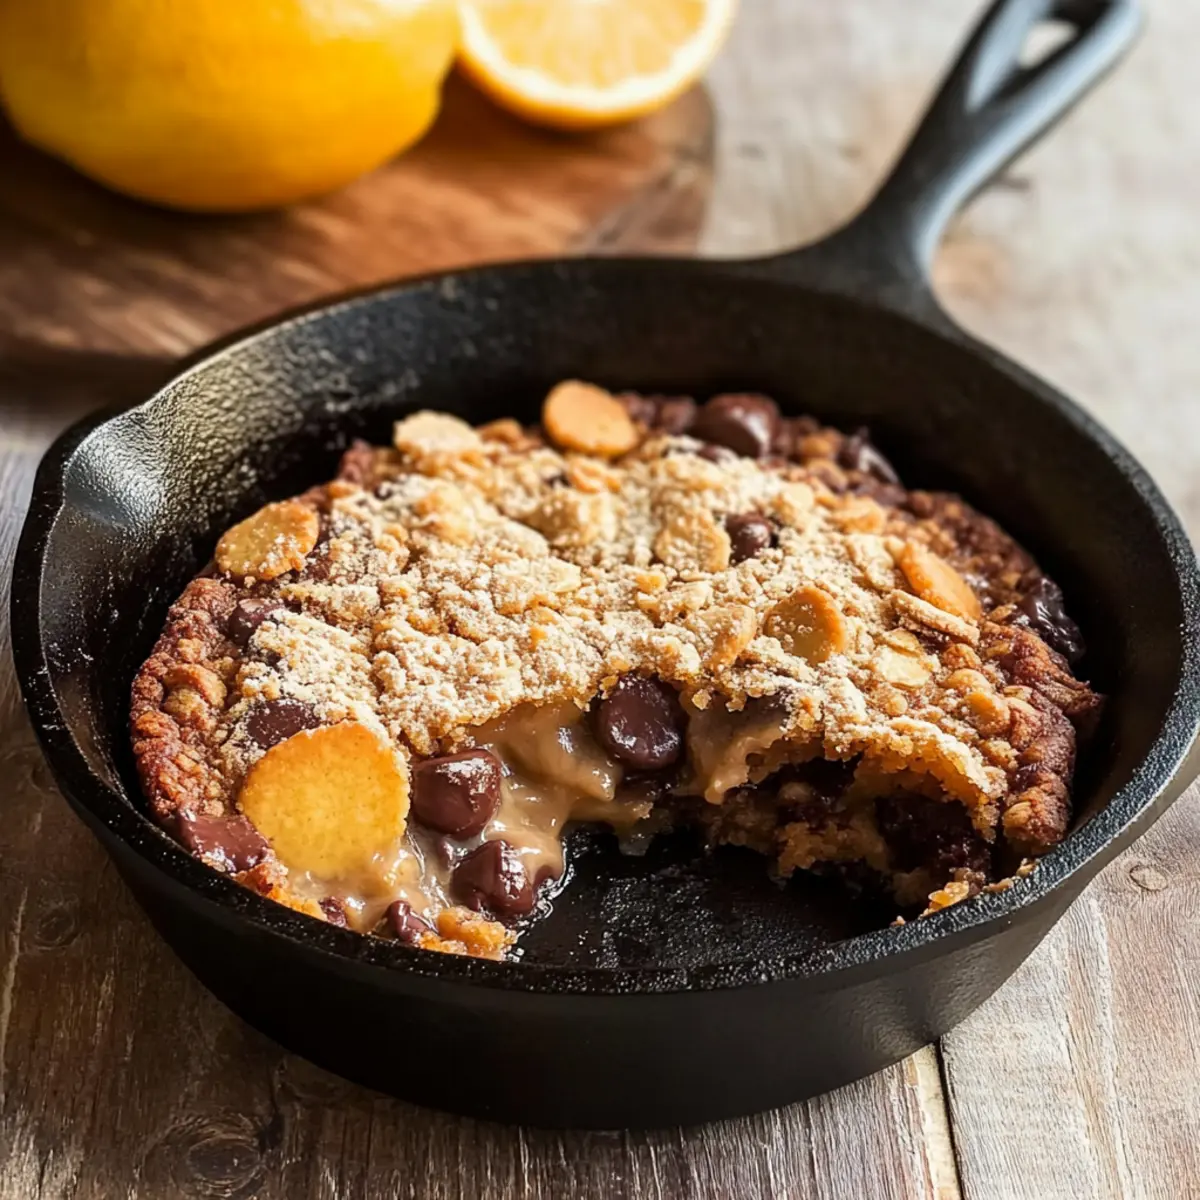
Mouthwatering Peach Crisp Recipe for Cozy Evenings
Ingredients
Equipment
Method
- Preheat your oven to 350°F (175°C) and grease the cast iron skillet with unsalted butter.
- In a large bowl, combine sliced fresh peaches, granulated sugar, lemon juice, and cornstarch. Toss gently and let sit for 10 minutes.
- In another bowl, mix the unsalted butter, brown sugar, oats, all-purpose flour, cinnamon, and salt until crumbly.
- Pour the peach filling into the greased skillet and spread it out evenly. Sprinkle the crisp topping over the peaches.
- Bake for 30–35 minutes until the topping is golden brown and edges are bubbling.
- Allow to cool for 10–15 minutes before serving.
Leave a Reply