
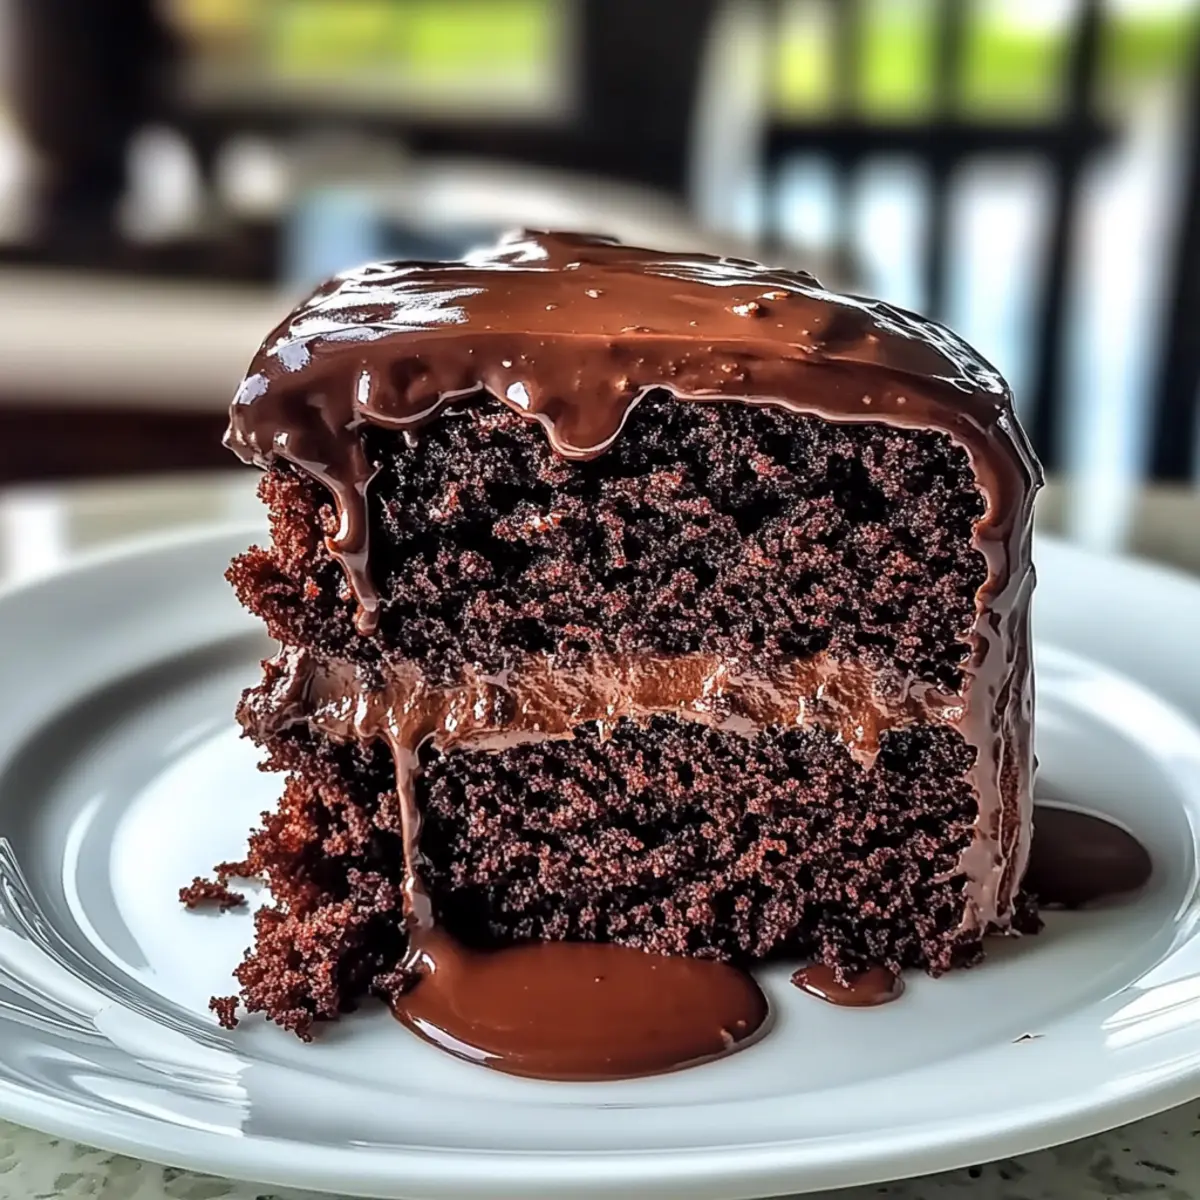
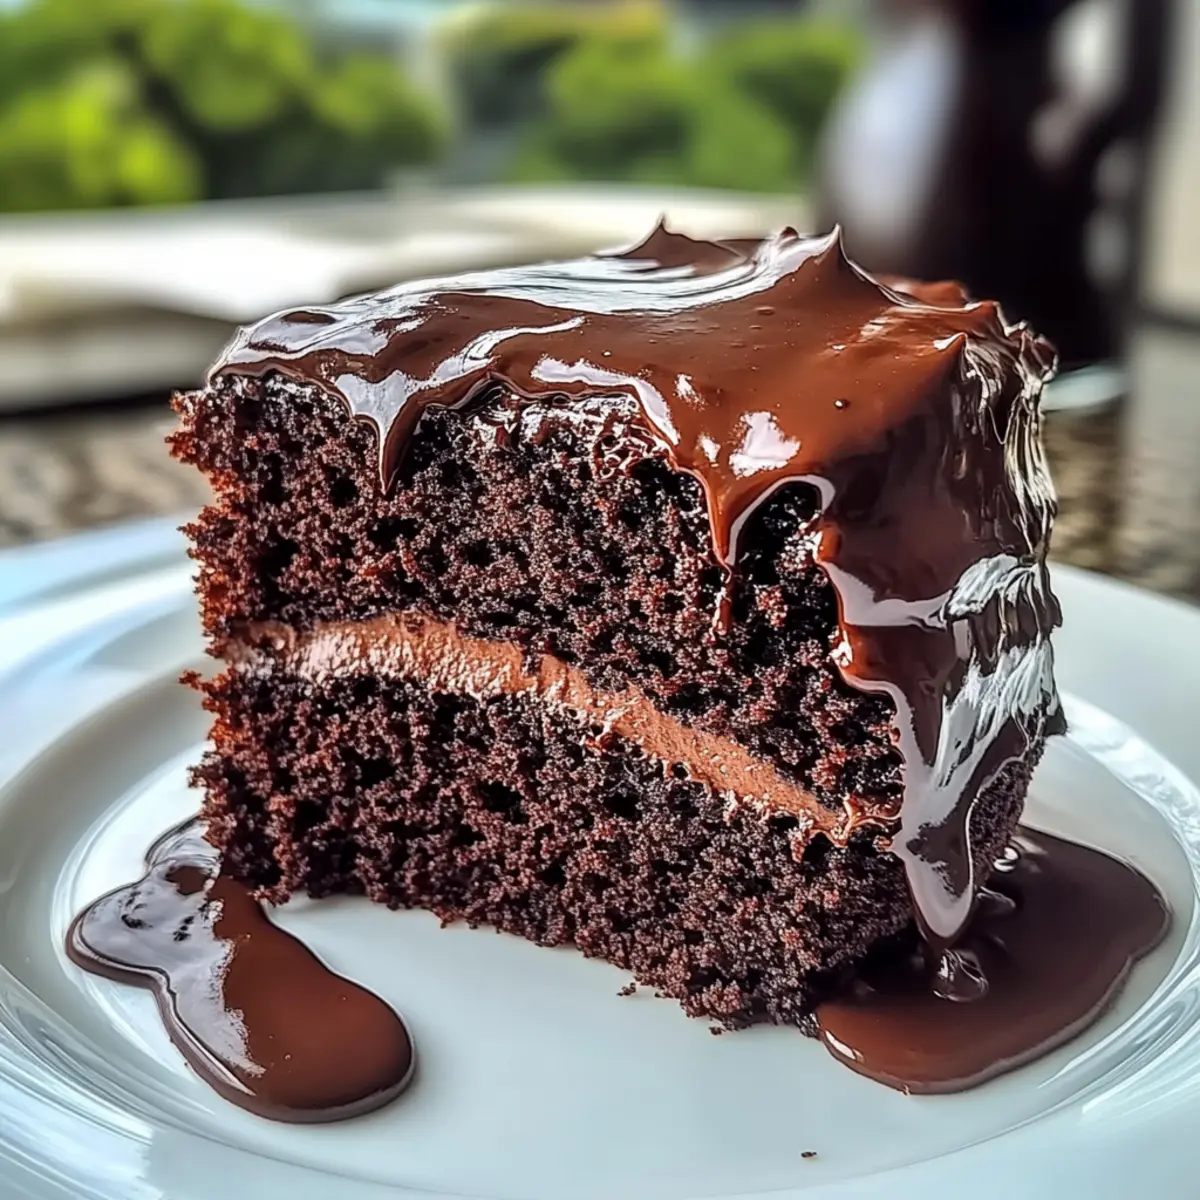
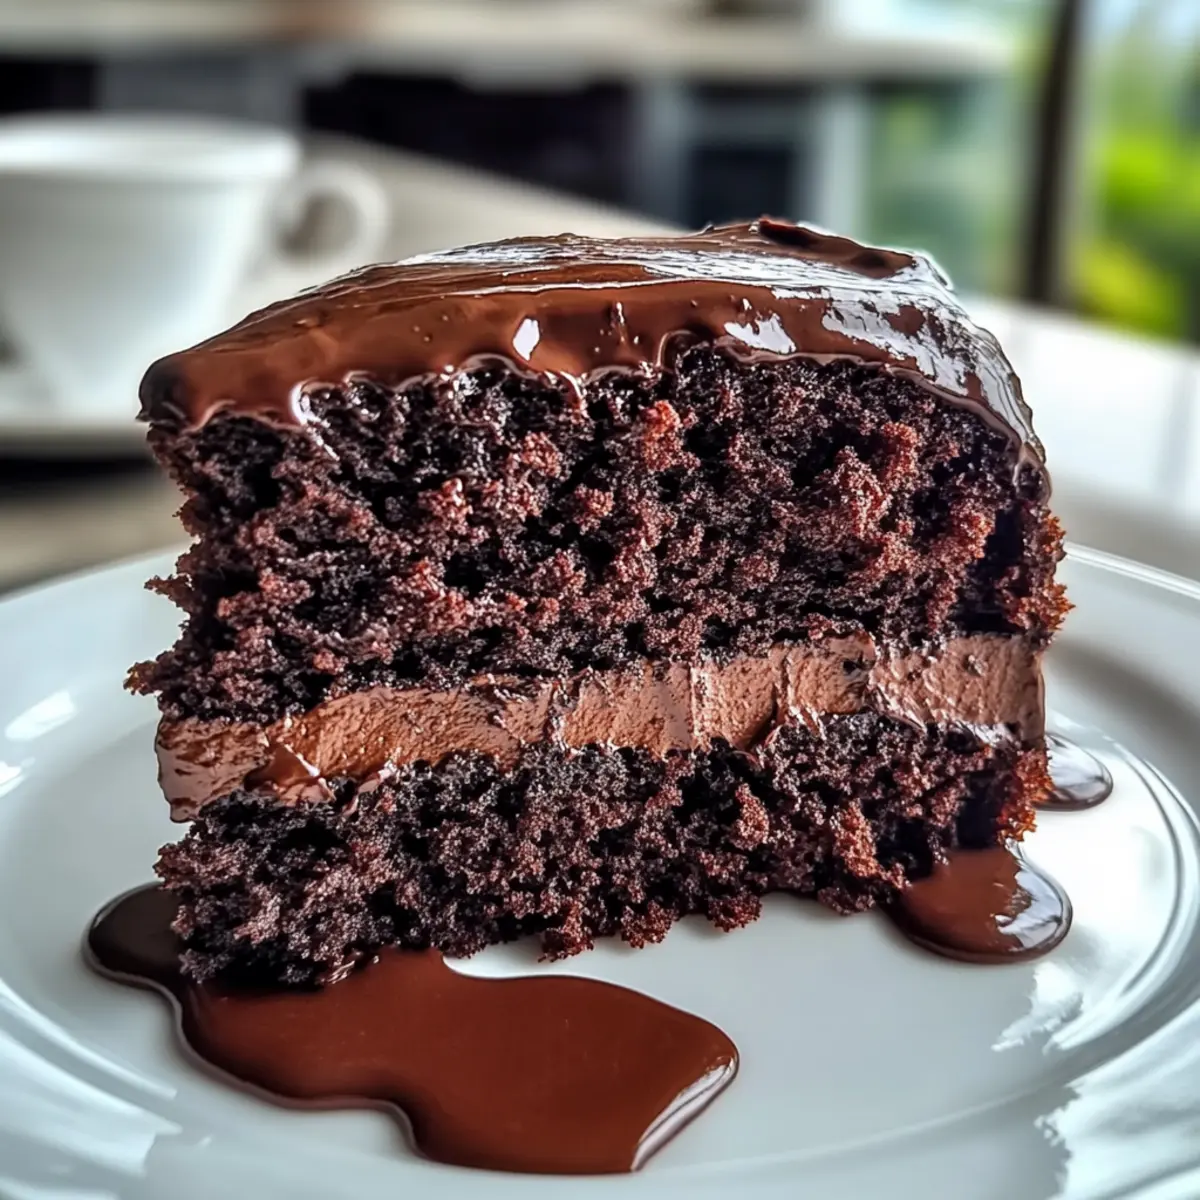
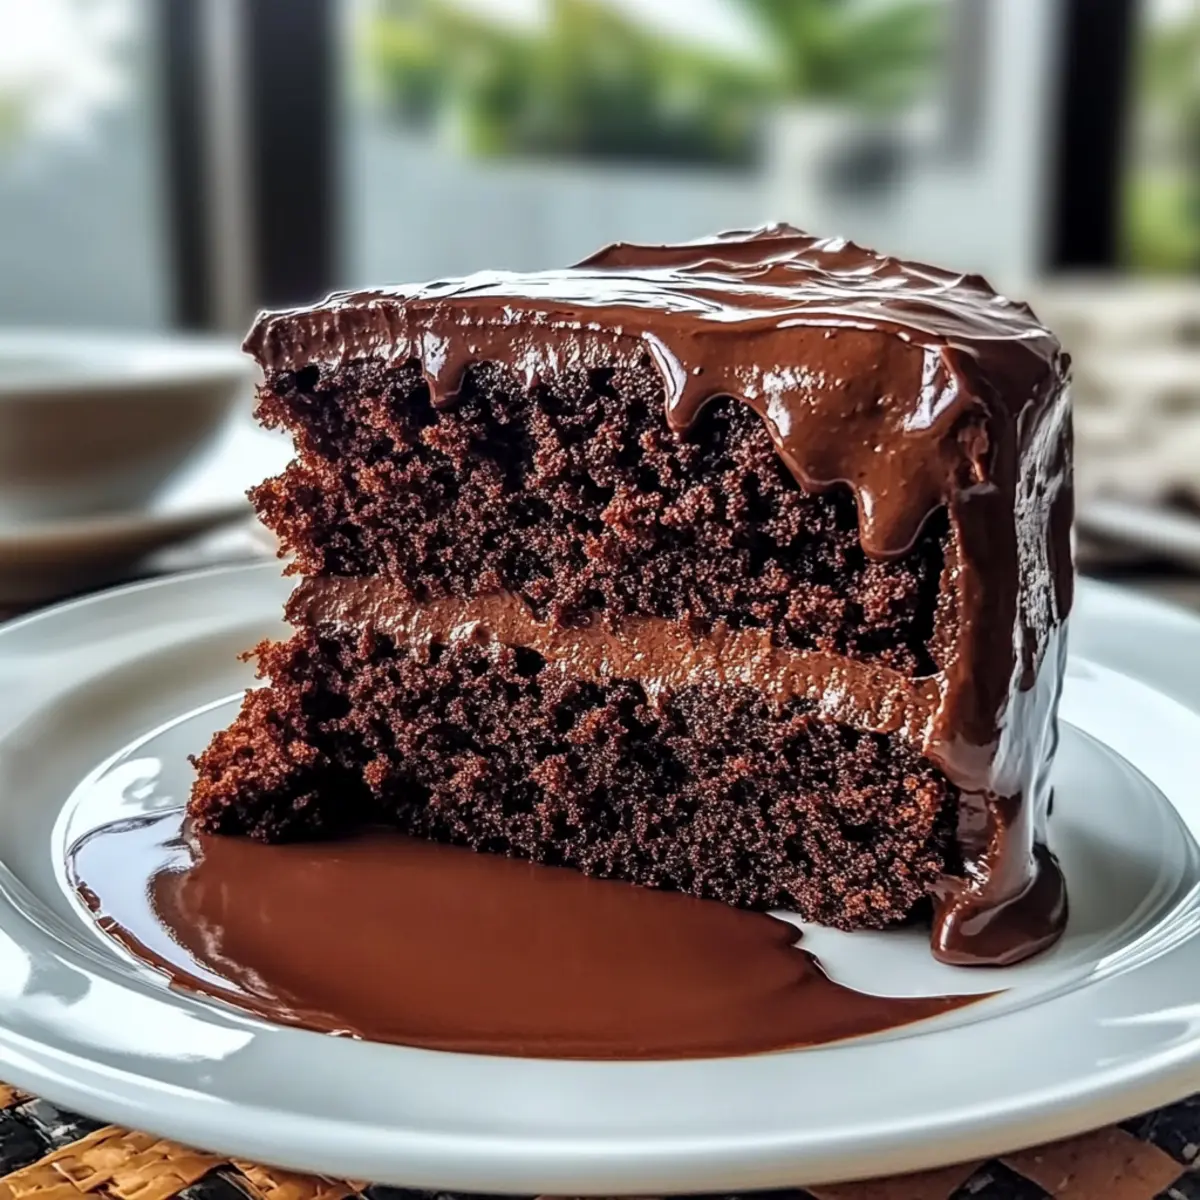
The aroma of chocolate wafting through the kitchen can instantly transport you to happier moments, like a cozy celebration with loved ones. My Delicious Chocolate Buttermilk Cake captures that nostalgic essence, radiating warmth with its rich texture and tender crumb. This delightful dessert stands out not just for its decadent taste, but also for its easy preparation, making it an ideal treat for both seasoned bakers and kitchen novices. Thanks to the buttermilk, every bite delivers incredible moisture that lingers on the palate, proving it can satisfy even the fiercest chocolate cravings. Plus, it’s a crowd-pleaser that’s perfect for gatherings or a sweet indulgence on a quiet evening. Are you ready to discover how simple it is to create a bakery-worthy chocolate cake right in your own home?
Why is Chocolate Buttermilk Cake So Special?
Unmatched Moisture: Thanks to buttermilk, this cake remains incredibly moist and tender, ensuring each bite is a delight.
Decadent Chocolate Flavor: The unsweetened cocoa powder creates a rich, indulgent taste that chocolate lovers will adore.
Effortless Preparation: With a straightforward method, even beginners can whip up a bakery-style dessert in no time!
Crowd-Pleasing Treat: Perfect for gatherings, this cake will be the star of any dessert table, making it a must-try at your next event.
Versatile Options: Try pairing it with whipped cream or fresh berries for an added gourmet touch. You can even explore variations like a mocha twist or a lighter frosting from the recipes for Dark Chocolate Nut or the delightful Apple Crumb Cake!
Delicious Chocolate Buttermilk Cake Ingredients
For the Cake
- All-purpose flour – Provides structure without heaviness. Substitution: Gluten-free flour blend may work for a gluten-free version.
- Granulated sugar – Sweetens the cake and maintains moisteness. Note: Do not reduce, as it affects texture.
- Unsweetened cocoa powder – Main chocolate flavor source; necessary for aroma and color. Substitution: Dutch-processed cocoa can be used for a darker taste.
- Baking soda – Helps the cake rise, works with buttermilk’s acidity. Essential for texture; do not omit.
- Baking powder – Provides extra lift, ensuring even baking. Used alongside baking soda for optimal results.
- Salt – Enhances chocolate flavor and balances sweetness. Critical for flavor depth, don’t skip.
- Buttermilk – Adds moisture and a slight tang, enhances cake softness. Substitution: Mix 1 cup of milk with 1 tablespoon of lemon juice or vinegar, let sit for 5-10 minutes.
- Eggs – Bind ingredients and contribute to the cake’s structure and richness. Room temperature eggs work best.
- Vegetable oil – Keeps the cake moist longer than butter would. Substitution: Melted coconut oil can be used.
- Hot coffee – Intensifies chocolate flavor without added coffee taste. Substitution: Hot water can replace coffee if needed.
- Vanilla extract – Adds warmth and rounds out chocolate flavor. Always use pure extract for best results.
For the Frosting
- Powdered sugar – For frosting, combines smoothly for a soft finish. Note: Ensure it’s sifted for a smooth result.
- Unsalted butter – Provides a creamy texture for frosting. Must be softened for easy blending.
- Milk or heavy cream – Adjusts frosting consistency for spreading. Use gradually until desired texture is achieved.
- Cocoa powder (for frosting) – Adds chocolate flavor to the frosting. Ensure it’s unsweetened for control over sweetness.
Step‑by‑Step Instructions for Delicious Chocolate Buttermilk Cake
Step 1: Preheat the Oven
Begin by preheating your oven to 350°F (175°C). Prepare a 9×13-inch baking pan by greasing it with butter or a cooking spray to prevent sticking. As the oven warms, gather your ingredients to ensure a smooth baking process.
Step 2: Combine Dry Ingredients
In a spacious mixing bowl, whisk together the all-purpose flour, granulated sugar, unsweetened cocoa powder, baking soda, baking powder, and salt until all ingredients are evenly blended. This mixture forms the foundation of your Delicious Chocolate Buttermilk Cake, contributing to its delightful texture and rich chocolate flavor.
Step 3: Mix Wet Ingredients
In a separate bowl, mix together buttermilk, eggs, vegetable oil, and vanilla extract until you achieve a smooth consistency. The creamy blending of the wet ingredients is essential for the cake’s moistness and helps create that tender crumb. Ensure your eggs are at room temperature for optimal mixing.
Step 4: Combine Wet and Dry Mixtures
Pour the wet ingredients into the bowl with the dry ingredients. Gently mix until just combined, being careful not to overmix, as this can affect the cake’s tenderness. The batter will appear slightly lumpy; that’s ideal as it leads to a wonderfully moist Delicious Chocolate Buttermilk Cake.
Step 5: Add Hot Coffee
Gradually stir in the hot coffee, mixing until the batter is smooth. The coffee elevates the chocolate flavor, ensuring each slice is rich without an overpowering coffee taste. Expect the batter to thin out, which is perfectly normal and contributes to the cake’s moist texture.
Step 6: Bake the Cake
Pour the batter into your prepared pan, smoothing the top with a spatula. Place it in the preheated oven and bake for 32 to 36 minutes. To check for doneness, insert a toothpick into the center; it should come out with a few moist crumbs, signaling that your Delicious Chocolate Buttermilk Cake is ready.
Step 7: Cool the Cake
Once baked, remove the cake from the oven and let it cool in the pan for about 10 minutes. This resting time helps stabilize the cake structure before transferring it to a wire rack to cool completely. Allowing it to cool thoroughly before frosting is crucial for the best results.
Step 8: Prepare the Frosting
As the cake cools, start making the frosting. In a mixing bowl, beat the softened unsalted butter until creamy. Gradually add the sifted powdered sugar, cocoa powder, and a splash of milk or heavy cream, adjusting the consistency until it’s smooth and spreadable. This rich frosting complements the Chocolate Buttermilk Cake beautifully.
Step 9: Frost and Serve
Once the cake is completely cool, spread the rich frosting evenly over the top. Slice into generous pieces and serve your Delicious Chocolate Buttermilk Cake. Consider pairing it with fresh berries or whipped cream for an extra special treat.
Delicious Chocolate Buttermilk Cake Variations
Feel free to explore your creativity and customize this cake to your liking—each variation offers a delightful twist!
-
Gluten-Free: Substitute all-purpose flour with a gluten-free flour blend to accommodate dietary needs without sacrificing flavor.
-
Dairy-Free: Use almond milk mixed with a teaspoon of lemon juice instead of buttermilk for a dairy-free option while keeping the cake moist.
-
Mocha Flavor: Swap half the cocoa powder for instant coffee to add a rich mocha flavor that chocolate lovers will crave.
-
Nutty Addition: Fold in chopped walnuts or pecans into the batter to introduce a delightful crunch and depth of flavor. The nuts not only enhance the texture but also make each bite a bit more exciting.
-
Fruity Twist: Add a layer of fresh raspberries or strawberries between the frosting and cake layers for a burst of fresh sweetness. This refreshing contrast elevates the cake to a whole new level.
-
Lighter Frosting: Instead of traditional frosting, try a chocolate ganache made with heavy cream and dark chocolate for a beautifully glossy finish. It’s a luxurious touch that feels indulgent yet is surprisingly easy to make.
-
Spicy Kick: Mix in a pinch of cayenne pepper or espresso powder with the dry ingredients for an unexpected, delightful kick of heat that balances the sweetness beautifully.
-
Chocolate Chips: Stir in semi-sweet chocolate chips into the batter for extra chocolaty goodness. They melt slightly during baking, leaving gooey chunks of chocolate in every slice.
For more inspiring ideas, consider adding a layer of frosting from the recipes for a delightful Apple Crumb Cake or a sprinkle of crushed nuts from my Dark Chocolate Nut squares for that added crunch!
How to Store and Freeze Delicious Chocolate Buttermilk Cake
Room Temperature: Keep the cake at room temperature in an airtight container for up to 2 days to maintain its moisture and flavor.
Fridge: If you want to preserve it longer, store the cake in the fridge for up to 5 days. Make sure to cover it well to prevent drying out.
Freezer: For longer storage, freeze unfrosted cake layers for up to 2 months. Wrap them tightly in plastic wrap and aluminum foil before placing them in the freezer. Thaw at room temperature before frosting.
Reheating: If you enjoy a warm slice, you can reheat individual pieces in the microwave for 10-15 seconds. Enjoy your Delicious Chocolate Buttermilk Cake warmed up with perfect tenderness!
Expert Tips for Delicious Chocolate Buttermilk Cake
-
Perfect Measurements: Ensure accurate measurements of ingredients, especially flour, to avoid a dry cake. It’s best to use a kitchen scale if possible.
-
Room Temperature Ingredients: Using room temperature eggs and buttermilk allows for better mixing and a smoother batter, enhancing the moisture of your Delicious Chocolate Buttermilk Cake.
-
Don’t Overmix: Be gentle when combining wet and dry ingredients. Overmixing can lead to a tough texture, so mix until just combined.
-
Cool Before Frosting: Allow the cake to cool completely in the pan before frosting to prevent the frosting from melting. This ensures a beautiful presentation.
-
Customize with Add-ins: For extra flavor, consider adding chocolate chips or nuts into the batter. They bring delightful surprises in every bite!
-
Storage Wisdom: Keep your cake in an airtight container to maintain its moistness for up to two days, or refrigerate it for longer freshness.
Make Ahead Options
These Delicious Chocolate Buttermilk Cakes are perfect for busy meal prep enthusiasts! You can prepare the cake layers up to 3 days in advance by baking them, cooling completely, and then wrapping each layer tightly in plastic wrap before refrigerating. This helps retain moisture, ensuring they remain just as delicious when you’re ready to frost and serve. For even longer storage, frost the cake just before serving, or freeze the unfrosted layers for up to 2 months. When you’re ready to enjoy, simply thaw in the refrigerator overnight and then whip up the frosting fresh for a delightful finish. This way, you’ll save time while still impressing your guests with a home-baked treat!
What to Serve with Delicious Chocolate Buttermilk Cake
Imagine the joy of delighting your loved ones with a well-rounded meal that pairs perfectly with this indulgent dessert.
-
Whipped Cream: A dollop of fresh whipped cream adds a light, airy texture that beautifully contrasts the rich cake, enhancing every bite.
-
Fresh Berries: Plump, juicy strawberries or raspberries bring a tart sweetness to the table, balancing the chocolate’s richness and adding vibrant color.
-
Coffee or Espresso: A warm cup complements the chocolate flavor while enhancing the cake’s depth, creating a comforting dessert experience.
-
Vanilla Ice Cream: The creamy, smooth addition of vanilla ice cream brings a delightful chill that makes each chocolatey mouthful even more decadent.
-
Chocolate Ganache Drizzle: A silky drizzle of chocolate ganache over each slice elevates the indulgence, perfect for the true chocolate lover.
-
Nuts and Coconut Flakes: Sprinkle some toasted nuts or coconut flakes for added texture and a toasty flavor contrast to the luscious cake.
Delicious Chocolate Buttermilk Cake Recipe FAQs
How do I choose the right buttermilk for my cake?
Absolutely! For the best results, look for buttermilk that is fresh and free from any lumps. If you can’t find it, simply mix 1 cup of milk with 1 tablespoon of lemon juice or vinegar, and let it sit for 5-10 minutes to mimic the acidity and thickness of buttermilk.
How should I store my Delicious Chocolate Buttermilk Cake?
For optimal freshness, store your cake at room temperature in an airtight container for up to 2 days. If you want to keep it longer, refrigerate it for up to 5 days, ensuring it’s well-covered to prevent drying out.
Can I freeze the cake, and if so, how?
Definitely! You can freeze the unfrosted layers of the Delicious Chocolate Buttermilk Cake for up to 2 months. Just wrap each layer tightly in plastic wrap, then in aluminum foil, and store in the freezer. When you’re ready to enjoy, simply thaw the layers at room temperature before frosting.
What should I do if my cake comes out dry?
If your Delicious Chocolate Buttermilk Cake turns out dry, it may be due to overbaking or incorrect flour measurements. Ensure that you’re measuring flour accurately; using a kitchen scale can help. Also, check for doneness a few minutes before the suggested baking time by inserting a toothpick; it should come out with moist crumbs, not dry.
Is this recipe safe for those with allergies?
While this cake is vegetarian, be cautious if serving to guests with specific allergies. It contains common allergens like eggs and dairy. If you need to accommodate gluten allergies, you can substitute with a gluten-free flour blend, but keep in mind that texture may vary slightly.
Can I use other sweeteners instead of granulated sugar?
Very! You can experiment with alternatives such as coconut sugar or honey. However, keep in mind that using liquid sweeteners like honey may alter the cake’s texture slightly. If you choose to substitute with honey, reduce the amount of liquid in the recipe by about 1 tablespoon to maintain balance.
Irresistible Delicious Chocolate Buttermilk Cake Recipe
Ingredients
Equipment
Method
- Step 1: Preheat the Oven - Begin by preheating your oven to 350°F (175°C). Prepare a 9x13-inch baking pan by greasing it with butter or a cooking spray to prevent sticking.
- Step 2: Combine Dry Ingredients - In a spacious mixing bowl, whisk together the all-purpose flour, granulated sugar, unsweetened cocoa powder, baking soda, baking powder, and salt until evenly blended.
- Step 3: Mix Wet Ingredients - In a separate bowl, mix buttermilk, eggs, vegetable oil, and vanilla extract until smooth.
- Step 4: Combine Wet and Dry Mixtures - Pour the wet ingredients into the dry ingredients and mix gently until just combined.
- Step 5: Add Hot Coffee - Gradually stir in the hot coffee, mixing until the batter is smooth.
- Step 6: Bake the Cake - Pour the batter into the prepared pan and bake for 32 to 36 minutes. Check for doneness with a toothpick.
- Step 7: Cool the Cake - Remove the cake from the oven and let it cool in the pan for about 10 minutes.
- Step 8: Prepare the Frosting - Beat the softened unsalted butter until creamy, then gradually add powdered sugar, cocoa powder, and milk until smooth.
- Step 9: Frost and Serve - Once the cake is cool, spread frosting evenly over the top, slice, and serve.
Leave a Reply