
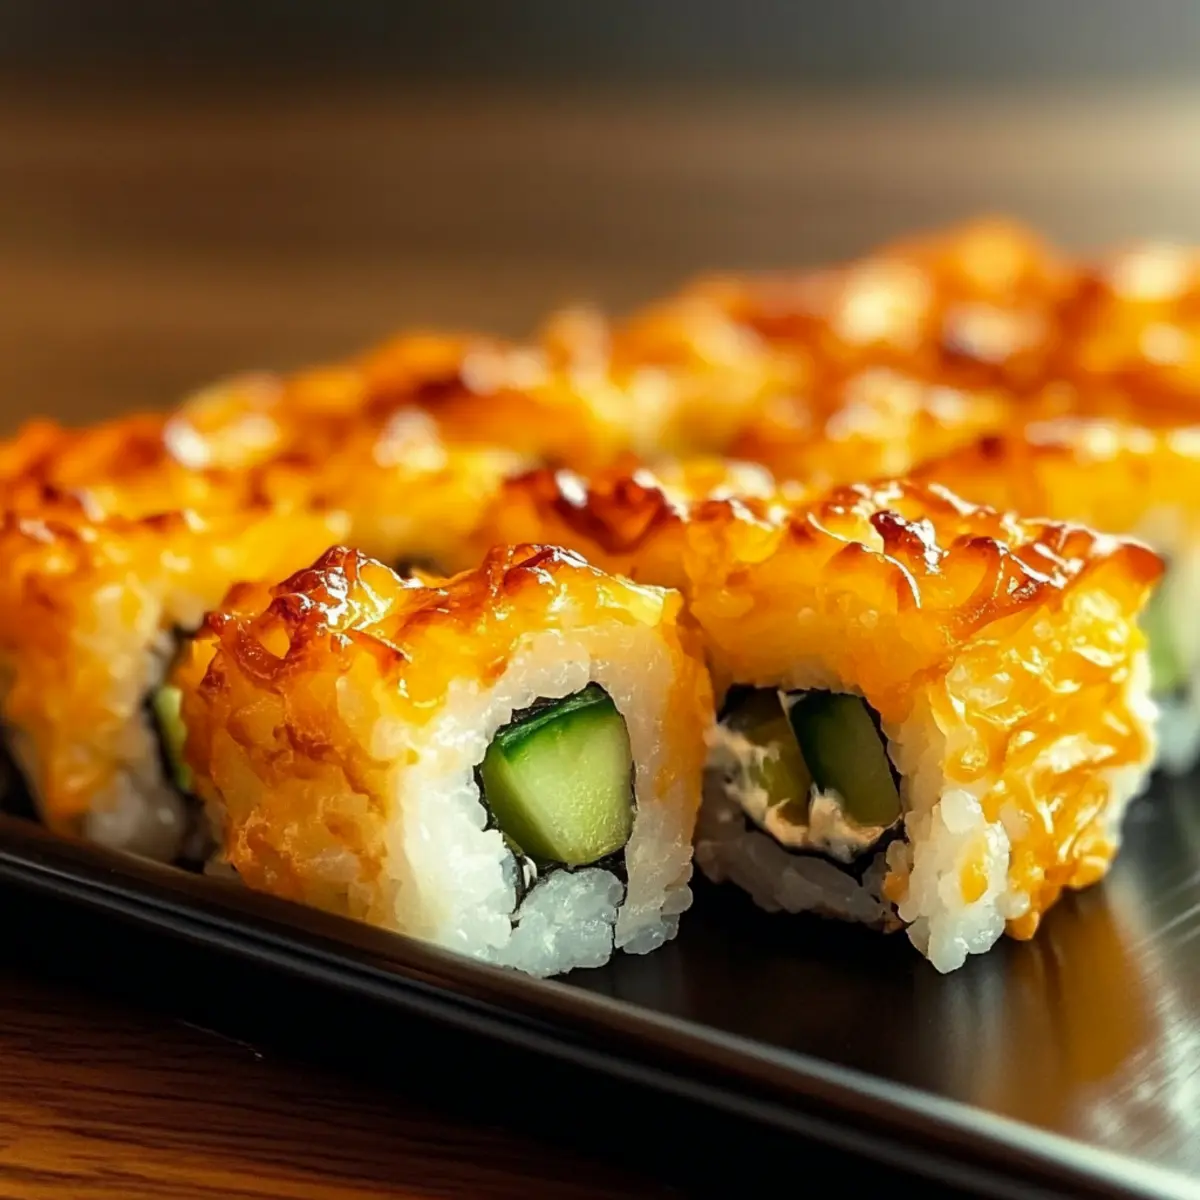
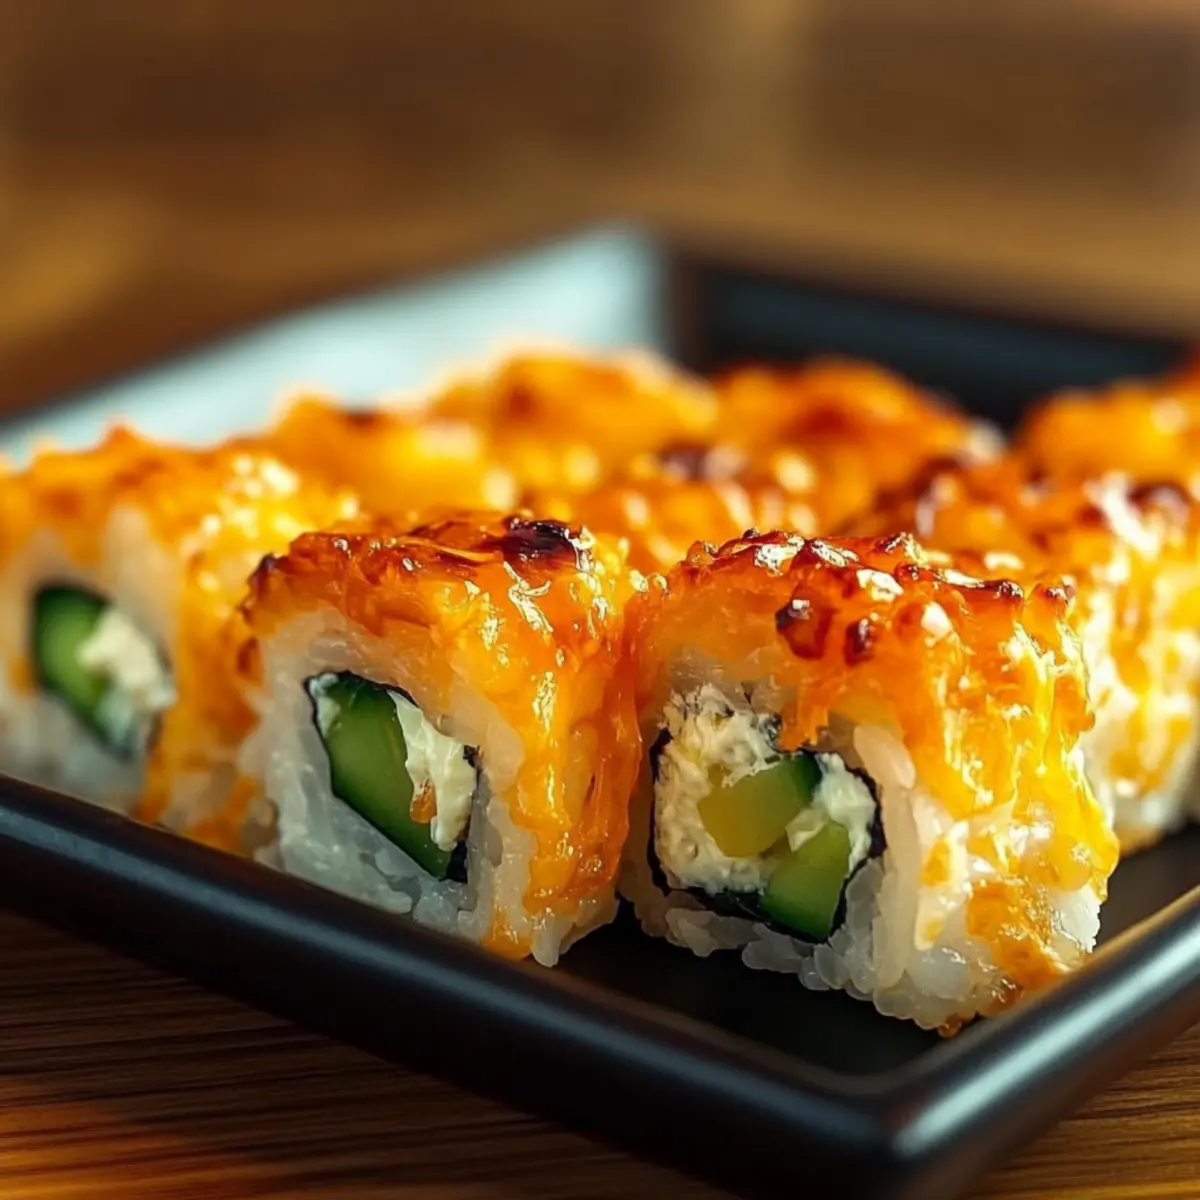
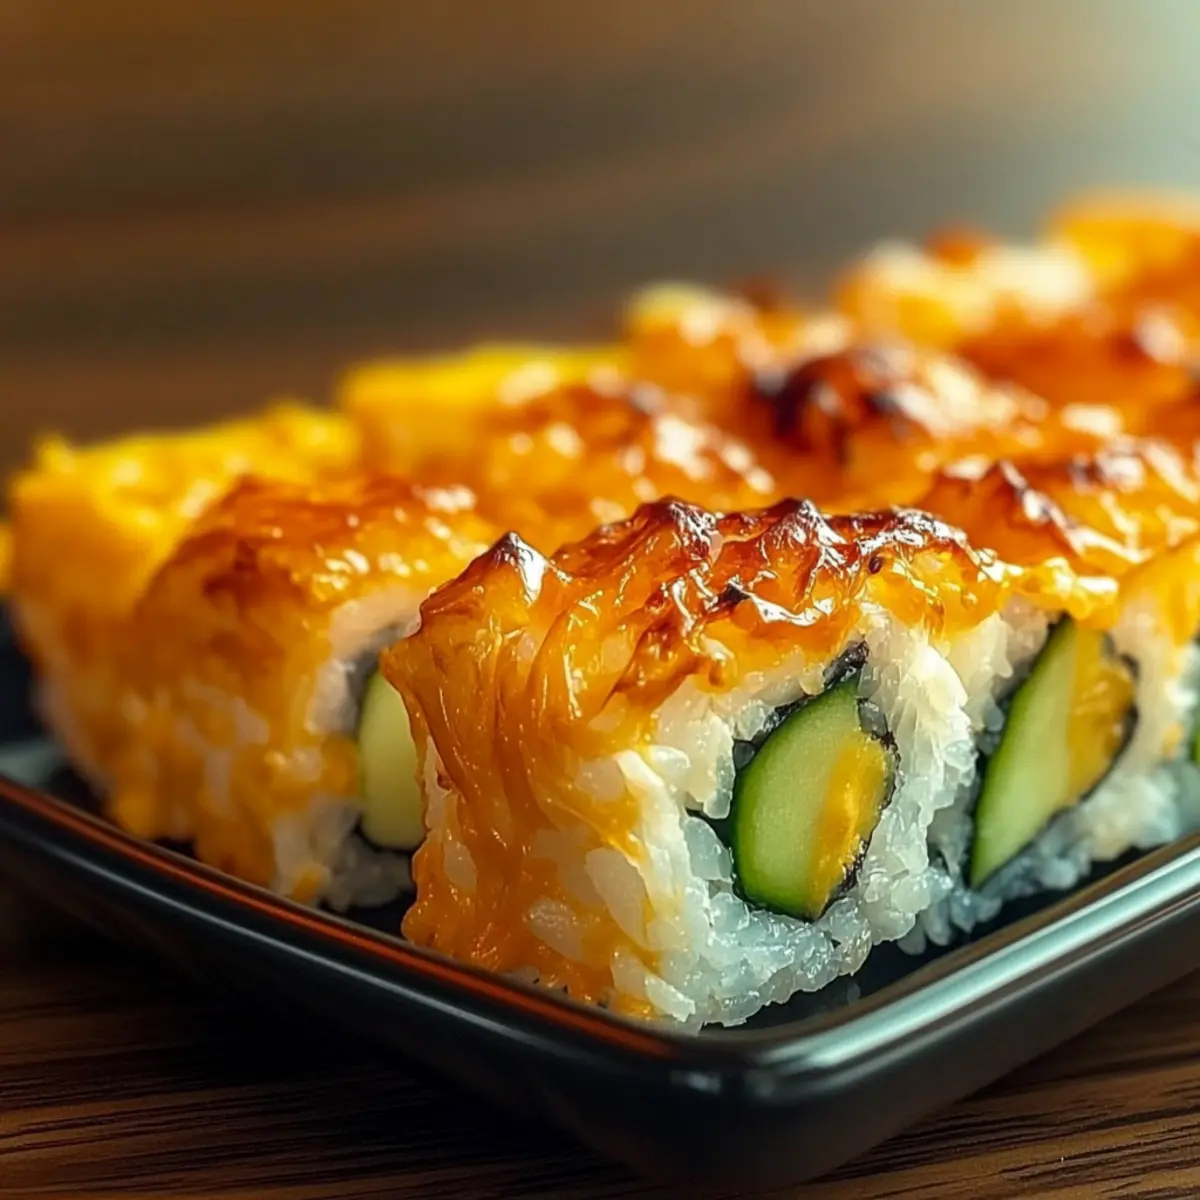
As I pulled the bubbling dish from the oven, the aromatic scent of savory nori and creamy cheese enveloped my kitchen, instantly transporting me to a bustling sushi bar. This Easy Sushi Bake transforms the delightful essence of sushi into a quick and fuss-free meal, perfect for busy weeknights. Forget rolling rice and seafood into delicate shapes; this Sushi Bake offers a crispy, golden top with customizable fillings that truly elevate your dinner experience. Not only is it easier to prepare than traditional sushi, but it also promises to satisfy even the pickiest eaters, making it your new go-to recipe for gatherings or cozy nights in. Ready to impress your family and friends with a delicious twist on takeout that you can whip up in no time?

Why Choose Sushi Bake Tonight?
Simplicity at its finest: No more fuss with rolling sushi; this bake combines everything in one easy dish.
Customizable to your liking: Enjoy endless variations with proteins like shrimp, crab sticks, or even tofu for a vegetarian twist!
Crowd-pleaser guaranteed: Its golden, crispy top and rich filling make it a hit at any gathering.
Quick and easy: This dish comes together effortlessly, taking only about 25 minutes from oven to table.
Perfect for meal prep: Make it ahead of time and bake when you’re ready—perfect for busy evenings.
Try pairing with a side of soy sauce or pickled ginger for extra flavor, or enjoy other comforting dishes like Pasta Bake Pumpkin and Banana Baked Oatmeal for a delightful meal experience.
Sushi Bake Ingredients
Get ready to dive into this delightful mix of flavors!
For the Base
- Nori Sheets – Essential for wrapping; choose high-quality for the best taste.
- Sushi Rice – Use short-grain rice for a sticky and satisfying texture.
For the Filling
- Crab Sticks (or Smoked Salmon/Cooked Shrimp) – Adds protein and flavor; feel free to substitute with your seafood of choice.
- Cream Cheese – Optional but highly recommended for added creaminess and richness.
- Vegetables (Cucumbers, Avocados) – Fresh and crunchy additions; swap for your favorite sushi veggies.
For the Topping
- Soy Sauce – Provides that savory umami flavor; use gluten-free if needed for dietary preferences.
This sushi bake is not only an exciting twist on your usual dinner but also offers endless customization options!
Step‑by‑Step Instructions for Sushi Bake
Step 1: Preheat the Oven
Begin by preheating your oven to 350°F (180°C). While the oven heats up, gather your baking dish and lightly grease it to prevent sticking. This set-up ensures that your Easy Sushi Bake will cook evenly and develop that wonderfully crispy top as it bakes, making it a delightful centerpiece for your meal.
Step 2: Prepare the Sushi Rice
Next, cook your sushi rice according to the package instructions, typically about 15-20 minutes until tender and sticky. Once cooked, allow it to cool slightly before spreading it evenly across the base of your prepared baking dish. This forms the foundation of your sushi bake, giving it structure and texture, so smooth it down evenly to create a flat surface.
Step 3: Layer the Fillings
Now it’s time to elevate your sushi bake! Carefully layer your crab sticks, cream cheese, and chopped vegetables, such as cucumbers and avocados, over the sushi rice. Make sure to distribute the ingredients evenly to ensure every bite of your Easy Sushi Bake is packed with flavor and creaminess. The colorful toppings will also create a visually appealing dish.
Step 4: Add the Flavor Boost
Drizzle soy sauce over the layered ingredients, which will enhance the overall umami flavor of your sushi bake. Use a spatula to gently mix the toppings with the layers beneath, ensuring the soy sauce permeates throughout. This step adds a rich savory essence to every bite while keeping the dish balanced and exciting.
Step 5: Bake to Perfection
Place your assembled sushi bake into the preheated oven and bake for 20-25 minutes. Keep an eye on it as it cooks; you want the top to turn a beautiful golden brown and get that irresistible crispy texture. The aroma wafting from the oven will be a tantalizing hint of the delicious meal to come.
Step 6: Cool and Slice
Once your Easy Sushi Bake is bubbly and golden, remove it from the oven and let it cool slightly for about 5 minutes. This brief cooling time will make slicing easier and help keep the layers intact. Use a sharp knife to cut it into squares, ensuring each piece delivers a mouthful of delicious layers to your guests.
Step 7: Serve and Enjoy
Serve your warm sushi bake squares on a platter, pairing them with additional soy sauce, wasabi, or pickled ginger for dipping. This dish is not just a meal but a delightful experience to share with family and friends. Gather around the table, and enjoy the comforting flavors of your homemade sushi bake!
Expert Tips for Sushi Bake
• Quality Ingredients Matter: Use high-quality nori sheets and sushi rice to enhance flavors—these are the base of your Easy Sushi Bake!
• Don’t Overfill: Avoid packing too many fillings; overfilling can lead to uneven baking and a messy dish.
• Reheat Wisely: To prevent sogginess, avoid the microwave when reheating leftovers; instead, warm them in the oven for crispy results.
• Crispy Edges: Drizzle a little extra oil on top before baking to achieve that delightful crispy edge everyone loves!
• Make It Ahead: You can prep this dish a day in advance and bake it fresh when you’re ready to serve, making it perfect for busy nights.
Sushi Bake: Customization Wonderland
Feel free to let your creativity shine and personalize this dish to suit your taste buds with delightful twists!
- Dairy-Free: Replace cream cheese with a plant-based alternative, keeping the creaminess without dairy. Enjoy the same savory textures!
- Spicy Kick: Add a swirl of sriracha or spicy mayo to your filling for a delightful heat that elevates each bite. Spice lovers will crave this addition!
- Meat Lover’s Delight: Incorporate cooked chicken or beef strips for a heartier version, catering to those who enjoy a rich protein flavor. The savory depth will have everyone coming back for seconds!
- Vegan: Substitute seafood and cream cheese with seasoned tofu and an array of vegetables, keeping it plant-based yet deliciously satisfying. It’s a great way to enjoy sushi without any animal products!
- Crispy Topping: Add panko breadcrumbs mixed with a hint of olive oil on top before baking for an added crunch. These crispy bits give your sushi bake a delightful contrast in texture!
- Gluten-Free: Use gluten-free soy sauce and ensure that all ingredients are certified gluten-free to make this dish suitable for those with dietary restrictions. A seamless transition without sacrificing taste!
- Umami Boost: Toss in some chopped green onions or sesame seeds for a flavor lift, creating a flavorful contrast that celebrates the essence of sushi. It’s all about the little extra touches!
Feeling inspired? Check out delicious variations like Hamburger Casserole Bake or start your morning right with Banana Baked Oatmeal!
What to Serve with Easy Sushi Bake
The comforting aroma of the Easy Sushi Bake can evoke a delightful meal experience that deserves the perfect accompaniment.
-
Soy Sauce: Provides that classic umami flavor, enhancing each bite’s taste while adding a saltiness that complements the creamy filling.
-
Pickled Ginger: This tangy, sweet contrast brightens the palate between bites, offering a refreshing cleanse that balances the richness of the bake.
-
Sesame Edamame: A crunchy and nutritious side, these lightly salted beans bring a delightful texture and boost of protein that pairs perfectly with any sushi-inspired dish.
-
Miso Soup: Warm and savory, this traditional soup enhances the meal with its earthy flavors, creating a comforting dining experience that feels like a sushi bar feast.
-
Seaweed Salad: The fresh, slightly tangy notes of seaweed salad provide a crunchy and refreshing contrast that beautifully complements the rich layers of the sushi bake.
-
Cucumber and Avocado Salad: A light and crisp salad adds freshness to your meal, while the creamy avocado brings in a rich texture echoing the flavors of the bake.
-
Green Tea: This soothing drink rounds out your sushi experience, its subtle earthiness acting as a lovely counterpoint to the savory and rich elements of the meal.
-
Chocolate Mochi: As a unique dessert, these chewy treats offer a sweet finish, perfectly balancing the savory notes of your Easy Sushi Bake and leaving everyone satisfied.
How to Store and Freeze Sushi Bake
Fridge: Store leftovers in an airtight container for up to 3 days to maintain freshness and flavor.
Freezer: Wrap the sushi bake tightly in plastic wrap, then foil, and freeze for up to 2 months. This makes for an easy meal on busy days!
Reheating: For the best texture, reheat in the oven at 350°F (180°C) until warmed through, approximately 15-20 minutes. Avoid microwaving, as it can make the dish soggy.
Make-Ahead Tips: You can prepare the sushi bake up to 24 hours in advance; just cover and refrigerate before baking. Enjoy a delightful homemade meal without the hassle!
Make Ahead Options
These Easy Sushi Bake preparations are perfect for busy weeknights or gatherings! You can assemble the entire dish up to 24 hours in advance; simply prepare the sushi rice, layer the fillings, and spread the soy sauce before covering and refrigerating it. This method allows the flavors to meld beautifully, resulting in a dish that’s just as delicious when baked. For best quality, make sure to keep the assembled bake tightly covered with plastic wrap to prevent it from drying out. When you’re ready to serve, preheat the oven and bake straight from the fridge for 20-25 minutes until golden brown. Enjoy the ease and satisfaction of a homemade sushi bake with minimal last-minute effort!
Sushi Bake Recipe FAQs
What type of nori sheets should I use for sushi bake?
Absolutely! When selecting nori sheets, look for high-quality, dark green sheets without any dark spots or tears. The best nori will be crispy and fresh, which enhances the flavor and texture of your sushi bake. Ideally, you want sheets that are labeled “sushi” grade for the best experience.
How should I store leftovers of the sushi bake?
For the best results, store leftover sushi bake in an airtight container in the fridge for up to 3 days. Make sure to let it cool completely before sealing it up to prevent condensation, which can lead to sogginess. This will help maintain the amazing texture and flavors!
Can I freeze sushi bake?
Absolutely! To freeze your sushi bake, wrap it tightly in plastic wrap, then in aluminum foil, and store it in the freezer for up to 2 months. When you’re ready to enjoy it, simply thaw it in the refrigerator overnight and reheat it in the oven at 350°F (180°C) for about 15-20 minutes until warmed through.
What can I do if my sushi bake turns out too soggy?
Very! If you find that your sushi bake has a soggy texture, double-check that you didn’t use too much liquid in your ingredients or overbake it. If you have leftovers, the best way to restore some crispiness is by reheating them in the oven instead of the microwave. Ensure it’s spread out in a thin layer on a baking sheet and bake at 350°F (180°C) for about 10-15 minutes.
Are there any allergy considerations for sushi bake?
Definitely! If you’re making sushi bake for someone with allergies, keep in mind that traditional ingredients like crab sticks and soy sauce may contain allergens. To make it safe, substitute crab sticks with cooked chicken or tofu, use gluten-free soy sauce, and avoid any vegetables that might trigger allergic reactions. Always check labels for cross-contamination warnings, especially if preparing for a guest with specific dietary needs.
Can I prepare sushi bake in advance?
Yes, indeed! Preparing your sushi bake ahead of time is not only possible but recommended for busy evenings. You can assemble the entire dish, cover it tightly, and refrigerate it for up to 24 hours before baking. This allows the flavors to meld beautifully, giving you a delightful homemade meal in no time!
Sushi Bake: The Ultimate Comfort Food You Can Customize
Ingredients
Equipment
Method
- Preheat your oven to 350°F (180°C) and grease your baking dish.
- Cook sushi rice according to package instructions until tender and sticky.
- Layer crab sticks, cream cheese, and chopped vegetables over the sushi rice.
- Drizzle soy sauce over the layered ingredients and mix gently.
- Bake for 20-25 minutes until golden brown and crispy.
- Allow to cool for 5 minutes, then slice into squares.
- Serve warm with additional soy sauce, wasabi, or pickled ginger.
Leave a Reply