
“Mom, can I have a snack?” The age-old question that every parent dreads, especially when trying to keep their little ones fueled with healthy options. If you’re searching for a delicious solution, these Banana Peanut Butter Power Muffins are here to save the day! Packed with protein from Greek yogurt and eggs, these muffins not only satisfy hungry bellies but also bring a smile to even the pickiest eaters. The best part? They’re super easy to make and customizable, ensuring each bite is a treat. Whether as a quick breakfast, lunchbox surprise, or post-school snack, these kid-friendly muffins are a fun way to nourish growing bodies without the fuss. Curious about how to whip up this nutritious delight? Let’s dive in!
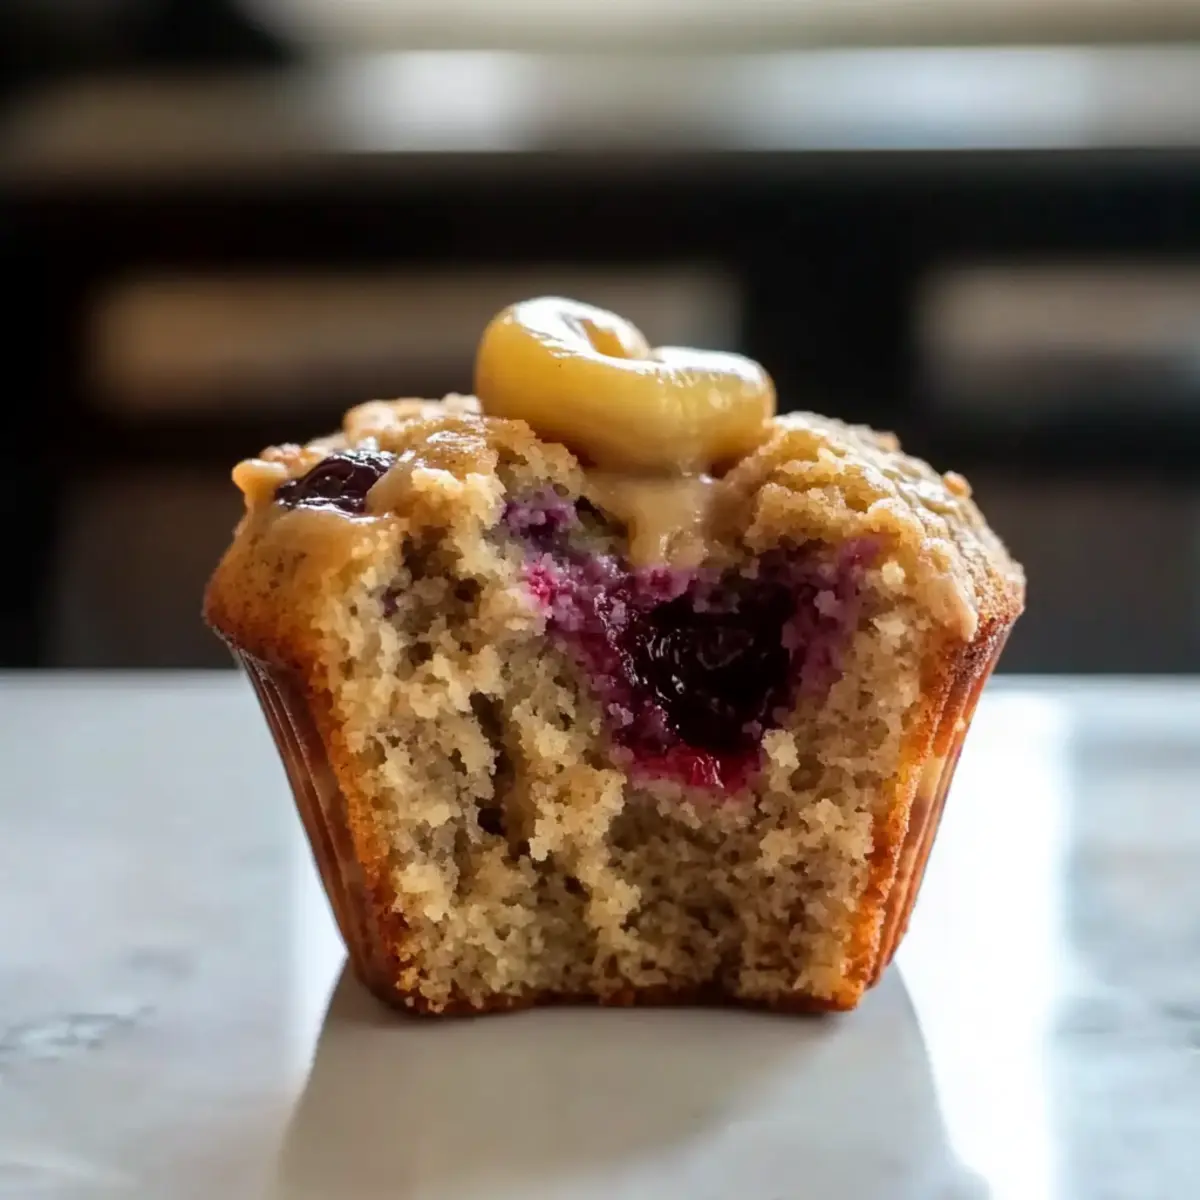
Why Are These Muffins a Must-Try?
Nutritious Delight: Packed with protein from Greek yogurt and eggs, these muffins offer a delicious way to boost your kids’ energy levels.
Quick and Easy: With straightforward steps, even novice bakers can whip up a batch without breaking a sweat!
Customizable Treats: Swap out nut butters or fruits according to your family’s favorites, allowing for endless variations.
Kid-Friendly Flavor: The combination of banana and peanut butter creates an irresistible taste that kids can’t resist.
Perfect for Any Occasion: These muffins are ideal for breakfast, after-school snacks, or healthy lunchbox additions, making them a versatile choice for busy families.
Elevate snack time by trying these muffins and check out our Banana Chocolate Chip for another tasty option!
Banana Peanut Butter Power Muffin Ingredients
• Get ready to look forward to snack time with these kid-friendly muffins that are as nutritious as they are delicious!
For the Muffins
- Bananas – Adds natural sweetness and moisture; use overripe bananas for the best flavor.
- Peanut Butter – Provides richness and extra protein; almond butter can be substituted if desired.
- Greek Yogurt – Acts as a protein booster and keeps muffins moist; plain yogurt is a great non-dairy alternative.
- Eggs – Binds ingredients and boosts protein content; consider flax eggs for a vegan version.
- Oats – Adds texture and fiber; swap with oat flour for a gluten-free option.
- Cocoa Powder – Gives a delightful chocolate flavor; carob powder works well for a caffeine-free option.
- Berries – Enhances flavor and adds natural sweetness; feel free to substitute with other fruits like chopped apples or zucchini.
With this list of ingredients, you’re all set to create delightful Banana Peanut Butter Power Muffins your kids will love!
Step-by-Step Instructions for Banana Peanut Butter Power Muffins
Step 1: Preheat Oven
Preheat your oven to 350°F (175°C). While the oven warms up, line a muffin tin with paper liners or lightly grease the cups to prevent sticking. This is an essential step to ensure the Banana Peanut Butter Power Muffins bake evenly and come out perfectly.
Step 2: Mix Wet Ingredients
In a large mixing bowl, combine the mashed bananas, Greek yogurt, eggs, and peanut butter. Use a whisk or an electric mixer to blend them until the mixture is smooth and creamy, ensuring all lumps are gone. This will create a moist base for your muffins and help incorporate the protein.
Step 3: Combine Dry Ingredients
Gradually add in the oats and cocoa powder, gently folding them into the wet mixture. Stir carefully until just combined to maintain the light texture of the Banana Peanut Butter Power Muffins. Avoid overmixing, as this can lead to dense muffins; you want them fluffy and delightful.
Step 4: Add Berries or Mix-Ins
Fold in your choice of berries or any additional mix-ins gently into the batter. This step adds an extra layer of flavor and nutrition, making the muffins not just tasty but also visually appealing. Ensure that the mix-ins are evenly distributed throughout the batter for balanced bites.
Step 5: Fill Muffin Cups
Scoop the muffin batter into the prepared muffin tins, filling each cup about 3/4 full. This will allow the muffins to rise beautifully without overflowing. Using an ice cream scoop can help keep the portions uniform for even baking.
Step 6: Bake Muffins
Place the muffin tin in the preheated oven and bake for 18-20 minutes. The muffins are ready when they are golden brown and a toothpick inserted in the center comes out clean. Keep an eye on them to avoid overbaking, which can lead to dry muffins.
Step 7: Cool and Enjoy
Remove the muffin tin from the oven and let it cool for about 5 minutes. Then, carefully transfer the Banana Peanut Butter Power Muffins to a cooling rack to cool completely. This step is crucial for maintaining their fluffy texture. Serve warm or allow to cool fully for later enjoyment!
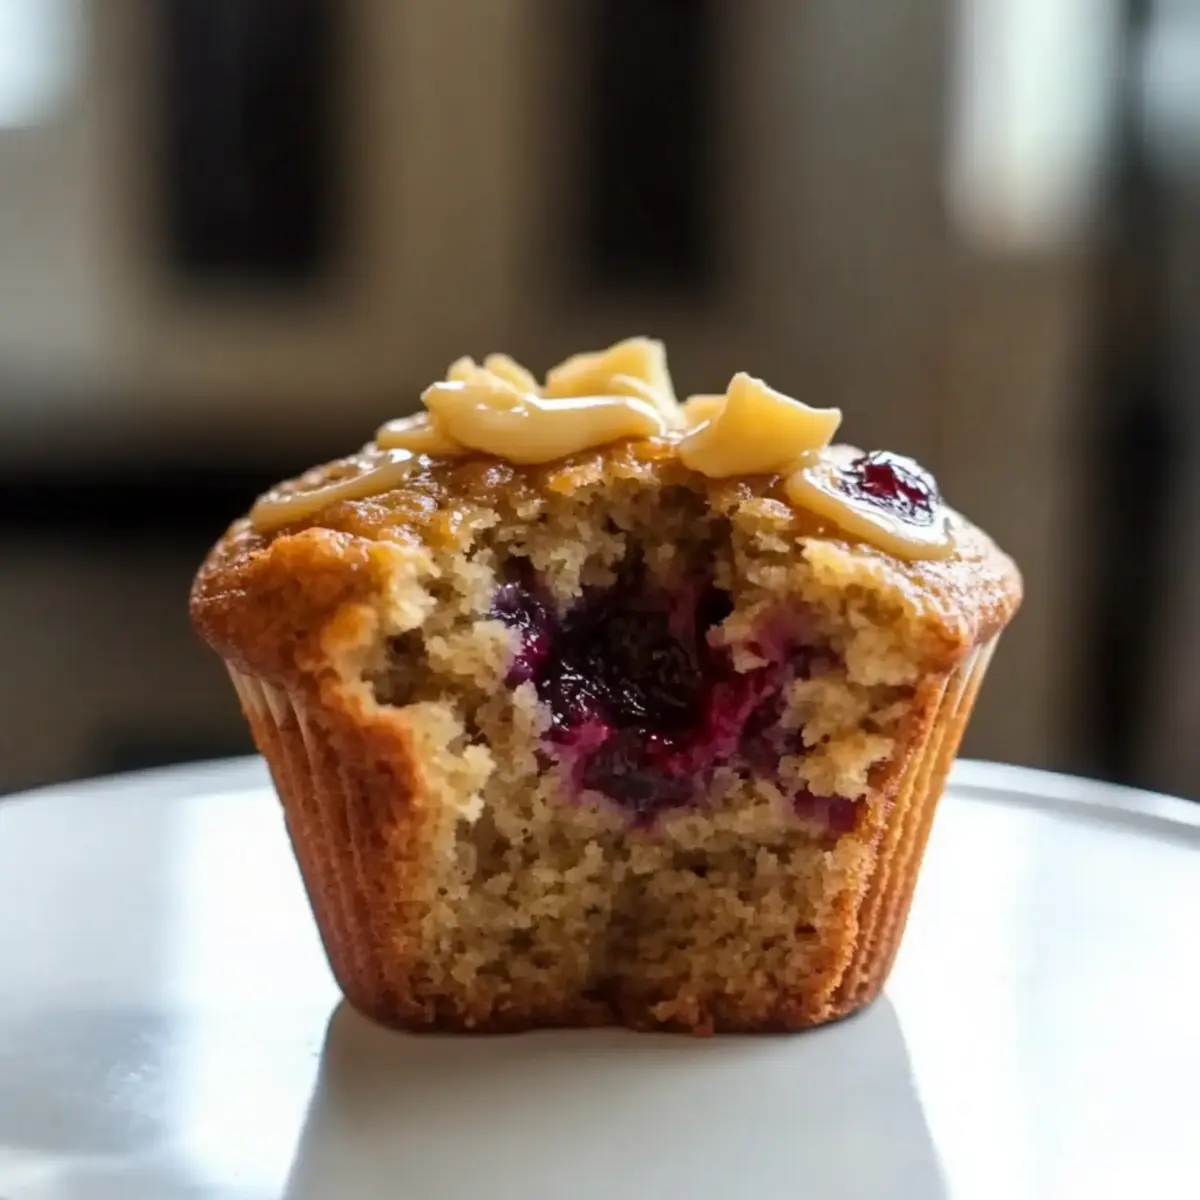
What to Serve with Banana Peanut Butter Power Muffins?
These delightful muffins are not just a healthy treat on their own; they can also be paired perfectly with sides that make your meal feel complete and satisfying.
-
Greek Yogurt: A dollop of creamy Greek yogurt adds extra protein and a tangy contrast to the sweet muffins, making for a wholesome snack.
-
Fresh Fruit Salad: Bright and colorful, a vibrant fruit salad adds layers of flavor and nutrition, enhancing snack time with fresh, juicy bites.
-
Nut Butter Dip: Serve with an assortment of nut butter for an interactive twist! Kids can enjoy dipping muffin pieces into peanut or almond butter for a fun, protein-packed experience.
-
Veggie Sticks: Crunchy carrot and cucumber sticks provide a refreshing contrast to the muffins, keeping snack time balanced and nutritious.
-
Milk or Plant-Based Milk: A glass of cold milk, whether dairy or nut-based, complements the muffins’ flavor while offering an extra protein boost for growing bodies.
-
Oatmeal Cookies: Pairing muffins with oatmeal cookies creates a delightful combo of textures and flavors, satisfying sweet cravings while keeping it wholesome.
-
Chia Seed Pudding: This silky, nutritious pudding adds an exciting texture alongside the muffins, providing healthy fat and fiber for a well-rounded snack.
With these tasty additions, you can create a delightful spread that makes snack time or breakfast even more enjoyable!
Make Ahead Options
These Banana Peanut Butter Power Muffins are fantastic for meal prep, allowing you to save time during busy days! You can prepare the batter up to 24 hours in advance; simply mix all the wet and dry ingredients, store the mixture in the refrigerator, and bake it fresh when ready. If you prefer, you can also bake the muffins and refrigerate them in an airtight container for up to 3 days, ensuring they stay moist. To finish, simply warm them slightly in the microwave before serving. This way, you’ll have a nutritious snack at hand that tastes just as delicious as when freshly made!
How to Store and Freeze Banana Peanut Butter Power Muffins
Fridge: Store your muffins in an airtight container in the fridge for up to 1 week. This helps keep them fresh and moist, perfect for quick snacks.
Freezer: For longer storage, freeze the muffins individually wrapped in plastic wrap. They can last in the freezer for up to 3 months, making it easy to grab and go!
Reheating: When you’re ready to enjoy a muffin, simply thaw it in the fridge overnight or microwave for about 15 seconds for a warm, delightful treat.
Room Temperature: If you plan to eat them within 2 days, you can leave the muffins at room temperature in a sealed container. Just make sure to consume them quickly to maintain their freshness!
Variations & Substitutions for Banana Peanut Butter Power Muffins
Feel free to get creative with these muffins; after all, they’re all about fun and flavor!
-
Nut Butter Swap: Substitute peanut butter with almond or cashew butter for a unique twist. Each nut butter brings a slightly different flavor profile, so pick what your family loves best.
-
Dairy-Free Delight: Use coconut yogurt instead of Greek yogurt for a lactose-free option. Your muffins still stay delightfully moist while catering to dairy sensitivities!
-
Fruit Variations: Experiment with other fruits like applesauce or finely grated zucchini in place of bananas. These alternatives will offer new textures and taste, making it a fun surprise at each bite.
-
Sweetness Level: If you prefer less sweetness, feel free to reduce the amount of banana or adjust the sugar. For an extra kick of natural sweetness, add a splash of maple syrup.
-
Cocoa-Free Option: Omit the cocoa powder and embrace the pure banana flavor. Add some cinnamon or vanilla extract to keep the muffins flavorful and aromatic without the chocolate.
-
Grain-Free Version: Replace oats with ground almonds or a gluten-free flour blend to cater to gluten sensitivities. Your muffins will still be tasty and satisfying!
-
Berry Boost: Incorporate different berries or dried fruits such as raisins or cranberries for added flavor and texture. These contribute delightful bursts of sweetness in every muffin.
-
Chocolate Lovers: Add chocolate chips or chunks for a decadent touch! The melty chocolate will delight chocolate lovers and can turn these muffins into a comforting dessert.
Don’t forget to check out my Banana Baked Oatmeal for another exciting way to enjoy wholesome ingredients!
Expert Tips for Banana Peanut Butter Power Muffins
-
Choose Ripe Bananas: Use overripe bananas for maximum sweetness and moisture. They enhance flavor and keep muffins soft.
-
Avoid Overmixing: When combining wet and dry ingredients, mix until just combined. Overmixing can result in dense muffins instead of light, fluffy Banana Peanut Butter Power Muffins.
-
Experiment with Mix-ins: Feel free to swap in seasonal fruits or chocolate chips for added flavor. Just remember to adjust other ingredients accordingly.
-
Cooling is Key: Allow the muffins to cool in the tin for a few minutes before transferring them to a cooling rack. This maintains their structure.
-
Baking Time Watch: Keep an eye on your muffins in the oven. If they start to brown too quickly, cover them loosely with foil to prevent burning.
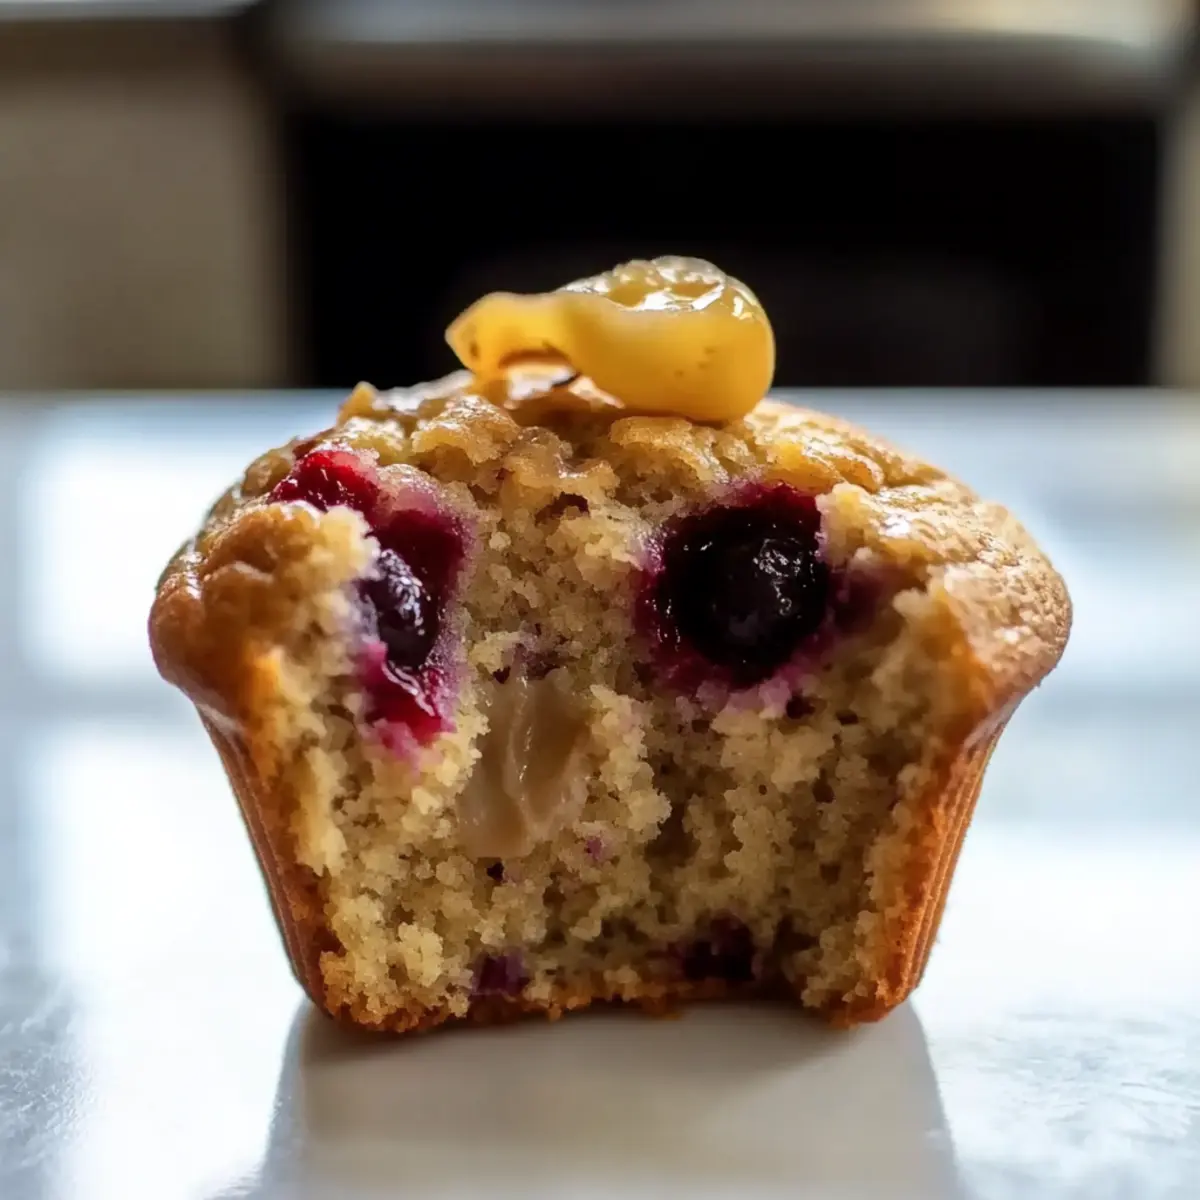
Banana Peanut Butter Power Muffins Recipe FAQs
What type of bananas should I use for these muffins?
Absolutely! Overripe bananas are perfect for these muffins as they provide maximum sweetness and moisture. Look for bananas that are heavily speckled or even have dark spots all over, as these will enhance flavor more than yellow bananas.
How should I store the Banana Peanut Butter Power Muffins?
These muffins can be stored in an airtight container in the fridge for up to 1 week. If you have leftovers after a few days, consider freezing them to keep them fresh longer.
Can I freeze these muffins?
Yes, you can freeze the Banana Peanut Butter Power Muffins! Wrap each muffin individually in plastic wrap, then place them in a freezer-safe bag or container. They can last in the freezer for up to 3 months. To reheat, you can microwave them for about 15 seconds or allow them to thaw overnight in the fridge.
What can I do if my muffins come out dense?
If your muffins turn out dense, it’s likely due to overmixing the batter or using too much flour. Always mix until just combined and make sure to measure flour correctly using the spoon-and-level method. Additionally, ensure your baking powder is fresh—expired leavening agents can impact the rise.
Are these muffins safe for kids with allergies?
While these muffins are quite versatile, they do contain common allergens like peanuts. To make them safe for kids with allergies, you can substitute peanut butter with sunflower seed butter or a safe alternative for your child’s specific dietary needs. Always check with those who will be eating them to ensure they are allergy-friendly.
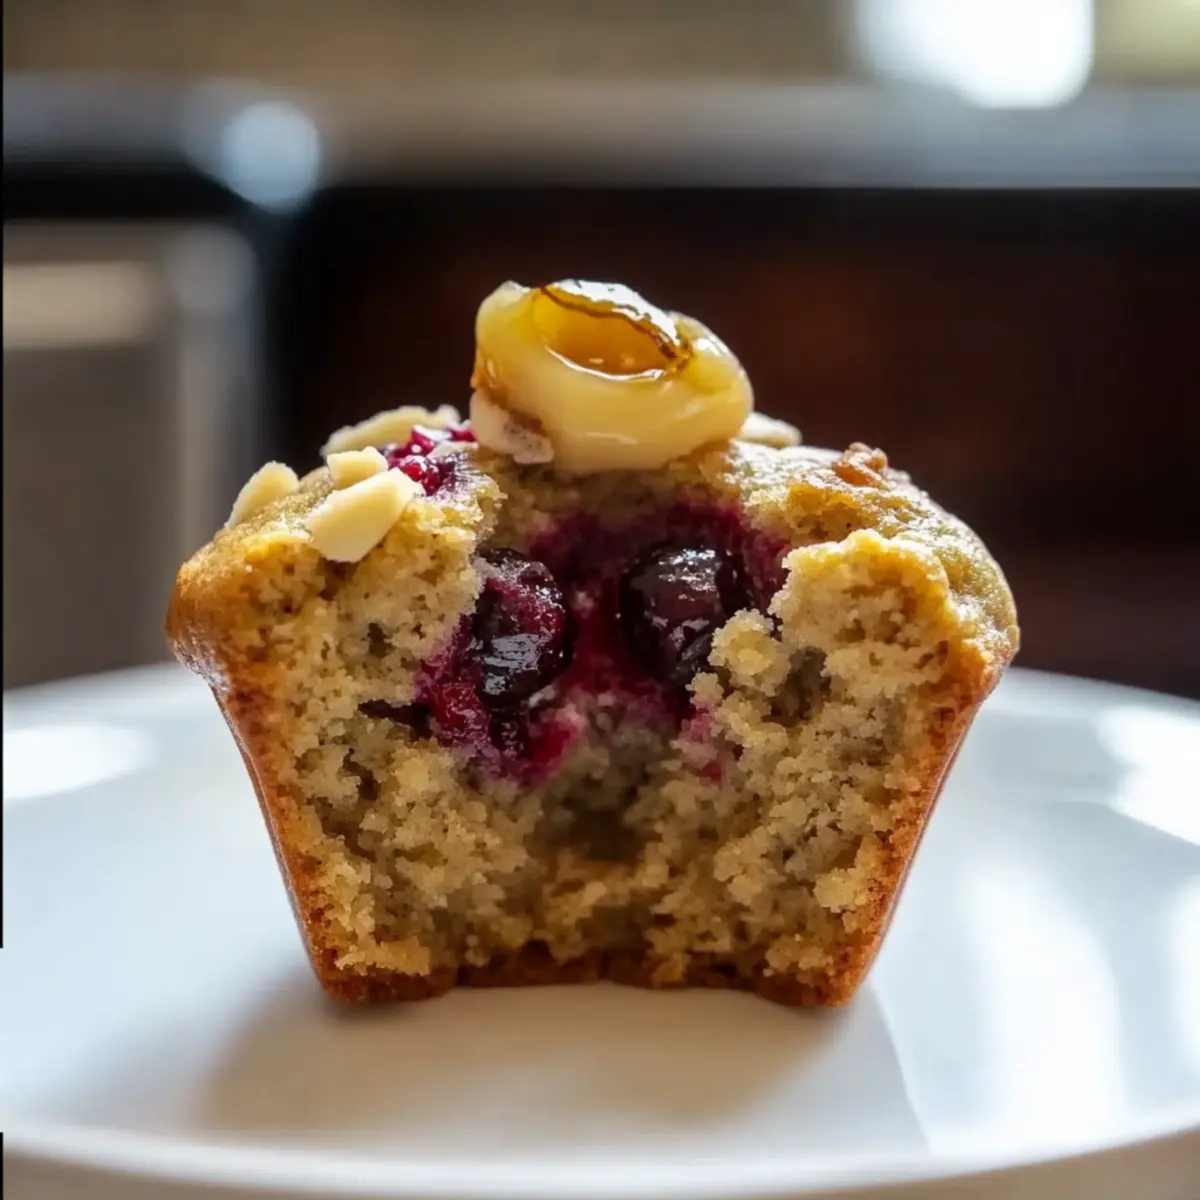
Banana Peanut Butter Power Muffins for Happy, Healthy Kids
Ingredients
Equipment
Method
- Preheat your oven to 350°F (175°C) and line a muffin tin with paper liners or grease the cups.
- In a large mixing bowl, combine mashed bananas, Greek yogurt, eggs, and peanut butter; blend until smooth.
- Gradually add oats and cocoa powder, folding gently to combine without overmixing.
- Fold in your choice of berries or additional mix-ins into the batter.
- Scoop the muffin batter into prepared muffin tins, filling each cup about 3/4 full.
- Bake for 18-20 minutes until golden brown and a toothpick comes out clean.
- Let cool for about 5 minutes in the tin before transferring to a cooling rack.
Leave a Reply