
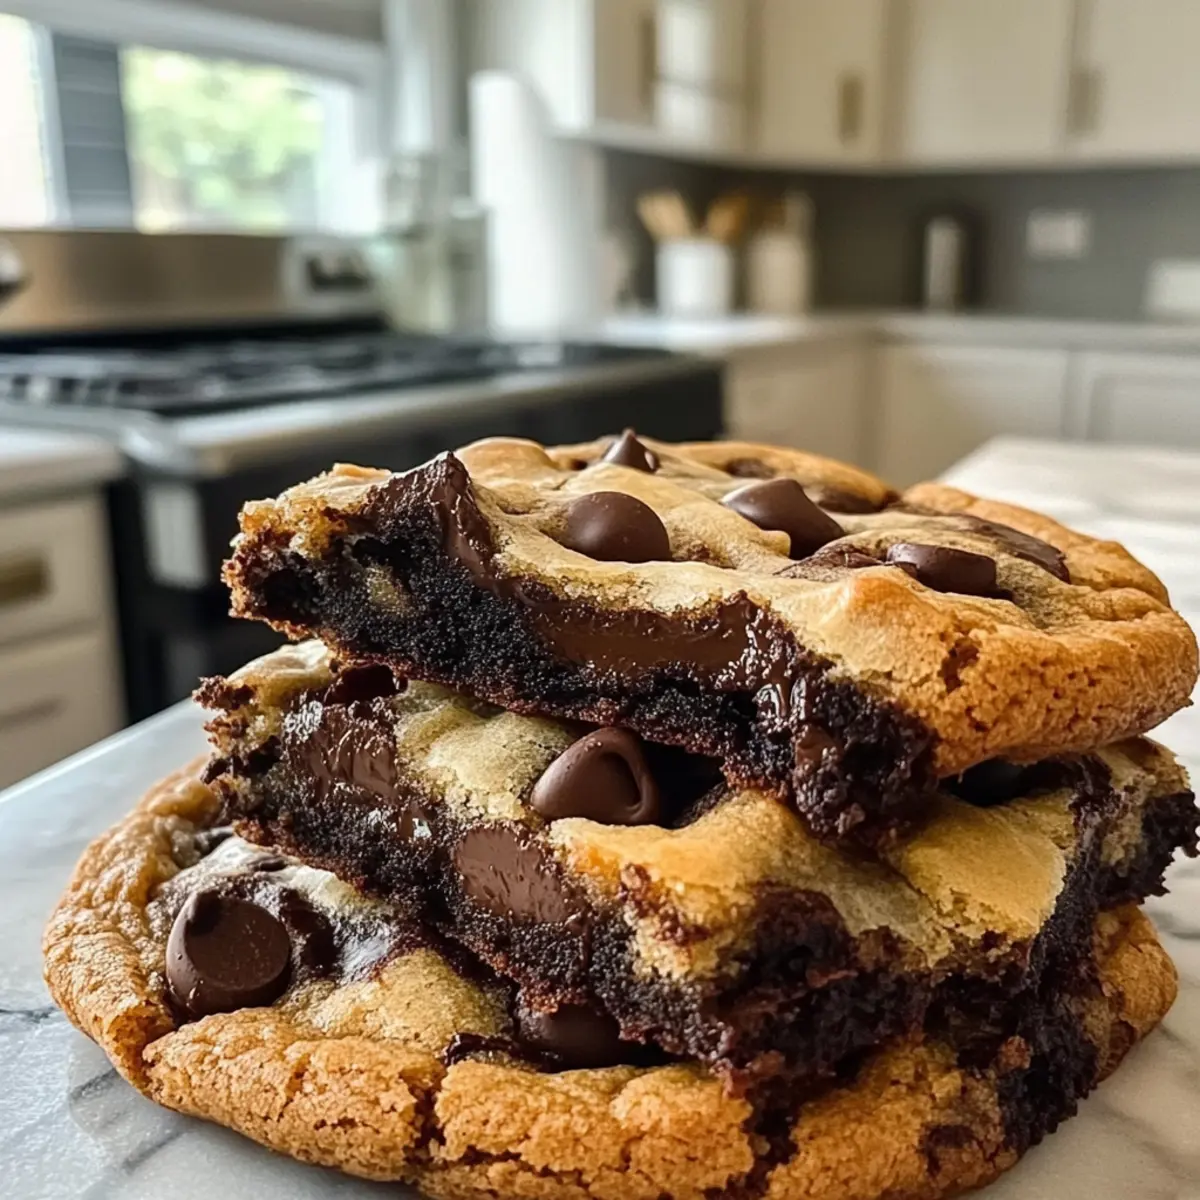
You won’t need a superhero’s cape to save your dessert game! Enter Brown Butter Brookies, the ultimate fusion of cookie and brownie that will leave your sweet tooth begging for more. This delightful recipe showcases the magic of browned butter, transforming everyday ingredients into a rich and nutty symphony. The chewy, caramelized edges pull you in, while a dense, gooey center practically begs to be devoured—real comfort food that pleases both kids and adults alike. Plus, these brookies are a breeze to whip up, making them perfect for spontaneous gatherings or a cozy night in. Ready to dive into a world of indulgence that will redefine your dessert expectations? Let’s get baking!
Why Are Brown Butter Brookies a Must-Try?
Irresistible Combination: Brown Butter Brookies unite the best of both worlds—luxurious brownie and classic cookie textures—in one mouthwatering dessert.
Unique Flavor Boost: The deep, nutty essence from browned butter elevates the taste to gourmet levels, ensuring each bite is an experience.
Easy & Quick: No elaborate techniques needed! You can whip these up with simple steps, making them perfect for busy weekends or impromptu gatherings.
Crowd-Pleasing Treat: Their delightful duality appeals to everyone, satisfying both cookie lovers and brownie aficionados effortlessly. Pair them with a scoop of ice cream for an unforgettable treat! For more decadent desserts, consider checking out Caramel Brownie Cheesecake or Fudgy Chewy Brookies.
Versatile Additions: Customize your brookies with nuts or swirls of caramel to make them truly your own!
Brown Butter Brookies Ingredients
For the Brownie Layer
• Salted Butter (3/4 cup) – Brown this for a rich, nutty flavor that enhances the entire dessert.
• Dark Brown Sugar (3/4 cup) – Adds moisture and contributes a deep caramel flavor to the brownies.
• Granulated Sugar (3/4 cup) – Sweetens the mix, helping to achieve the perfect crisp edge.
• Large Eggs (3) – Provides necessary moisture and binds the ingredients together.
• Vanilla Extract (1 tsp) – Elevates the overall flavor profile beautifully.
• All-Purpose Flour (1 cup) – Gives structure to the brownie layer.
• Cocoa Powder (3/4 cup) – For that irresistible rich brownie flavor.
• Baking Soda (1 tsp) – Acts as a leavening agent, helping the brownies rise.
• Salt (1/4 tsp) – Balances out the sweetness for a well-rounded taste.
• Vegetable Oil (1/4 cup) – Adds moisture to ensure a fudgy texture.
• Semi-Sweet Chocolate (4 oz, chopped) – Infuses the brownie layer with deep chocolate goodness.
For the Cookie Layer
• Salted Butter (10.5 tbsp) – Cream this with sugars to create a fluffy cookie dough.
• Granulated Sugar (3/4 cup) – Sweetens the cookie layer and aids in that crispy texture.
• Dark Brown Sugar (3/4 cup) – Adds richness and moisture, enhancing flavor.
• Large Eggs (2) – Binds the dough and adds moisture to the cookies.
• Vanilla Extract (1 tsp) – A splash enhances the cookie flavors.
• All-Purpose Flour (3.5 cups) – Provides the necessary structure for your cookies.
• Baking Powder (1 tsp) – Ensures that your cookie layer remains soft and chewy.
• Salt (1/2 tsp) – Balances the sweetness and highlights flavor.
• Chocolate Chips (1.5 cups) – Adds delightful texture and bursts of chocolate in every bite.
Enjoy creating these Brown Butter Brookies, a delightful treat that successfully marries two beloved desserts!
Step‑by‑Step Instructions for Brown Butter Brookies
Step 1: Make the Brownie Layer
Begin by browning 3/4 cup of salted butter over medium heat in a light-colored saucepan for about 5–7 minutes. Stir frequently until the butter is golden brown and emits a nutty aroma. Remove from heat and allow it to cool slightly. In a mixing bowl, combine the cooled butter with 1/4 cup of vegetable oil, 3 large eggs, and 1 teaspoon of vanilla extract, whisking until well blended.
Step 2: Add Dry Ingredients for Brownie Layer
To the bowl with the wet ingredients, sift in 3/4 cup of cocoa powder, 1 cup of all-purpose flour, 1/4 teaspoon of salt, and 1 teaspoon of baking soda. Gently fold and mix until just combined, taking care not to overmix. Finally, stir in 4 ounces of chopped semi-sweet chocolate and set aside while you prepare the cookie layer for these delicious Brown Butter Brookies.
Step 3: Prepare Cookie Layer
In a separate bowl, cream together 10.5 tablespoons of salted butter with 3/4 cup each of granulated and dark brown sugars until light and fluffy, about 2–3 minutes. Beat in the remaining 2 large eggs and 1 teaspoon of vanilla extract until smooth. In another bowl, whisk together 3.5 cups of all-purpose flour, 1 teaspoon of baking powder, and 1/2 teaspoon of salt before incorporating them into the butter mixture, mixing until just combined.
Step 4: Combine Layers
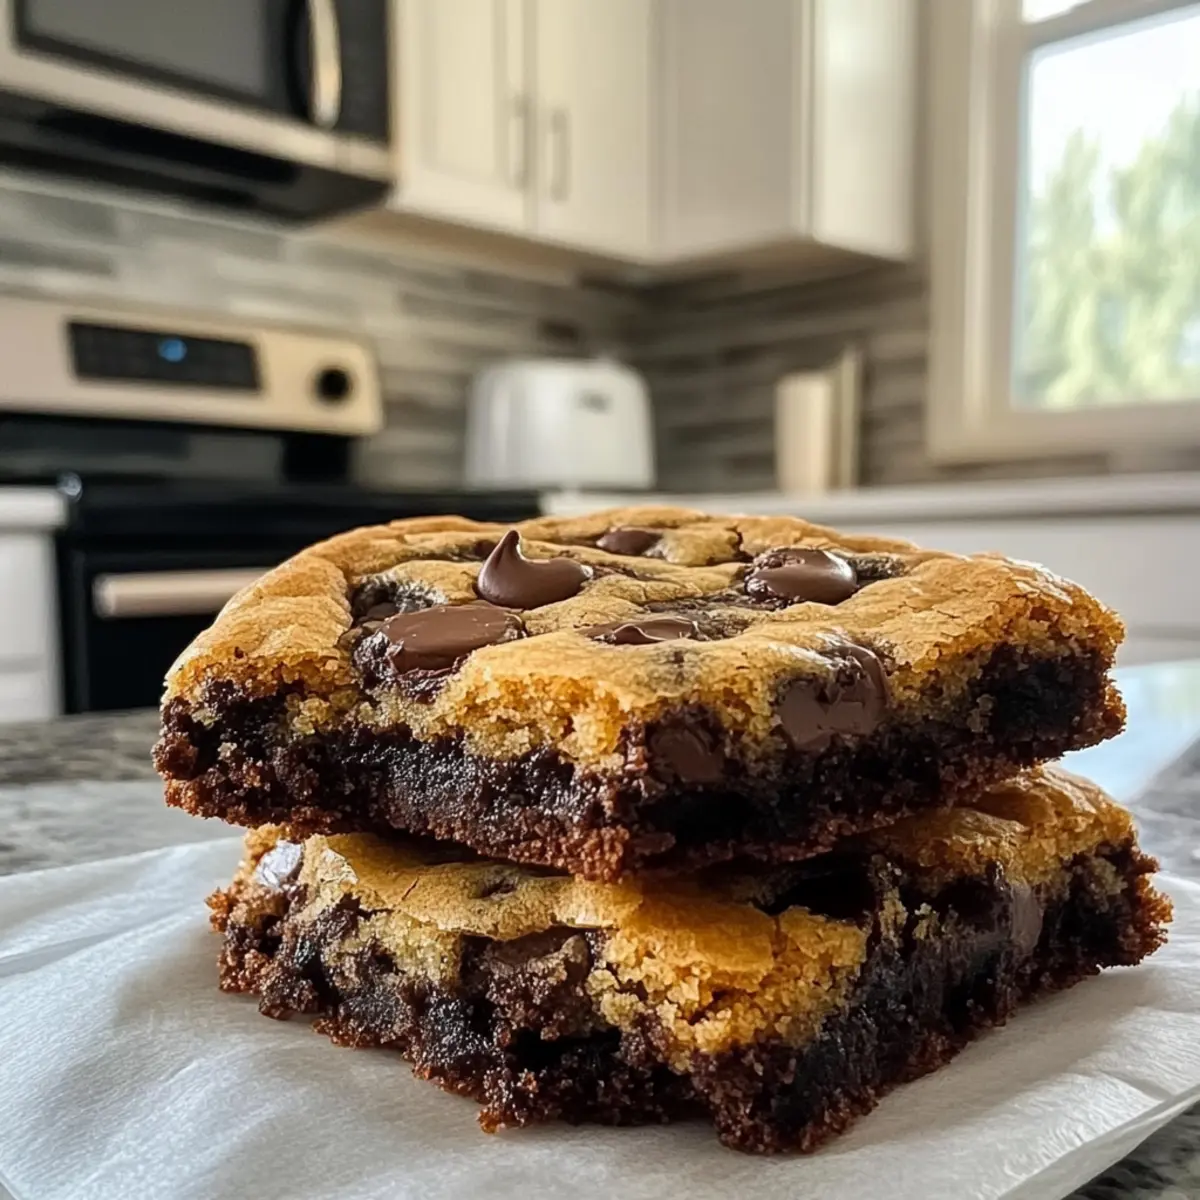
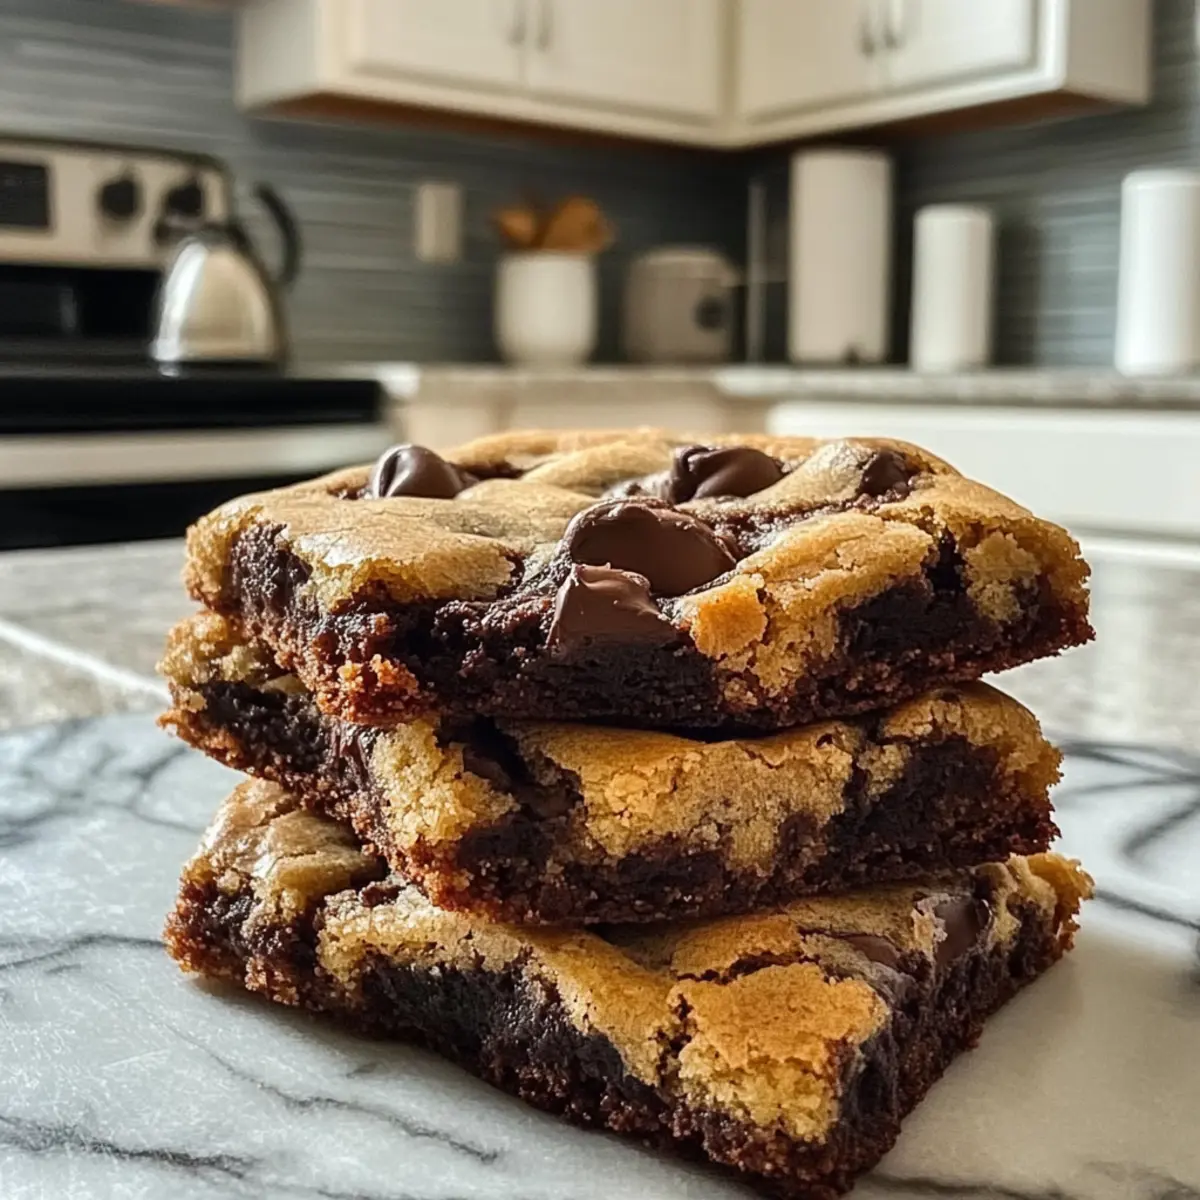
Lightly grease a 9×13 inch pan to prepare for baking. Spread the brownie layer evenly in the bottom of the pan, smoothing it out with a spatula. Use a spoon to dollop the cookie dough on top of the brownie layer, creating random blobs. With a knife, swirl the cookie dough into the brownie batter gently, ensuring some spots stay intact for a beautiful marbled effect.
Step 5: Bake
Preheat your oven to 350°F (175°C), then place the pan in the oven and bake for 25–30 minutes. Check for doneness by inserting a toothpick; it should come out with a few moist crumbs. Keep an eye on the brookies to avoid overbaking, which will affect the delightful gooey texture of the brownies and the chew of the cookies.
Step 6: Cool and Serve
Once baked, remove the Brown Butter Brookies from the oven and allow them to cool in the pan on a wire rack for at least 15–20 minutes. This cooling time ensures the perfect texture as you cut them into squares. Serve them warm, ideally alongside a scoop of vanilla ice cream for an extra indulgent treat!
Brown Butter Brookies Variations & Substitutions
Feel free to let your creativity shine by giving these brookies a personal twist that will tantalize your taste buds!
-
Nutty Addition: Mix in a cup of chopped nuts, like pecans or walnuts, to bring a satisfying crunch to your chewy, gooey layers. They provide a delightful contrast and add depth to the flavor.
-
Caramel Swirl: Drizzle a few tablespoons of caramel sauce into the brownie layer before adding the cookie dough. This sweet surprise brings a luscious richness to each bite, transforming your treat into an indulgent experience.
-
Chocolate Variety: Experiment with dark or milk chocolate chips instead of semi-sweet ones for different sweetness levels. Each choice brings its own character, so if you’re in the mood for something sweeter, go for milk chocolate!
-
Spicy Kick: Add a teaspoon of cinnamon or a pinch of cayenne pepper for a warm, spicy twist. This intriguing note will elevate your dessert and surprise your guests in the best way.
-
Peanut Butter Fusion: Swirl in a few dollops of creamy peanut butter before baking, for a heavenly blend of chocolate and nutty flavors that take your brookies to a whole new level!
-
Minty Freshness: Incorporate a few drops of peppermint extract into the brownie layer for a refreshing mint chocolate experience. This idea pairs perfectly with vanilla ice cream, creating a timeless combination.
-
Gluten-Free Option: Substitute all-purpose flour with a 1:1 gluten-free blend to make your brookies gluten-free while still enjoying their divine fudgy goodness.
-
Enhanced Aroma: Toss in a tablespoon of espresso powder to amplify the chocolate flavor without making it overly coffee-flavored. The rich aroma adds an extra layer of depth that chocolate lovers will adore.
No matter which variation you select, your Brown Butter Brookies are sure to dazzle family and friends! And if you’re craving more delightful sweets, don’t miss out on the wonders of Fudgy Chewy Brookies or indulge in a slice of Caramel Brownie Cheesecake. Let your baking adventure begin!
What to Serve with Brown Butter Brookies
Imagine the delightful aroma of freshly baked Brown Butter Brookies wafting through your kitchen, complemented perfectly by these delicious pairings.
-
Vanilla Ice Cream: The creamy sweetness of vanilla ice cream melts beautifully into the warm brookies, creating a decadent dessert experience.
-
Fresh Berries: Juicy raspberries or strawberries add a refreshing zing, balancing the richness of the brookies with a burst of brightness.
-
Espresso or Coffee: A robust cup of coffee enhances the chocolate flavors, providing a comforting warmth that perfectly complements your dessert.
-
Chocolate Sauce Drizzle: A rich chocolate sauce over the top creates an indulgent chocolate lover’s dream, elevating every mouthful.
-
Whipped Cream: Light and fluffy whipped cream adds a delightful contrast to the chewy brookies, making each bite a cloud of sweetness.
-
Sea Salt Sprinkle: A dash of flaky sea salt amplifies the flavor, turning your sweet treat into a gourmet experience with a satisfying salty contrast.
Each of these pairings brings its unique flair, enhancing your Brown Butter Brookies and ensuring a delightful end to any meal.
Expert Tips for Brown Butter Brookies
-
Watch the Butter: Carefully brown the butter over medium heat, stirring often. Stop when it’s golden and fragrant; burnt butter can ruin the flavor.
-
Don’t Overmix: When combining the dry ingredients for both layers, mix just until combined. Overmixing can result in tougher brookies instead of the desired chewy texture.
-
Cool Before Cutting: Allow the brookies to cool in the pan for at least 15-20 minutes. This step is crucial for easier slicing and achieving the perfect square shape.
-
Marble Effect: Swirl the cookie dough gently into the brownie layer. This technique enhances the visual appeal while ensuring a delicious blend of textures in every bite.
-
Storage Tips: Keep your Brown Butter Brookies in an airtight container at room temperature for up to 3 days. For longer storage, freeze individual portions to enjoy later!
Make Ahead Options
These Brown Butter Brookies are perfect for meal prep, allowing you to indulge in a delicious dessert with minimal fuss! You can prepare the brownie layer up to 24 hours in advance by mixing it and storing it in an airtight container in the refrigerator. Additionally, the cookie dough can be made ahead and refrigerated for up to 3 days; this helps the flavors meld beautifully while keeping the dough fresh. When you’re ready to bake, simply bring the refrigerated layers to room temperature, combine them in a greased pan, and bake as instructed. Not only will this save you time on busy nights, but you’ll still achieve the same delightful results!
How to Store and Freeze Brown Butter Brookies
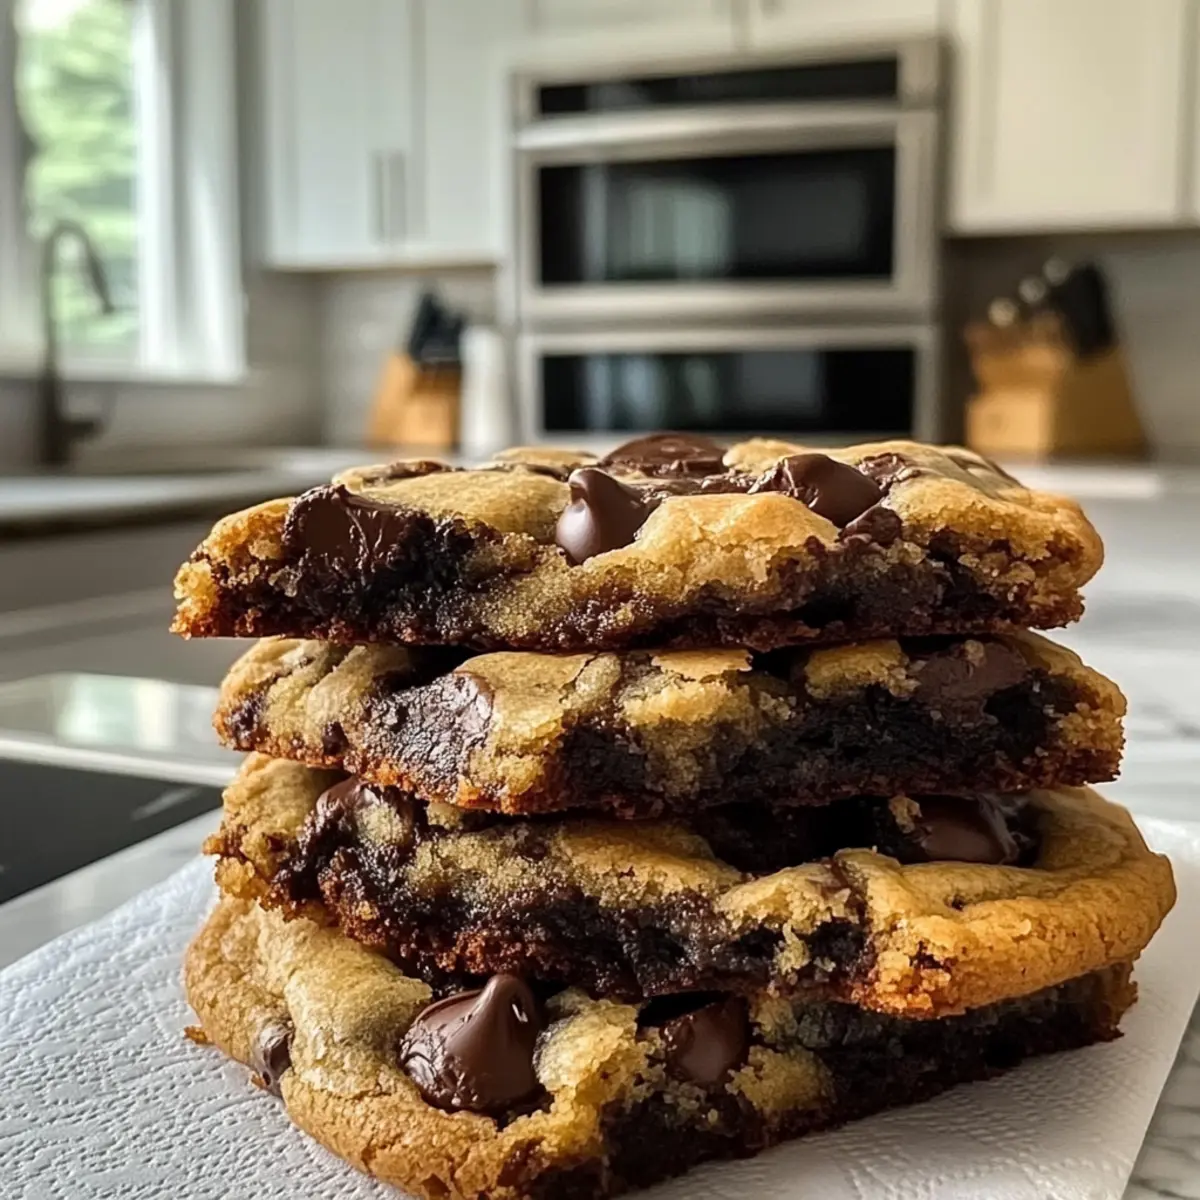
Room Temperature: Store Brown Butter Brookies in an airtight container at room temperature for up to 3 days to maintain their chewy texture and rich flavor.
Fridge: For extended freshness, you can refrigerate them for up to a week, but they may lose some of their gooey texture. Ensure they are thoroughly wrapped.
Freezer: Freeze brookies in individual portions using plastic wrap or an airtight container for up to 3 months. Thaw in the fridge when you’re ready to enjoy them again.
Reheating: For the best taste, reheat brookies in the microwave for a few seconds or warm them in the oven at 350°F (175°C) to regain that fresh-baked texture.
Brown Butter Brookies Recipe FAQs
How do I choose the right butter for Brown Butter Brookies?
Absolutely! Use high-quality unsalted butter for browning, as it allows you to control the saltiness in your recipe. Look for butter that is fresh and creamy, as it produces a better flavor. If you only have salted butter on hand, make sure to reduce the added salt in the recipe to balance the flavors.
How should I store my Brown Butter Brookies?
Store your Brown Butter Brookies in an airtight container at room temperature for up to 3 days. I often place a slice of bread in the container, which helps keep them moist and chewy. If you’d like to keep them longer, refrigerate them for up to a week, but this may affect their gooeyness.
Can I freeze Brown Butter Brookies?
Yes! Brown Butter Brookies can be frozen for up to 3 months. To freeze, let the brookies cool completely, then cut them into squares. Wrap each square tightly in plastic wrap or place them in a freezer-safe airtight container. When you’re ready to enjoy, thaw in the fridge overnight, then pop them in the microwave for a few seconds to warm before serving.
What if my brookies turn out dry?
If your Brookies end up dry, it could be due to overbaking. Always keep an eye on your brookies towards the end of the baking time; remove them from the oven when a toothpick comes out with a few moist crumbs. This ensures a gooey center that’s oh-so-delicious!
Are there any allergy considerations for Brown Butter Brookies?
Yes, definitely check the ingredients for potential allergens. The main components—namely butter, eggs, and flour—can be problematic for those with dairy or gluten sensitivities. For a gluten-free option, substitute regular flour with a 1:1 gluten-free flour blend. Remember to check chocolate chip brands for dairy-free options if needed!
What’s the best way to reheat frozen Brookies?
To reheat frozen Brown Butter Brookies, preheat your oven to 350°F (175°C). Place the frozen brookie squares on a baking sheet and heat for about 5-10 minutes, or until they’re warm throughout. This method not only brings them back to life but also helps retain that chewy texture that makes them so special!
Brown Butter Brookies: The Irresistible Sweet Fusion Treat
Ingredients
Equipment
Method
- Brown 3/4 cup salted butter over medium heat for 5-7 minutes until golden and nutty.
- Combine the browned butter, 1/4 cup vegetable oil, 3 eggs, and 1 tsp vanilla in a bowl.
- Sift in 3/4 cup cocoa powder, 1 cup flour, 1/4 tsp salt, and 1 tsp baking soda.
- Fold in 4 oz chopped semi-sweet chocolate and set aside.
- Cream 10.5 tbsp salted butter with 3/4 cup granulated sugar and dark brown sugar until fluffy.
- Beat in 2 eggs and 1 tsp vanilla extract.
- Whisk together 3.5 cups flour, 1 tsp baking powder, and 1/2 tsp salt.
- Mix dry ingredients into butter mixture until just combined.
- Preheat oven to 350°F (175°C) and grease a 9x13 inch pan.
- Spread brownie layer evenly in the pan.
- Dollop cookie dough on top and swirl gently for a marbled effect.
- Bake for 25-30 minutes, checking doneness with a toothpick.
- Cool in the pan for 15-20 minutes before cutting into squares.
- Serve warm, preferably with cold vanilla ice cream.
Leave a Reply