
Standing in my kitchen, I breathed in the enchanting aroma of rose water wafting through the air, transporting me to a sunlit garden. This homemade Creamy Rose Ice Cream is a delightful indulgence that combines charming floral notes with a hint of rich vanilla, making it a perfect treat for any warm day or special occasion. Whipping up this elegant dessert takes just 35 minutes, and what’s even better? There’s a vegan option too! Whether you’re hosting friends or simply treating yourself, this ice cream is a quick and memorable way to elevate your dessert game. Ready to make your taste buds dance with this luscious, floral surprise?
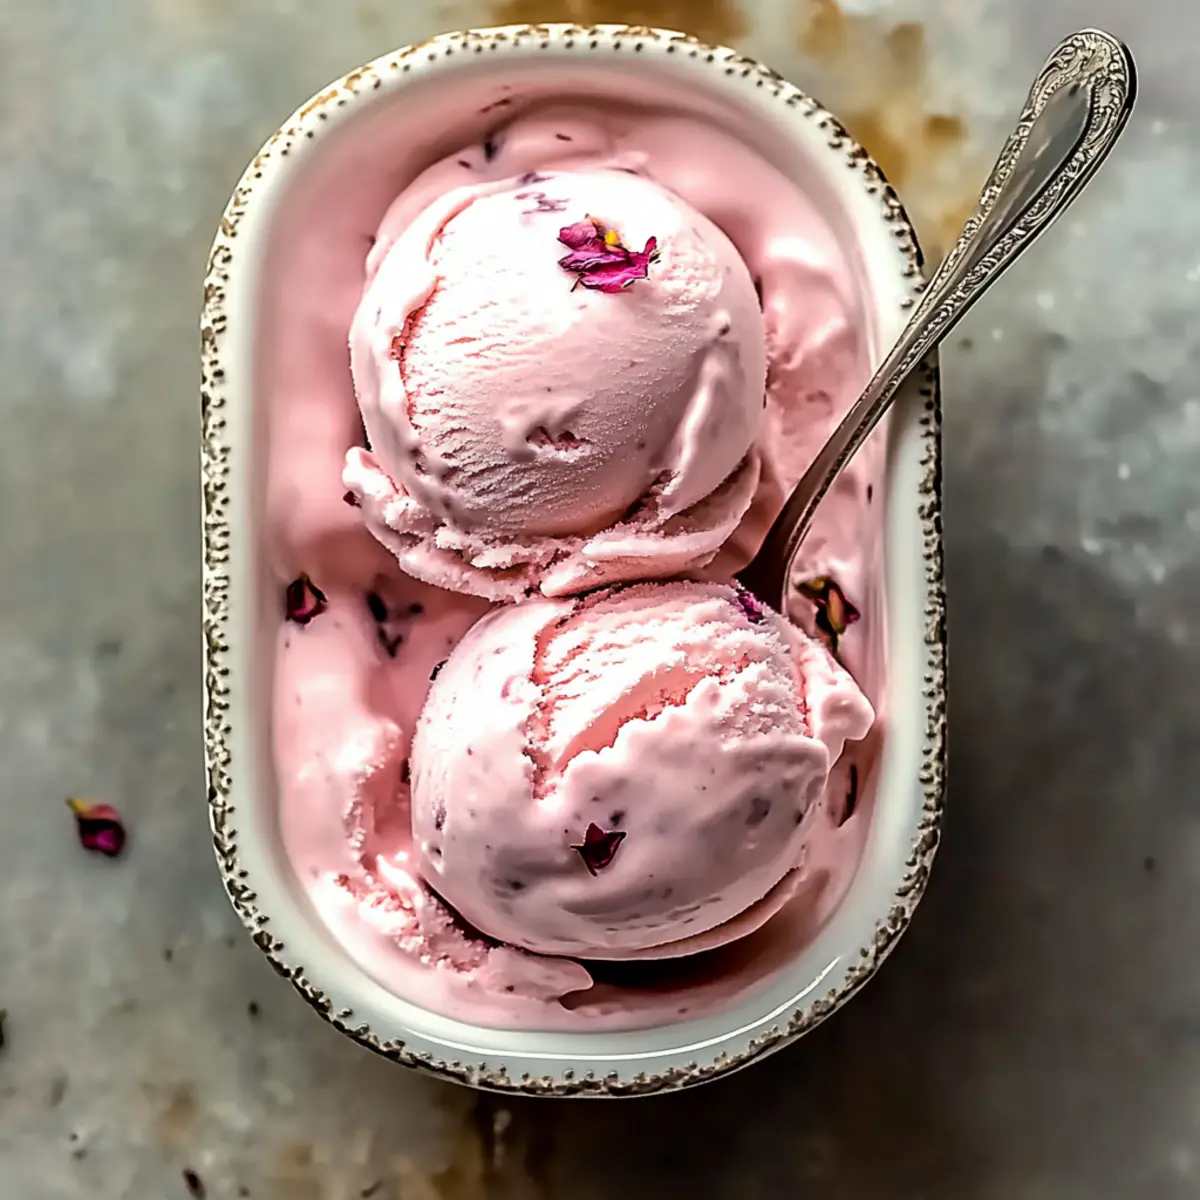
Why is Rose Ice Cream a Treat?
Unique Flavors: This Rose Ice Cream delivers a captivating fusion of floral and creamy notes that will delight your palate.
Quick to Make: With just 35 minutes of preparation time, it’s perfect for spontaneous gatherings or warm afternoons.
Vegan Option Available: By substituting heavy cream with coconut milk, you can enjoy this luxurious dessert without dairy.
Versatile Add-ins: Feel free to enhance your ice cream with fruits, nuts, or even a touch of lavender for a customized treat.
Crowd Pleaser: Ideal for parties or special occasions, this elegant dessert is sure to impress family and friends alike. Pair it with a light fruit salad or your favorite shortbread for an unforgettable experience!
Creamy Homemade Rose Ice Cream Ingredients
For the Base
- Whole Milk – Provides creaminess and richness. Use full-fat for the best texture.
- White Sugar – Balances flavors and adds sweetness. Can be substituted with favorite sweeteners.
- Heavy Whipping Cream – Essential for a rich, smooth texture. No substitutions for best results.
- Pure Vanilla Extract – Enhances the overall flavor profile. Opt for pure for superior taste.
- Rose Water – Delivers unique floral aroma. Adjust quantity to taste based on preference.
- Pink Food Coloring – Optional for visual appeal. Add a few drops for a light pink hue.
Step‑by‑Step Instructions for Creamy Homemade Rose Ice Cream
Step 1: Mix Base
In a medium bowl, whisk together 2 cups of whole milk and ¾ cup of white sugar until the sugar is fully dissolved—this should take about 2 to 3 minutes. The mixture should feel smooth and slightly thicker as the sugar dissolves, ensuring a sweet foundation for your creamy homemade rose ice cream.
Step 2: Add Cream & Flavor
Next, stir in 2 cups of heavy whipping cream and 1 tablespoon of pure vanilla extract, mixing until everything is well combined in a uniform texture. This should take about 1 to 2 minutes. The mixture will thicken slightly, giving it a luxurious consistency that signals it’s ready for the final touch of floral aroma.
Step 3: Incorporate Rose Water
Add 2 tablespoons of rose water to the mixture, ensuring an even distribution of flavor. Mix thoroughly for about 1 minute, allowing the delicate floral notes to infuse into the creamy base. If desired, taste and adjust the rose water amount to your preference for a more intense floral flavor in your rose ice cream.
Step 4: Incorporate Color (Optional)
For a visually appealing touch, add a few drops of pink food coloring to the mixture and gently stir until the color is evenly distributed. This step is optional, but it can evoke the softness of rose petals, giving your creamy homemade rose ice cream a charming blush that enhances its presentation.
Step 5: Churn Mixture
Pour the well-mixed ice cream base into your pre-chilled ice cream maker, and churn according to the manufacturer’s instructions, typically around 20 to 25 minutes. You’ll know it’s ready when the mixture has thickened and has a soft-serve consistency, resembling a fluffy cloud of floral delight.
Step 6: Freeze Until Firm
Transfer the churned ice cream into an airtight container, smoothing the top with a spatula. Freeze for at least 4 hours or until it reaches a firm, scoopable texture. This step is crucial, as it allows your creamy homemade rose ice cream to set perfectly, making it a delight to serve.
Step 7: Serve & Enjoy
Before serving, let the ice cream sit at room temperature for about 5 to 10 minutes to soften slightly, making it easier to scoop. Use a warm ice cream scoop for the best results, and watch as your creamy homemade rose ice cream glides onto your favorite dish, ready to be enjoyed on a warm day.
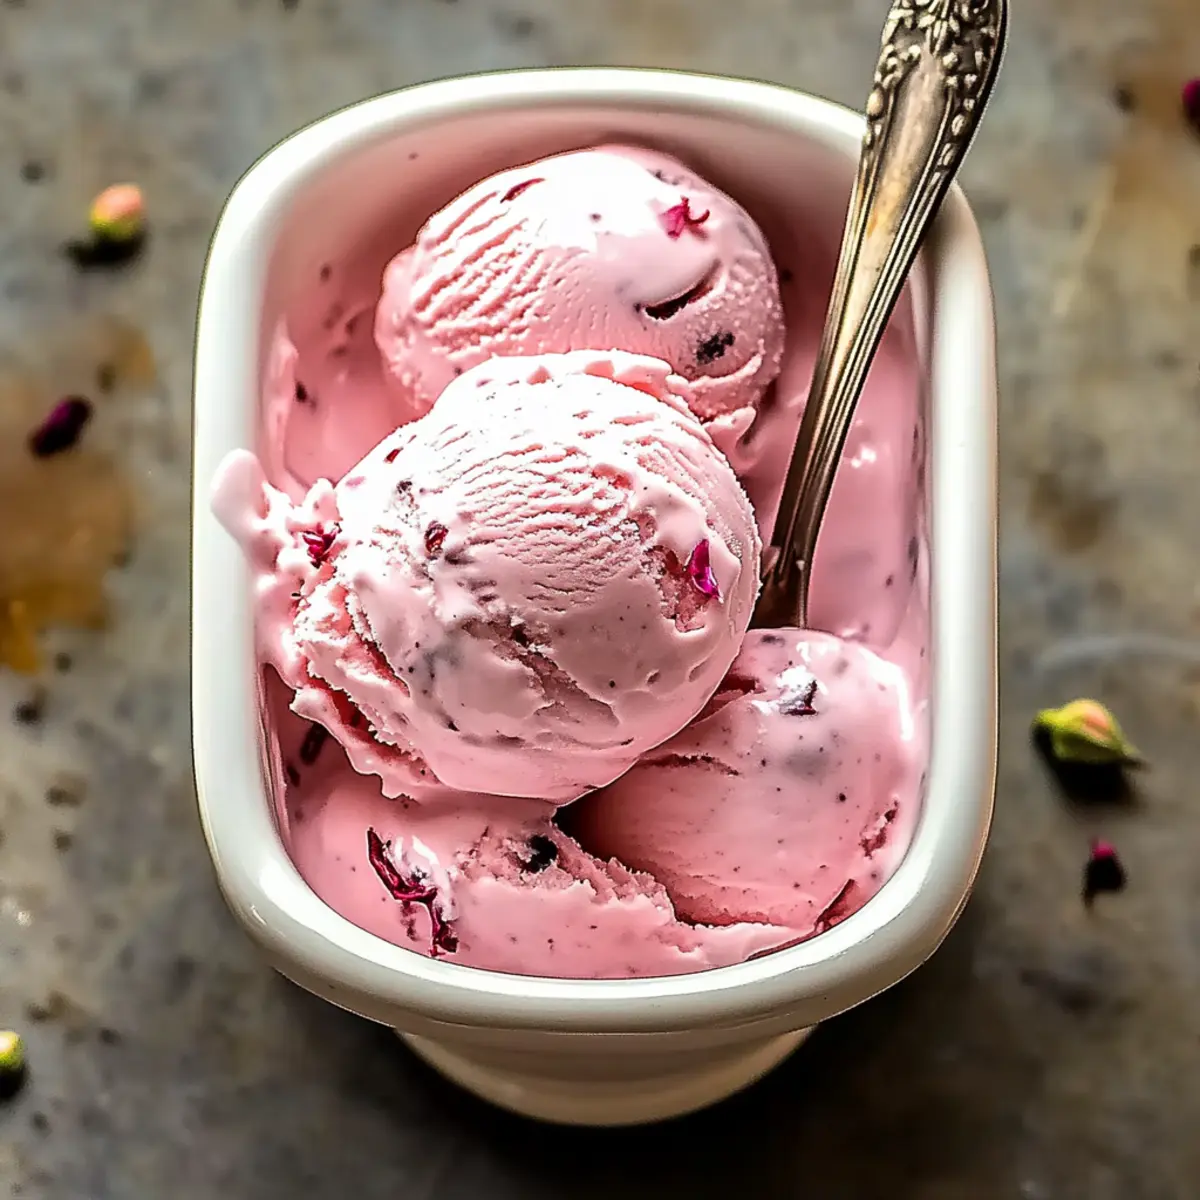
How to Store and Freeze Creamy Homemade Rose Ice Cream
Fridge: Store leftover ice cream in the fridge for up to 2 days, but for optimal taste and texture, keep it in the freezer.
Freezer: Transfer your creamy homemade rose ice cream to an airtight container to prevent freezer burn. It can last for up to 2 weeks.
Serving Tip: Let the ice cream sit at room temperature for 5-10 minutes before serving to make scooping easier, ensuring you get that smooth, velvety experience.
Reheating: There’s no need to reheat ice cream, but a gentle stir can help revive its creamy texture if it becomes too hard after freezing.
Make Ahead Options
Making Creamy Homemade Rose Ice Cream ahead of time is a fantastic way to save precious minutes during busy weeknights or special gatherings! You can prepare the ice cream base—mixing the milk, sugar, cream, and flavorings—up to 24 hours in advance. Simply cover the bowl tightly and refrigerate. Also, the churned ice cream can be stored in an airtight container for up to 2 weeks, ensuring it maintains its delightful flavor and texture. When you’re ready to serve, just take the ice cream out of the freezer and let it sit at room temperature for 5-10 minutes to soften before scooping. This way, your homemade treat will be just as delicious as the day you made it!
Creamy Homemade Rose Ice Cream Variations
Feel free to explore and customize this delightful rose ice cream to suit your tastes and dietary preferences.
-
Vegan Option: Substitute heavy cream with full-fat coconut milk for a rich and creamy dairy-free treat. A perfect way to enjoy indulgence without the guilt!
-
Floral Fusion: Mix rose water with orange blossom water for a refreshing citrus twist. This unique blend introduces a bright, aromatic experience that’s both delightful and unexpected.
-
Fruit Infusion: Fold in pureed strawberries or raspberries for color and sweetness. The fresh fruit adds a vibrant twist, making each scoop a fruity surprise that’ll brighten your day.
-
Nutty Crunch: Add chopped pistachios during the last minutes of churning for texture and flavor. The added crunch is a charming contrast to the creamy base, making every bite a textural delight!
-
Gourmet Chocolate: Swirl in melted dark chocolate for a luscious contrast. The rich, bittersweet chocolate enhances the floral notes, creating a luxurious dessert experience.
-
Herbal Touch: Incorporate a few drops of lavender extract for a soothing twist. This serene addition elevates the flavor profile, inviting a sense of calm with each spoonful.
-
Spiced Surprise: Mix in a pinch of cinnamon or cardamom for warm, inviting flavors. This twist gives your rose ice cream an exotic depth that will warm your heart.
-
Chilled Delight: Serve with a drizzle of chilled rose syrup or a sprinkle of toasted coconut for an added layer of flavor. The beautiful presentation completes this culinary masterpiece—perfect for special occasions!
For additional inspiration in your ice cream adventures, consider trying other delicious recipes like Healthy Creamytuscan Salmon or Garlic Parmesan Chicken. These options can provide wonderful flavors that balance beautifully with your dreamy rose ice cream creation!
Expert Tips for Creamy Homemade Rose Ice Cream
-
Perfect Measurements: Measure the rose water carefully, as too much can dominate the flavor. Aim for balance to enhance the creamy homemade rose ice cream experience.
-
Straining for Smoothness: Strain the base through a fine sieve before churning. This ensures a silky texture by removing any undissolved sugar or stray lumps.
-
Chill Your Equipment: Pre-chill the ice cream maker bowl for at least 24 hours to ensure the mixture churns effectively, resulting in creamier homemade rose ice cream.
-
Monitor Freezing Time: Keep an eye on the freezing process. If left too long, the ice cream may become hard. Stir occasionally if you notice ice crystals forming.
-
Flavor Variations: Don’t hesitate to customize your ice cream! Add a drop of lavender extract or mix in chopped fruits during the last few minutes of churning for an exciting twist.
What to Serve with Creamy Homemade Rose Ice Cream
Serving this delightful ice cream can transform any gathering into a special occasion, inviting a bouquet of flavors and textures to your table.
- Light Fruit Salad: A refreshing medley of seasonal fruits enhances the floral notes, perfect for balancing the creamy sweetness.
- Shortbread Cookies: Buttery, crumbly cookies are a classic pairing, offering a delightful contrast to the ice cream’s velvety texture.
- Champagne: Bubbly champagne adds an elegant touch, elevating your dessert experience with its crisp and refreshing notes.
- Pistachio Crumble: A sprinkle of crushed pistachios introduces a nutty crunch, creating a beautiful contrast to the smooth, silky ice cream.
- Lavender Sugar Cookies: Infused with floral essence, these cookies resonate with the rose ice cream for a harmonious pairing.
- Chocolate Dipping Sauce: A warm chocolate drizzle offers a rich contrast, enhancing both flavors for a decadent treat.
- Almond Biscotti: Its crunchy texture and mild flavor balance the creaminess beautifully, making for a sophisticated dessert duo.
- Mint Tea: This herbal beverage refreshes the palate, making it a wonderful complement to the floral notes of the rose ice cream.
- Honey Drizzle: A light drizzle of honey adds sweetness and enhances the floral essence, bridging flavors delightfully.
Creamy Homemade Rose Ice Cream Recipe FAQs
How do I choose the right rose water?
Absolutely! When selecting rose water, look for pure, high-quality options without artificial additives. I recommend checking for a clear label indicating it’s food-grade. Ensure it’s not overly perfumed, as this can overpower your ice cream’s delicate flavor.
How long can I store the ice cream in the freezer?
Very! You can store your creamy homemade rose ice cream in an airtight container in the freezer for up to 2 weeks. For best results, allow it to sit at room temperature for about 5-10 minutes before serving, so it softens and becomes scoopable.
Can I freeze the rose ice cream for later?
Of course! To freeze properly, transfer your ice cream to an airtight container, making sure to smooth the surface. This helps prevent ice crystals from forming. For best texture and flavor, consume it within 2 weeks, but it can last a bit longer.
What if my ice cream turns out too hard after freezing?
Don’t worry! If your creamy homemade rose ice cream becomes hard, simply let it sit at room temperature for about 5-10 minutes before scooping. Alternatively, you can use a warm ice cream scoop to help serve it easily. Stirring it gently can also break up any ice crystals that formed during the freezing process.
Are there any dietary concerns for this recipe?
You bet! This recipe is adaptable for various dietary needs. For a vegan option, substitute heavy cream with full-fat coconut milk, which offers a rich flavor without dairy. Always check for allergies, especially to nuts if you’re considering any mix-ins like chopped pistachios or adding in lavender, which some people may be sensitive to.
How do I know if the rose water is too strong?
Absolutely! When adding rose water, start with a small amount, like 1 tablespoon, and adjust to your taste. If you find the floral flavor overwhelming, try using just half of what you think you need, then taste it. Remember, it’s easier to add more than to remove it!

Creamy Homemade Rose Ice Cream: A Velvety Floral Delight
Ingredients
Equipment
Method
- Whisk together whole milk and white sugar until dissolved, about 2 to 3 minutes.
- Stir in heavy whipping cream and pure vanilla extract until combined, about 1 to 2 minutes.
- Add rose water to the mixture, mix thoroughly for about 1 minute.
- Add a few drops of pink food coloring and stir gently until color is even.
- Pour the ice cream base into a pre-chilled ice cream maker and churn for 20 to 25 minutes.
- Transfer churned ice cream to an airtight container and freeze for at least 4 hours.
- Let the ice cream sit at room temperature for 5 to 10 minutes before serving.
Leave a Reply