
As I swept through the bustling farmers’ market one sunny morning, the vibrant oranges caught my eye. Their fresh, zesty scent sparked a delightful idea: Sweet Orange Cream Cheese Mints! These little gems are more than just a treat; they effortlessly blend the creamy richness of cream cheese with a lively citrus kick that’s perfect for any occasion. Whether you’re looking to impress guests at a gathering or satisfy a sweet craving with minimal fuss, this quick dessert is a no-brainer. With only a few ingredients and the chance to customize with your favorite colors and flavors, you can whip up these bright mints in no time. Ready to brighten your day with a refreshing burst of flavor? Let’s dive into the recipe!
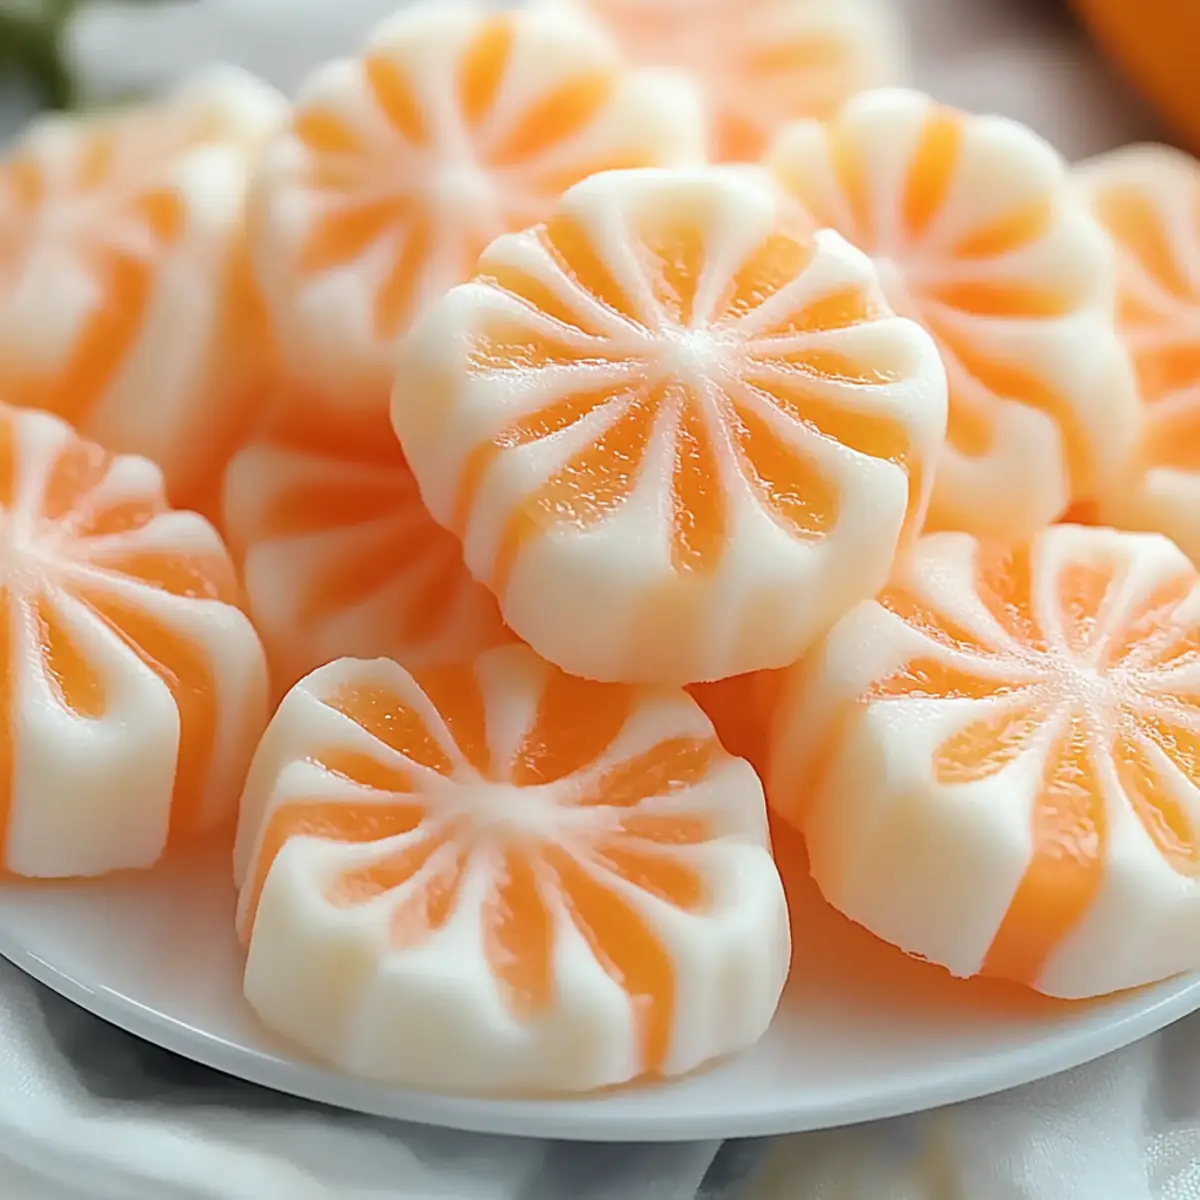
Why are these mints a must-try?
Deliciously Refreshing: The tangy orange flavor paired with creamy cream cheese creates an unusually delightful treat that’s both sweet and zesty.
Quick and Easy: With just a few simple ingredients, you can whip these mints up in no time, making them perfect for a last-minute dessert or sweet snack.
Customizable Fun: Feel free to play with colors and flavors—try lemon or lime juice for a twist, or create vibrant swirls that impress both kids and adults alike!
Perfect for Any Occasion: Whether you serve them at a party or enjoy them after dinner, these mints are a hit that everyone will love. For similar refreshing flavors, don’t miss my Mini Pumpkin Cheese or Pumpkin Mac Cheese recipes!
Make Ahead: Prepare them a couple of days in advance, so you can focus on entertaining your guests while still serving up a crowd-pleasing dessert.
Orange Cream Cheese Mints Ingredients
For the Mints
• Cream Cheese – Base for mints, providing a creamy texture; substitute with low-fat cream cheese or mascarpone for a different flavor.
• Powdered Sugar – Adds sweetness and thickens the mixture; consider erythritol or stevia as sugar substitutes to adjust for sweetness.
• Orange Juice – Freshly squeezed enhances the flavor; use bottled juice if fresh is unavailable, or lemon juice for a citrus twist.
• Orange Zest – Adds fresh orange aroma and flavor; adjust quantity according to the strength of the juice used.
Optional Color Enhancements
• Food Coloring – Optional to enhance visual appeal; natural coloring from beet juice or turmeric can be used instead of synthetic colors.
Step‑by‑Step Instructions for Orange Cream Cheese Mints
Step 1: Mix Base
Begin by taking your softened cream cheese and unsalted butter and placing them in a mixing bowl. Using an electric mixer, beat the mixture on medium speed for about 2-3 minutes until it’s smooth and creamy, ensuring there are no lumps. The texture should be rich and well-combined, ready to form the base of your Orange Cream Cheese Mints.
Step 2: Incorporate Sugar
Gradually add in the sifted powdered sugar while continuing to mix on low speed. After about 2 minutes, increase the speed to medium and mix for another 2-3 minutes until the mixture achieves a thick consistency. You want it to hold its shape, creating a sweet base for your mints. Watch for it to become velvety and sticky.
Step 3: Add Flavor
Next, stir in the vanilla extract, fresh orange juice, and finely grated orange zest into the creamy mixture. Use a spatula to fold these ingredients in gently but thoroughly, about 1-2 minutes, ensuring the vibrant, zesty flavor is evenly distributed. As you mix, the bright orange aroma will fill your kitchen, hinting at the delightful mints ahead.
Step 4: Create Color Swirls
Divide the orange cream cheese mixture into two separate bowls. Add a few drops of food coloring to one bowl, and gently swirl it into the other without fully blending. This will give your Orange Cream Cheese Mints a beautiful marbled effect. Aim for a visually appealing mix of colors, taking care not to over-mix.
Step 5: Prepare Molds
Now it’s time to prepare your silicone candy molds or mini muffin pans. Lightly dust them with powdered sugar or cornstarch to prevent sticking. This step is essential to guarantee that your mints release easily after chilling. Make sure to cover every nook of the mold for the best results!
Step 6: Fill Molds
Spoon the vibrant cream cheese mixture into each mold, smoothing the tops with the back of a spoon. Aim to fill them evenly, ensuring each mint is packed tightly without overflowing. The molds should be about three-quarters full, creating perfect bite-sized pieces of your Orange Cream Cheese Mints.
Step 7: Chill to Set
Place the filled molds in the refrigerator for at least 2 hours. This chilling time is crucial to allow the mints to set properly and become firm. Once ready, they should feel solid but slightly tacky to the touch, indicating the creamy texture that will melt in your mouth.
Step 8: Serve
After chilling, carefully remove the mints from the molds. Store them in an airtight container in the refrigerator until you’re ready to serve. These Orange Cream Cheese Mints can be enjoyed straight from the fridge, making them a refreshing sweet treat for gatherings or an indulgent dessert anytime!
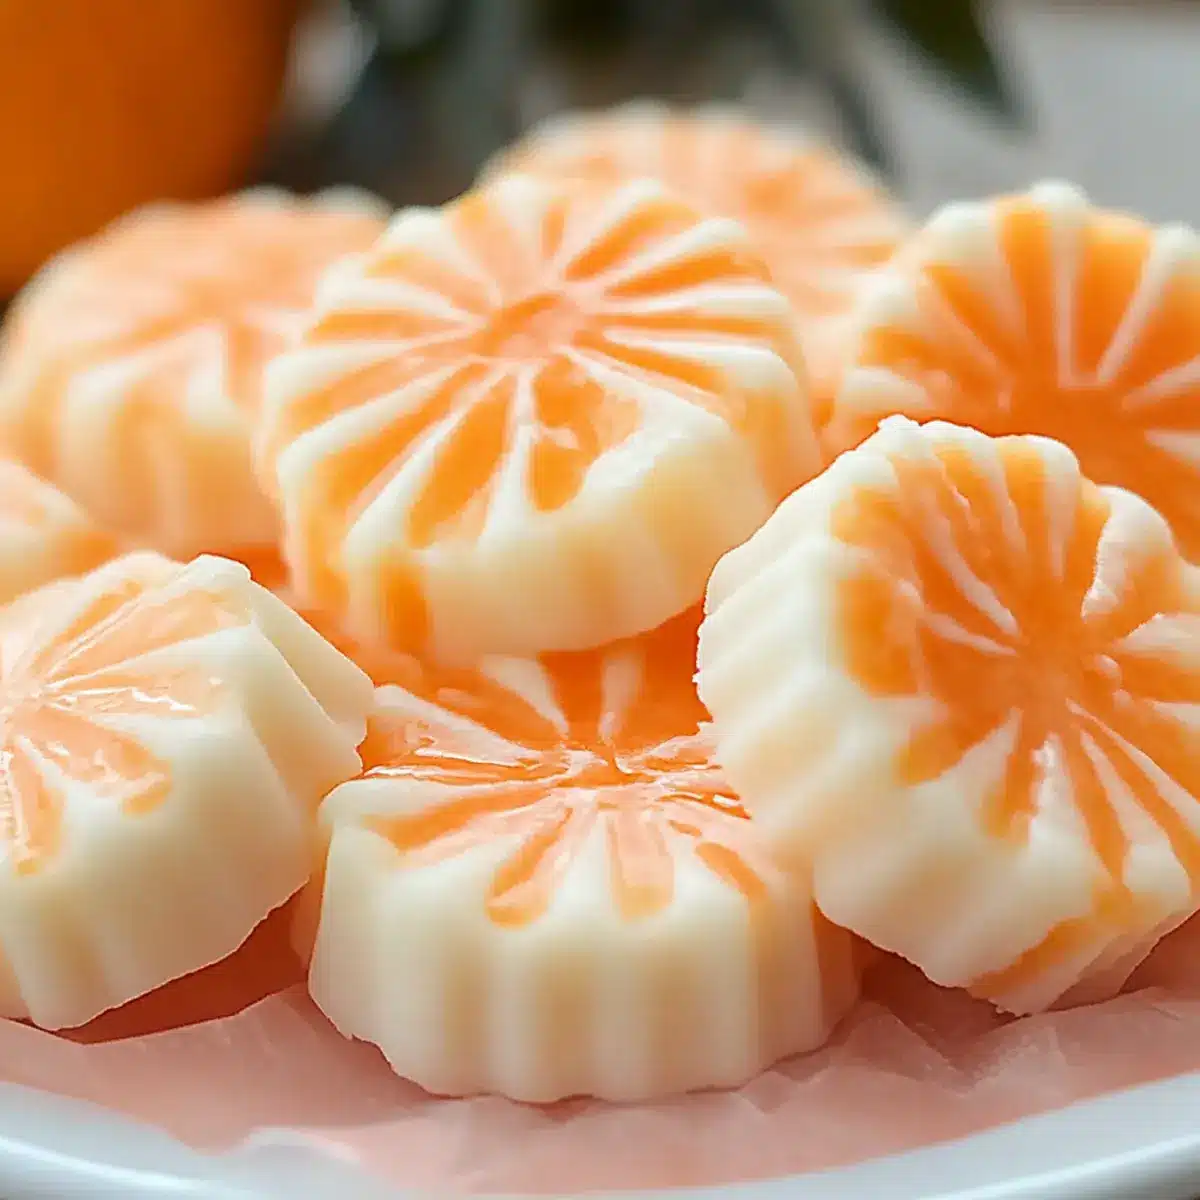
Make Ahead Options
These Sweet Orange Cream Cheese Mints are ideal for meal prep, allowing you to delight your guests with minimal fuss! You can prepare the mint mixture up to 3 days in advance. Simply follow the recipe to the point of filling your molds, then place them in the refrigerator for chilling. Once they’re set, store the mints in an airtight container to maintain their creamy texture and fresh flavor. When ready to serve, simply remove them from the molds and enjoy! This way, you’ll have a refreshing treat on hand that’s just as delicious, saving you time for entertaining or busy weeknights!
Orange Cream Cheese Mints Variations
Feel free to unleash your creativity and personalize your mints with these delightful twists!
-
Citrus Swap: Use lemon or lime juice instead of orange juice for a refreshing and slightly tart alternative. This adds a zesty surprise!
-
Herbal Infusion: Incorporate finely chopped mint or basil leaves for a unique twist. The herbal notes elevate the creamy mix to a whole new level!
-
Nutty Crunch: Add finely chopped nuts, like almonds or pistachios, into the mixture for an added crunch. This creates a lovely contrast with the creamy texture.
-
Colorful Spirals: Use multiple colors of food coloring to create a more vibrant marbled effect. This visually stunning option will wow your guests!
-
No Sugar Needed: For a sugar-free version, opt for erythritol or stevia in place of powdered sugar. You can enjoy a guilt-free indulgence without sacrificing flavor!
-
Food Coloring Alternatives: Switch synthetic food colorings with natural ones, like beet juice for pink or turmeric for yellow. It’s a wonderful way to add color without artificial ingredients.
-
Choco-Dipped: For a decadent touch, dip the finished mints in melted dark chocolate. The combination of chocolate and citrus is simply irresistible!
-
Presentation Twist: Instead of molds, spread the mixture into a thin layer in a baking dish and cut into squares. This gives a fun, shareable format perfect for dessert trays.
For more content sure to please your palate and inspire creativity in your kitchen, check out my Cheesecake Stuffed Chocolate or Goat Cheese Walnut recipes!
How to Store and Freeze Orange Cream Cheese Mints
Fridge: Keep mints stored in an airtight container in the refrigerator for up to one week. This will help maintain their creamy texture and fresh flavor.
Freezer: For longer storage, freeze the mints in a single layer on a baking sheet, then transfer to a freezer-safe container for up to 3 months. Thaw in the fridge before serving.
Serving: When ready to enjoy, simply remove from the fridge or freezer. Allow mints to sit at room temperature for about 10 minutes for optimal creamy texture before serving.
Make-Ahead: Preparing mints a couple of days in advance is perfect for stress-free entertaining or holiday gatherings, keeping your sweet treats both delicious and convenient.
Expert Tips for Orange Cream Cheese Mints
• Softened Cream Cheese: Ensure your cream cheese is properly softened for smooth mixing. This prevents lumps and helps achieve that dreamy, creamy texture.
• Don’t Rush Refrigeration: Patience is key! Allow the mints to chill for a full 2 hours to set properly; this ensures the ideal texture that’s not overly sticky.
• Avoid Stickiness: If the mixture feels too sticky, pop it in the fridge for 15-20 minutes before handling. This trick will make shaping the mints a breeze!
• Customization Tips: Feel free to experiment! Substitute orange juice with lemon or lime, and don’t hesitate to mix colors for visually stunning Orange Cream Cheese Mints.
• Mold Preparation: Dust your molds liberally with powdered sugar or cornstarch to prevent sticking; this ensures the mints release effortlessly when set.
What to Serve with Sweet Orange Cream Cheese Mints?
These delightful mints are perfect for creating a beautifully balanced meal with complementary flavors and textures.
- Creamy Mashed Potatoes: The smooth, buttery texture contrasts beautifully with the mints, providing a comforting side that enhances any meal.
- Zesty Garden Salad: A fresh salad with a citrus vinaigrette pairs well, adding brightness and crunchy textures that elevate your plate.
- Mini Quiches: Serve these savory bites alongside the mints for a delightful contrast of flavors, making for an ideal brunch spread.
- Grilled Chicken: Juicy, seasoned chicken offers a hearty element, harmonizing the rich creaminess of the mints and rounding out the meal.
- Chocolate-Dipped Strawberries: These sweet, fruity treats make for a luscious dessert option, balancing the tanginess of the mints perfectly.
- Iced Herbal Tea: Refreshing and lightly sweetened iced tea serves as a great drink pairing, complementing the citrus notes of the mints wonderfully.
- Lemon Sorbet: Serve this tangy dessert between courses to refresh the palate and add a zesty twist that resonates with the orange flavor of the mints.
- Cheese Platter: Curate a fine selection of cheeses like brie or gouda, and enjoy their richness alongside the sweet orange cream cheese mints for a sophisticated touch.
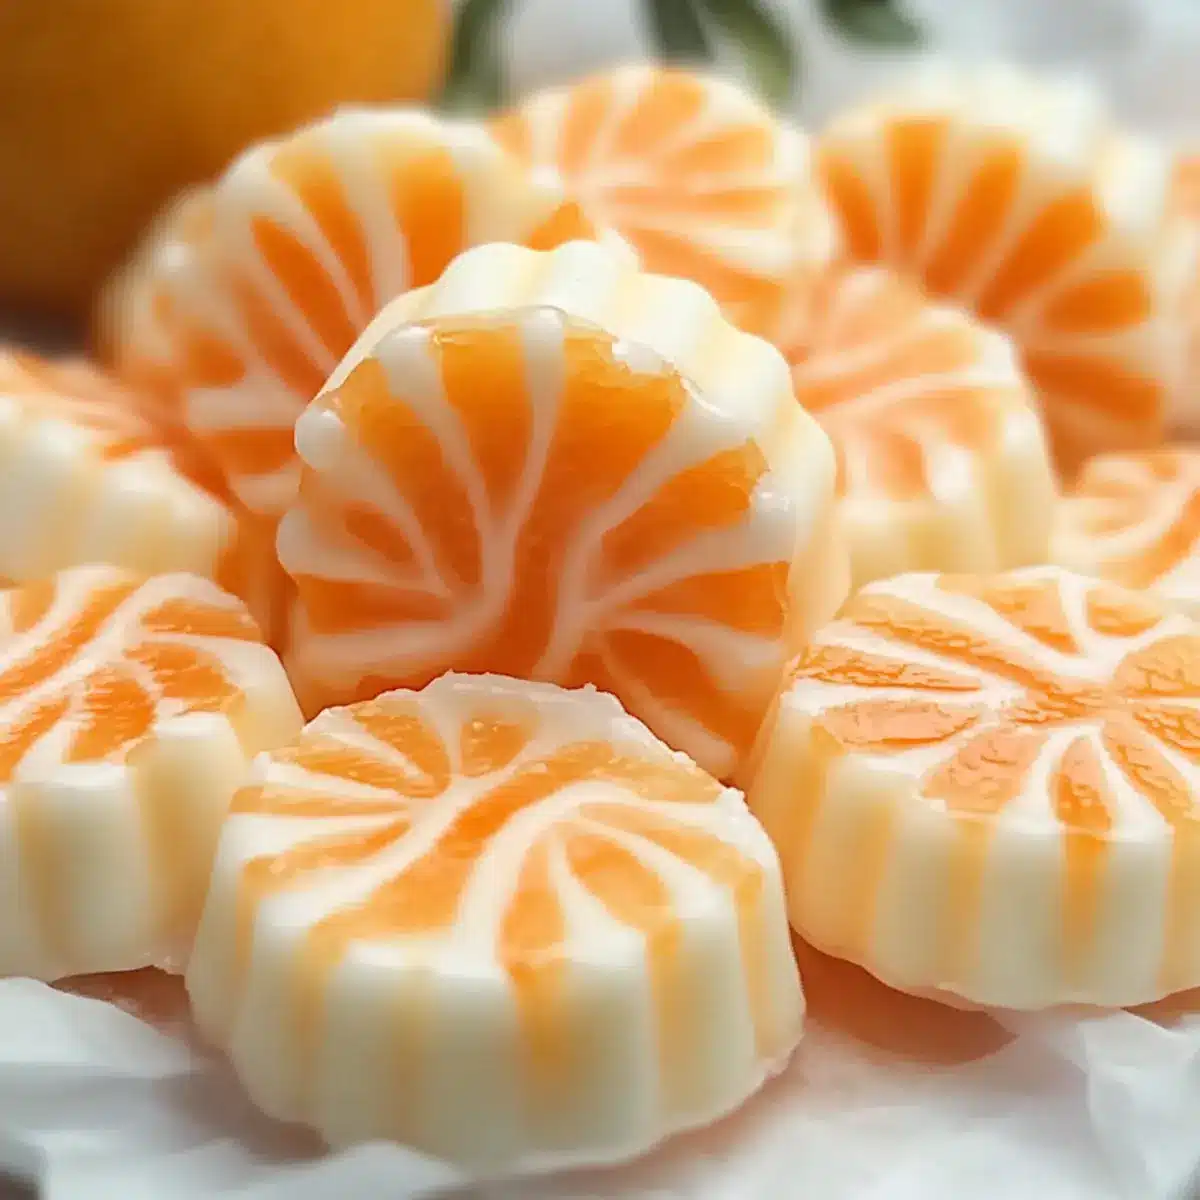
Orange Cream Cheese Mints Recipe FAQs
What type of cream cheese should I use for the mints?
Absolutely! For the best flavor and texture, I recommend using full-fat cream cheese, as it creates a rich and creamy mint. You can also try low-fat cream cheese or mascarpone for a different twist.
How do I store the mints, and how long do they last?
Keep your Orange Cream Cheese Mints in an airtight container in the refrigerator for up to one week. This ensures they stay fresh and maintain their delicious creamy texture for a delightful treat.
Can I freeze Orange Cream Cheese Mints? If so, how?
Yes, you can! To freeze, first place the mints in a single layer on a baking sheet and freeze them for about 1 hour. Then, transfer the mints to a freezer-safe container or bag, separating layers with parchment paper. They’ll stay good for up to 3 months. When ready to enjoy, just thaw them in the fridge for a few hours, and they’ll be ready to serve!
Are there any common issues I might encounter while making these mints?
Certainly! If your mixture feels overly sticky, chill it for 15-20 minutes before shaping. This will make it much easier to form. Also, avoid rushing the refrigeration time; letting the mints chill for at least 2 hours is crucial for them to set properly and maintain their shape.
Can I adjust the ingredients to cater to dietary restrictions?
Very much so! For a sugar-free option, substitute powdered sugar with erythritol or stevia, adjusting the quantity to taste. If you’d like a dairy-free version, try using a vegan cream cheese alternative and ensure any other ingredients you use align with your dietary needs, like selecting natural coloring options for visual appeal.
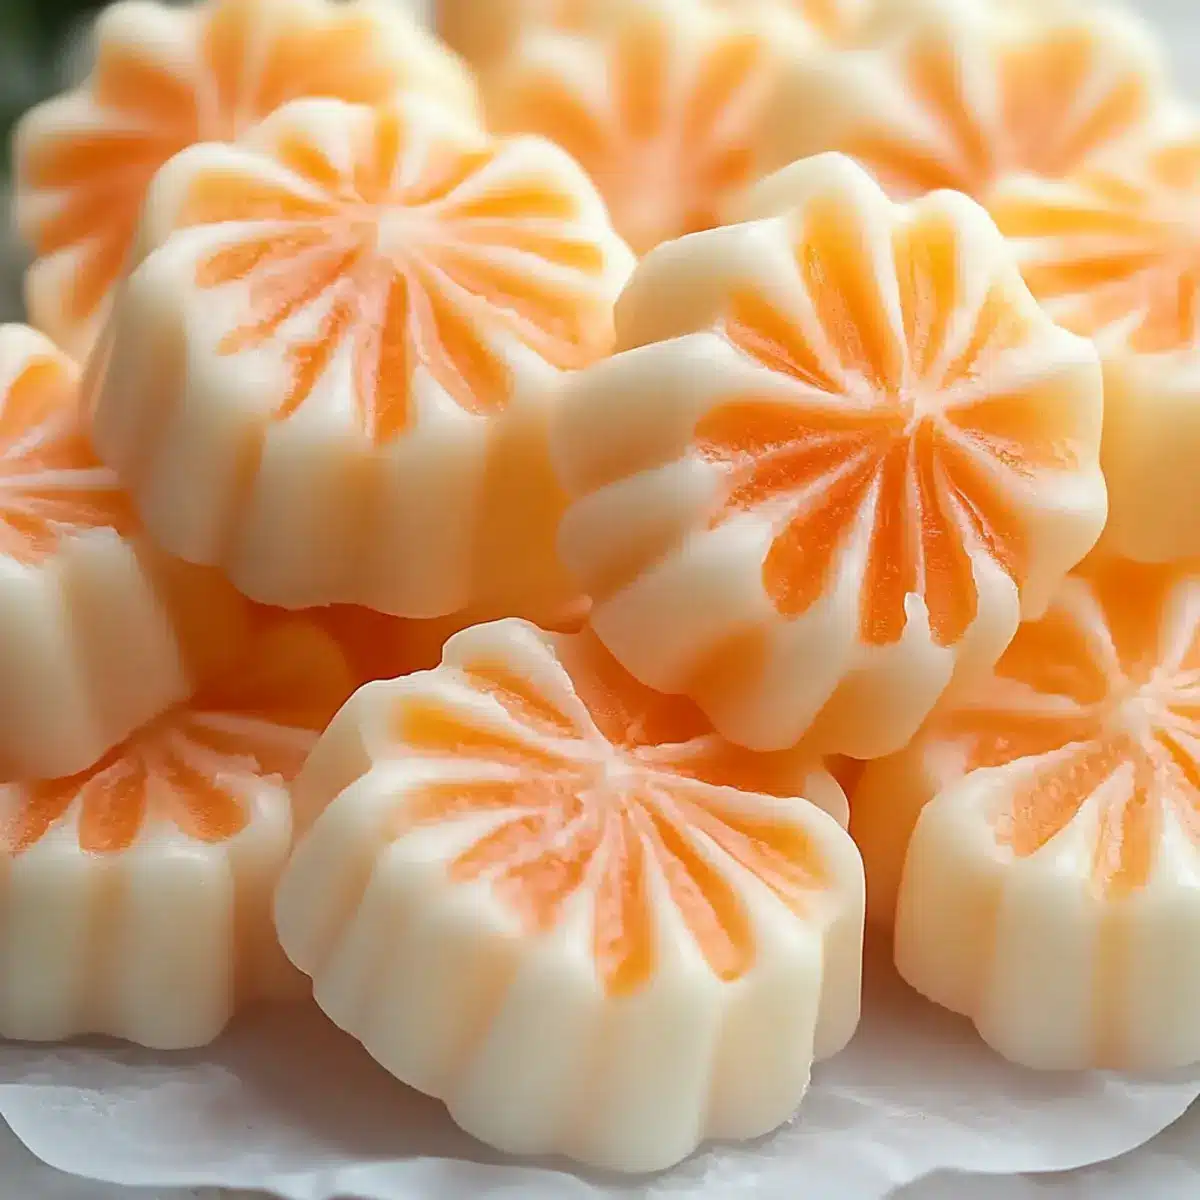
Tangy Orange Cream Cheese Mints for a Sweet Surprise
Ingredients
Equipment
Method
- Begin by taking your softened cream cheese and placing it in a mixing bowl. Beat on medium speed for about 2-3 minutes until smooth and creamy.
- Gradually add in the sifted powdered sugar while mixing on low speed. Increase speed to medium after 2 minutes and mix for another 2-3 minutes until thick.
- Stir in the vanilla extract, orange juice, and orange zest into the mixture using a spatula, folding gently for 1-2 minutes.
- Divide the mixture into two bowls. Add food coloring to one bowl and swirl it into the other without fully blending.
- Prepare your silicone molds by dusting them with powdered sugar or cornstarch to prevent sticking.
- Spoon the mixture into molds, smoothing the tops. Fill them about three-quarters full.
- Chill the filled molds in the refrigerator for at least 2 hours until firm.
- Remove the mints from molds after chilling and store in an airtight container in the refrigerator.
Leave a Reply