
As the sun dips below the horizon, casting a golden hue over the garden, I can’t help but feel inspired by the vibrant colors of ripe summer fruits. One delightful way to celebrate this bounty is with my cherished Summer Harvest Tart, a dish that transforms an assortment of juicy blackberries, blueberries, raspberries, and peaches into an irresistible dessert. What I love most about this tart is how it combines quick prep time with a crowd-pleasing appeal—perfect for those last-minute gatherings or cozy family dinners. The buttery crust cradles a luscious, spiced fruit filling that sings the flavors of summer. Ready to indulge in a slice of nostalgia that tastes like sunshine on a plate? Let’s dive into the recipe, where each bite reveals the essence of the season!
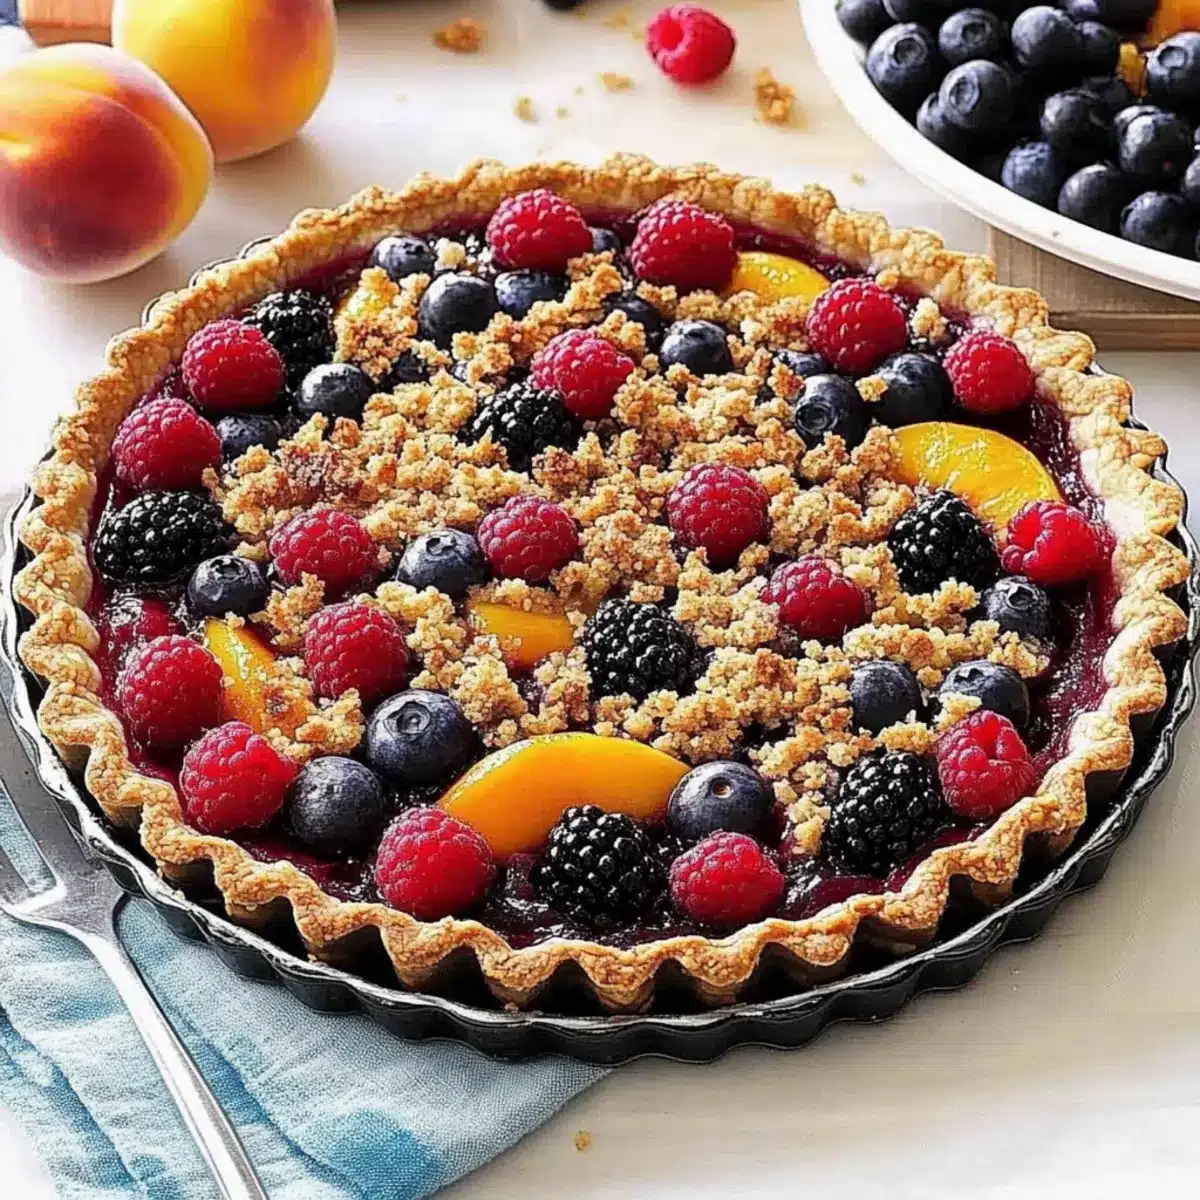
Why is Summer Harvest Tart a Must-Try?
Seasonal Perfection: The blend of fresh blackberries, blueberries, raspberries, and peaches captures the essence of summer, offering a burst of flavor in every bite.
Easy to Make: With a straightforward preparation process, anyone can create this stunning dessert in no time. It’s the perfect recipe for those short on time but big on flavor!
Irresistible Aroma: As it bakes, your kitchen will fill with a warm, inviting scent that beckons everyone to the table.
Crowd-Pleaser: Whether for a family dinner or a casual gathering, this tart will impress guests and loved ones alike.
Customizable: Feel free to switch up the fruits based on what’s ripe and in season, allowing you to make a unique tart every time. Plus, if you enjoy comforting, hearty dishes, be sure to check out my Corn Zucchini Chowder for a delightful pairing!
Summer Harvest Tart Ingredients
• Dive into the delightful world of the Summer Harvest Tart with these essential ingredients!
For the Crust
• Butter – Provides richness and flavor; be sure to use unsalted for better control over saltiness.
• Sugar – Sweetens the crust perfectly; can be swapped with honey or a sugar alternative if you’re looking for a lighter touch.
• Salt – Essential for enhancing the overall flavor of your tart.
• Egg White – Binds the crust; consider substituting with a chia egg for a vegan friendly option.
• Vanilla Extract – Adds a warm depth of flavor; opt for pure extract for the best taste.
• All-Purpose Flour – The main structure for both the crust and the topping; whole wheat flour adds a delightful nuttiness.
For the Spiced Filling & Topping
• Ground Cinnamon – Offers a comforting warmth to the filling and topping; adjust based on your personal spice preference.
• Nutmeg – Pairs beautifully with fruit, enhancing the tart’s aroma.
• Cloves – A little goes a long way in spicing up your dessert!
• Mixed Fruits (Blackberries, Blueberries, Raspberries, Peaches) – These juicy fruits are the heart of the tart, providing flavor and texture; feel free to mix and match based on what’s in season.
• Lemon Juice – Brightens the fruit filling, balancing sweetness impressively; freshly squeezed is best.
• Brown Sugar – Adds moisture and deeper sweetness to the topping; both light and dark work wonders.
• Old-Fashioned Oats – Supplies a delightful texture to the topping; if in a pinch, quick oats can be a substitute.
Now that you have your ingredients ready, let’s create a delightful masterpiece that celebrates the best of summer!
Step‑by‑Step Instructions for Summer Harvest Tart
Step 1: Preheat the Oven
Begin by preheating your oven to 350°F (175°C). This ensures it reaches the right temperature for baking your Summer Harvest Tart, resulting in a perfectly golden crust. While the oven heats up, gather your ingredients and prepare your workspace for a smooth cooking experience.
Step 2: Prepare the Crust
In a large mixing bowl, cream together 1 cup of softened unsalted butter, ½ cup of sugar, and a pinch of salt until the mixture is light and fluffy. Next, beat in one egg white and a teaspoon of vanilla extract. Gradually mix in 2 cups of all-purpose flour until fully incorporated, creating a dough that holds together without being sticky.
Step 3: Shape and Bake the Crust
Press the dough evenly into the bottom and up the sides of an 11-inch tart pan, ensuring an even thickness for a perfect bake. Bake the crust in the preheated oven for 25-30 minutes, or until the edges are lightly browned. Once baked, remove it from the oven and let it cool on a wire rack while you prepare the filling.
Step 4: Prepare the Fruit Filling
In a large mixing bowl, combine ½ cup of sugar, 2 tablespoons of flour, 1 teaspoon of ground cinnamon, a pinch of nutmeg, and ¼ teaspoon of cloves. Gently fold in 2 cups of assorted fruits like blackberries, blueberries, raspberries, and sliced peaches, along with 1 tablespoon of freshly squeezed lemon juice. Toss everything until the fruit is well-coated, ensuring a flavorful filling for your Summer Harvest Tart.
Step 5: Make the Topping
In a separate bowl, cream together ½ cup of unsalted butter with ⅓ cup of brown sugar and 1 teaspoon of ground cinnamon until smooth. Gradually add in ½ cup of all-purpose flour and 1 cup of old-fashioned oats, mixing until the topping is crumbly but comes together. This mixture will add a lovely texture and flavor to your tart.
Step 6: Assemble the Tart
Carefully fill the cooled tart crust with the prepared fruit mixture, spreading it evenly across the crust. Sprinkle the topping generously over the fruit layer. The Summer Harvest Tart is now ready for baking.
Step 7: Bake the Tart
Increase the oven temperature to 375°F (190°C) and bake the tart for 45-50 minutes. Keep an eye on it; the filling should be bubbling, and the topping should turn a beautiful golden brown. This will create an inviting aroma that fills your kitchen with warmth.
Step 8: Cool and Serve
Once baked, remove the tart from the oven and let it cool on a wire rack for at least 15 minutes. This cooling step allows the filling to set for cleaner slices. You can serve your Summer Harvest Tart warm or at room temperature, perhaps with a dollop of whipped cream or a scoop of vanilla ice cream.
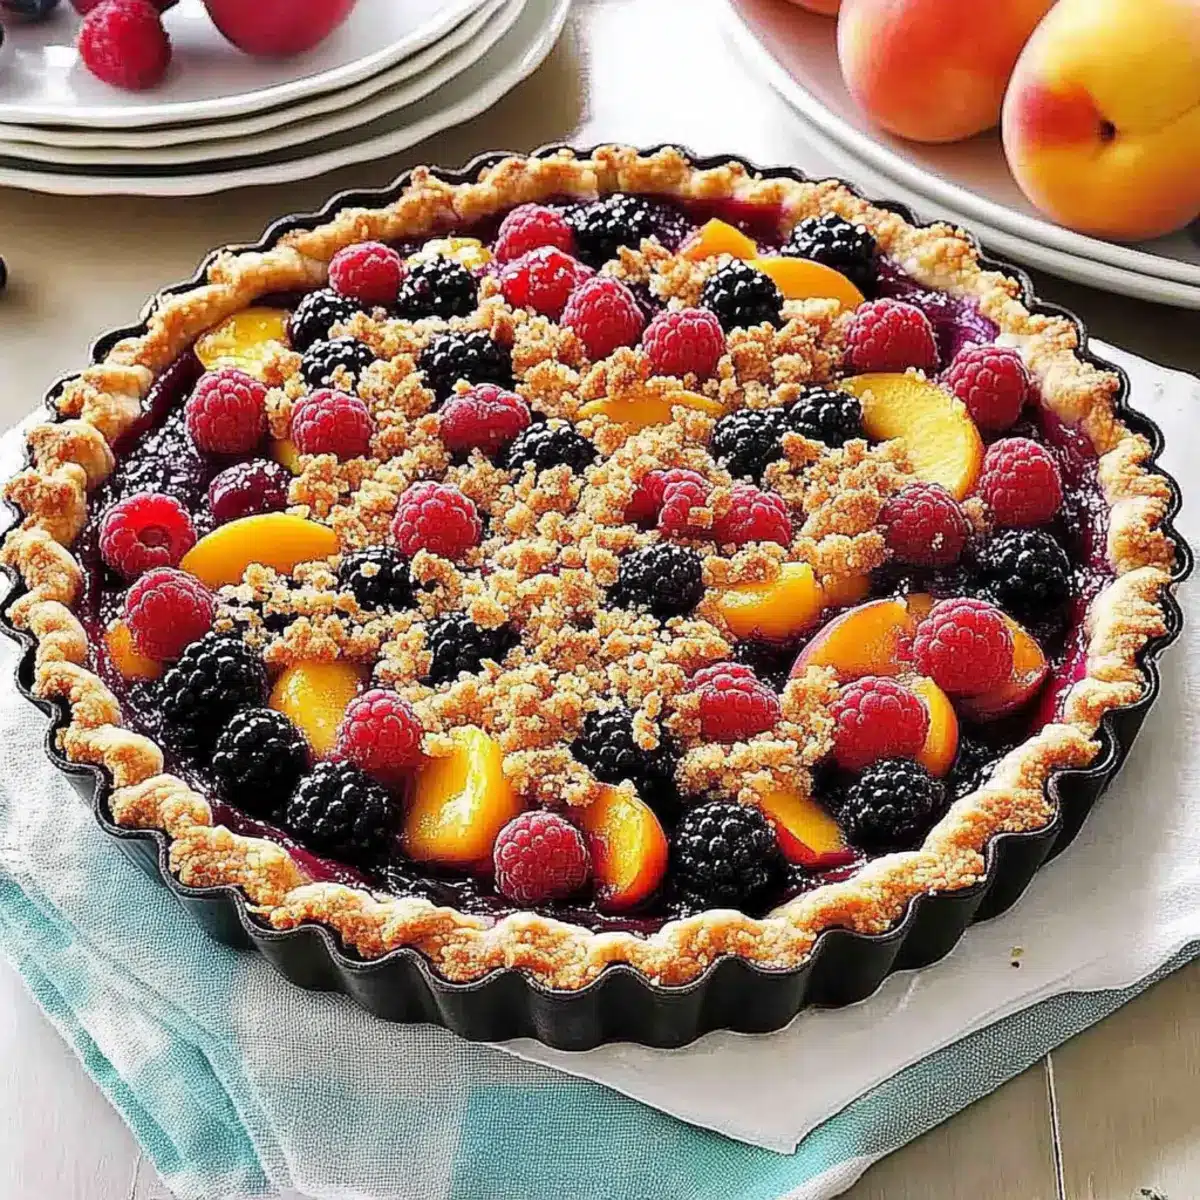
How to Store and Freeze Summer Harvest Tart
Fridge: Store your Summer Harvest Tart covered in the refrigerator for up to 3 days. This helps maintain its freshness and flavor while preventing it from drying out.
Freezer: For longer storage, wrap the tart tightly in plastic wrap, then foil, and freeze for up to 2 months. Thaw in the fridge overnight before serving.
Reheating: To enjoy the tart warm, preheat your oven to 350°F (175°C) and bake for 10-15 minutes until heated through. This will revive its buttery crust and luscious filling.
What to Serve with Summer Harvest Tart
As you prepare the perfect setting for this delightful dessert, consider the ideal companions that will elevate your meal experience.
-
Vanilla Ice Cream: A classic pairing that adds a creamy contrast to the tart’s warm fruit filling; the perfect finish to each slice.
-
Sweetened Whipped Cream: Light and fluffy, this dollop of sweetness adds a lovely touch, enhancing the tart’s spiced topping and juicy fruit.
-
Fresh Mint Leaves: A sprinkle of bright green mint not only adds a pop of color but also offers a refreshing balance to the tart’s sweetness.
-
Fruit Salad: A vibrant mix of seasonal fruits can complement the tart, bringing a symphony of colors and flavors to the table; it’s a festive addition!
-
Herbal Iced Tea: Serve chilled, this refreshing drink captures summer vibes and can balance the rich, buttery notes of the tart perfectly.
-
Sparkling Lemonade: The zesty fizz cuts through the sweetness of the tart, making it an exciting pairing that brightens every bite.
-
Cheese Platter: A selection of sharp cheeses can contrast wonderfully, providing a delightful savory element that works beautifully with sweet desserts.
-
Almond Biscotti: This crunchy treat serves as a delightful textural companion, perfect for dipping into a warm cup of tea alongside the tart.
-
Chocolate Drizzle: A simple drizzle over the tart adds indulgent depth; the bittersweet chocolate complements the fruity sweetness beautifully.
Expert Tips for Summer Harvest Tart
• Room Temperature Butter: Ensure your butter is softened to room temperature for easy creaming; this step is crucial for a light and fluffy crust.
• Avoid Over-Mixing: When making the topping, mix just until combined to maintain a crumbly texture. Over-mixing can lead to a dense topping.
• Monitor Baking Time: Keep an eye on your tart as it bakes; you want the filling to be bubbly and the topping to be golden brown. Check at the 45-minute mark.
• Cool Properly: Allow the tart to cool on a wire rack for at least 15 minutes before slicing. This ensures clean pieces and helps the filling set.
• Customize Fruits: Feel free to adjust the fruits based on seasonal availability; using a mix of berries or stone fruits can enhance the flavor of your Summer Harvest Tart.
Summer Harvest Tart Variations
Make your Summer Harvest Tart uniquely yours with these delightful twists!
-
Seasonal Swaps: Substitute any seasonal fruit like plums or cherries; every bite will tell a different story of summer’s bounty.
-
Almond Extract: Add a splash of almond extract to the filling for a delightful aromatic layer; it’s a flavor booster that everyone will love!
-
Fruit Sweetener: For a healthier take, replace sugar with a fruit sweetener or maple syrup; your tart will still shine with natural sweetness.
-
Nutty Crust: Try adding ground nuts like pecans or almonds to the crust for a delicious texture twist and additional flavor depth.
-
Savory Kick: Mixing in a pinch of freshly grated ginger or cardamom can elevate the spiced topping, giving your tart an unexpected warm zing.
-
Dairy-Free Option: Replace butter with a plant-based alternative for a dairy-free dessert without sacrificing flavor; make it friendly for everyone at the table.
-
Berry Blast: Experiment with frozen berries when fresh fruits are out of season; they can unlock new flavors while still providing that comforting warmth.
-
Chocolate Drizzle: Top your tart with a drizzle of melted chocolate to create a decadent finish—because who doesn’t love a little chocolate on their tart?
For more delicious recipes to accompany this treat, check out my Cheese Walnut Tarts for a savory complement or savor the comforting tastes of my Corn Zucchini Chowder!
Make Ahead Options
These Summer Harvest Tarts are perfect for busy cooks looking to save time without sacrificing flavor! You can prepare the crust up to 24 hours in advance—simply follow the crust instructions, allow it to cool completely, then wrap it tightly in plastic wrap and refrigerate. The fruit filling can be mixed up to 3 days beforehand; just refrigerate in an airtight container to keep it fresh. When you’re ready to bake, assemble the tart by filling the prepared crust with the fruit mixture, sprinkle the topping on, and bake according to the original instructions. This way, you’ll have a delicious seasonal dessert ready to impress your guests with minimal effort!
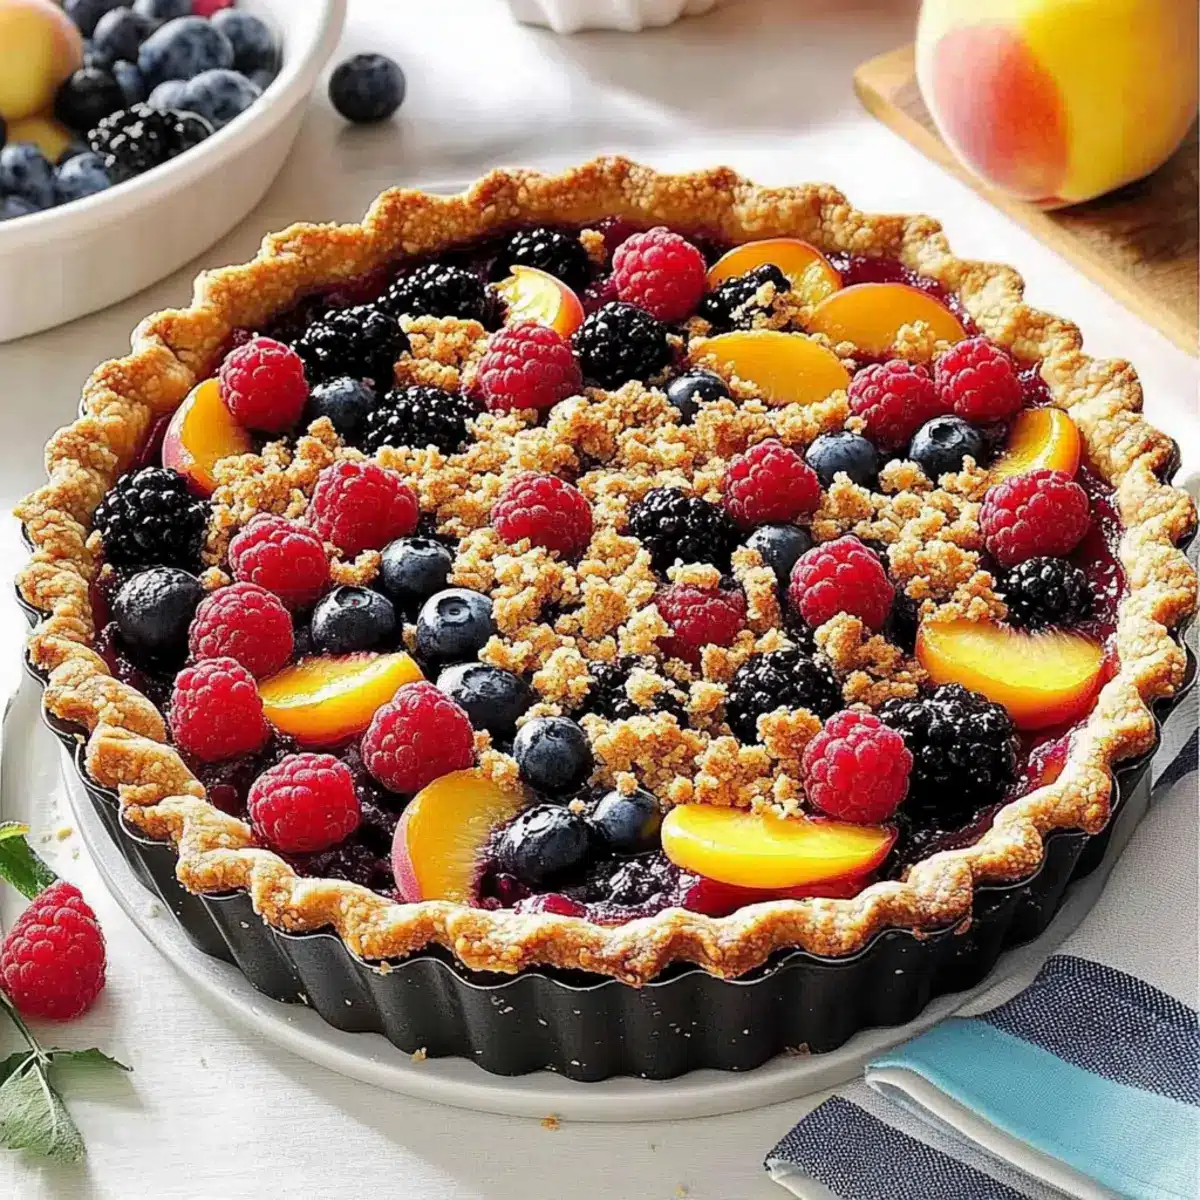
Summer Harvest Tart Recipe FAQs
How do I select ripe fruits for my tart?
Absolutely! When choosing fruits for your Summer Harvest Tart, look for berries that are plump and vibrant in color, with no dark spots. For peaches, they should yield slightly to gentle pressure and have a sweet aroma. Remember, fresh, ripe fruits will enhance the tart’s flavor significantly!
What is the best way to store the tart?
You can store your Summer Harvest Tart covered in the refrigerator for up to 3 days. This keeps it fresh and prevents it from drying out. Just make sure it’s wrapped tightly or stored in an airtight container to preserve all those delicious flavors!
Can I freeze the Summer Harvest Tart?
Yes, you can freeze it! Wrap the tart tightly in plastic wrap and then in aluminum foil to prevent freezer burn. It can be stored in the freezer for up to 2 months. When you’re ready to enjoy, simply thaw it in the refrigerator overnight before serving!
What if the fruit filling is too watery?
If you find your tart filling is too watery, it could be due to the type of fruit used or excess juice. To troubleshoot, you can mix 1-2 tablespoons of cornstarch with the sugar before adding it to the fruits. This will help thicken the filling as it bakes, resulting in a perfectly set tart!
Is this tart safe for dogs?
While some ingredients in the Summer Harvest Tart like fruits can be safe for dogs, the sugar and butter used in the recipe aren’t recommended for canine consumption. It’s best to share a small amount of plain, unsweetened fruit with your furry friend instead. Always consult your vet if you’re unsure!
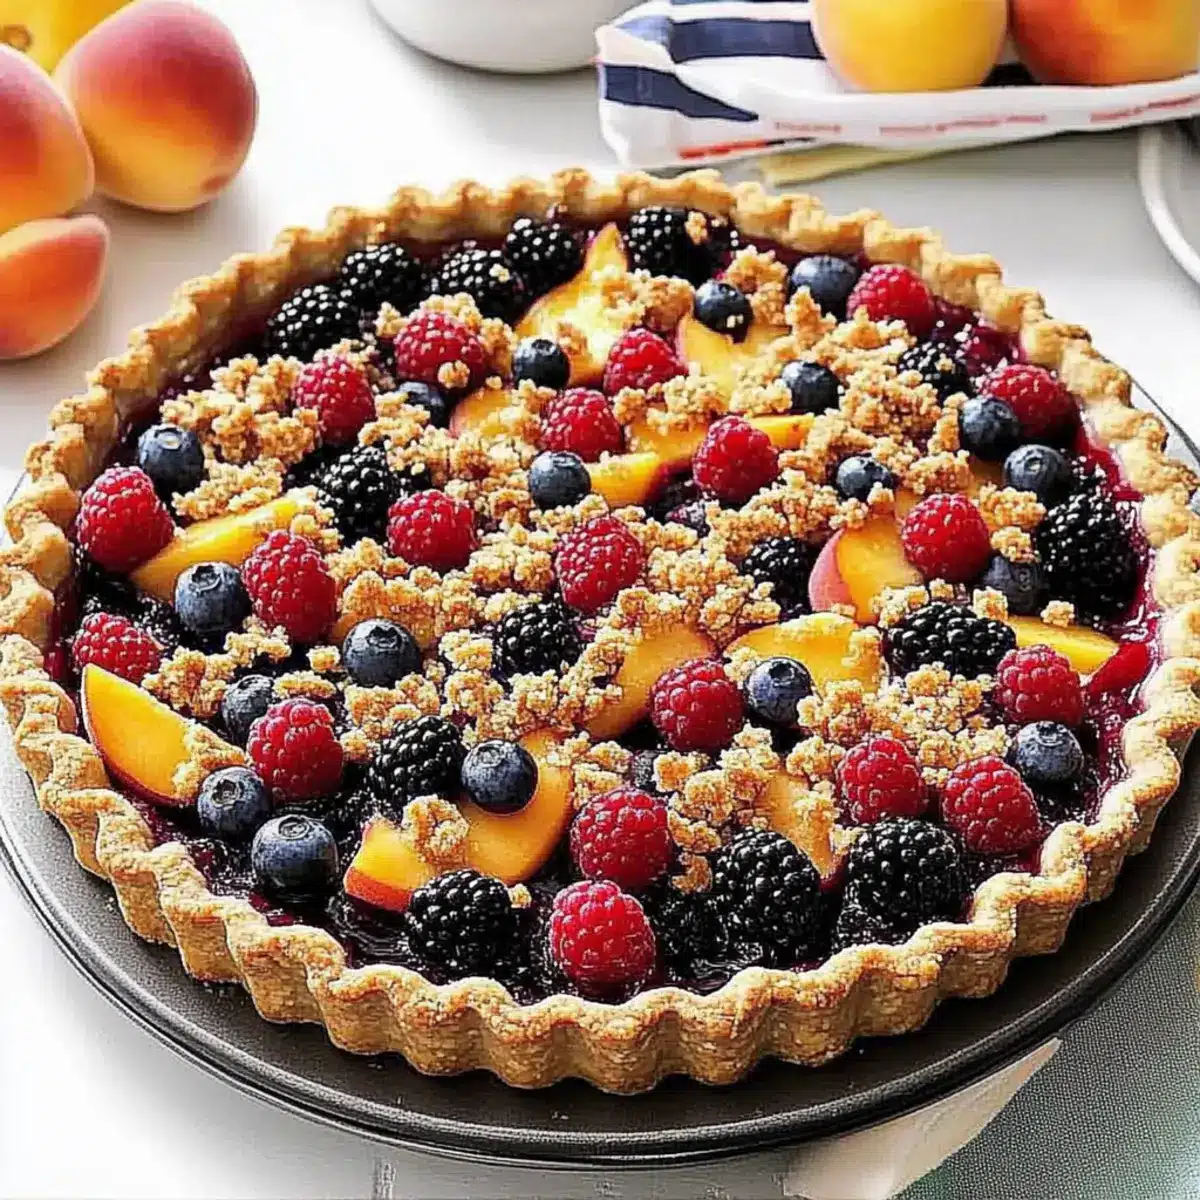
Delicious Summer Harvest Tart: Your Seasonal Sweet Escape
Ingredients
Equipment
Method
- Preheat your oven to 350°F (175°C).
- Cream together butter, sugar, and salt until fluffy.
- Beat in egg white and vanilla extract, then mix in flour gradually.
- Press dough into the tart pan and bake for 25-30 minutes until golden brown.
- In a bowl, combine sugar, flour, cinnamon, nutmeg, and cloves, then stir in mixed fruits and lemon juice.
- Cream butter, brown sugar, and cinnamon for the topping, then add flour and oats until crumbly.
- Fill the cooled crust with the fruit mixture and sprinkle with topping.
- Bake at 375°F (190°C) for 45-50 minutes until bubbly and golden.
- Let cool on a wire rack for at least 15 minutes before serving.
Leave a Reply