
As I dug through my fridge looking for something to snack on, a jar of dill pickles caught my eye, and just like that, inspiration hit! Crispy Pickle Cheese Bites were born, and I can’t wait to share this delightful recipe with you. These mini treats are not just a quick and easy fix for your cravings but also gluten-friendly, making them perfect for everyone at the table. Imagine a crunchy, cheesy texture paired with the tangy zing of dill pickles—a flavor combination so irresistible, it’ll turn any gathering into a celebration. Whether you’re preparing for a cozy movie night, a casual party, or simply yearning for a unique snack, these bites will quickly become your go-to recipe. Curious about how to make these scrumptious delights? Let’s dive in!
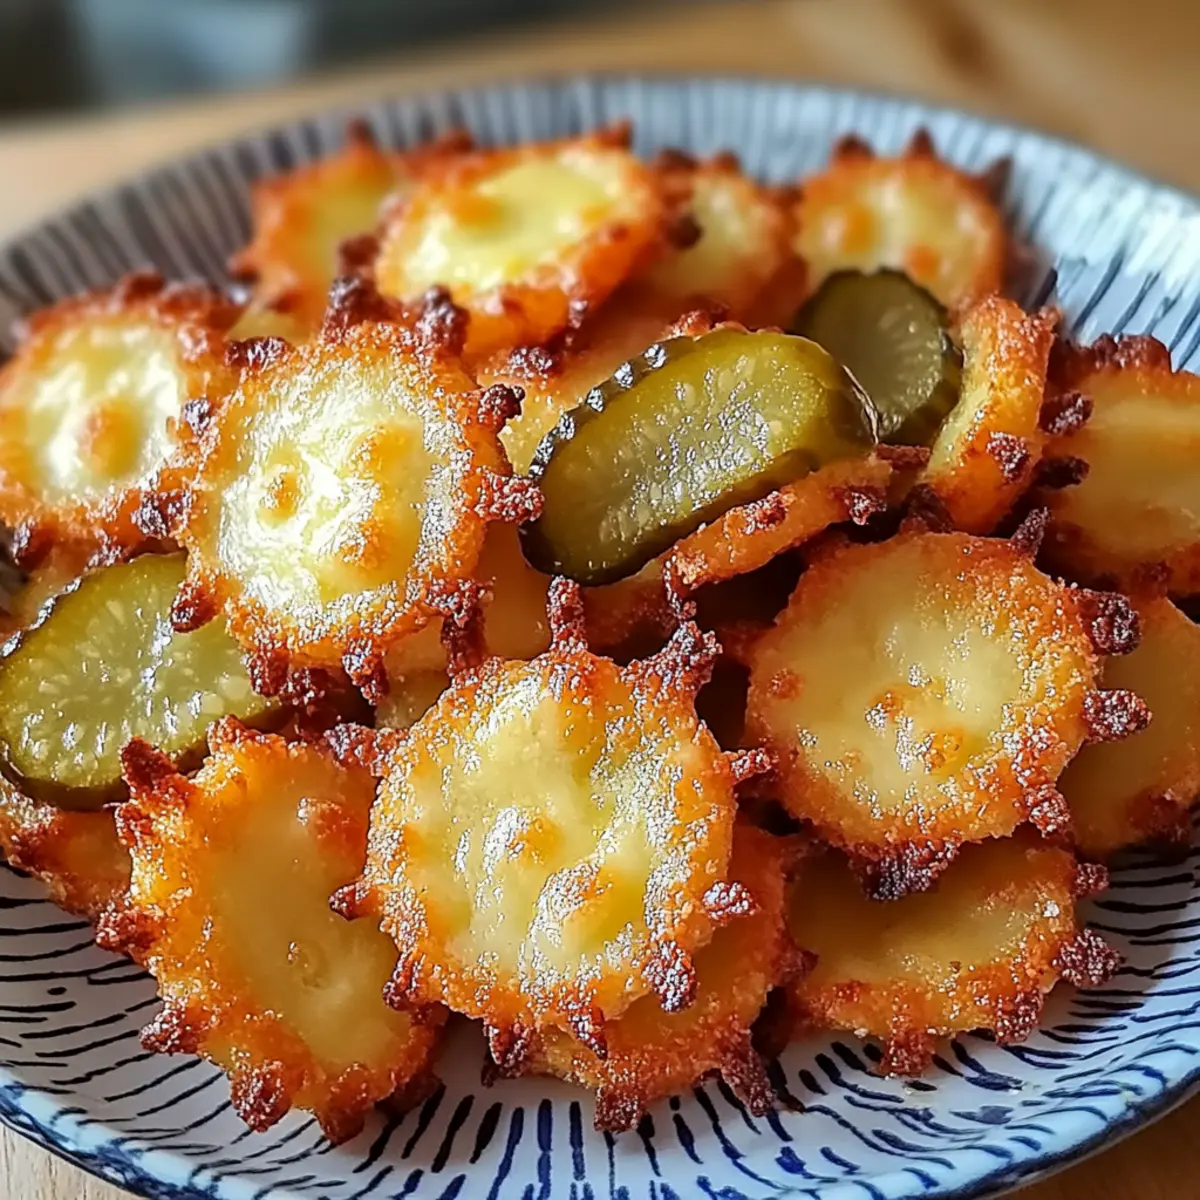
Why Are Crispy Pickle Cheese Bites a Must-Try?
Irresistible Crunch: These cheese bites deliver a satisfying, crispy texture that complements the creamy cheese and tangy pickles perfectly.
Quick Prep Time: With just a few simple steps, you can whip these up in no time, making them a fantastic option for last-minute gatherings or after-school snacks.
Kid-Approved Flavor: Kids love the fun combination of cheese and dill pickle, ensuring they’ll be a hit with the whole family, similar to other favorites like Mini Pumpkin Cheese or Pumpkin Mac Cheese.
Gluten-Friendly Twist: Using gluten-free breadcrumbs allows everyone to indulge without worry, adapting easily to various dietary needs.
Versatile Serving Options: Pair them with ranch dressing, spicy mayo, or fresh veggies for a flavor explosion that keeps your taste buds excited!
Crowd Pleaser: These bites are perfect for any casual gathering, turning ordinary snack time into a flavorful feast everyone will rave about.
Pickle Cheese Bites Ingredients
For the Cheese Mixture
• Shredded Cheddar Cheese – adds sharpness and depth; freshly shredded will melt better.
• Shredded Mozzarella Cheese – brings stretchiness and creaminess; opt for fresh for optimal melting.
For the Pickle Component
• Finely Chopped Dill Pickles – provides that tangy flavor and moisture; be sure to pat them dry for extra crispiness.
For Seasoning
• Garlic Powder – enhances savory depth; can be swapped with onion powder if preferred.
For Crunchy Coating
• Breadcrumbs (Optional) – gives extra crunch; use gluten-free for a complete gluten-friendly option.
For Baking
• Nonstick Spray or Parchment Paper – prevents sticking while baking; parchment is best for hassle-free cleanup.
Step‑by‑Step Instructions for Crispy Pickle Cheese Bites
Step 1: Preheat the Oven or Air Fryer
Begin by preheating your oven to 400°F (200°C) or setting your air fryer to the same temperature. This ensures that your Crispy Pickle Cheese Bites cook evenly and achieve that wonderful golden-brown exterior. As the appliance warms up, you can prepare the rest of your ingredients.
Step 2: Mix the Cheese and Pickles
In a large mixing bowl, combine the shredded cheddar and mozzarella cheeses, finely chopped dill pickles, and garlic powder. Stir the mixture thoroughly until all ingredients are well incorporated. If you’re using breadcrumbs for extra crunch, feel free to add them at this stage. The mixture should be gooey and cohesive.
Step 3: Prepare the Baking Sheet
Line a baking sheet with parchment paper to ensure a non-stick surface for your cheese bites. Alternatively, you can use a nonstick spray if parchment paper is not available. This step is crucial to allow your Crispy Pickle Cheese Bites to bake up wonderfully without sticking—making clean up a breeze too!
Step 4: Form the Bites
Using a spoon or your hands, scoop ample portions of the cheese mixture and shape them into flattened mounds. Place the mounds on the prepared baking sheet, ensuring they are spaced apart for even cooking. This spacing allows each bite to cook thoroughly and develop that delightful crispy texture.
Step 5: Bake to Perfection
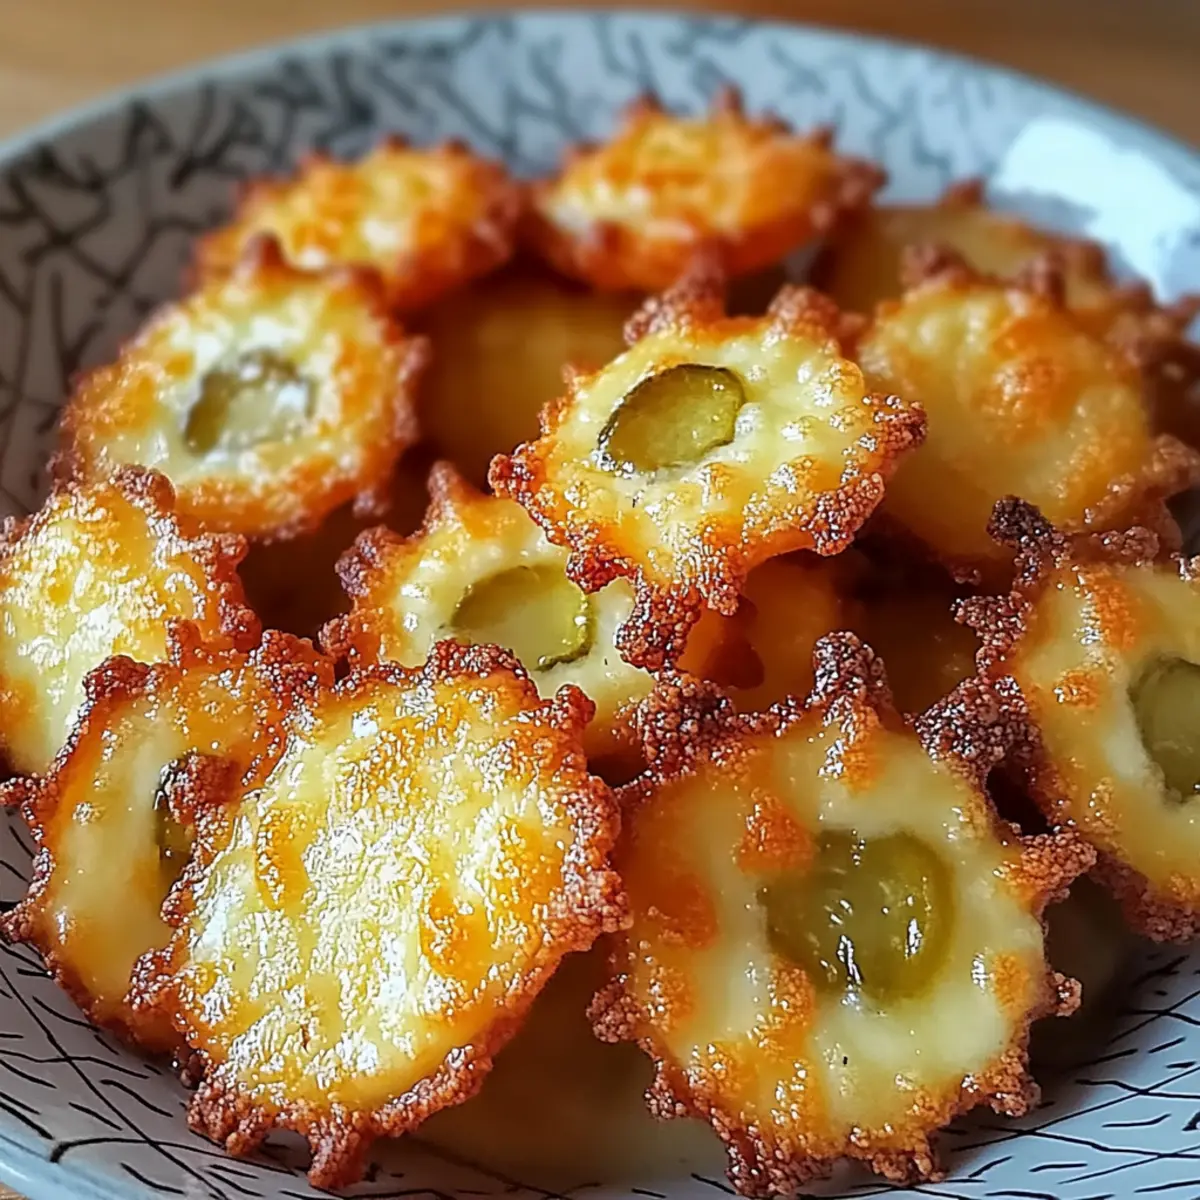
Slide the baking sheet into your preheated oven or air fryer and bake for 6-8 minutes. Keep an eye on the bites as they bake; they should turn golden and bubbly when done. The aroma of melted cheese and dill will fill your kitchen, enticing everyone nearby!
Step 6: Allow to Cool
Once baked, remove the tray from the oven or air fryer and let the Crispy Pickle Cheese Bites cool for about 2-3 minutes on the baking sheet. This resting period allows them to crisp up further and makes them easier to handle. Their edges will be delectably golden, inviting you to dig in!
Step 7: Serve and Delight
These delicious bites are best enjoyed warm. Serve them alongside your favorite dipping sauces like ranch dressing or spicy mayo for a flavorful experience. Whether it’s a family movie night or a casual gathering, your Crispy Pickle Cheese Bites are sure to be a hit!
Make Ahead Options
These Crispy Pickle Cheese Bites are perfect for busy home cooks looking to save time without sacrificing flavor! You can prepare the cheese and pickle mixture up to 24 hours in advance; just store it covered in the refrigerator. To keep the bites crispy, form them into mounds and refrigerate them on the lined baking sheet. When you’re ready to enjoy, bake them directly from the fridge for an additional 1-2 minutes, ensuring a delicious, golden-brown finish. By prepping ahead, you can have savory snacks ready to bake and serve in no time, turning any ordinary day into a delightful treat!
What to Serve with Crispy Pickle Cheese Bites
Elevate your snack time with delightful side dishes that perfectly complement the flavors of these crunchy morsels.
-
Creamy Ranch Dressing: This classic dipping sauce enhances the tang of your pickle bites and balances their richness.
-
Spicy Mayo: A zesty condiment that adds a kick – perfect for those who enjoy an extra layer of flavor.
-
Fresh Veggie Platter: Crisp veggies like carrots, cucumbers, and bell peppers provide a refreshing, crunchy contrast to the cheese bites.
-
Fluffy Garlic Bread: The warmth and buttery flavor of garlic bread make it a satisfying pairing for those cheesy bites.
-
Zesty Coleslaw: The crunch and tang of coleslaw bring freshness, helping to cleanse the palate between each cheesy bite.
-
Sweet and Tangy Pickle Chips: For pickle lovers, serve alongside some store-bought or homemade pickle chips for a delightful similarity.
-
Herbed Quinoa Salad: A light salad with fresh herbs and lemon complements the savory notes of the cheese bites wonderfully.
-
Iced Cold Beer: The crispness of a light lager pairs beautifully, providing a refreshing contrast to the warm cheese bites.
-
Fizzy Lemonade: A sweet, fizzy drink that adds a citrusy punch, balancing the rich textures of each bite.
-
Chocolate Chip Cookies: For dessert, these sweet bites create an irresistible end to your cheesy snack adventure.
How to Store and Freeze Crispy Pickle Cheese Bites
Fridge: Store leftover Crispy Pickle Cheese Bites in an airtight container for up to 3 days. Allow them to cool completely before sealing to maintain their crispiness.
Freezer: For longer storage, flash freeze the bites by placing them on a baking sheet until frozen, then transfer to a freezer-safe container. They can be frozen for up to 2 months.
Reheating: To reheat, preheat your oven to 375°F (190°C) and warm the bites for about 10 minutes. This will help restore their delightful crunch.
Serving Tip: Enjoy the bites warm with your favorite dipping sauces for the best flavor experience.
Pickle Cheese Bites Variations
Feel free to customize your Crispy Pickle Cheese Bites with these fun and flavorful twists that will keep every bite exciting!
-
Dairy-Free: Substitute with vegan cheese options for a delightful dairy-free version that everyone can enjoy.
-
Spicy: Add crushed red pepper flakes for heat, transforming these bites into a zesty treat that will awaken your taste buds. If you’re a heat lover, consider pairing them with spicy mayo for that perfect kick!
-
Different Cheeses: Experiment with cheeses like Parmesan or Pepper Jack for distinct flavors; each will bring a new dimension to this classic recipe.
-
Add Veggies: Incorporate finely chopped jalapeños or bell peppers to add a fresh, crunchy component. The colors enhance the visual appeal while boosting nutrition.
-
Herbal Twist: Mix in some fresh dill or chives for an extra burst of flavor. This is a wonderful way to elevate the dill taste even further!
-
Cheesy Pesto: Incorporate a tablespoon of pesto into the cheese mixture for a fragrant, herby infusion that pairs wonderfully with the tangy pickles.
-
Sweet Touch: A dash of honey or maple syrup can balance the tangy and savory notes, adding a touch of sweetness. Pair this twist with creamy ranch dressing for an incredible contrast.
-
Bite-Sized Variants: Shape the mixture into smaller mounds for mini bite-sized snacks or into larger patties for a heartier option that can be served as sliders. They’re perfect for any gathering!
Be sure to give these variations a try and adjust the flavors to match your family’s preferences! While you’re experimenting, you might also want to check out Mini Pumpkin Cheese or Pumpkin Mac Cheese for more delightful twists on popular treats!
Expert Tips for Crispy Pickle Cheese Bites
• Choose Fresh Cheese: Opt for freshly shredded cheeses, as they melt better and contribute to a creamier texture in your Pickle Cheese Bites.
• Pat Dry Pickles: Make sure to thoroughly pat the chopped dill pickles dry; excess moisture can lead to soggy bites instead of the desired crispiness.
• Uniform Size: For even cooking, form each cheese bite into uniform sizes. This ensures they bake consistently and each bite is perfectly crispy.
• Adjust Cooking Time: Keep a close watch on your bites, especially when using an air fryer. Start checking at 6 minutes to prevent over-baking.
• Chill the Mixture: If you have time, chill the cheese mixture for about 10 minutes before forming the bites. This helps them hold their shape during baking.

Crispy Pickle Cheese Bites Recipe FAQs
How do I choose the right pickles for this recipe?
Absolutely! Opt for dill pickles that are firm and not overly soggy. Look for pickles that are crisp and have a vibrant color, avoiding any that have dark spots or appear overly soft. Picking fresh pickles enhances the flavor and texture of your Crispy Pickle Cheese Bites.
How should I store leftover Crispy Pickle Cheese Bites?
Store your leftover bites in an airtight container in the fridge for up to 3 days. Make sure they’ve cooled completely before sealing to keep them crispy. If you notice them getting soft, try placing a piece of paper towel inside the container to absorb excess moisture.
Can I freeze Crispy Pickle Cheese Bites?
Yes! To freeze, first flash freeze the bites on a baking sheet lined with parchment paper until they are solid, about 1-2 hours. Once frozen, transfer them into a freezer-safe container or a resealable freezer bag. They can be stored for up to 2 months. Remember to reheat them in a preheated oven at 375°F (190°C) for about 10 minutes to maintain that crunchy texture.
What should I do if my cheese bites are not crispy?
If your cheese bites are coming out soggy, ensure the dill pickles are thoroughly patted dry before mixing. Additionally, make sure not to overcrowd the baking sheet, allowing each bite enough space for proper air circulation. If you’re still having issues, consider chilling the mixture for 10 minutes before baking to help them maintain their shape.
Are there any dietary considerations I should be aware of?
Very! These Crispy Pickle Cheese Bites can easily be made gluten-friendly by using gluten-free breadcrumbs. If you’re serving guests with dairy allergies, consider using vegan cheese alternatives to still enjoy that cheesy flavor without compromising on dietary needs. Always double-check ingredients if you’re unsure about allergens!
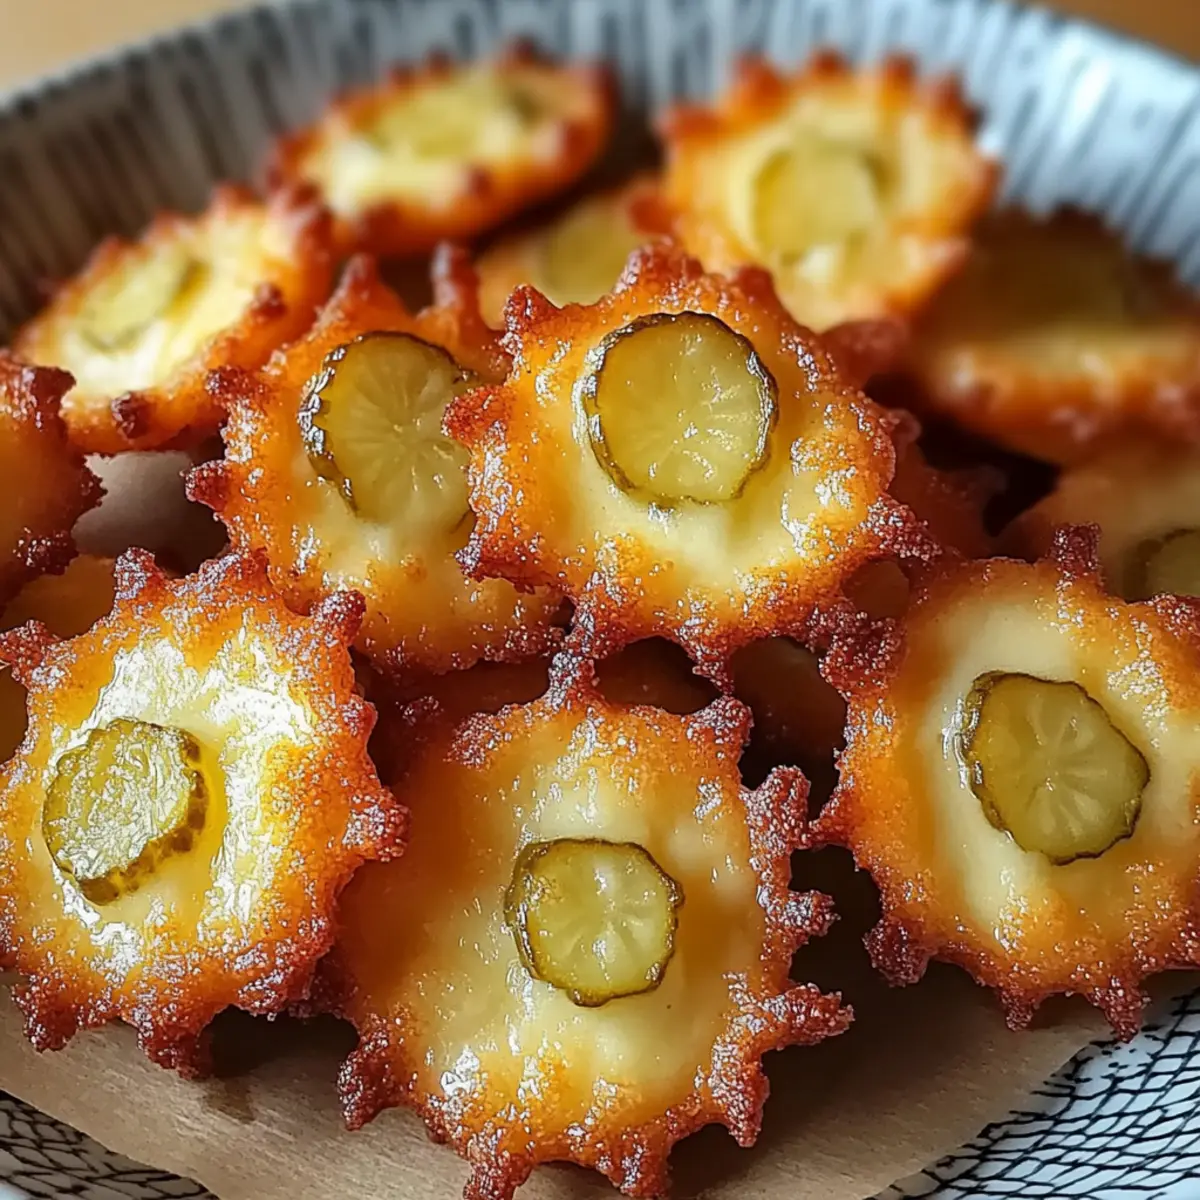
Crispy Pickle Cheese Bites: A Tangy Snack to Crave
Ingredients
Equipment
Method
- Preheat your oven to 400°F (200°C) or set your air fryer to the same temperature.
- In a large mixing bowl, combine the shredded cheddar and mozzarella cheeses, finely chopped dill pickles, and garlic powder. Stir until well incorporated. Add breadcrumbs if using.
- Line a baking sheet with parchment paper or spray with nonstick spray.
- Scoop portions of the cheese mixture and shape into flattened mounds. Space them apart on the baking sheet.
- Bake for 6-8 minutes in the preheated oven or air fryer until golden and bubbly.
- Allow the bites to cool for about 2-3 minutes on the baking sheet.
- Serve warm with your favorite dipping sauces such as ranch dressing or spicy mayo.
Leave a Reply