
As I opened the fridge searching for a satisfying dinner solution, a light bulb moment struck me—Cheeseburger Pockets! These delightful pockets are not just a meal; they’re a cozy hug for your taste buds. Packed with juicy ground beef and gooey cheese, all wrapped in flakiness that melts in your mouth, it’s no wonder this dish has become a weeknight favorite. Ready in just 30 minutes, these freezer-friendly treasures are customizable to cater to your cravings or picky eaters—a fun way to experiment in the kitchen! Whether you’re in the mood for spicy jalapeños or crispy bacon, or you’re opting for a plant-based twist, these pockets deliver something for everyone. Ready to take a bite into this delicious adventure? Let’s dive into the recipe!
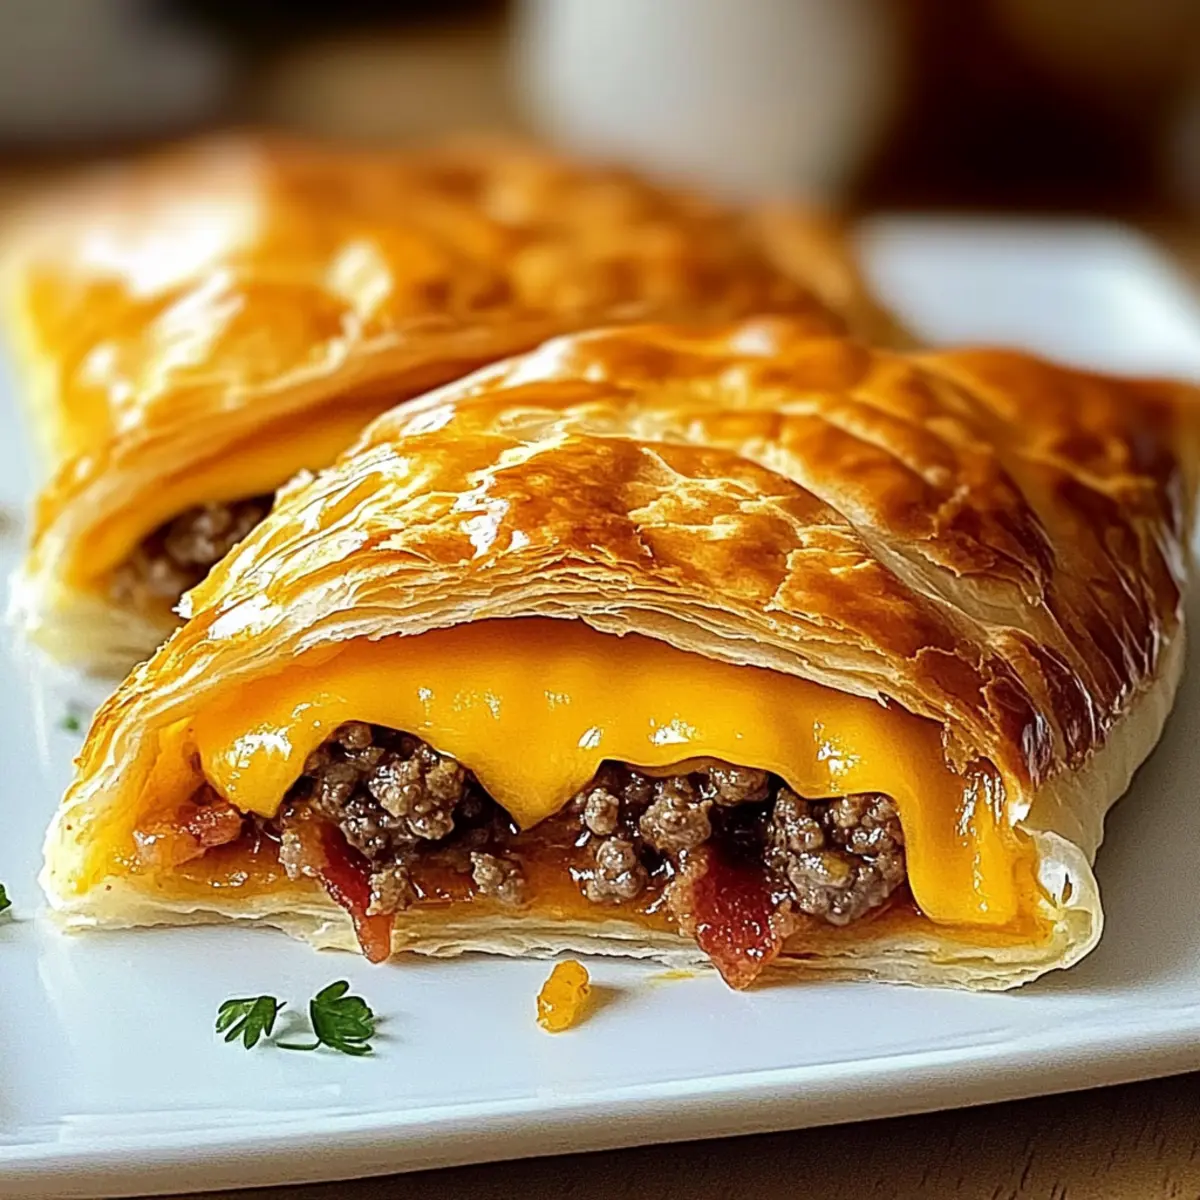
Why Make Cheeseburger Pockets?
Quick and Easy: In just 30 minutes, you can enjoy a delicious, warm meal that satisfies everyone’s cravings.
Customizable Goodness: The beauty of these pockets lies in the endless variations—think spicy jalapeños, crispy bacon, or a vegetarian twist!
Kid-Friendly Appeal: Kids love handheld meals, making them perfect for family dinners.
Freezer-Friendly: Prepare a batch ahead of time, freeze, and bake on busy days for a quick dinner solution.
Satisfying and Flavorful: Loaded with juicy beef and melted cheese, these pockets deliver mouthwatering flavor in every bite.
Ready to start cooking? Check out our tips on how to make perfect dough to elevate your cheeseburger pockets!
Cheeseburger Pockets Ingredients
For the Filling
• Ground Beef – The main protein source providing heartiness; substitute with turkey or plant-based meat for a lighter option.
• Cheddar Cheese – Adds creamy, melty texture; consider Pepper Jack for a bit of spice or American cheese for extra creaminess.
For the Dough
• Crescent Roll or Pizza Dough – Provides a flaky outer layer; store-bought is convenient, but homemade dough can elevate your cheeseburger pockets.
Seasoning
• Salt & Pepper – Enhances the filling’s flavor; adjust according to your taste preferences.
Optional Add-ins
• Bacon Bits – Fold in crispy bacon for an extra flavor explosion.
• Jalapeños – Toss in some sliced jalapeños for a spicy kick.
• Mushrooms or Spinach – Add these for additional nutrition and taste.
Explore these comforting flavors in your homemade cheeseburger pockets today!
Step‑by‑Step Instructions for Cheeseburger Pockets
Step 1: Prep Dough
Begin by preheating your oven to 375°F. Roll out your crescent roll or pizza dough on a clean surface, ensuring it’s even. Cut the dough into squares, each roughly 4×4 inches. This size will create the perfect pocket for your fillings. Make sure the surface is lightly floured to prevent sticking.
Step 2: Cook Filling
In a skillet over medium heat, add 1 pound of ground beef. Cook for about 6-8 minutes, breaking it apart with a spatula until browned and cooked through. Drain any excess fat to avoid soggy pockets. Once browned, reduce heat and add 1 cup of cheddar cheese, stirring until melted and bubbly, creating a delicious filling.
Step 3: Assemble Pockets
Take a square of dough and spoon a generous portion of the cheeseburger filling onto one half, leaving enough space at the edge to seal. You can add optional ingredients like jalapeños or bacon bits for extra flavor. Fold the other half over the filling, pressing down the edges firmly to seal tightly, ensuring no filling escapes during baking.
Step 4: Bake
Arrange the assembled cheeseburger pockets on a parchment-lined baking sheet, ensuring they have space between them for even cooking. Place in the preheated oven and bake for about 22-25 minutes, or until they are golden brown and puffed, signaling that they’re perfectly cooked and ready to enjoy.
Step 5: Cool
Once baked, remove the cheeseburger pockets from the oven and let them cool on a wire rack for about 5 minutes. This cooling period allows the filling to set and prevents burns. After cooling, they will be easier to handle and ready to serve up a comforting meal for you and your loved ones.
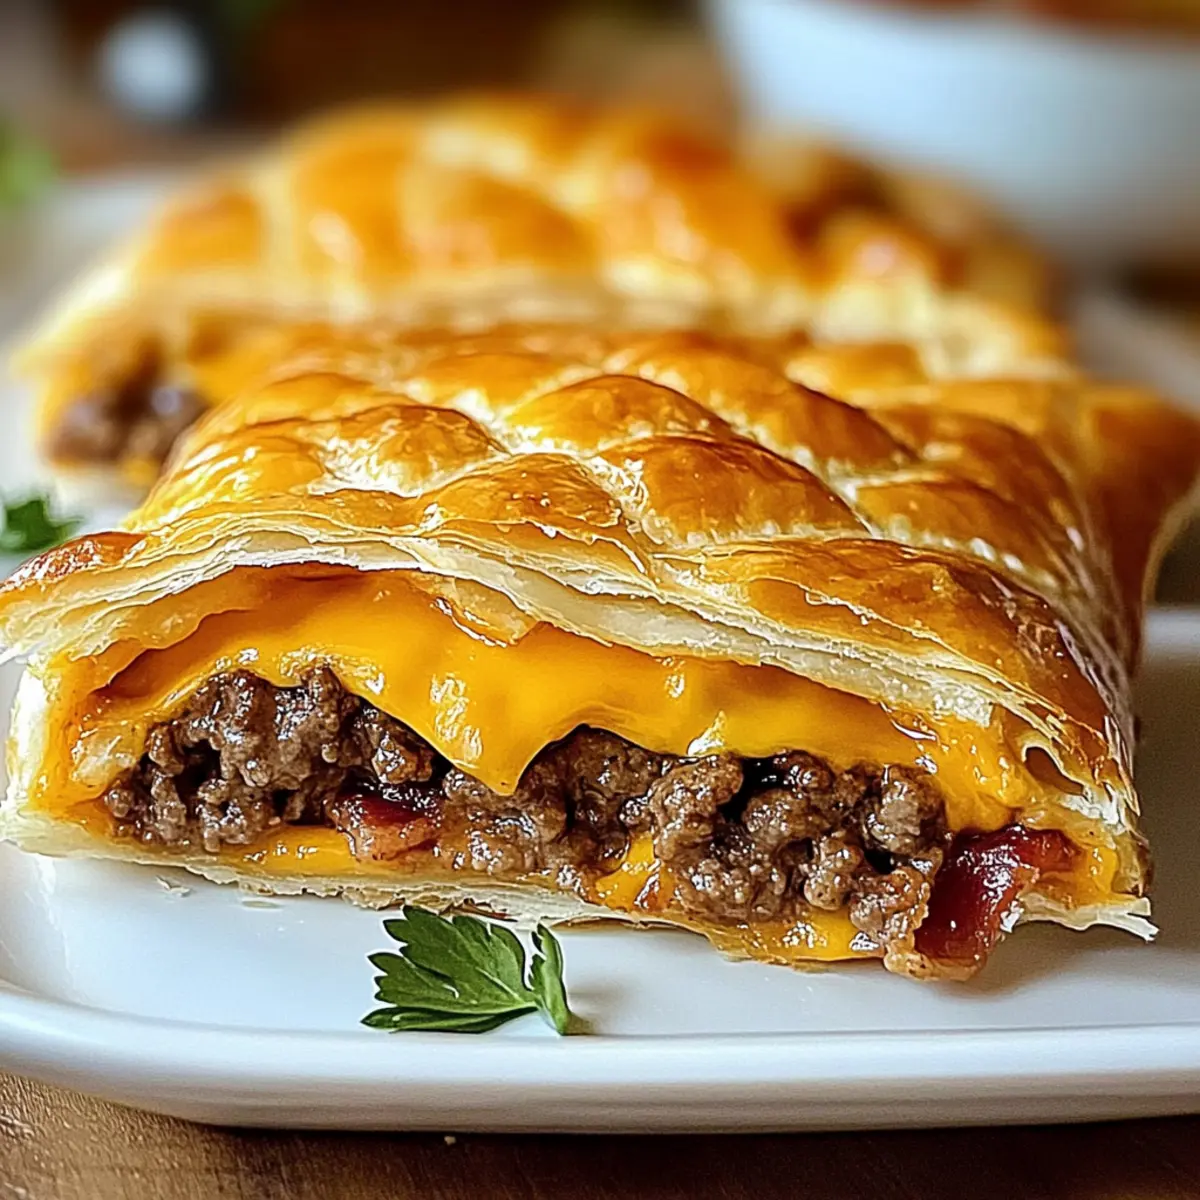
Make Ahead Options
These Cheeseburger Pockets are perfect for meal prep enthusiasts! You can assemble the pockets and freeze them up to 3 months ahead of time. To do this, prepare the filling and cool it completely before spooning it onto the dough squares. After sealing the pockets, lay them flat on a baking sheet and freeze until firm. Then, transfer them to a freezer-safe bag. When you’re ready to bake, there’s no need to thaw—simply place the frozen pockets on a baking sheet and bake at 375°F for 25-30 minutes, just add a few extra minutes as needed for perfect golden results. This way, you’ll have delicious homemade pockets ready with minimal effort on busy nights!
How to Store and Freeze Cheeseburger Pockets
Fridge: Store leftover cheeseburger pockets in an airtight container for up to 4 days. When ready to enjoy, reheat in the oven at 350°F until heated through.
Freezer: For freezing, assemble the pockets and freeze on a baking sheet until firm. Transfer to a freezer-safe bag for up to 3 months. Bake directly from frozen, adding an extra 5-10 minutes to the cooking time.
Reheating: If you have leftover cooked pockets, you can reheat them in the air fryer for a crispy texture, or in the oven at 350°F until warmed through, which keeps the dough flaky and delicious.
Preparation Storage: To save time, you can prep the filling in advance and store it in the fridge for up to 2 days, ready to fill your cheeseburger pockets when you’re ready to bake!
Cheeseburger Pockets Variations
Feel free to get creative and customize these cheeseburger pockets to suit your tastes and dietary needs!
- Bacon-Loaded: Add crispy bacon bits to the filling for an irresistible flavor boost. Each bite becomes a savory delight with that extra crunch!
- Spicy Variation: Spice things up by adding jalapeños or using Pepper Jack cheese instead of cheddar. This twist is perfect for heat lovers!
- Vegetarian Option: Swap out the ground beef for plant-based meat and use vegan cheese for a delicious, meat-free version. The flavors will still shine, satisfying even the carnivores!
- Herb-Infused: Mix fresh herbs like parsley or chives into your filling for a burst of freshness. This simple addition gives every bite a delightful aroma!
- Cheesy Garlic: Incorporate minced garlic into the beef mixture and use garlic butter on the dough before baking for a garlicky kick. The aroma will create an inviting atmosphere in your kitchen!
- Fiesta Pockets: Add black beans, corn, and a sprinkle of taco seasoning to the filling for a south-of-the-border twist. It’s a great way to bring those vibrant flavors together!
- BBQ Flavor: Toss in some barbecue sauce with the beef and top with cheese for a sweet and smoky vibe. Perfect for those who adore BBQ flavors!
- Crunchy Veggie Pack: Include finely chopped bell peppers, onions, or mushrooms for texture. This twist adds both nutrition and excitement to your cheeseburger pockets!
Ready to make these delicious twists? Pair your pockets with a refreshing salad or some crispy fries for the ultimate meal experience. If you’re looking to delve deeper, check out our tips on how to make perfect dough for an even tastier snack!
What to Serve with Cheeseburger Pockets?
There’s nothing quite like a hearty, flavorful meal paired with complementary sides to elevate your dining experience.
-
Crispy French Fries: The classic burger companion! Their golden crunch contrasts perfectly with the soft cheeseburger pockets.
-
Fresh Garden Salad: A light, refreshing salad adds a burst of color and nutrients, balancing the richness of the pockets with its crisp veggies.
-
Creamy Coleslaw: This tangy, creamy dish provides a delightful contrast in texture and flavor, making each bite more vibrant.
-
Seasoned Potato Wedges: Their seasoned exterior and fluffy interior make for a comforting pairing, while their heartiness matches the cheeseburger filling.
-
Garlic Breadsticks: Soft and buttery, these delicious twists can be dipped into any extra cheese sauce or ketchup, enhancing the cheeseburger flavors.
-
Sweet Potato Fries: For a sweet twist, these fries add depth and a hint of sweetness to your meal while being slightly healthier.
Pair your cheeseburger pockets with these sides for a complete and satisfying dinner experience.
Expert Tips for Cheeseburger Pockets
-
Avoid Sogginess: Drain excess fat from the cooked ground beef to ensure your cheeseburger pockets maintain their crispness while baking.
-
Don’t Overstuff: It’s tempting to load them up, but keep the filling moderate to prevent bursting and maintain a nice texture in your pockets.
-
Seal Properly: Make sure to pinch the seams of your pockets tightly to keep that gooey, cheesy goodness inside—no one wants a filling leak!
-
Golden Brown Crust: For a beautifully browned finish, line your baking sheet with parchment paper and make sure your oven is fully preheated before baking.
-
Experiment Freely: Feel free to play with flavors! Add cooked bacon or jalapeños to create your signature cheeseburger pockets that everyone will love.
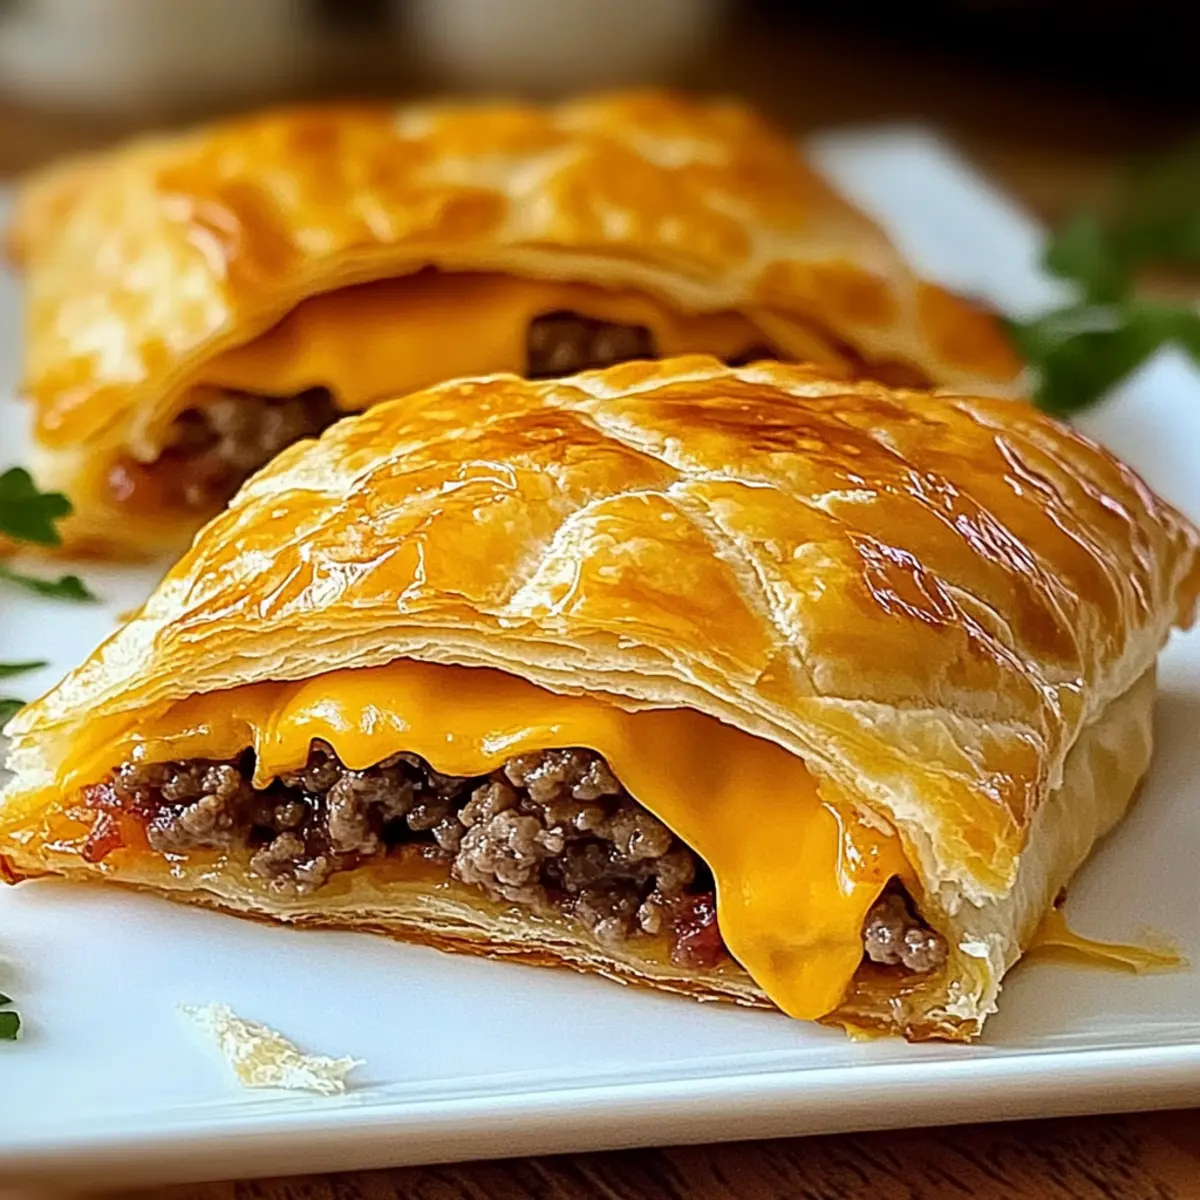
Cheeseburger Pockets Recipe FAQs
What type of ground beef should I use for cheeseburger pockets?
Absolutely! I recommend using lean ground beef (80/20 or 85/15) for the best flavor without too much grease. If you prefer a lighter option, ground turkey or a plant-based substitute works beautifully too.
How long can I store leftover cheeseburger pockets in the fridge?
Leftover cheeseburger pockets can be stored in an airtight container in the fridge for up to 4 days. When you’re ready to enjoy them, simply reheat in the oven at 350°F until they’re hot and crispy again—about 10-15 minutes should do the trick!
Can I freeze cheeseburger pockets before baking them?
Yes, you can! To freeze, assemble the cheeseburger pockets but don’t bake them yet. Place the assembled pockets on a baking sheet and freeze until firm, usually about 1-2 hours. Once they’re firm, transfer them to a freezer-safe bag or container for up to 3 months. Bake directly from the freezer, adding an extra 5-10 minutes to the baking time for a perfect finish.
What should I do if my pockets are leaking during baking?
If your cheeseburger pockets are leaking, it’s likely due to overfilling or not sealing the edges tightly. To fix this, check how much filling you’re using. Aim for about 2-3 tablespoons per pocket. Also, ensure that you’re pinching the edges well and possibly crimping with a fork for an extra seal.
Are there any dietary considerations I should keep in mind for cheeseburger pockets?
Yes! If you or someone you’re serving has allergies, make sure to adjust the cheese (consider dairy-free options) and ensure any additional ingredients like bacon or certain spices meet dietary needs. Always check the labels for any hidden allergens. Also, for pets, avoid sharing any cheeseburger pockets since onions and certain spices can be harmful to them.
How can I achieve a perfectly crispy crust on my cheeseburger pockets?
For a golden and crispy crust, preheat your oven thoroughly and line your baking sheet with parchment paper. This helps to create the right texture and prevents sticking. Aim for a baking time of 22-25 minutes, and you can brush a little melted butter on top before baking for a richer color and flavor!
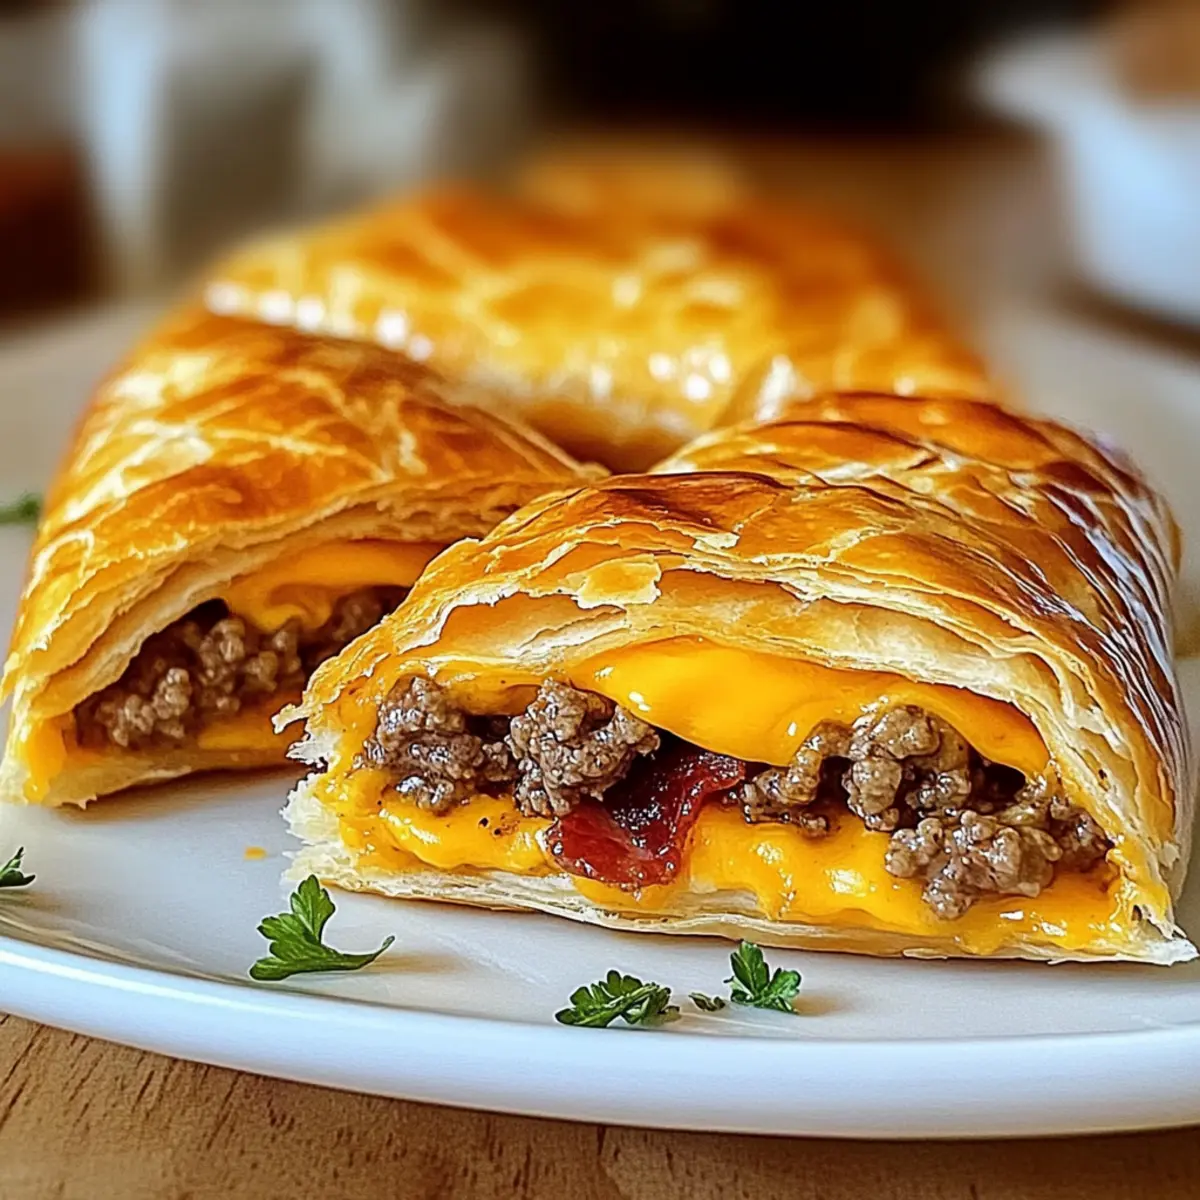
Cheeseburger Pockets: Quick, Cheesy Delights for Everyone
Ingredients
Equipment
Method
- Preheat your oven to 375°F. Roll out your crescent roll or pizza dough on a clean surface.
- Cut the dough into squares, each roughly 4x4 inches.
- In a skillet over medium heat, cook 1 pound of ground beef for about 6-8 minutes until browned.
- Drain excess fat and add 1 cup of cheddar cheese, stirring until melted.
- Spoon a generous portion of the filling onto half of a dough square.
- Fold the dough over and press down the edges firmly to seal tightly.
- Arrange on a parchment-lined baking sheet and bake for about 22-25 minutes until golden brown.
- Let cool on a wire rack for about 5 minutes before serving.
Leave a Reply