
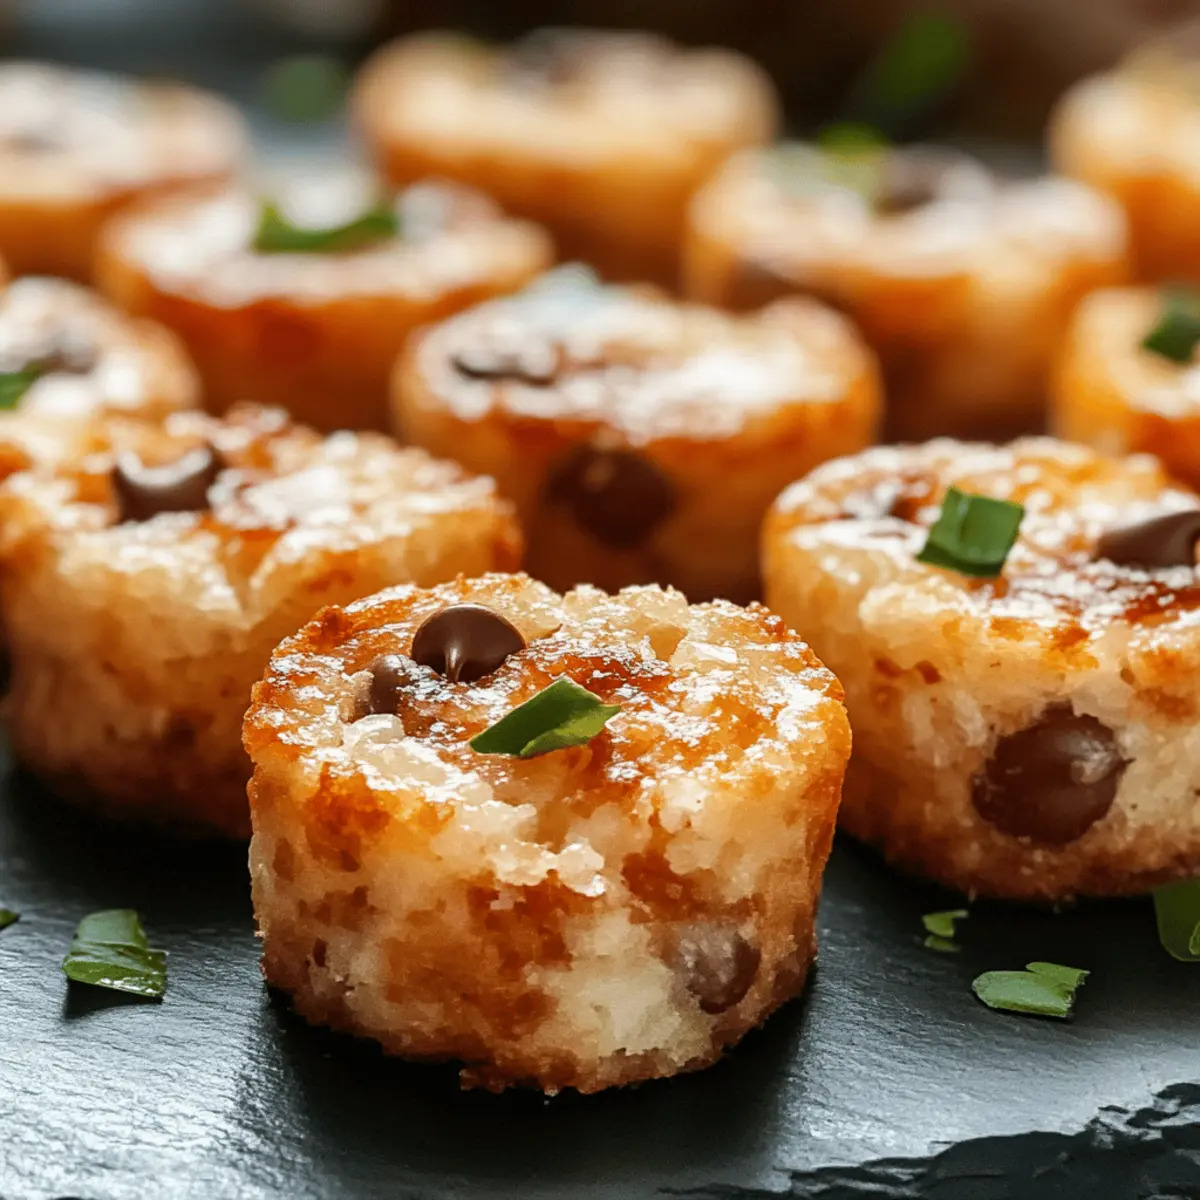
The moment you take that first bite of a chocolate chip cookie, it feels like a warm hug from your childhood. In this recipe, I’m excited to share my perfect Chocolate Chip Cookies that are both chewy and crispy, accommodating gluten-free diets without skimping on taste. These cookies are not only quick to whip up, making them ideal for any last-minute craving or gathering, but they also fill your kitchen with an irresistible aroma that will make your mouth water. Whether you’re winding down after a busy day or treating friends to a sweet indulgence, these cookies hit all the right notes. Curious how to achieve that perfect balance of textures? Let’s dive into the details!
Why Are These Cookies a Must-Try?
Irresistible aroma: As soon as you start baking, the heavenly scent of warm chocolate will fill your home, making it hard to resist these cookies!
Versatile varieties: With options for chewy, crispy, or even gluten-free twists, there’s a cookie for everyone!
Simple preparation: Even novice bakers will find this recipe easy and satisfying.
Perfect for any occasion: Whether it’s a casual family night or a gathering with friends, these cookies are sure to impress.
Crowd favorite: Everybody loves chocolate chip cookies, making them the perfect treat to share.
Feeling adventurous? Try modifying the recipe with Butter Chicken Easily as a delicious dinner that can be shared before indulging in these sweet bites!
Chocolate Chip Cookie Ingredients
• For the Dough
- All-Purpose Flour – This gives the cookies their structure; use a gluten-free flour blend if you’re making a gluten-free version.
- Brown Sugar – It adds moisture and a rich caramel flavor; consider coconut sugar for a healthier alternative.
- Granulated Sugar – Provides that necessary sweetness and helps achieve a crisp edge.
- Butter – Essential for flavor and a chewy texture; swap in vegan butter for a dairy-free option.
- Eggs – They bind the ingredients together; for an egg-free alternative, opt for flaxseed meal mixed with water.
- Baking Soda – This is your leavening agent; ensure it’s fresh for the best rise in your cookies.
- Salt – Just a pinch enhances sweetness and balances all those flavors.
- Chocolate Chips – The star of the show! Choose dark chocolate or dairy-free chips for a different spin.
Pro Tip: Keep this chocolate chip cookie recipe handy—it’s a classic that’s loved by all!
Step‑by‑Step Instructions for Loaded Bravas Tots Recipe
Step 1: Preheat and Prepare
Begin by preheating your oven to 425°F (220°C). While it’s heating, line a large baking sheet with parchment paper to prevent the tots from sticking. This will ensure they crisp up beautifully during baking. Once the oven is ready, you’ll be all set to transform your potatoes into loaded bravas tots.
Step 2: Cook the Tater Tots
Spread your frozen tater tots evenly on the prepared baking sheet, ensuring they aren’t overcrowded. Bake for about 25-30 minutes, flipping them halfway through. You’ll know they are done when they become golden brown and crispy on the outside—this will provide a delightful crunch to your Loaded Bravas Tots.
Step 3: Prepare the Bravas Sauce
While the tater tots are baking, grab a small saucepan and heat a tablespoon of olive oil over medium heat. Add minced garlic and sauté for 1-2 minutes until fragrant, then stir in your favorite crushed tomatoes, smoked paprika, and a pinch of cayenne. Let this simmer for about 10 minutes until it thickens; the aroma will be enticing and will elevate your loaded bravas tots.
Step 4: Mix the Toppings
In a separate bowl, mix together diced avocado, chopped fresh cilantro, and a squeeze of lime juice to create a refreshing topping. This blend adds a burst of flavor that perfectly complements the crispy tater tots and spicy bravas sauce.
Step 5: Assemble the Loaded Tots
Once the tater tots are golden and crispy, remove them from the oven. Drizzle the prepared bravas sauce generously over the tots, ensuring they are well-coated. Sprinkle fresh cheese on top—like crumbled feta or shredded cheddar—for that creamy richness that makes these Loaded Bravas Tots truly indulgent.
Step 6: Final Bake and Serve
Return the loaded tots to the oven for another 5-7 minutes, just until the cheese melts and becomes bubbly. You’ll see the cheese transform into a deliciously gooey layer. Once removed, top with the avocado mix and additional cilantro for garnish, making your Loaded Bravas Tots a feast for the eyes as well as the palate.
Make Ahead Options
These perfectly chewy chocolate chip cookies are a dream for busy home cooks looking to save time! You can prepare the cookie dough up to 24 hours in advance; just refrigerate it in an airtight container to maintain its flavor and texture. Alternatively, you can scoop the dough onto parchment paper-lined baking sheets and freeze the portioned dough for up to 3 months. This way, you can bake fresh cookies whenever a craving strikes! When you’re ready to indulge, simply pop the frozen dough directly onto a baking sheet and add a few extra minutes to the bake time for mouthwatering results that are just as delicious as freshly made.
Chocolate Chip Cookies Variations
Don’t hesitate to let your creativity shine while preparing these deliciously nostalgic treats!
-
Gluten-Free: Substitute all-purpose flour with a gluten-free blend to keep the classic taste without gluten. It’s every bit as yummy, and you truly won’t miss a thing!
-
Vegan: Swap butter for vegan butter and use flaxseed meal instead of eggs. You’ll enjoy the same chewiness without any animal products!
-
Crispy Texture: Bake the cookies a minute or two longer if you prefer a crunchier edge. They’ll be perfectly crispy on the outside while still gooey on the inside.
-
Chewy Delight: Chill the dough for at least 30 minutes before baking. This step helps achieve that extra chewiness we all crave.
-
Nutty Surprise: Fold in chopped nuts like walnuts or pecans for an unexpected crunch. The blend of flavors complements the chocolate beautifully, adding a delightful nutty taste.
-
Seasonal Twist: Mix in a teaspoon of cinnamon or nutmeg for a warm, cozy flavor loved during the holidays. It’s the perfect way to bring a seasonal flair to your baking.
-
Lower Sugar: Consider substituting half of the granulated sugar with a natural sweetener, such as monk fruit or coconut sugar, without sacrificing flavor.
-
Chocolate Mix: Try using a combination of milk chocolate and dark chocolate chips for a balanced sweetness. This twist makes each bite an intense experience.
Need more inspiration? Check out my amazing Butter Chicken Easily for a delightful dinner that can be shared before indulging in these delightful cookies!
Tips for the Best Chocolate Chip Cookies
-
Use Softened Butter: Ensure your butter is softened, not melted. Melted butter can cause cookies to spread too much and become flat.
-
Don’t Overmix: Mix the dough until just combined after adding flour. Overmixing can lead to tough cookies, ruining the delicate balance of chewy and crispy.
-
Chill the Dough: If you have the time, chill the cookie dough for 30 minutes before baking. This helps intensify flavors and prevents excessive spreading for perfect chewy cookies.
-
Correct Baking Time: Keep an eye on the cookies while they bake. A slightly underbaked center yields a wonderfully chewy texture, so remove them when the edges are golden.
-
Experiment with Variations: Feel free to modify this chocolate chip cookie recipe—try adding nuts or substituting different chocolate varieties for unique flavors.
Storage Tips for Chocolate Chip Cookies
Room Temperature: Store your cookies in an airtight container at room temperature for up to 1 week to keep them fresh and chewy.
Fridge: If you live in a warm climate, it’s best to store the cookies in the fridge, where they can last up to 2 weeks without losing their deliciousness.
Freezer: For longer storage, freeze the cookies in a single layer on a baking sheet, then transfer them to a freezer-safe bag for up to 3 months.
Reheating: To enjoy them warm, microwave frozen cookies for about 15-20 seconds; they’ll be just like fresh-baked chocolate chip cookies again!
What to Serve with Perfectly Chewy Chocolate Chip Cookies
Gather around your kitchen table and let the delightful flavors of your freshly baked chocolate chip cookies inspire your next cozy meal.
-
Milk: A classic pairing that enhances the cookies’ sweetness while offering a refreshing contrast to the rich chocolate.
-
Coffee: The robust flavor of coffee balances out the sweetness of the cookies, creating a comforting and indulgent experience.
-
Vanilla Ice Cream: Serve warm cookies with a scoop of creamy vanilla ice cream for a decadent dessert that melts in your mouth.
-
Fruit Salad: Fresh fruit adds a light and refreshing touch, contrasting the rich and sweet flavors of the cookies.
-
Chocolate Milkshake: For a true indulgence, a chocolate milkshake amplifies the cookie’s flavor while providing a nostalgic childhood treat.
-
Chocolate Fondue: Dip cookie pieces in warm, melted chocolate for an interactive dessert that oozes decadence and fun.
-
Peanut Butter: Spread a thin layer of peanut butter on half of a cookie for a delightful blend of creamy and crunchy textures.
-
Hot Chocolate: Cozy up with a warm mug of hot chocolate; its rich chocolatey flavor pairs perfectly with your cookies.
-
Caramel Sauce: Drizzle warm cookies with caramel sauce for an extra layer of sweetness and a touch of sophistication.
Perfectly Chewy Chocolate Chip Cookies Recipe FAQs
How do I choose the best chocolate chips for my cookies?
Absolutely! When choosing chocolate chips, look for high-quality brands that contain a higher percentage of cocoa for richer flavor. Semi-sweet chocolate chips are classic, but dark chocolate adds sophistication. Dairy-free options are available for a vegan twist, and if you’re feeling adventurous, use chopped chocolate bars for varied textures.
How should I store my chocolate chip cookies?
For optimal freshness, store your cookies in an airtight container at room temperature for up to 1 week. If you live in a humid climate, it’s best to keep them in the fridge, where they’ll stay good for up to 2 weeks. Just ensure they are in an airtight container to prevent them from becoming stale.
Can I freeze chocolate chip cookies, and how do I do it?
Absolutely! To freeze your cookies, first, let them cool completely. Then, place them in a single layer on a baking sheet and freeze until firm (about 1-2 hours). Once frozen, transfer them to a freezer-safe bag, removing as much air as possible, and store them for up to 3 months. To enjoy them later, reheat in the microwave for 15-20 seconds or let them thaw at room temperature.
Why did my cookies turn out flat?
Very good question! Flat cookies often occur due to melted butter used in the recipe or not enough flour. Make sure your butter is softened, not melted, and level your flour for accurate measurements. Also, don’t skip chilling the dough; it helps firm up the fats and prevent spreading.
Can I make these cookies gluten-free?
Absolutely! Simply substitute all-purpose flour with a gluten-free flour blend. I recommend using a blend that contains xanthan gum or guar gum, as these ingredients help mimic the texture of traditional flour. Always check labels on your chocolate chips to ensure they are also gluten-free.
What can I substitute for eggs in the recipe?
For an egg-free version, I suggest using flaxseed meal. Mix 1 tablespoon of flaxseed meal with 3 tablespoons of water and let it sit for about 5 minutes until it thickens; this replaces one egg. Alternatively, unsweetened applesauce can be used in a 1:1 ratio, although it may slightly change the texture.
Loaded Bravas Tots Recipe: Crispy, Cheesy Comfort Awaits
Ingredients
Equipment
Method
- Preheat your oven to 425°F (220°C) and line a large baking sheet with parchment paper.
- Spread frozen tater tots evenly on the prepared baking sheet and bake for 25-30 minutes, flipping halfway through.
- In a small saucepan, heat olive oil over medium heat, add minced garlic, and sauté for 1-2 minutes.
- Stir in crushed tomatoes, smoked paprika, and cayenne, let simmer for about 10 minutes until thick.
- In a bowl, mix diced avocado, cilantro, and lime juice to create a topping.
- Once the tater tots are golden and crispy, drizzle the bravas sauce over the tots and sprinkle cheese on top.
- Return loaded tots to the oven for another 5-7 minutes until cheese melts and bubbles.
- Top with the avocado mix and additional cilantro for garnish before serving.
Leave a Reply