
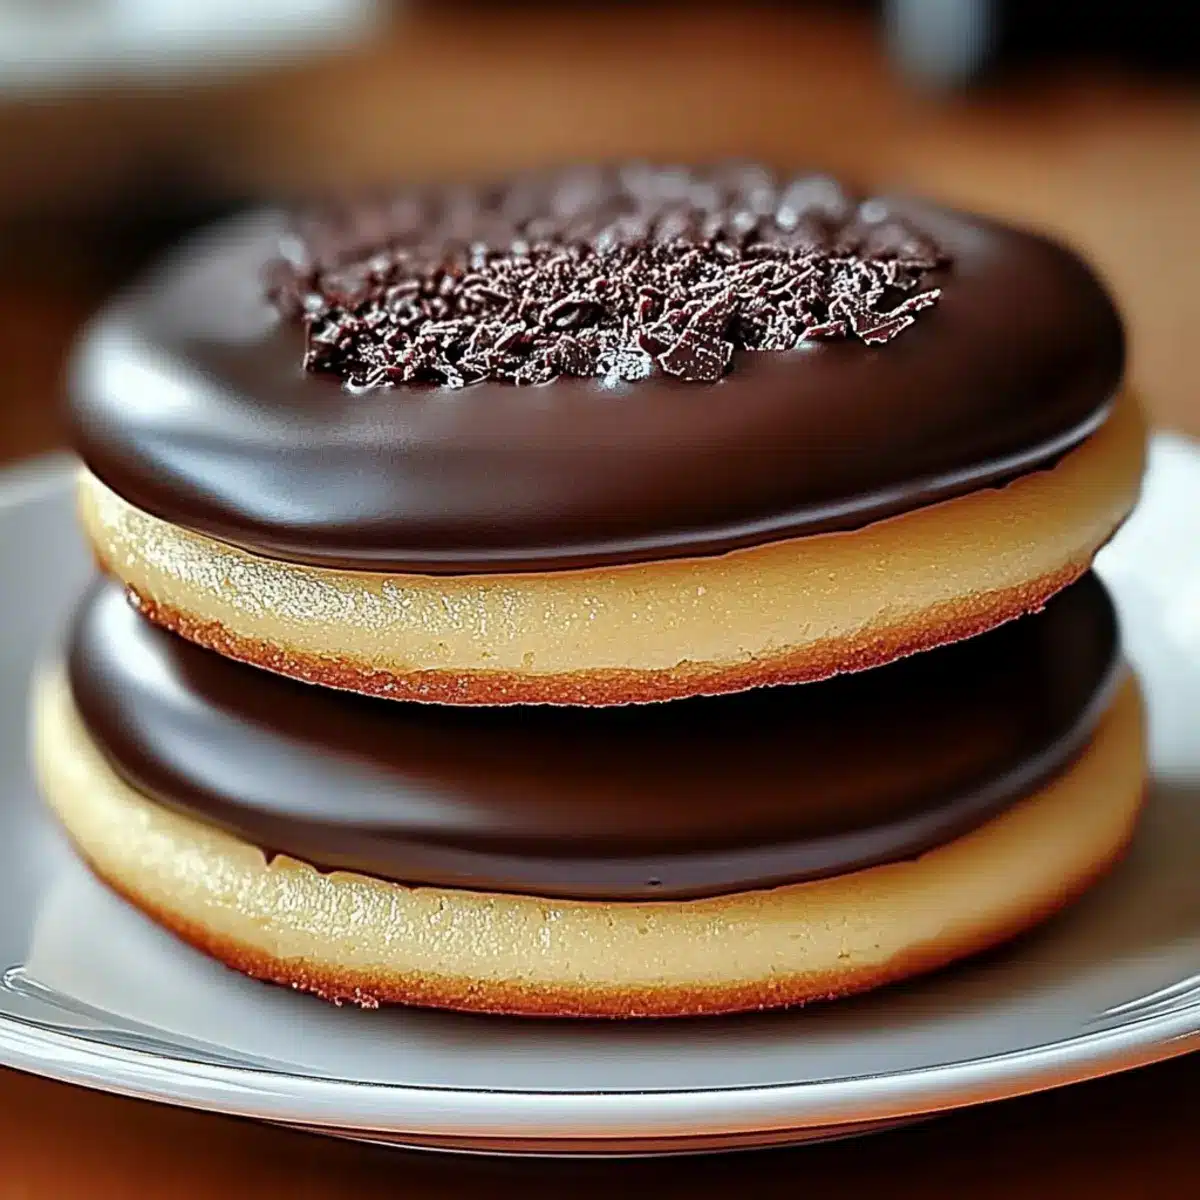
Have you ever found yourself craving a slice of Boston Cream Pie but you’re in the mood for cookies instead? That was me the other day, and it led to the delightful creation of Boston Cream Pie Cookies! These soft, cake-like treats are a playful twist on the classic dessert, featuring a rich, velvety pastry cream filling nestled between two buttery cookies and crowned with a luscious chocolate glaze. What’s more, they are quick to whip up and perfect for both impressing your guests at a gathering or simply treating yourself after a long day. With each bite, you get a taste of nostalgia that will have you reaching for just one more. Curious about how to make these indulgent cookies yourself? Let’s dive into the recipe!
Why You’ll Love Boston Cream Pie Cookies
Indulgent flavors await: Enjoy the rich cream filling and silky chocolate glaze in every bite, mirroring the classic dessert you love.
Easy to make: With just a few simple steps, these cookies come together quickly, making them perfect for busy bakers.
Crowd-pleaser: Serve these at your next gathering, and watch as friends and family rave about the delightful twist on a beloved classic!
Versatile options: Feel free to experiment with flavors, like a hint of almond or even a touch of coffee in the cream filling.
Storage-friendly: These cookies store well, allowing you to enjoy them throughout the week or impress guests with fresh treats. If you’re feeling adventurous, consider pairing these cookies with a scoop of vanilla ice cream for an unforgettable dessert experience!
Boston Cream Pie Cookies Ingredients
For the Cookies
- Unsalted Butter – Provides richness and moisture; substitute with vegan butter for a dairy-free alternative.
- Granulated Sugar – Sweetens the dough and promotes browning; coconut sugar can be a more natural option.
- Large Eggs – Binds the dough and contributes to cookie structure; no substitution is recommended.
- Vanilla Extract – Imparts delightful flavor; try almond extract for a different twist.
- All-Purpose Flour – Forms the base structure; a gluten-free blend can be used for a suitable variation.
- Baking Powder – Helps the cookies rise for that wonderful soft texture; no substitute needed.
- Baking Soda – Works harmoniously with baking powder for proper leavening; no needs for substitution.
- Salt – Enhances all the delightful flavors; sea salt can provide a unique taste.
For the Cream Filling
- Heavy Cream – Creates a rich, velvety filling; whipping cream can serve as a lighter substitute.
- Powdered Sugar – Sweetens and stabilizes the cream filling; reduce to lower sweetness if desired.
For the Chocolate Glaze
- Semi-Sweet Chocolate Chips – Coats the cookies in rich chocolate; dark chocolate adds an even bolder flavor.
- Vegetable Oil – Helps achieve a smooth chocolate glaze; canola oil works well as a substitute.
Step‑by‑Step Instructions for Boston Cream Pie Cookies
Step 1: Prepare Cookie Dough
Begin your Boston Cream Pie Cookies by creaming together 1 cup of softened unsalted butter and 1 cup of granulated sugar until light and fluffy—about 3-5 minutes. Then, mix in 2 large eggs, one at a time, along with 1 teaspoon of vanilla extract. Gradually incorporate 2 cups of all-purpose flour, along with 1 teaspoon of baking powder, 1 teaspoon of baking soda, and a pinch of salt until a cohesive dough forms.
Step 2: Chill Dough
Once your dough is ready, wrap it in plastic wrap or place it in an airtight container and refrigerate for at least 30 minutes. Chilling the dough helps it firm up, making it easier to handle when forming cookie balls. This crucial step ensures your cookies maintain their shape while baking, resulting in a bakery-style texture.
Step 3: Make Cream Filling
While the dough chills, prepare the creamy filling by whipping together 1 cup of heavy cream and 1/2 cup of powdered sugar in a bowl using an electric mixer. Beat until soft peaks form, then gently fold in another teaspoon of vanilla extract for added flavor. This creamy mixture will be the delightful filling of your Boston Cream Pie Cookies.
Step 4: Bake Cookies
Preheat your oven to 350°F (177°C). Once the dough is chilled, scoop tablespoon-sized balls onto a baking sheet lined with parchment paper, spacing them a couple of inches apart. Bake for 10-12 minutes or until the edges of the cookies are lightly golden. The centers should look soft and slightly underbaked for the perfect texture.
Step 5: Cool Cookies
Remove the cookies from the oven and let them sit on the baking sheet for about 5 minutes. Then, transfer them to a wire rack to cool completely. Ensuring the cookies are fully cooled prevents them from melting the cream filling, allowing for a delightful sandwich that retains its shape well.
Step 6: Prepare Chocolate Glaze
While the cookies are cooling, create the chocolate glaze by melting 1 cup of semi-sweet chocolate chips with 2 teaspoons of vegetable oil in a microwave-safe bowl. Heat in 30-second intervals, stirring in between, until smooth and glossy. This rich glaze adds a decadent finishing touch to your Boston Cream Pie Cookies.
Step 7: Assemble Cookies
Once both the cookies and the filling are cool, take one cookie and either pipe or spoon a generous amount of the cream filling onto the bottom side. Top it off with another cookie, pressing gently to secure. To finish, dip the top of the filled cookie into the melted chocolate glaze or drizzle the glaze over the created sandwiches. Allow the chocolate to set before serving.
Make Ahead Options
These Boston Cream Pie Cookies are perfect for meal prep enthusiasts looking to save time during busy weeks! You can prepare the cookie dough up to 3 days in advance by wrapping it tightly in plastic wrap and refrigerating. The cream filling can also be made ahead and stored in an airtight container in the fridge for up to 24 hours; just give it a gentle whip before using to restore its texture. When you’re ready to bake, scoop and shape the chilled dough, then follow the remaining steps to bake, cool, and assemble. This way, you’ll have delicious, homemade cookies ready to enjoy with minimal effort, just as satisfying as if you’d made them fresh!
Boston Cream Pie Cookies Alternatives
Customize your delightful Boston Cream Pie Cookies with these tasty suggestions that will make every bite a new experience!
-
Dairy-Free: Substitute unsalted butter with vegan butter and use coconut cream in the filling for a deliciously dairy-free treat.
-
Natural Sweetener: Swap granulated sugar for coconut sugar to add a subtle caramel note while keeping it all-natural.
-
Gluten-Free: Use a gluten-free flour blend to ensure that everyone can enjoy these cookies without missing out on the fun.
-
Nutty Flavor: Experiment by adding almond extract instead of vanilla for a nutty twist that complements the chocolate and cream beautifully.
-
Coffee Infusion: Fold in a teaspoon of instant coffee into the cream filling to awaken your taste buds with a delightful espresso flavor.
-
Fruit Twist: Add a spoonful of jam or fruit preserves, like raspberry or strawberry, between the filling and the cookies for a fruity surprise.
-
Heavier Chocolate: For dark chocolate lovers, replace semi-sweet chocolate chips with dark chocolate for a richer, more intense flavor.
-
Ice Cream Sandwiches: Create a decadent dessert by making ice cream sandwiches out of your Boston Cream Pie Cookies, adding a scoop of vanilla or chocolate ice cream between them.
If you’re feeling inspired, you might also enjoy pairing these cookies with Cheesecake Stuffed Cookies for some creaminess or a warm bowl of Apple Oatmeal Cookies for added flavor bites!
What to Serve with Boston Cream Pie Cookies
Elevate your dessert experience with these delightful pairings that enhance the flavors and textures of your cookies.
- Vanilla Ice Cream: Creamy and cool, it contrasts beautifully with the rich, chocolate-topped cookies, creating a delightful indulgence.
- Fresh Berries: Juicy strawberries or tart raspberries provide a refreshing balance that cuts through the sweetness of the cookie.
- Coffee or Espresso: A warm cup of coffee amplifies the chocolate notes while providing a cozy touch to your dessert experience.
- Whipped Cream: A dollop of lightly sweetened whipped cream takes the cookies to another level, adding an airy texture that complements the creamy filling.
- Chocolate Milkshake: This indulgent treat pairs wonderfully, enhancing the chocolate flavor while offering a nostalgic twist you’ll love.
- Peanut Butter Drizzle: A rich drizzle of peanut butter adds a nutty depth, creating a unique flavor combination that’s simply irresistible.
- S’mores Flavored Dessert Bars: These bars bring together the nostalgic flavors of s’mores, complementing the Boston Cream Pie Cookies perfectly while introducing different textures.
- Chocolate Covered Strawberries: The luscious strawberries add a fruity twist and make for a visually stunning presentation alongside your cookies.
- Caramel Sauce: Drizzled over the cookies or served on the side, caramel adds a sweet and buttery richness that enhances every bite.
How to Store and Freeze Boston Cream Pie Cookies
- Room Temperature: Keep the Boston Cream Pie Cookies in an airtight container at room temperature for up to 3 days to maintain their freshness and texture.
- Fridge: Storing cookies in the fridge can extend their shelf life for up to a week; ensure they are in a sealed container to prevent drying out.
- Freezer: For longer storage, freeze assembled cookies by placing them in a single layer in a freezer-safe container. They can be stored for up to 3 months.
- Reheating: To enjoy your cookies warm, pop them in the microwave for about 10-15 seconds, ensuring you don’t melt the cream filling.
Expert Tips for Boston Cream Pie Cookies
- Perfect Butter: Ensure your unsalted butter is fully softened for a smoother cream with the sugar; this prevents a dense cookie.
- Chill Time Matters: Don’t skip chilling the dough! It helps the cookies keep their shape and results in a softer texture.
- Careful Mixing: Avoid overmixing the dough. This keeps the cookies tender and fluffy—just how they should be!
- Cool Completely: Let cookies cool entirely before filling them; warm cookies could melt the cream filling and make a mess.
- Glaze Consistency: Make sure your chocolate glaze is smooth before dipping; add more oil if it’s too thick to achieve a luscious finish.
Boston Cream Pie Cookies Recipe FAQs
What’s the best way to select ripe ingredients, especially for the cream filling?
Absolutely! When choosing your ingredients, especially for the filling, opt for heavy cream that’s fresh and not nearing its expiration date. It should have a clean aroma without any sour smell. For flavoring, always use pure vanilla extract for the best taste—check the label for real ingredients versus imitation.
How should I store Boston Cream Pie Cookies?
For optimal freshness, store your Boston Cream Pie Cookies in an airtight container at room temperature for up to 3 days. If you want to extend their delicious life, placing them in the fridge will keep them good for about a week. Just make sure they’re fully cooled and sealed properly to prevent drying out.
Can I freeze Boston Cream Pie Cookies and how?
Absolutely! To freeze these delightful cookies, place them in a single layer in a freezer-safe container after fully assembling. Make sure to separate layers with parchment paper to avoid sticking. They can be frozen for up to 3 months. When you’re ready to enjoy, simply thaw at room temperature or warm them slightly in the microwave for 10-15 seconds.
What should I do if my cookies spread too much during baking?
If your cookies spread too much while baking, it’s likely due to the dough being too warm or soft. Ensure you chill the dough for at least 30 minutes before baking; this helps the cookies maintain their shape. If you find that they still spread excessively, try adding a little extra flour next time. Aim for a dough that is slightly firm yet still pliable.
Can I make Boston Cream Pie Cookies gluten-free?
Yes, you can! To make these cookies gluten-free, simply substitute all-purpose flour with a gluten-free flour blend. Make sure to check that all other ingredients, especially baking powder and chocolate, are gluten-free. Keep in mind that the texture might be slightly different, but they will still be delicious!
Are these cookies safe for pets or individuals with allergies?
These cookies contain common allergens such as eggs and dairy. It’s best to avoid giving them to pets, as chocolate is toxic to dogs and cats. If you’re catering to allergies, consider making modifications like using substitutes for dairy and eggs, but always verify the safety based on individual dietary restrictions.
Boston Cream Pie Cookies: A Decadent Twist on a Classic
Ingredients
Equipment
Method
- Cream together softened unsalted butter and granulated sugar until light and fluffy, about 3-5 minutes. Mix in eggs one at a time, followed by vanilla extract.
- Gradually incorporate all-purpose flour, baking powder, baking soda, and salt until a cohesive dough forms.
- Wrap dough in plastic wrap and refrigerate for at least 30 minutes.
- Prepare the cream filling by whipping together heavy cream and powdered sugar until soft peaks form. Fold in vanilla extract.
- Preheat oven to 350°F. Scoop tablespoon-sized balls of dough onto a baking sheet lined with parchment paper, spacing them apart.
- Bake for 10-12 minutes until edges are golden. Let cookies cool on baking sheet for 5 minutes, then transfer to wire rack to cool completely.
- Melt chocolate chips and vegetable oil in a microwave-safe bowl, stirring in 30-second intervals until smooth.
- Assemble cookies by piping or spooning cream filling onto one cookie and topping with another. Dip in chocolate glaze or drizzle over.
Leave a Reply