
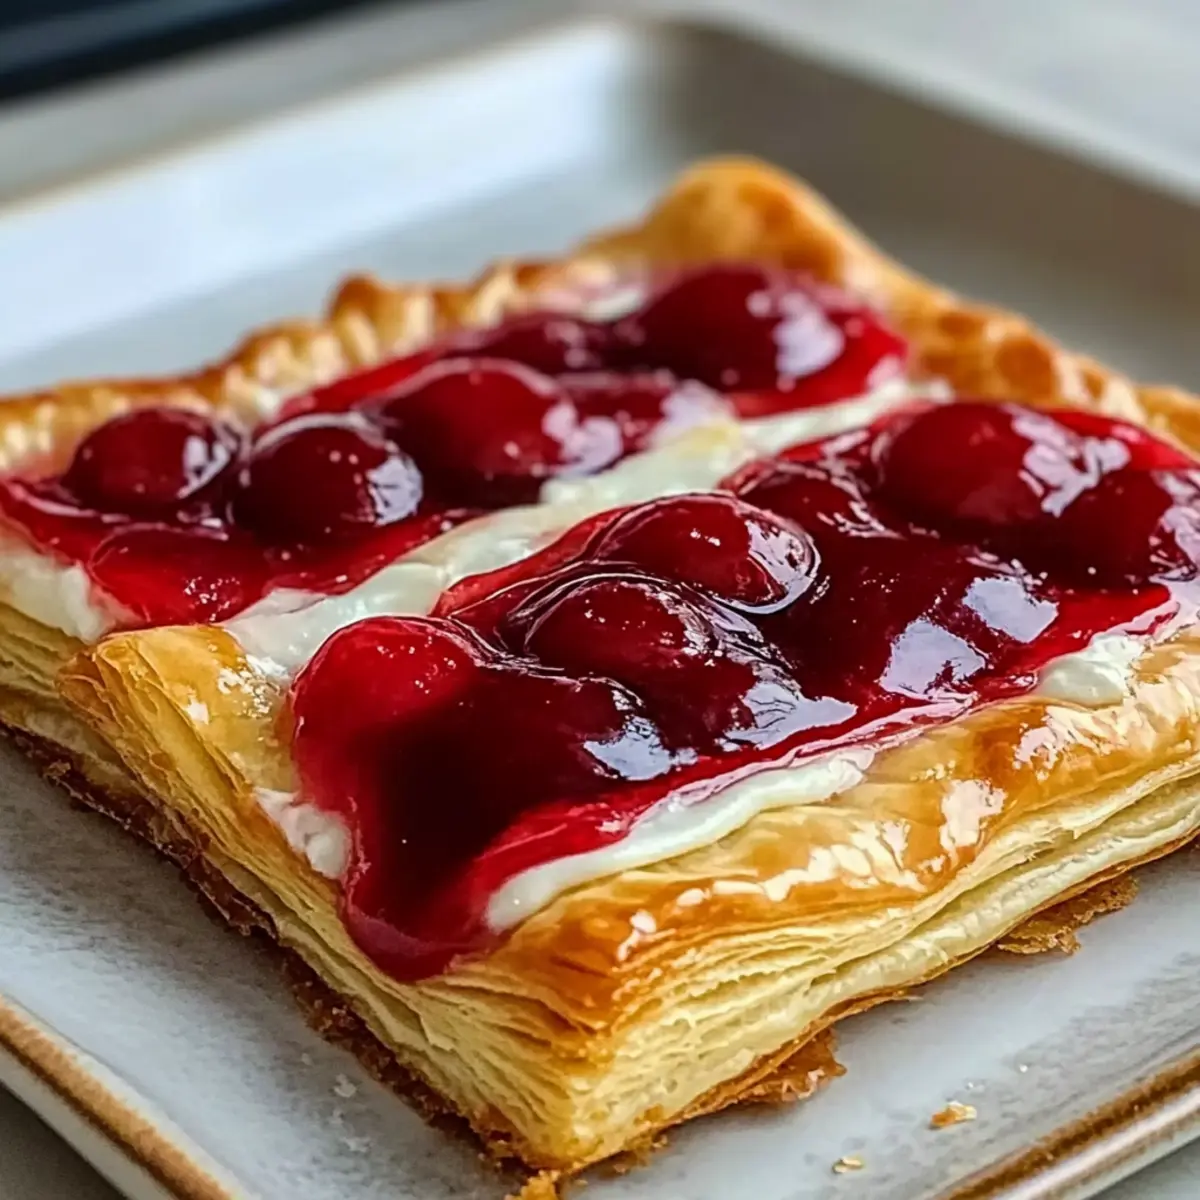
The rich aroma of fresh pastries wafting through the house can turn any ordinary morning into something special. Let me take you to that cozy moment with my Cozy Cherry Danish, where golden, flaky pastry meets a delightful cherry filling and creamy sweetness. This recipe is perfect for those who adore homemade desserts while also looking for something quick and rewarding to whip up. Not only is this Cherry Danish a showstopper for brunch gatherings, but it also holds the promise of nostalgia, reminding us of leisurely afternoons spent savoring treats. Plus, you can easily customize these delicious pastries with your favorite fillings, whether it’s a luscious chocolate drizzle or another fruity delight. Are you ready to fill your kitchen with warmth and joy? Let’s dive into this charming recipe!
Why Is This Cherry Danish a Must-Try?
Simplicity shines through in this recipe, as you only need basic baking skills to create a stunning pastry that will impress family and friends. Versatility is key—while cherries are delightful, feel free to experiment with other fillings for endless combinations. Flavor-packed layers of cream cheese and cherries blend harmoniously, delivering a taste experience that’s both rich and refreshing. Time-saving in nature, you’ll have a delectable treat ready in under 30 minutes! Perfect for brunch gatherings or as a sweet indulgence after dinner, this Cozy Cherry Danish is bound to be a crowd favorite. Looking for a cookie companion? Try my Chocolate Cherry Cookies for a complete dessert spread!
Cherry Danish Ingredients
For the Pastry
• Puff Pastry – Fresh puff pastry is recommended for the best flaky texture, but store-bought works wonderfully too.
For the Filling
• Cream Cheese – Provides a rich and creamy element that pairs perfectly with the vibrant cherry flavor; mascarpone can be used as a tasty alternative.
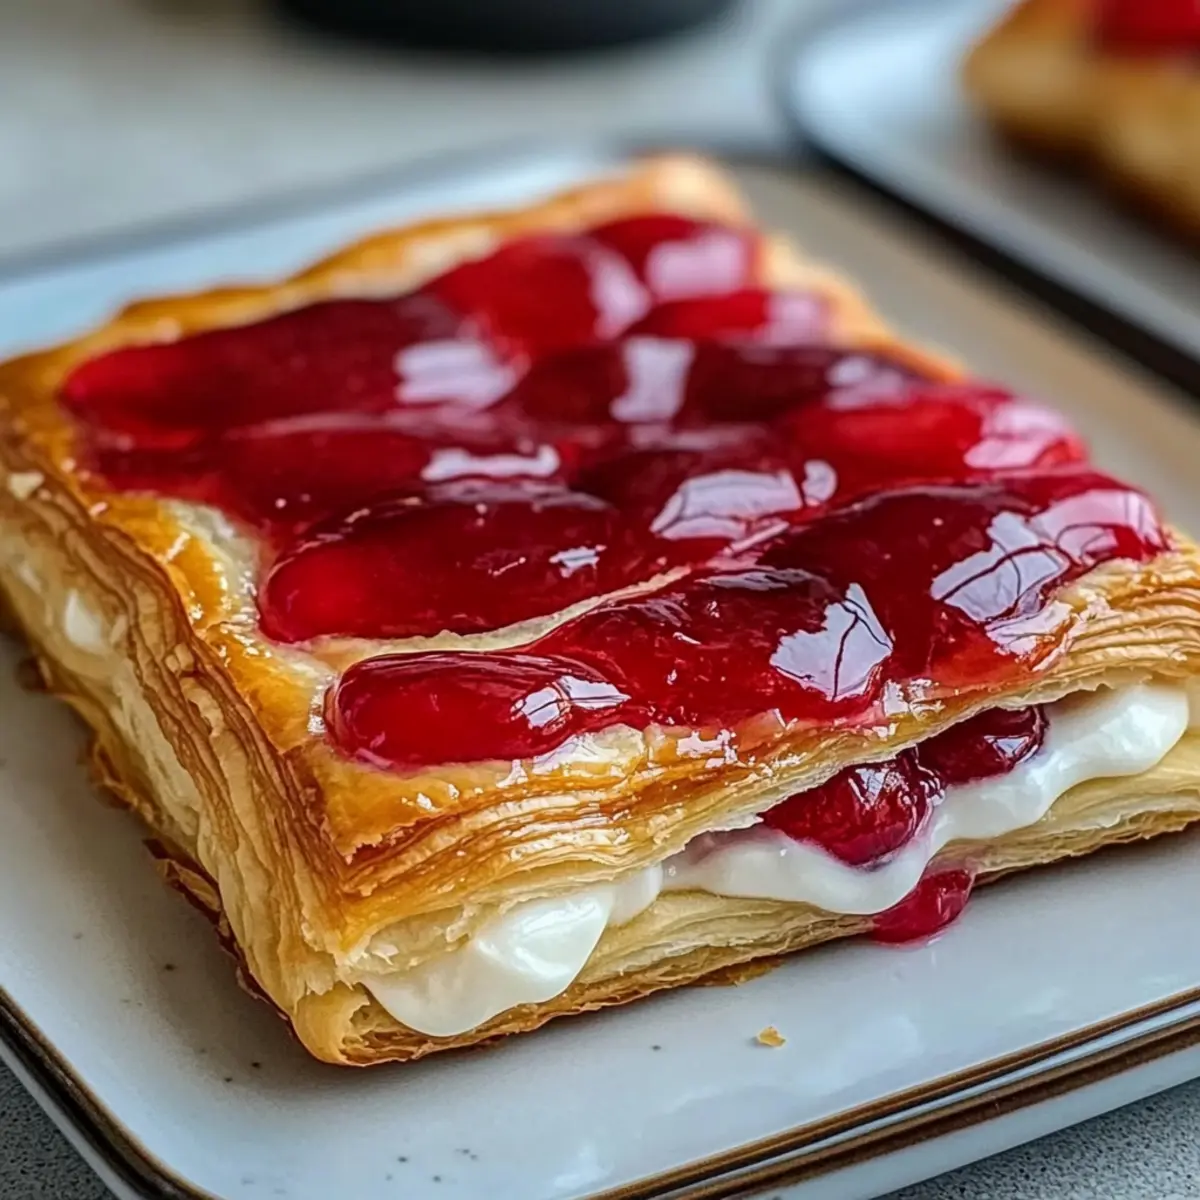
• Cherry Filling – The star of the show, delivering sweet and tangy goodness; you can use fresh, canned, or frozen cherries based on what’s available.
• Sugar – Sweetens the cream cheese mixture; brown sugar adds a deeper flavor.
• Vanilla Extract – A splash enhances the overall flavor profile of the filling, making it even more delightful.
For the Egg Wash
• Egg – Brush on top for a beautiful golden finish after baking; you can skip this step for a vegan version and substitute with almond milk.
Step‑by‑Step Instructions for Cherry Danish
Step 1: Preheat the Oven
Begin by preheating your oven to 400°F (200°C). This step is crucial for ensuring that your Cozy Cherry Danish bakes evenly and reaches that delightful golden-brown color. While the oven warms up, you can prepare your puff pastry and filling for the perfect assembly.
Step 2: Prepare the Puff Pastry
Roll out the puff pastry on a lightly floured surface until it’s about 1/4 inch thick. Using a sharp knife or pizza cutter, cut the pastry into squares, approximately 4×4 inches. These squares will be the delightful pockets that will hold your cherry filling, so make sure they are even and clean-edged for a polished appearance.
Step 3: Make the Cream Cheese Filling
In a mixing bowl, blend the softened cream cheese, sugar, cherry filling, and vanilla extract until the mixture is smooth and creamy. Use a hand mixer or a whisk to achieve a uniform consistency, which will make it easier to dollop onto the pastry. This rich filling is the heart of your Cozy Cherry Danish, so take your time to mix well.
Step 4: Assemble the Danishes
Place a generous spoonful of the cream cheese filling in the center of each pastry square. Carefully fold the corners of the pastry over the filling to create a pocket shape, pinching the edges to seal in the deliciousness. This step not only keeps the filling inside but also adds an artistic touch to your Cherry Danish.
Step 5: Apply the Egg Wash
In a small bowl, beat an egg and use a pastry brush to apply a light coat over the tops of each assembled Danish. This egg wash will give your Cozy Cherry Danish a beautiful, glossy finish once baked. Make sure to cover every exposed bit of pastry, but avoid letting the wash drip onto the baking sheet.
Step 6: Bake the Danishes
Place the assembled and egg-washed Cherry Danishes on a parchment-lined baking sheet, leaving some space between each one for even cooking. Bake in the preheated oven for 20 minutes or until they puff up and turn a lovely golden brown. Keep an eye on them during the last few minutes for that perfect bakery finish.
Step 7: Cool and Serve
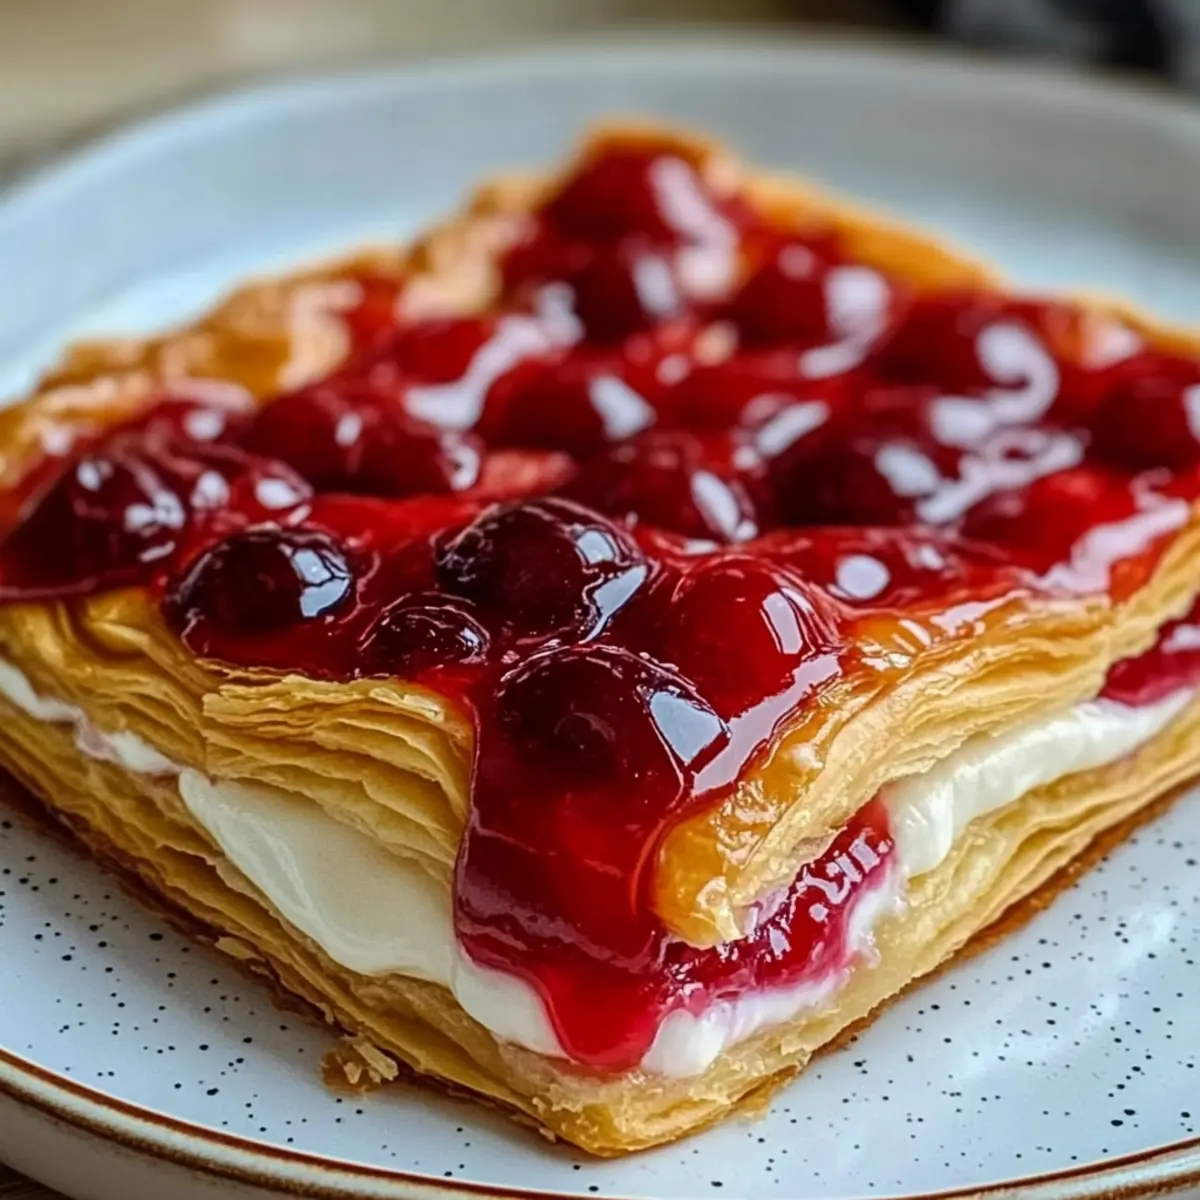
Once baked, remove the Cozy Cherry Danishes from the oven and let them cool for a few minutes on a wire rack. This cooling period helps the filling set slightly, making them easier to handle. Serve warm and enjoy the delightful aroma of fresh pastries filling your home.
Make Ahead Options
These Cozy Cherry Danishes are perfect for meal prep enthusiasts! You can prepare the puff pastry squares and filling up to 24 hours in advance, storing them separately in the refrigerator. Simply roll and cut the pastry, then keep it wrapped in plastic wrap to prevent drying out. For the filling, blend the cream cheese mixture and refrigerate it in an airtight container. When it’s time to bake, just fill the pastry squares with the chilled filling, apply the egg wash, and bake as instructed. This method saves precious time, allowing you to indulge in fresh and flaky pastries even on your busiest mornings, all while maintaining that delightful quality!
How to Store and Freeze Cherry Danish
Room Temperature: Store baked Cherry Danishes in an airtight container at room temperature for up to 2 days. This keeps them fresh and maintains their delightful texture.
Fridge: If you need to keep them longer, refrigerate in an airtight container for up to 4 days. Reheat in the oven for a few minutes to revive their flakiness.
Freezer: Unbaked Cherry Danishes can be frozen before baking. Wrap tightly in plastic wrap and store in a freezer bag for up to 1 month. Bake straight from the freezer, adding a few extra minutes to the baking time.
Reheating: For a warm treat, reheat baked Danishes in a 350°F (175°C) oven for about 10 minutes. This will refresh the pastry while warming the creamy filling.
Expert Tips for Cherry Danish
• Soften Cream Cheese: Ensure your cream cheese is at room temperature before mixing. This will create a smooth filling without any lumps.
• Even Egg Wash: Use a pastry brush for an even layer of egg wash to achieve a uniform, glossy finish on your Cherry Danish.
• Avoid Overfilling: Be cautious not to overload each pastry square with filling. Overfilling can lead to messy spills during baking, ruining your beautiful pastries.
• Puff Pastry Perfection: Leave puff pastry to rest in the fridge before use, keeping it cold ensures a better rise and flakiness.
• Switch It Up: Don’t hesitate to experiment! Use different fillings like chocolate or almond paste for a delightful twist on your Cherry Danish.
Cherry Danish Variations to Savor
Feel free to unleash your creativity with these delightful twists on the classic Cherry Danish, adding your personal touch to each bite!
- Melted Chocolate Drizzle: Top your Danish with rich, melted chocolate to elevate the sweetness and create an irresistible treat.
- Nutty Delight: Add slivered almonds to the filling or sprinkle on top for a crunchy texture that complements the soft creaminess.
- Fruit-Spiegel: Swap the cherry filling for fresh blueberries, raspberries, or peaches for a vibrant and fruity flavor explosion.
- Spiced Up: Incorporate a pinch of cinnamon or nutmeg into the cream cheese filling for a warm, cozy note that brings a hint of fall to each bite.
- Vegan Twist: Replace cream cheese with a dairy-free alternative and use almond milk for the egg wash, creating a deliciously light vegan version.
- Zesty Kick: Add a teaspoon of lemon zest to the cream cheese mixture to brighten the overall flavor profile, creating a refreshing contrast.
- Icing Drizzle: Mix powdered sugar with a bit of milk or vanilla extract to create a sweet icing to drizzle over the top, adding a touch of sweetness.
- Savory Option: Try adding a mix of spinach and feta for a sophisticated savory Danish that turns tradition on its head.
These variations not only keep your Cherry Danish exciting but also provide a chance to personalize each one to suit your family’s taste. And if you’re in the mood for another treat, why not pair these delicious pastries with my delightful Chocolate Cherry Cookies for an unforgettable dessert duo? Enjoy the creativity and flavor exploration!
What to Serve with Cozy Cherry Danish
The perfect cherry-filled pastries deserve delightful companions that elevate your dining experience and create a memorable meal.
-
Fresh Berries: These provide a burst of freshness that contrasts beautifully with the sweet cherry filling, enhancing the overall flavor profile. A medley of strawberries, blueberries, and raspberries creates a vibrant and tasty side.
-
Yogurt Parfait: A creamy yogurt parfait, layered with granola and fresh fruits, offers a lovely balance to the richness of your Cherry Danish, making it the ideal brunch option.
-
Coffee or Tea: A warm cup of your favorite brew elevates the cozy vibes and complements the sweet and creamy notes of the Danish wonderfully, perfect for an afternoon pick-me-up.
-
Vanilla Ice Cream: Serve a scoop alongside warm Cherry Danish for a heavenly dessert experience. The creaminess of the ice cream melds with the flaky pastry, keeping it delightful and indulgent.
-
Lemonade or Iced Tea: Enjoy a refreshing glass of lemonade or iced tea; both drinks cut through the sweetness and cleanse the palate, making each bite of the Cherry Danish even more enjoyable.
-
Cheese Platter: Pairing with mild cheeses like brie or goat cheese creates a pleasing contrast of textures and flavors. The creamy, tangy elements of the cheese enhance the experience and add sophistication to your table.
Cozy Cherry Danish Recipe FAQs
What type of cherries should I use for the filling?
Absolutely! You can use fresh, canned, or frozen cherries for your Cozy Cherry Danish. If using fresh, look for plump cherries without dark spots, as they should be firm and vibrant. Canned cherries should be well-drained, while frozen cherries work beautifully when thawed and patted dry.
How should I store my baked Cherry Danish?
Once baked, store your Cherry Danishes in an airtight container at room temperature for up to 2 days. If you want to keep them longer, they can be refrigerated for up to 4 days. Just reheat them in a 350°F (175°C) oven for about 10 minutes to refresh their flakiness before serving.
Can I freeze my Cherry Danishes?
Absolutely! Unbaked Cherry Danishes can be frozen. First, wrap each one tightly in plastic wrap and store them in a freezer bag for up to 1 month. When you’re ready to bake, just place them in the oven directly from the freezer, adding an extra few minutes to the baking time for a perfect treat.
What if my pastry isn’t puffing up while baking?
If your Cozy Cherry Danish isn’t puffing up as expected, it might be due to the temperature of your puff pastry. Make sure it remains cold before baking for that perfect rise. Additionally, ensure your oven is preheated accurately. If everything looks good, check the expiration of the pastry, as older dough might not yield the desirable puffiness.
Can I make a vegan version of this Cherry Danish?
Very! You can make this recipe vegan by substituting the cream cheese with a plant-based alternative, such as vegan cream cheese or cashew cream. For the egg wash, brush the tops with almond milk or a mixture of water and agave syrup for a shiny finish. This way, your Cherry Danish remains a delightful treat for everyone!
How long can I store unbaked Cherry Danishes?
If you’re preparing in advance, unbaked Cherry Danishes can be stored in the fridge for up to 24 hours. Just make sure they’re covered to prevent drying out. If you plan to keep them longer, freezing is the best option, as mentioned earlier!
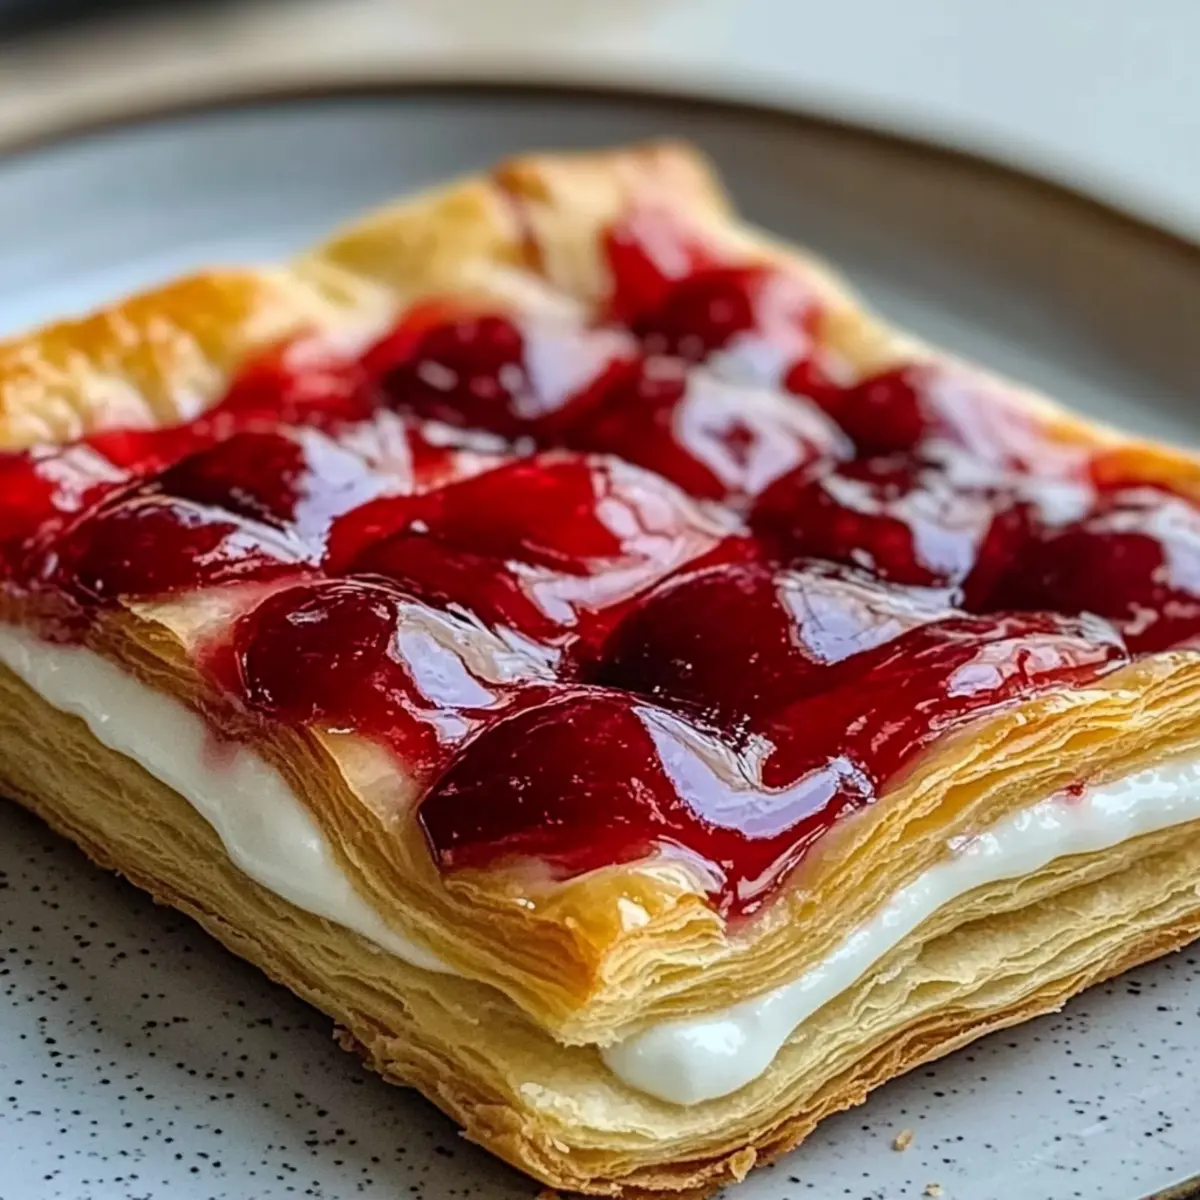
Delightful Cherry Danish That Will Warm Your Mornings
Ingredients
Equipment
Method
- Preheat your oven to 400°F (200°C).
- Roll out the puff pastry on a lightly floured surface until it's about 1/4 inch thick. Cut the pastry into 4x4 inch squares.
- In a mixing bowl, blend the softened cream cheese, sugar, cherry filling, and vanilla extract until smooth and creamy.
- Place a spoonful of the cream cheese filling in the center of each pastry square. Fold the corners over the filling to create a pocket, pinching the edges to seal.
- Beat an egg and brush a light coat over the top of each assembled Danish.
- Bake the Danishes on a parchment-lined baking sheet for 20 minutes or until golden brown.
- Let the baked Danishes cool for a few minutes on a wire rack before serving.
Leave a Reply