
The aroma of summer hangs in the air, and there’s nothing quite like a refreshing dessert to celebrate the season. That’s where this No Bake Peach Cheesecake comes in—your ultimate solution for an easy yet impressive treat. Crafted with a buttery graham cracker crust and a smooth cream cheese filling, this delightful dessert showcases both fresh and canned peaches, making it a versatile choice for any occasion. Not only is it a cinch to whip up, but it also serves as a delightful crowd-pleaser that will leave everyone asking for seconds. Who needs the oven when you can create this creamy, dreamy cheesecake in no time? Ready to indulge your taste buds and surprise your loved ones? Let’s get started!
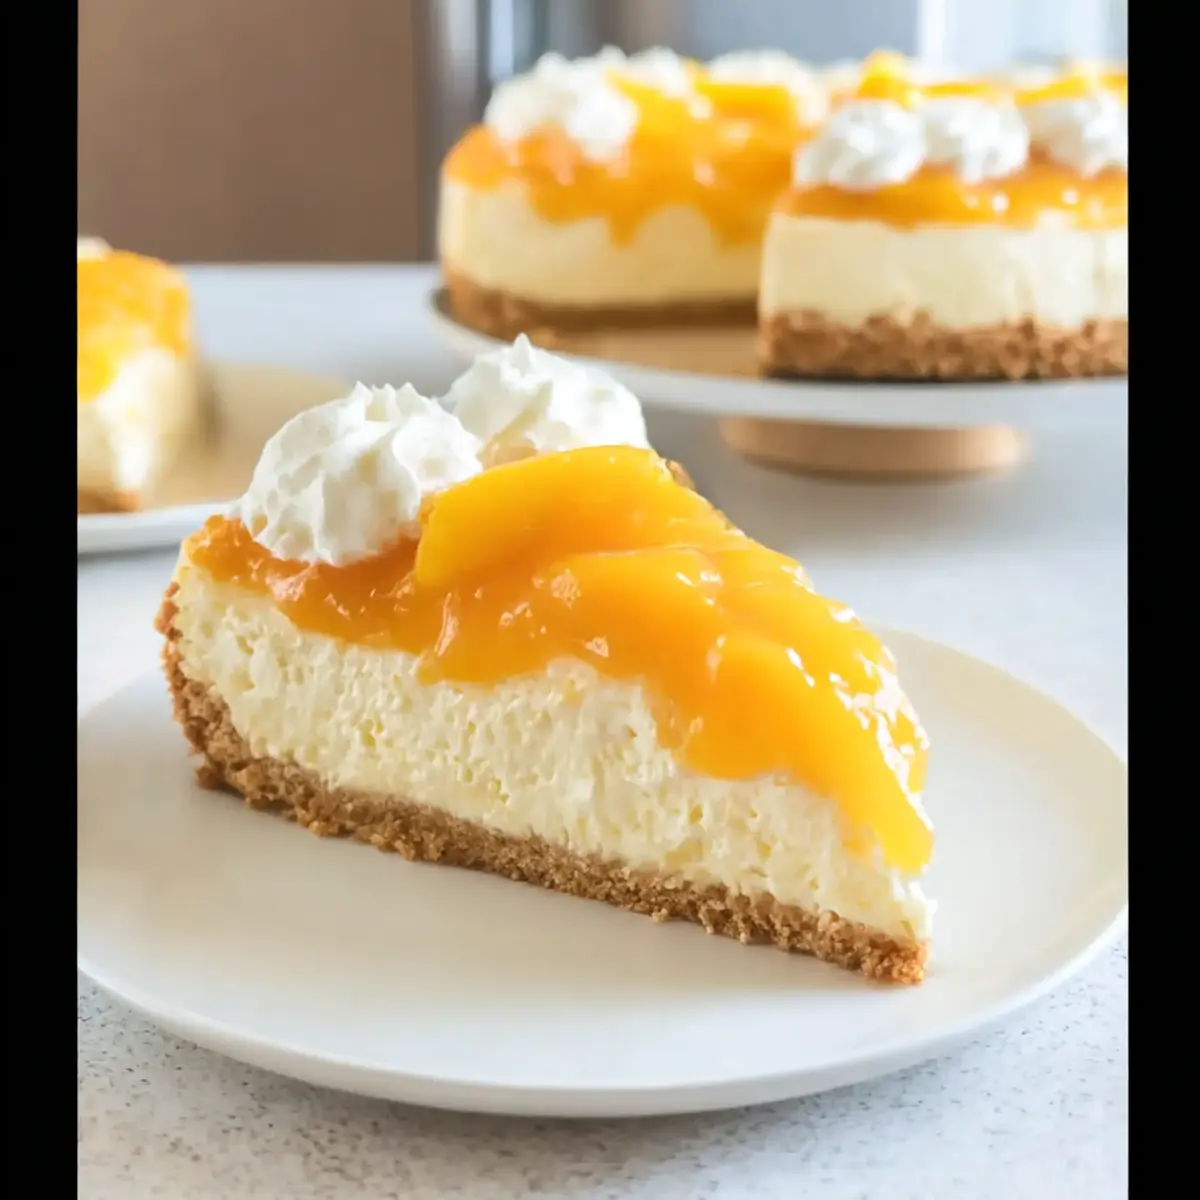
Why is This Cheesecake a Must-Try?
Simplicity at its finest: No need for complicated baking techniques—just mix, pour, and chill!
Deliciously Versatile: Enjoy the option of fresh or canned peaches, ensuring you can whip this up any time of year.
Crowd-Pleasing Flavor: The creamy filling and fruity topping is a guaranteed hit for summer gatherings, definitely an elegant dessert paired with drinks like iced tea or lemonade.
Light and Refreshing: This cheesecake offers a delightful balance of richness and lightness, echoing a summer breeze every time you take a bite.
Quick Prep Time: With just a few simple steps, you’ll have a show-stopping dessert ready to impress.
Feel inspired? This No Bake Peach Cheesecake is perfect whether you’re experimenting in the kitchen or searching for something sweet and easy, much like our Pasta Bake Pumpkin or Banana Baked Oatmeal.
No Bake Peach Cheesecake Ingredients
For the Crust
• Graham Crackers – Essential for creating a sturdy crust; use about 9 sheets (1 sleeve), crushed to crumbs.
• Granulated Sugar (for crust) – A touch of sweetness; consider substituting with brown sugar for added flavor.
• Salted Butter – Binds the crust together; make sure to melt it for a smooth mixture.
For the Cheesecake Filling
• Canned Peach Slices – The star of the show in this no bake peach cheesecake; use two 15oz cans (drained) or fresh peaches if you prefer.
• Cream Cheese – Provides that rich, creamy texture; soften to room temperature for seamless mixing.
• Granulated Sugar (for filling) – Sweetens the filling; substitutable with a sugar alternative for a lighter option.
• Lemon Juice – Brightens up the flavor; using fresh lemon juice is always a good choice.
• Vanilla Extract – Adds depth to the cheesecake; opt for pure vanilla extract whenever possible.
• Frozen Whipped Topping – Lightens the filling; stabilized whipped cream can be a great alternative if desired.
• Peach Puree – Blended from canned peaches, this fruit mix is essential in both the filling and topping.
For the Topping
• Granulated Sugar (for topping) – Sweetens the peach topping; use the same as for the filling but adjust to taste with fresh peaches.
• Cornstarch – Thickens the topping mixture; essential for achieving the right sauce consistency—don’t replace it!
• Peach Slices (for topping) – Fresh or canned, these add delightful texture and flavor to the gorgeous topping.
With all these delightful ingredients, your No Bake Peach Cheesecake will surely become a beloved treat in your home. Let’s embrace the joy of homemade desserts together!
Step‑by‑Step Instructions for No Bake Peach Cheesecake
Step 1: Prepare the Crust
Begin by crushing the graham crackers into fine crumbs using a food processor. Combine the graham cracker crumbs with granulated sugar and melted salted butter, mixing until the mixture resembles wet sand. Press this mixture firmly into the bottom and up the sides of a 9-inch springform pan, creating an even layer. Chill the crust in the freezer for about 10-15 minutes to set.
Step 2: Make the Filling
While the crust is chilling, blend two cans of drained peaches until smooth, reserving 1 cup for later. In a large mixing bowl, beat the softened cream cheese with granulated sugar until creamy and smooth. Gradually fold in the peach puree, fresh lemon juice, and vanilla extract until fully incorporated. Gently fold in the frozen whipped topping to create a light and airy filling.
Step 3: Assemble the Cheesecake
Once the filling is ready, remove the crust from the freezer. Pour the peach cheesecake filling into the prepared crust, smoothing the top with a spatula. Cover the cheesecake with plastic wrap and refrigerate for at least 4-6 hours, or overnight, to allow it to set properly and achieve the desired creamy texture.
Step 4: Prepare the Topping
To make the topping, heat the reserved peach puree in a saucepan over medium heat until it begins to simmer. In a small bowl, mix cornstarch with a bit of lemon juice to create a slurry, then whisk it into the simmering peach mixture. Add chopped fresh peaches, if desired, and cook until the mixture thickens, about 2-3 minutes. Set the topping aside to cool completely.
Step 5: Serve the Cheesecake
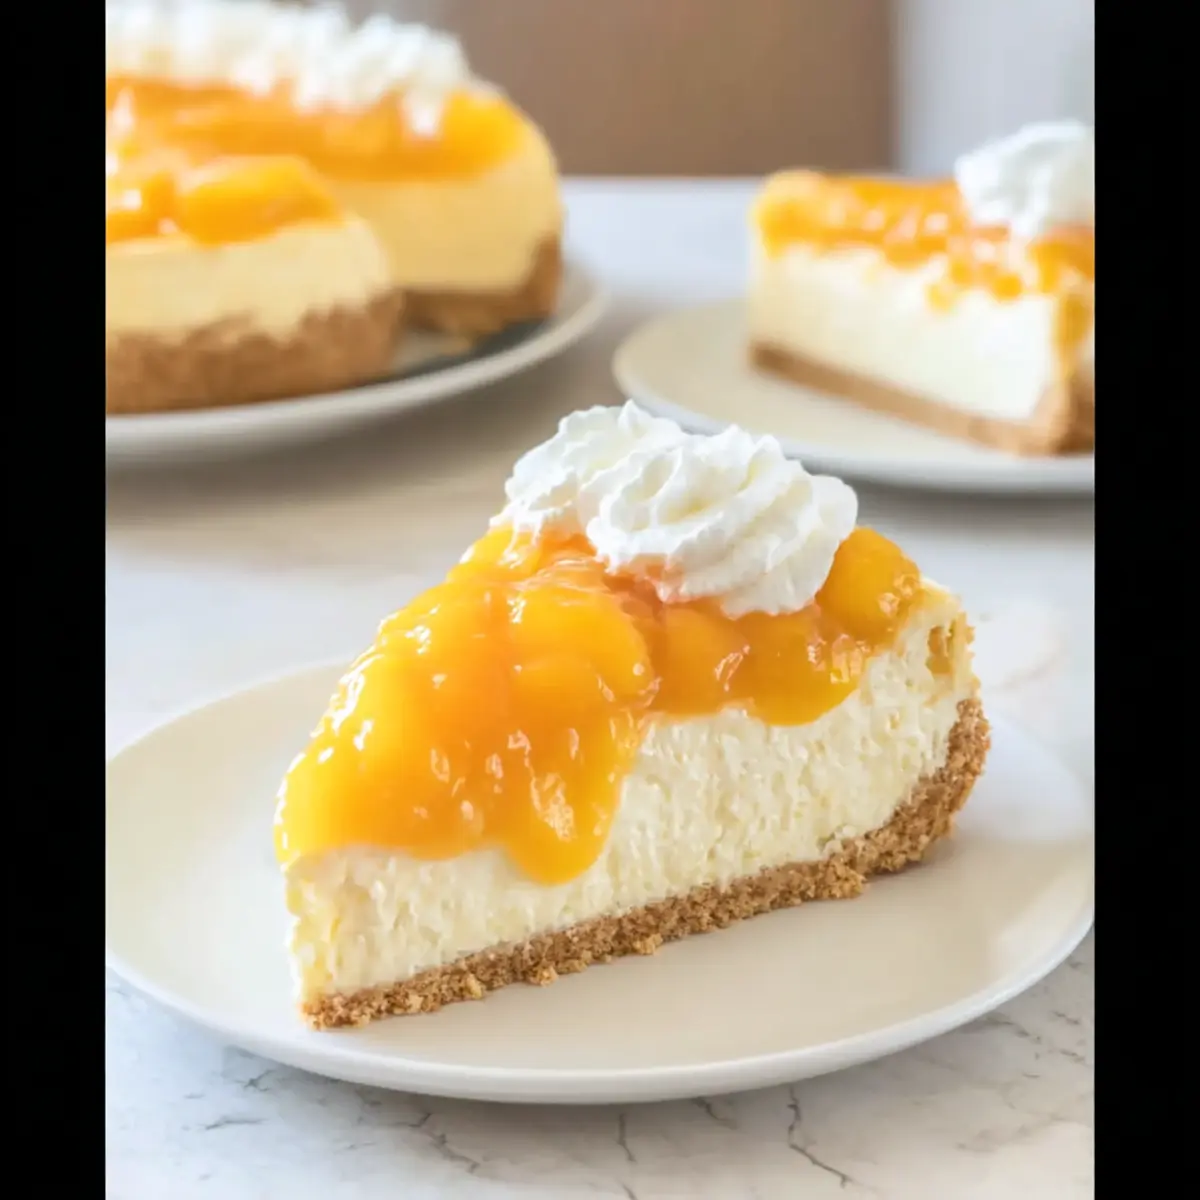
Once the No Bake Peach Cheesecake has fully set, carefully remove it from the springform pan. Spoon the chilled peach topping over the cheesecake and garnish with additional whipped cream if you like. Using a warmed knife allows for clean slices, making it easier to serve this delectable dessert at your next gathering.
Make Ahead Options
This No Bake Peach Cheesecake is a fantastic option for busy home cooks looking to save time! You can prepare the crust and filling up to 24 hours in advance. Simply mix the graham cracker crust and chill it in the freezer for about 15 minutes. Once set, make the filling, pour it into the crust, and refrigerate overnight to allow it to firm up. For the topping, you can create the peach mixture and store it in the refrigerator for up to 3 days. To maintain the cheesecake’s creamy texture, cover it tightly to avoid absorbing odors. When ready to serve, simply add the cooled topping and enjoy a delightful dessert with minimal effort!
No Bake Peach Cheesecake Variations
Feel free to personalize your No Bake Peach Cheesecake with a few easy swaps and twists that will tantalize your taste buds!
-
Fresh Peaches: Swap the canned peaches for approximately 10-12 medium-sized fresh peaches for a brighter flavor. Fresh peaches will add a delightful crunch and enhance the seasonal taste of this dessert.
-
Berry Boost: Experiment with raspberry or blueberry puree instead of peach for a fruity spin. The tangy flavor of berries can make for a refreshing alternative that’s just as creamy and delicious!
-
Vegan Option: Use vegan cream cheese and dairy-free whipped topping for a plant-based cheesecake. This way, everyone can join in on the indulgence without sacrificing taste.
-
Alternative Crusts: Change up the crust by using crushed Oreos or almond flour instead of graham crackers. Each variation brings a unique flavor and adds a delightful twist to your cheesecake base.
-
Citrus Twist: Add a hint of orange or lime zest to the filling for an extra citrusy zing. It brightens the flavor profile beautifully, making each bite feel like a sunny vacation.
-
Nutty Crunch: Fold in crushed nuts such as pecans or walnuts into the creamy filling for added texture and a subtle crunch. This addition will take your cheesecake to new heights of deliciousness!
-
Spicy Kick: For those who love a bit of warmth, sprinkle in a touch of cinnamon or nutmeg into the filling. These spices provide a cozy undertone that pairs beautifully with peaches.
-
Chilled Variation: Transform this cheesecake into frozen bars by pouring the filling into a lined baking dish and freezing it. Once solid, cut into squares for a delightful frozen treat perfect for hot days!
These variations are sure to surprise and delight your family and friends. For more mouthwatering recipes, consider trying our delightful Caramel Brownie Cheesecake or the creamy Pumpkin Cheesecake Truffles. Your dessert table will shine with creativity!
What to Serve with No Bake Peach Cheesecake
Indulging in a slice of creamy peach goodness is delightful, but pairing it with the right sides will elevate your dessert experience!
-
Iced Tea: A refreshing glass of iced tea adds a cool contrast to the richness of cheesecake while balancing the sweetness perfectly.
-
Lemon Sorbet: This light and zesty sorbet provides a palate-cleansing refreshment that complements the fruity flavor of peaches beautifully.
-
Fresh Berries: Juicy strawberries or blueberries add vibrant color and a tartness that pairs wonderfully with the creaminess of the cheesecake.
-
Minted Fruit Salad: A refreshing mix of seasonal fruits, lightly tossed with mint, offers a bright and lively side, enhancing the bright notes of peach.
-
Almond Shortbread Cookies: These buttery cookies bring a delightful crunch, adding a pleasing texture contrast to the smooth cheesecake.
-
Sparkling Lemonade: Effervescent and slightly tangy, sparkling lemonade makes for a perfect drink to sip while enjoying each decadent bite of cheesecake.
Pairing these delightful options with your No Bake Peach Cheesecake will create an unforgettable dining experience that friends and family will cherish!
How to Store and Freeze No Bake Peach Cheesecake
Fridge: Keep the cheesecake covered with plastic wrap or in an airtight container for up to 4 days. This ensures it stays fresh and delicious without absorbing any odors.
Freezer: For longer storage, freeze the cheesecake before adding the topping—wrap it tightly in plastic wrap and then foil. It can be safely frozen for up to 2 months.
Thawing: To enjoy frozen No Bake Peach Cheesecake, transfer it to the fridge 6-8 hours before serving. Add the fresh topping just before serving for the best presentation.
Reheating: This dessert is best enjoyed chilled and does not require reheating. Just slice and serve straight from the fridge!
Expert Tips for No Bake Peach Cheesecake
• Proper Peach Drainage: Ensure your canned peaches are well drained to avoid excess moisture, which can make the cheesecake soggy.
• Chill for Success: Allow the cheesecake to refrigerate overnight for best results—this ensures a firmer texture and easy slicing.
• Slice with Ease: For cleaner cuts, use a warm, dry knife. Wipe the knife between slices to maintain the cheesecake’s pristine edges.
• Texture Matters: If cut too soon, the cheesecake may collapse—always respect the chilling time for that perfect, airy feel.
• Creative Toppings: Mix in both fresh and canned peaches in the topping for enhanced flavor and texture variety. Enjoy customizing your No Bake Peach Cheesecake!
No Bake Peach Cheesecake Recipe FAQs
What kind of peaches are best for this cheesecake?
Absolutely! You can use either fresh or canned peaches for this No Bake Peach Cheesecake. If opting for fresh peaches, about 10-12 medium-sized peaches will be needed, whereas two 15oz cans will suffice if you choose canned. Fresh peaches add a wonderful texture and brightness, while canned peaches provide consistent sweetness and are ready to use right away.
How should I store any leftover cheesecake?
Very! To keep your cheesecake fresh, cover it tightly with plastic wrap or transfer it to an airtight container. It can last up to 4 days in the refrigerator. Just make sure to skip adding the topping until the day you plan to serve for optimal presentation and flavor.
Can I freeze No Bake Peach Cheesecake, and if so, how?
Yes! For freezing, ensure you wrap the cheesecake tightly in plastic wrap, followed by aluminum foil to prevent freezer burn. This No Bake Peach Cheesecake can be frozen for up to 2 months. When you’re ready to enjoy it again, simply transfer it to the fridge for about 6-8 hours to thaw. Add the topping just before serving for the best results.
What if my cheesecake doesn’t set properly?
That’s a common concern! If your cheesecake seems runny after chilling, it may need a longer time to set. Refrigerating overnight is often best. If it’s still not firm enough, you can add additional cornstarch mixed with a little water to a pan and heat gently, then fold this mixture into the cheesecake after it has fully chilled to help thicken it up.
Are there any dietary considerations for this cheese?
For those with dietary restrictions, no problem! You can substitute regular cream cheese with a vegan option for a dairy-free version. Additionally, if you use a sugar substitute for both the filling and topping, you can create a lower-calorie dessert. Always remember to check ingredient labels if anyone in your family has allergies, especially for whipped topping and cream cheese.
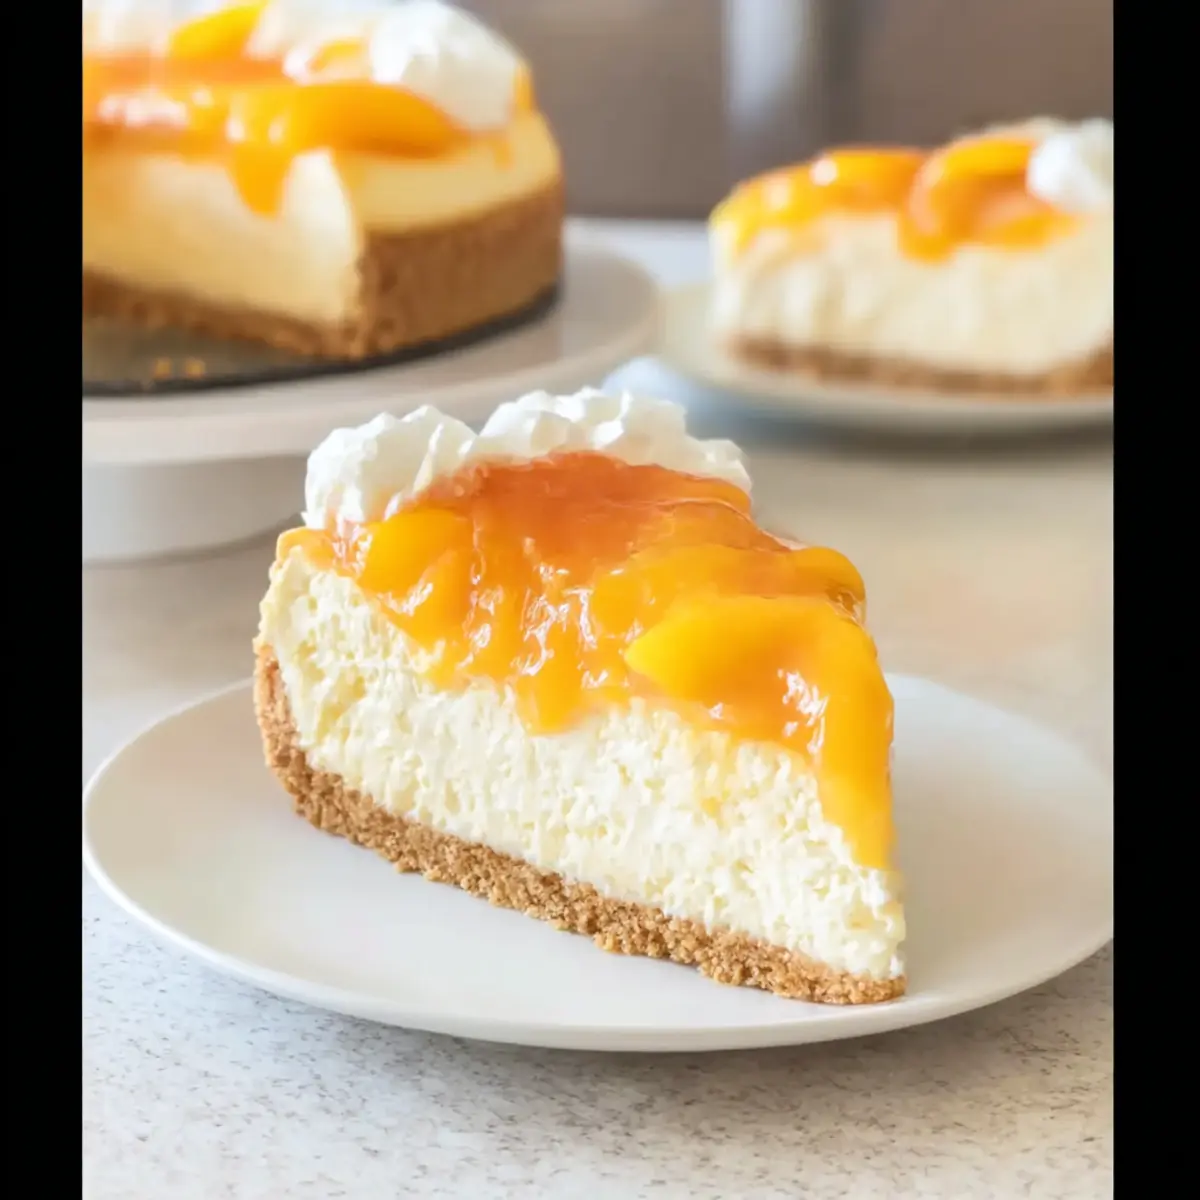
No Bake Peach Cheesecake – A Creamy Summer Delight
Ingredients
Equipment
Method
- Begin by crushing the graham crackers into fine crumbs using a food processor. Combine the graham cracker crumbs with granulated sugar and melted salted butter, mixing until the mixture resembles wet sand. Press this mixture firmly into the bottom and up the sides of a 9-inch springform pan, creating an even layer. Chill the crust in the freezer for about 10-15 minutes to set.
- While the crust is chilling, blend two cans of drained peaches until smooth, reserving 1 cup for later. In a large mixing bowl, beat the softened cream cheese with granulated sugar until creamy and smooth. Gradually fold in the peach puree, fresh lemon juice, and vanilla extract until fully incorporated. Gently fold in the frozen whipped topping to create a light and airy filling.
- Once the filling is ready, remove the crust from the freezer. Pour the peach cheesecake filling into the prepared crust, smoothing the top with a spatula. Cover the cheesecake with plastic wrap and refrigerate for at least 4-6 hours, or overnight, to allow it to set properly and achieve the desired creamy texture.
- To make the topping, heat the reserved peach puree in a saucepan over medium heat until it begins to simmer. In a small bowl, mix cornstarch with a bit of lemon juice to create a slurry, then whisk it into the simmering peach mixture. Add chopped fresh peaches, if desired, and cook until the mixture thickens, about 2-3 minutes. Set the topping aside to cool completely.
- Once the No Bake Peach Cheesecake has fully set, carefully remove it from the springform pan. Spoon the chilled peach topping over the cheesecake and garnish with additional whipped cream if you like. Using a warmed knife allows for clean slices, making it easier to serve this delectable dessert at your next gathering.
Leave a Reply