
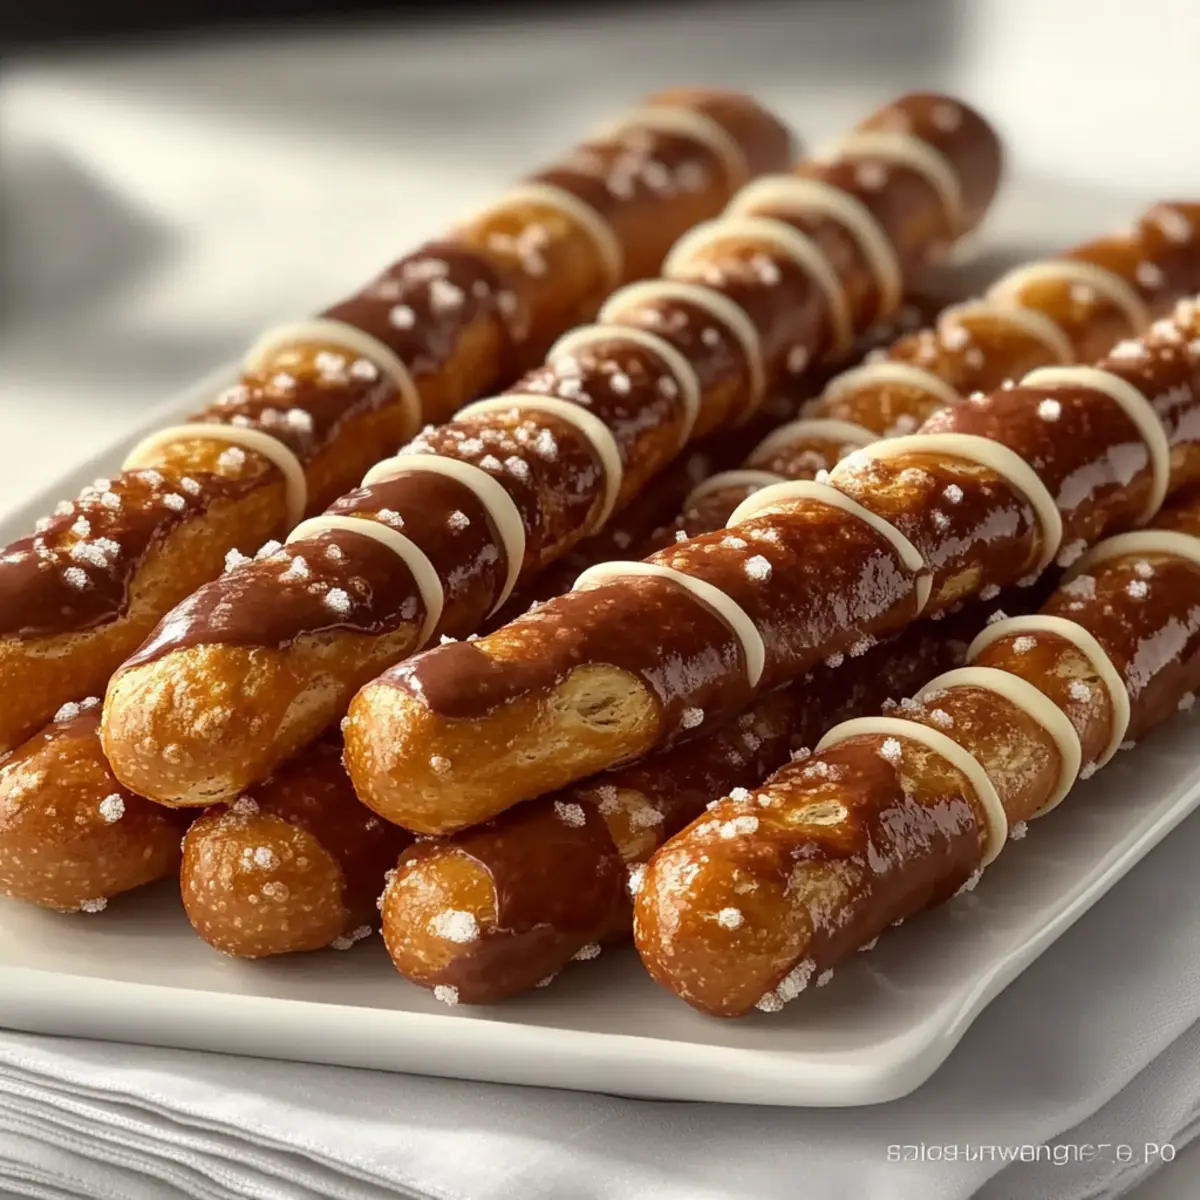
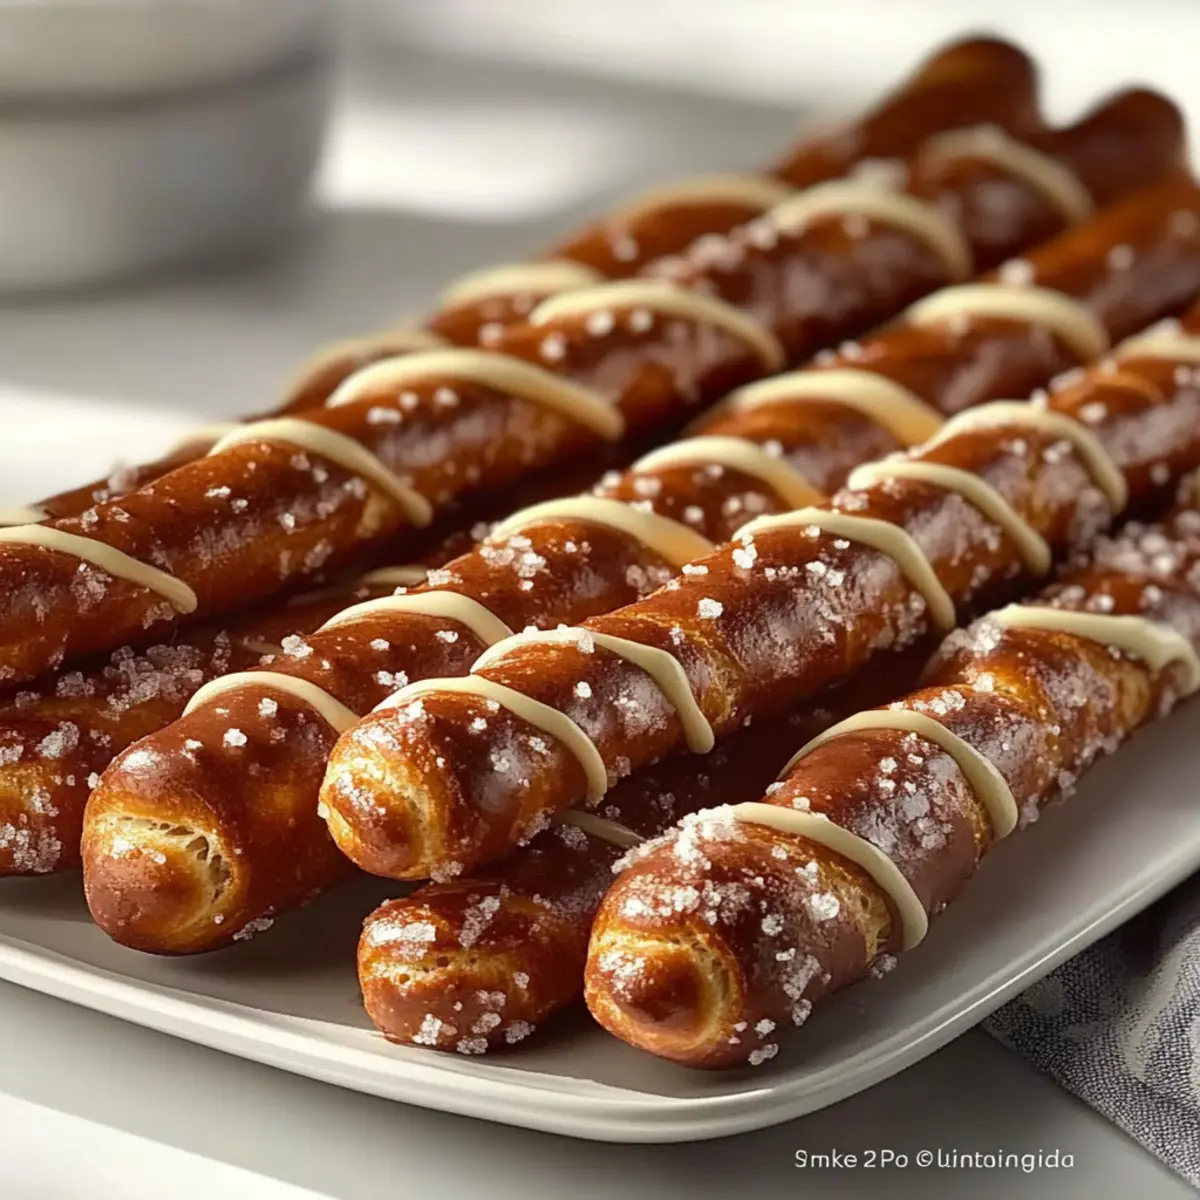
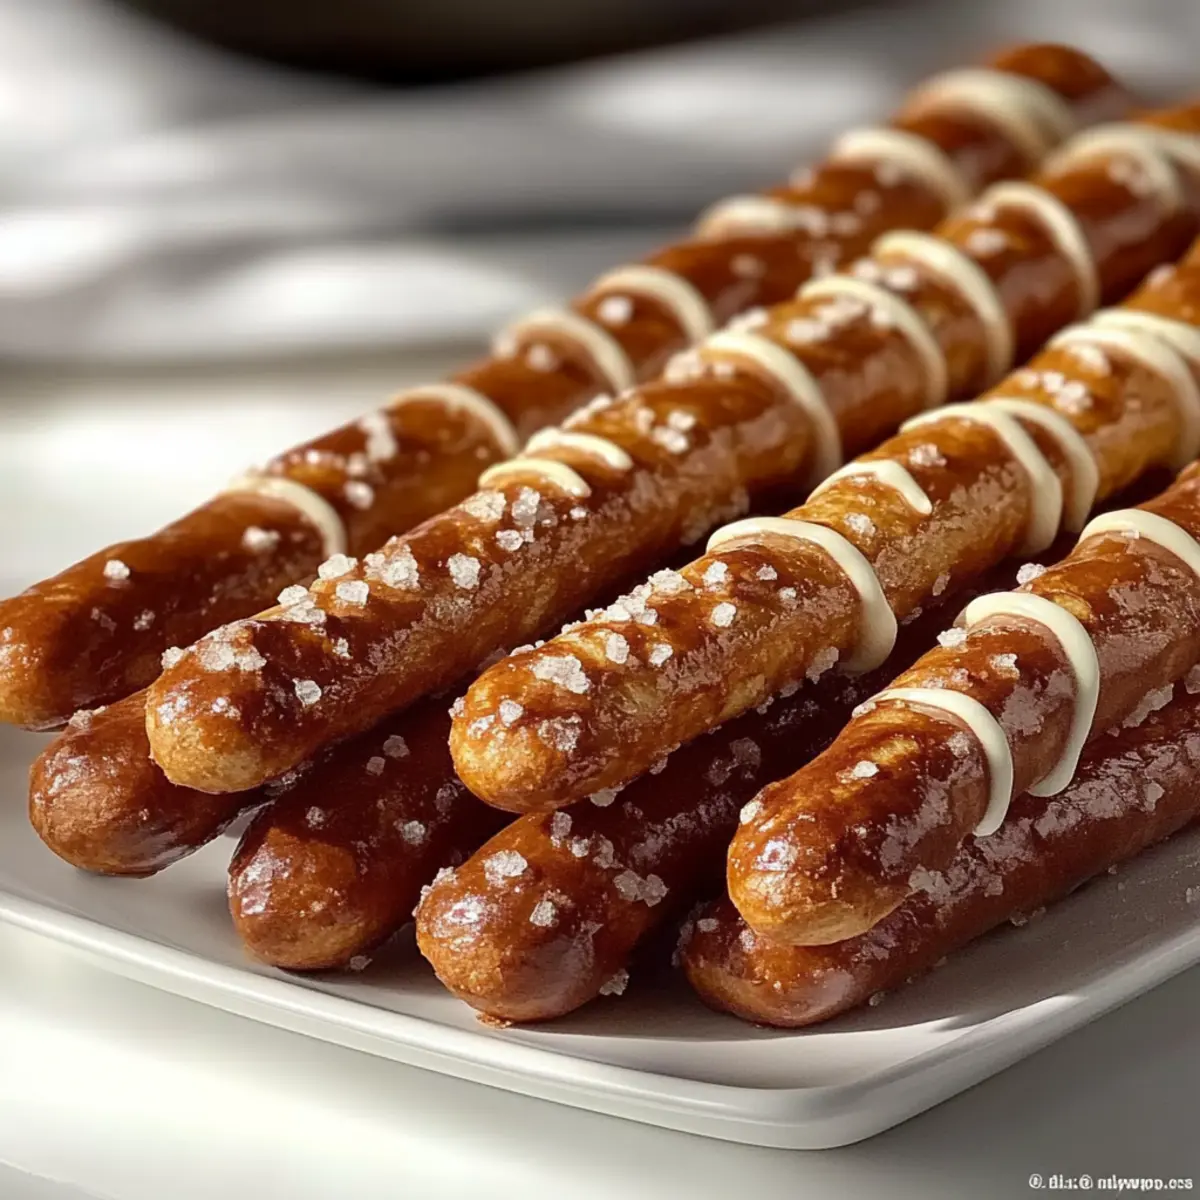
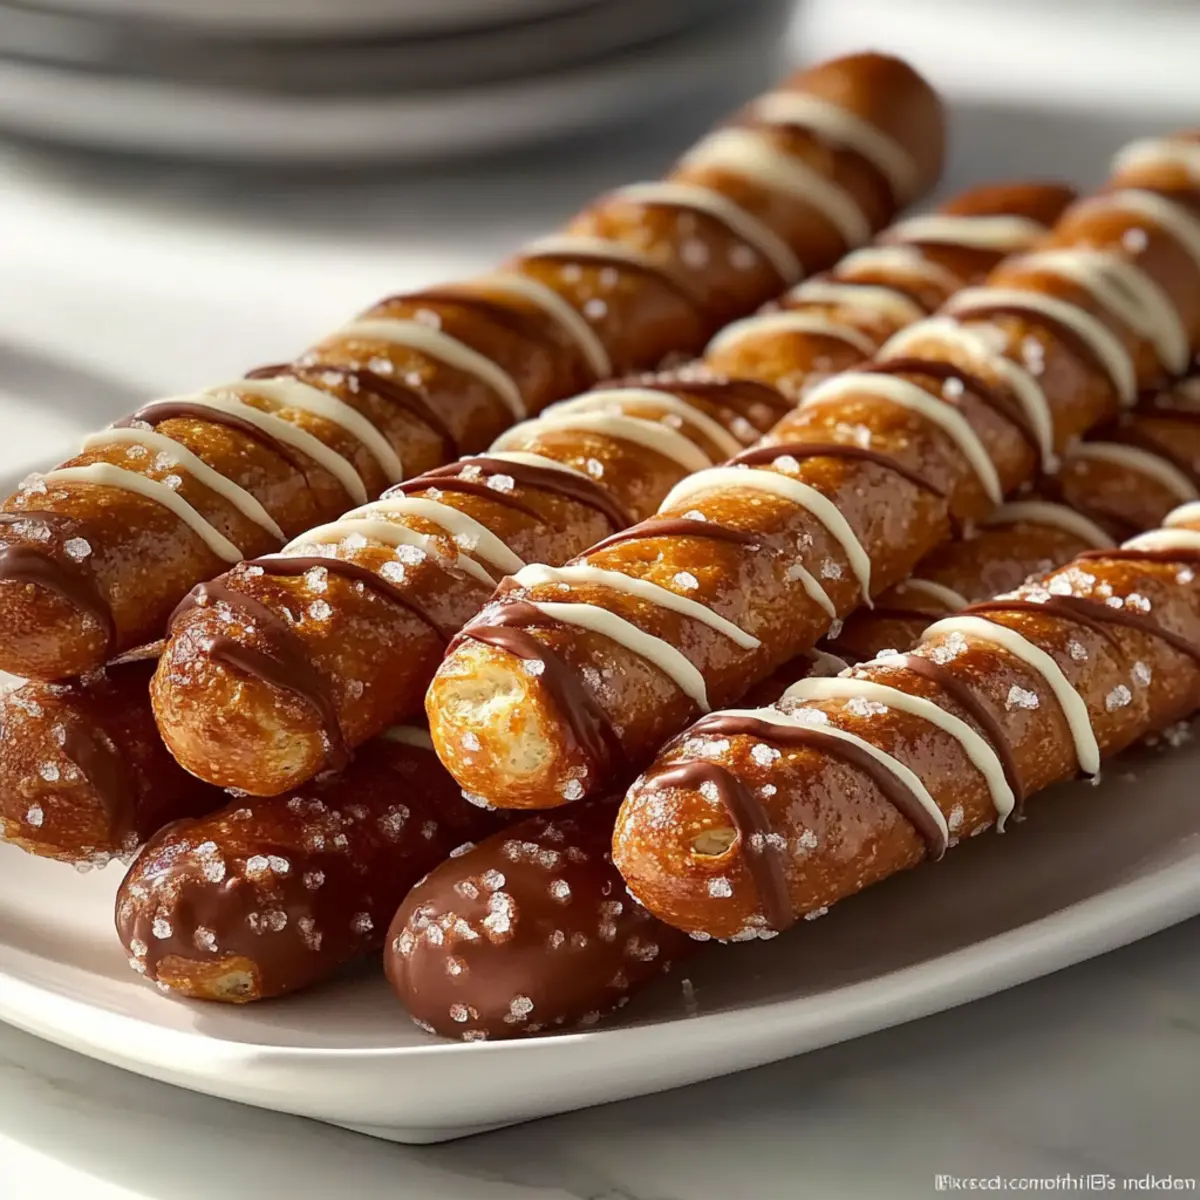
There’s a magic that fills the kitchen when homemade pretzel rods are baking—think that irresistible aroma of toasted, malty goodness! Today, I’m excited to share my recipe for Shatter Crisp Baked Pretzel Rods with Chocolate Dip, perfect for game day celebrations or a cozy night in. What I love most about these pretzel rods is their effortlessly impressive presentation and delightful texture; the shatter crisp exterior gives way to a chewy interior, and the chocolate dip adds a rich, indulgent twist that will leave your guests wanting more. Plus, they’re simple enough to whip up in no time, even if you’re juggling a few other snacks! So, are you ready to transform your next gathering into a memorable feast? Let’s dive into this delicious adventure together!
Why are these Pretzel Rods a Must-Try?
Irresistible Aroma: As you bake these pretzel rods, your kitchen will be filled with a delightful toasty scent that sets a warm and inviting atmosphere.
Effortlessly Impressive: With their eye-catching appearance and delectable chocolate dip, they are sure to wow your guests at any gathering, from game day to family movie night.
Textural Perfection: The contrast of the shatter crisp crust with the chewy interior creates a satisfying bite that will keep everyone coming back for more!
Endless Customization: Feel free to get creative! Try different toppings, such as cheese or caramel drizzle, to add your unique flair. For a savory twist, check out my tips for savory pretzel variations.
Quick and Easy: Even if you’re multitasking with other dishes, these pretzel rods are simple to make and require no fancy equipment, making them a breeze to whip up.
Pretzel Rod Ingredients
For the Dough
• Warm Water – Activates yeast; aim for a temperature between 105-115°F for best results.
• Active Dry Yeast (2 1/4 tsp) – This leavening agent helps the dough rise, delivering light and airy pretzel rods.
• Brown Sugar (1 tbsp) – Adds a touch of sweetness while boosting yeast activity with essential nutrients.
• Salt (1 tsp) – Enhances flavor and keeps yeast activity in check for that perfect rise.
• All-Purpose Flour (3 cups) – Key for structure and chewiness; avoid low-fat substitutes to ensure a delightful bite.
• Unsalted Butter (2 tbsp, melted) – Infuses richness and tenderness into the dough, elevating each bite.
For the Boiling Bath
• Baking Soda (1/4 cup) – Creates a traditional pretzel texture, contributing to the rods’ beautiful browning during baking.
• Coarse Pretzel Salt (1/4 cup) – Provides that iconic salty crunch on top; opt for this over table salt for the best contrast.
For the Chocolate Dip
• Dark Chocolate Wafers (12 oz) – Perfect for coating; melts easily to deliver a rich, indulgent flavor—substitutes can alter melting consistency.
• Coconut Oil (1 tbsp) – Smoothens the dark chocolate for dipping, achieving a silky finish on your pretzel rods.
• White Chocolate Melting Wafers (4 oz) – Ideal for piping decorative football laces on your creations, making them game-day ready!
Dive into this fun experience of making Pretzel Rods and enjoy the rewarding satisfaction they bring to your table!
Step‑by‑Step Instructions for Shatter Crisp Baked Pretzel Rods with Chocolate Dip
Step 1: Prepare the Yeast Mixture
In a mixing bowl, combine 1 and 1/2 cups of warm water (between 105-115°F), 1 tablespoon of brown sugar, and 2 and 1/4 teaspoons of active dry yeast. Stir gently to dissolve the sugar and yeast, then let the mixture sit for about 5 minutes until it becomes foamy. This activation ensures your pretzel rods will rise beautifully!
Step 2: Knead the Dough
Once the yeast is frothy, mix in 2 tablespoons of melted unsalted butter and 1 teaspoon of salt. Gradually add 3 cups of all-purpose flour, stirring with a wooden spoon until a shaggy dough forms. Transfer the dough to a floured surface and knead for about 5–7 minutes until it’s smooth and slightly tacky. This step is crucial for developing the chewiness of the pretzel rods!
Step 3: Let the Dough Rise
Place the kneaded dough in a lightly oiled bowl, covering it with a clean kitchen towel. Let it rise in a warm spot for about 60 minutes, or until it has doubled in size. You’ll know it’s ready when it feels puffy to the touch, perfect for shaping into delicious pretzel rods!
Step 4: Shape the Pretzel Rods
Once your dough has risen, punch it down to release the air, then divide it into 24 equal pieces. Roll each piece into a rope approximately 9 inches long and 1/4 inch thick. As you shape the pretzel rods, admire the soft, pliable texture that will soon transform into a delightful snack.
Step 5: Boil the Pretzel Rods
In a large pot, bring 10 cups of water to a rolling boil, adding in 1/4 cup of baking soda. Carefully drop each pretzel rod into the boiling water, one at a time, and let them boil for 30 seconds. This boiling bath is key to creating the signature pretzel flavor and chewy texture, so make sure they are bubbling vigorously!
Step 6: Bake the Pretzel Rods
After boiling, use a slotted spoon to transfer the rods to a parchment-lined baking sheet. Sprinkle with coarse pretzel salt for that classic finish, then bake in a preheated oven at 425°F for 10–12 minutes, or until they turn a deep golden brown. The enticing aroma will fill your kitchen as they bake to perfection!
Step 7: Prepare the Chocolate Dip
While the pretzel rods cool, melt 12 ounces of dark chocolate wafers along with 1 tablespoon of coconut oil in a microwave-safe bowl. Heat in 30-second intervals, stirring in between, until smooth and glossy. This indulgent chocolate dip will add a rich flavor that complements the crispy pretzel rods beautifully.
Step 8: Dip and Decorate
Once the pretzel rods are completely cool, dip each one into the melted chocolate, rotating to coat evenly. Allow any excess chocolate to drip back into the bowl, then set them on parchment paper. For added flair, melt 4 ounces of white chocolate wafers and pipe decorative football laces on the chocolate-coated rods, making them game-day ready and visually stunning!
What to Serve with Shatter Crisp Baked Pretzel Rods with Chocolate Dip
Transform your pretzel rod experience into a full celebration with the perfect sides and sweets that complement their delightful crunch and rich chocolate.
-
Creamy Cheese Dip: A smooth, cheesy dip adds a savory contrast to the sweetness of the chocolate, creating a balance that enhances every bite.
-
Fresh Fruit Platter: Juicy strawberries, tart apples, and refreshing grapes can provide a light counterpoint to the richness from the chocolate. Plus, the vibrant colors make your spread visually appealing!
-
Charcuterie Board: Enhance your gathering with a mix of cured meats, nuts, and olives. These savory elements introduce delightful textures that play beautifully against the pretzel rods’ sweetness.
-
Sparkling Lemonade: A zesty, bubbly drink brings a refreshing lift that pairs well with the yummy chocolate. The citrusy notes cleanse the palate between bites!
-
Peanut Butter Sauce: Drizzle some creamy peanut butter on top for a delightful twist. The nutty flavor complements the chocolate and adds an extra layer of indulgence!
-
Mini Brownies: Rich, fudgy brownies create a dessert parade that will have everyone smiling, while their chewy texture echoes the pretzel rods.
Embrace the creativity and joy of these pairings, turning your pretzel rods into the star of a magnificent meal!
Expert Tips for Perfect Pretzel Rods
Active Yeast Check: Always ensure your yeast is good by looking for a foamy texture after 5 minutes. If it doesn’t foam, start over for the best pretzel rods.
Boiling Bath Matters: Make sure the water is at a rolling boil before adding the pretzel rods; simmering won’t give you that characteristic chewy texture.
Salt Selection: Use coarse pretzel salt for that iconic crunch; regular table salt dissolves too quickly and won’t give the same satisfying finish.
Chocolate Cooling: Allow your pretzel rods to cool completely before dipping them in chocolate. This prevents melting and maintains a beautiful finish.
Roll Evenly: When shaping your pretzel rods, aim for uniform thickness to ensure even baking; thicker rods may result in a chewy texture rather than a crisp bite.
Experiment with Toppings: Don’t hesitate to get creative! Try different toppings, like sprinkles or nuts, on top of your chocolate dip to give a personal touch to your pretzel rods.
Make Ahead Options
These Shatter Crisp Baked Pretzel Rods are perfect for meal prep enthusiasts! You can prepare the dough up to 24 hours in advance, covering it tightly with plastic wrap and refrigerating it to keep it fresh. When you’re ready to bake, simply let the dough sit at room temperature for about 30 minutes before shaping the rods. In addition, you can boil and bake the pretzel rods up to 3 days ahead; just store them in an airtight container at room temperature to maintain their crispness. For the chocolate dip, melt and store it in a sealed container in the fridge until ready to use—just reheat it gently before dipping. With these make-ahead tips, you’ll enjoy delicious pretzel rods with minimal effort on game day!
Pretzel Rods Customization Ideas
Feel free to let your imagination run wild and make these pretzel rods uniquely yours!
-
Cheesy Delight: Brush the dough with melted butter and sprinkle shredded cheese on top before baking for a savory twist. Imagine the gooey goodness paired with the crunchy pretzel crust!
-
Sweet & Salty: Drizzle caramel on top of the chocolate dip and sprinkle with sea salt for a delicious sweet-salty combination. This addition takes your pretzel experience to a whole new level.
-
Spicy Kick: Add crushed red pepper flakes to the dough for a spicy version that pairs perfectly with a creamy dip. The heat really surprises everyone in the best way possible!
-
Nutty Crunch: Incorporate chopped nuts into your chocolate dip or sprinkle them on top before the chocolate sets. This gives an extra crunch and adds a delightful nutty flavor.
-
Dairy-Free: Substitute coconut oil and dairy-free chocolate to create a palm-oil-free indulgence. Everyone deserves to enjoy a delicious treat, especially during game day!
-
Gluten-Free: Use a gluten-free all-purpose flour blend to make these pretzel rods accessible for gluten-sensitive friends. Everyone will appreciate the thoughtful effort!
-
Herb-Infused: Mix dried herbs, such as rosemary or thyme, into the dough for a fragrant and flavorful twist. This kind of innovation enhances freshness with every bite!
-
Rainbow Sprinkles: For a festive touch, dip your finished pretzel rods in milk chocolate and top with colorful sprinkles for a celebration vibe! It’s always fun to add a little flourish to the table!
And if you’re looking to further explore the world of flavors, don’t hesitate to check out my tips for savory pretzel variations or see how to serve them alongside delightful sauces and dips!
Storage Tips for Pretzel Rods
Room Temperature: Store the pretzel rods in an airtight container at room temperature for up to 3 days to keep them fresh and maintain their delightful crunch.
Fridge: If you need to keep them longer, you can refrigerate the pretzel rods, but this may affect their texture. Aim to consume within a week for optimal taste.
Freezer: For longer storage, wrap pretzel rods individually in parchment paper and place them in a freezer bag. They can be frozen for up to 2 months—perfect for saving snacks for game day!
Reheating: To enjoy your frozen pretzel rods, simply thaw them in the fridge overnight, then reheat in the oven at 350°F for 5–7 minutes for that fresh-baked warmth.
Shatter Crisp Baked Pretzel Rods with Chocolate Dip Recipe FAQs
What type of flour should I use for pretzel rods?
It’s best to use all-purpose flour for these pretzel rods. This flour provides the right structure and chewiness for a perfect bite. Avoid low-fat substitutes, as they can yield a less satisfying texture. If you’re feeling adventurous, you might try a blend of all-purpose and whole wheat flour for a nutty flavor.
How do I know if my yeast is active?
Absolutely! To check if your yeast is active, combine it with warm water and sugar and let it sit for about 5 minutes. You’re looking for a foamy head on the surface; that’s the yeast doing its work. If there’s no foam, your yeast may be expired, and it’s best to start again for the best results.
What’s the best way to store pretzel rods?
Store your pretzel rods in an airtight container at room temperature for up to 3 days to keep them fresh and crunchy. If you’re aiming for longer storage, you can refrigerate them for up to a week, but be aware that this may affect their texture. I often freeze mine for up to 2 months, wrapping each rod in parchment paper for easy thawing!
Can I freeze pretzel rods, and how?
Yes, you can freeze pretzel rods! First, let them cool completely. Then, wrap each rod individually in parchment paper to prevent them from sticking together. Place wrapped rods in a freezer bag or airtight container. They’ll be good for up to 2 months. When you’re ready to enjoy, just thaw them in the refrigerator overnight and warm them in the oven at 350°F for about 5–7 minutes to regain that fresh-baked texture.
What should I do if my pretzel rods are too chewy?
If your pretzel rods turn out too chewy, it could be due to over-kneading the dough or not boiling them long enough. Aim for a kneading time of about 5-7 minutes and ensure you boil each rod for a full 30 seconds in actively bubbling water. This will help achieve that perfect balance of crisp exterior and tender interior.
Are there any allergy considerations I should be aware of?
Definitely keep in mind any dietary allergies when making pretzel rods. These contain gluten due to the all-purpose flour, and they also include dairy from the butter and chocolate. For those with gluten sensitivities, you might try a gluten-free all-purpose flour mix. Always check labels on your chocolate and other ingredients to avoid any allergens, especially if serving to guests!
Irresistibly Crisp Pretzel Rods with Chocolate Bliss
Ingredients
Equipment
Method
- In a mixing bowl, combine warm water, brown sugar, and active dry yeast. Stir gently and let sit for 5 minutes until foamy.
- Mix in melted butter and salt. Gradually add all-purpose flour, stirring until a shaggy dough forms. Knead on a floured surface for 5–7 minutes.
- Place the kneaded dough in an oiled bowl, cover, and let rise in a warm spot for 60 minutes until doubled in size.
- Punch down the dough, divide into 24 pieces. Roll each into a 9-inch rope.
- In a large pot, boil 10 cups of water with baking soda. Boil each pretzel rod for 30 seconds.
- Transfer to a baking sheet, sprinkle with coarse salt, and bake at 425°F for 10–12 minutes until golden brown.
- Melt dark chocolate wafers with coconut oil until smooth. Dip each pretzel rod and let excess chocolate drip off.
- Decorate with melted white chocolate if desired.
Leave a Reply