
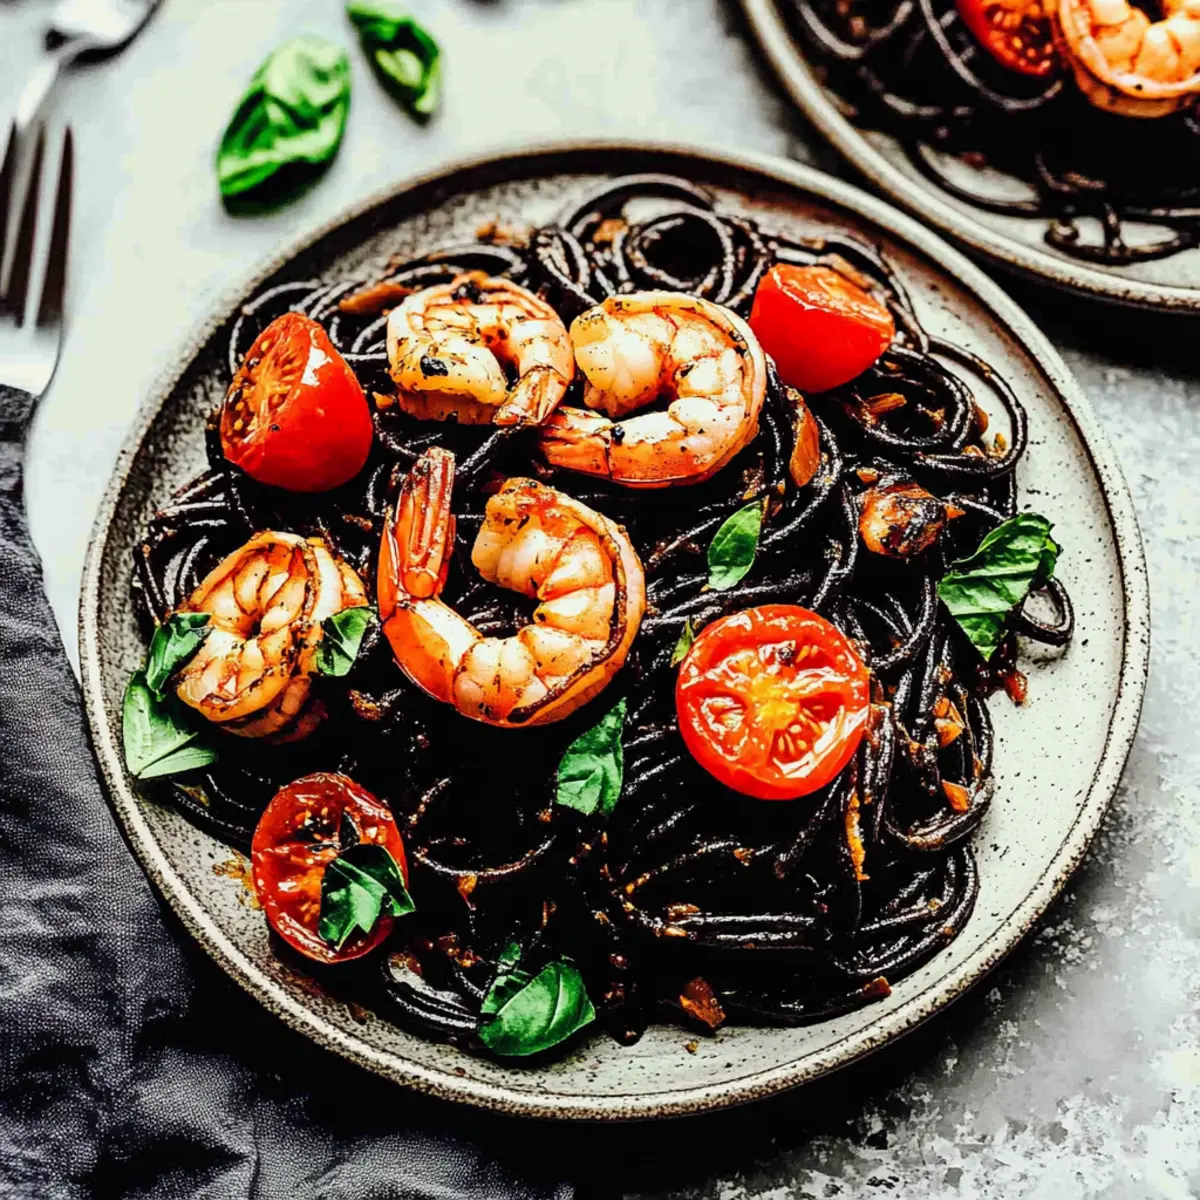
As I plopped the squid ink pasta into the boiling water, curiosity bubbled up within me—what is it about this dish that captivates the eye and tantalizes the palate? This 30-Minute Squid Ink Pasta with Shrimp & Cherry Tomatoes is not just a meal; it’s an experience that effortlessly transforms an ordinary weeknight into something extraordinary. The deep, captivating color of the pasta, combined with the sweetness of fresh cherry tomatoes and succulent shrimp, creates a stunning canvas on your dinner table. With the preparation taking less than half an hour, you’ll find this gorgeous dish is as practical as it is impressive. Plus, it’s not just beautiful; it packs a flavor punch that will leave your family and friends raving! What’s your favorite way to elevate an everyday meal?
Why Choose Squid Ink Pasta Tonight?
Visually Stunning: The striking black color of the squid ink pasta instantly elevates any meal.
Rich Flavor: Combined with sweet shrimp and juicy cherry tomatoes, each bite bursts with a vibrant blend of tastes.
Quick & Easy: Ready in just 30 minutes, this dish is perfect for busy weeknights without sacrificing elegance.
Versatile Options: Swap shrimp for clams or add veggies like spinach for a delightful twist—there’s something for everyone!
Crowd-Pleasing: Impress your guests at dinner parties or make family meals memorable with this unique standout dish.
Consider pairing it with a crisp Sauvignon Blanc to enhance the flavors, or try it alongside a refreshing side salad for a complete culinary experience!
Squid Ink Pasta with Shrimp Ingredients
For the Pasta
• Squid Ink Pasta – Adds a unique flavor and stunning color; regular pasta can be substituted if necessary.
For the Shrimp & Sauce
• Shrimp – The star protein that brings sweetness; opt for peeled, deveined shrimp for ease.
• Extra Virgin Olive Oil – Ideal for sautéing and adding richness; can be replaced with a neutral oil or butter.
• Garlic – Infuses aromatic flavor; feel free to adjust the amount based on your preference.
• Tomato Paste – Enhances the depth of the sauce; crushed tomatoes can be an alternative for a lighter version.
• Cherry Tomatoes – Freshness and natural sweetness that balance the brininess of the pasta; canned tomatoes work in a pinch.
• White Wine or Dry Vermouth – Adds acidity and complexity; substitute with extra lemon juice for a non-alcoholic version.
• Red Pepper Flakes – Provides a gentle heat; modify the quantity for your desired spice level.
• Lemon – Brightens the dish with zest and juice; lime is a great alternative for a different citrus hint.
• Basil – Fresh herb flavor that adds vibrancy; dried basil can be used instead, in a smaller amount.
• Butter – Enriches the sauce; olive oil is a good option for a dairy-free choice.
• Kosher Salt and Freshly Ground Black Pepper – Crucial for balancing flavors; adjust to suit your taste.
This delicious Squid Ink Pasta with Shrimp is not only visually striking but also a delightful journey for your taste buds!
Step‑by‑Step Instructions for Squid Ink Pasta with Shrimp
Step 1: Boil the Pasta
Fill a large pot with water, adding a generous pinch of salt, and bring it to a boil over high heat. Once boiling, add the squid ink pasta and cook according to package instructions until al dente, typically about 8-10 minutes. Stir occasionally to prevent sticking, and keep an eye on the color as it brightens, signaling it’s almost done.
Step 2: Sauté the Aromatics
While the pasta cooks, heat two tablespoons of extra virgin olive oil in a large skillet over medium-high heat. Add minced garlic and sauté for 1-2 minutes until fragrant and lightly golden, stirring to avoid burning. The oil should shimmer, and your kitchen will soon be filled with a delicious aroma, preparing you for the next steps of this squid ink pasta dish.
Step 3: Create the Sauce Base
Add a tablespoon of tomato paste to the skillet with garlic, cooking for about 30 seconds to a minute. Stir continuously until the paste darkens slightly, enhancing its flavor. This will create a rich foundation for your sauce, setting the stage for the subsequent ingredients that will elevate the flavor of your Squid Ink Pasta with Shrimp.
Step 4: Combine Tomatoes and Wine
Next, toss in halved cherry tomatoes along with a splash of white wine or dry vermouth, and sprinkle in red pepper flakes to taste. Season this mixture with kosher salt and freshly ground black pepper. Allow it to simmer for 3-5 minutes, stirring occasionally as the tomatoes soften and release their juices, enriching the sauce and complementing the brininess of the squid ink pasta.
Step 5: Cook the Shrimp
Once the sauce is ready, carefully add peeled and deveined shrimp to the skillet. Cook until the shrimp turn pink and opaque, which should take about 2-3 minutes. Stir gently to ensure even cooking, and watch for that beautiful color change indicative of perfectly cooked shrimp, adding sweetness to the squid ink pasta sauce.
Step 6: Combine Pasta and Sauce
Drain the cooked squid ink pasta, reserving a cup of the cooking water, then add the drained pasta to the skillet with the shrimp and sauce. Stir in a couple of tablespoons of butter, along with lemon zest and juice for brightness. Mix everything together for 2-3 minutes, allowing the flavors to meld while the pasta absorbs the rich sauce.
Step 7: Finish and Serve
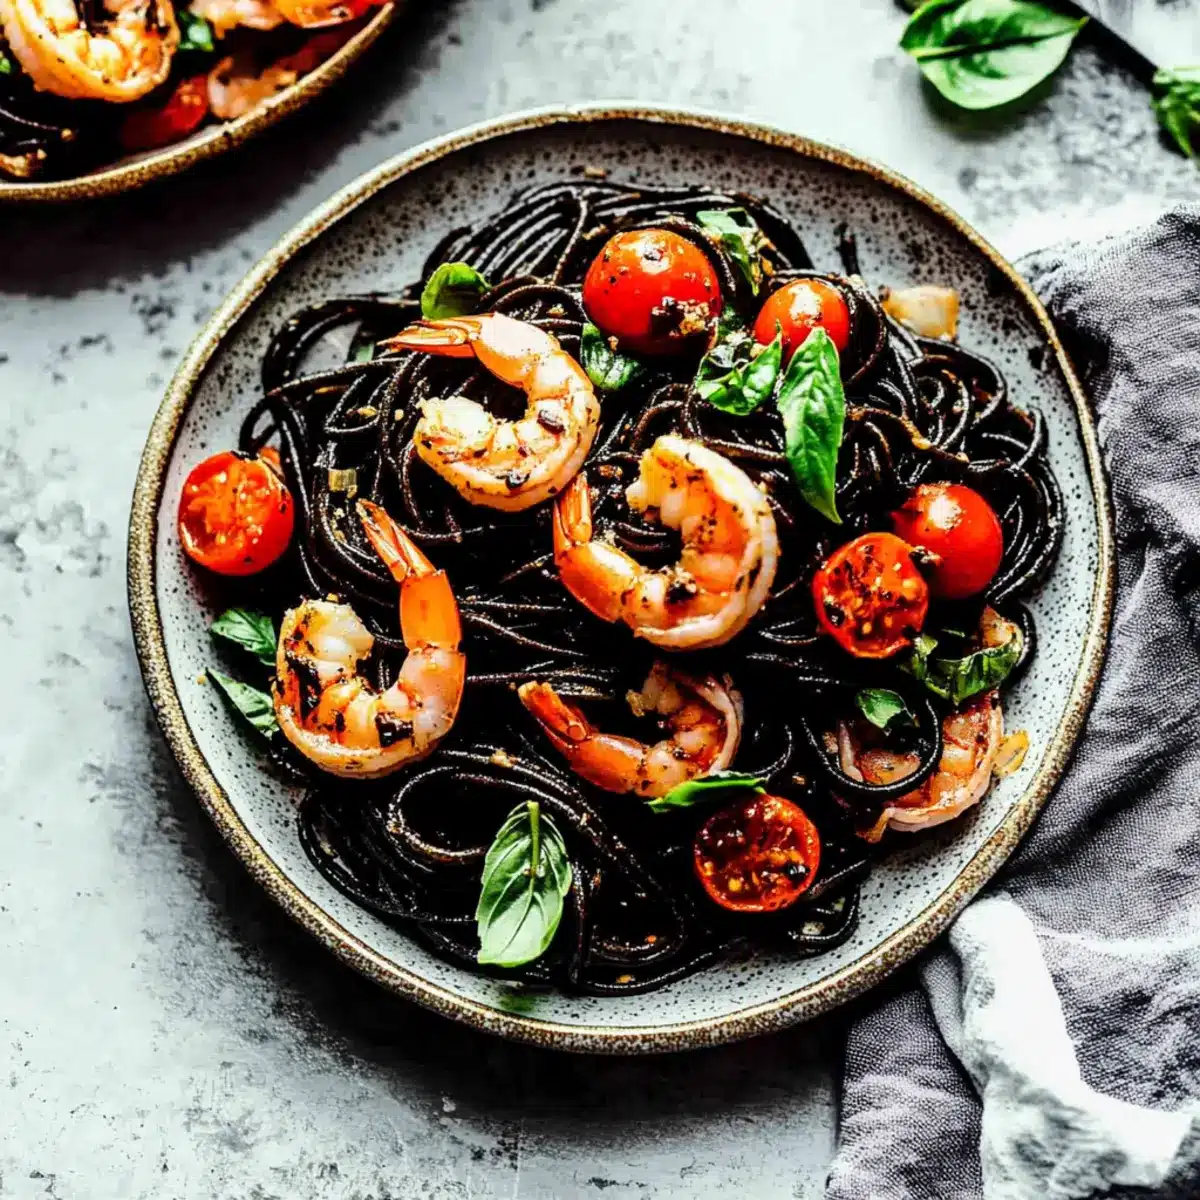
Just before serving, sprinkle the remaining fresh basil into the pasta, giving it a final toss. If the dish seems too thick, gradually add some reserved pasta water until you achieve your desired consistency. Plate your Squid Ink Pasta with Shrimp and serve immediately, garnished with any extra basil or a squeeze of lemon for a fresh touch that enhances the palette.
What to Serve with Squid Ink Pasta with Shrimp?
Elevate your dining experience with these delightful pairings that beautifully complement the flavors of your decadent dish.
-
Crispy Garlic Bread: This classic side offers a buttery crunch that balances the richness of the pasta, inviting you to savor every bite. Perfect for mopping up any leftover sauce!
-
Arugula Salad: Tossed with a light lemon vinaigrette, this fresh salad adds a peppery bite that enhances the brininess of the shrimp and the depth of the pasta.
-
Lemon Zest Asparagus: Lightly sautéed and zesty, asparagus not only adds a pop of vibrant color but also a fresh crunch that contrasts beautifully with the tender pasta.
-
Chardonnay: A glass of this white wine brings subtle oak and citrus notes that elevate the dish, complementing the seafood’s natural sweetness and the acidity of the tomatoes.
-
Roasted Cherry Tomatoes: Slow-roasting sweetens these gems, intensifying their flavor. They create a delightful contrast to the squid ink pasta’s savory profile, making every mouthful even more enjoyable.
-
Peppery Radish Slices: Thinly sliced radishes add a crisp texture and a hint of bite, refreshing the palate between each luscious forkful of your squid ink pasta.
-
Pistachio Pesto: A spoonful on top of your pasta offers a unique twist of vibrant flavors and nuttiness, enhancing the ensemble without overwhelming it.
-
Panna Cotta: Concluding your meal with a light, creamy vanilla panna cotta creates a sweet and elegant finish that soothes the palate after the rich flavors of the main course.
-
Zesty Lemon Sorbet: This sorbet cleanses the palate with bright citrus notes, making it a perfect light dessert that perfectly complements the complexity of the dish.
How to Store and Freeze Squid Ink Pasta with Shrimp
Fridge: Store leftovers in an airtight container for up to 3 days. Gently reheat on the stove or in the microwave, adding a splash of water to maintain moisture.
Freezer: Although best enjoyed fresh, you can freeze the pasta without shrimp for up to 2 months. Thaw in the fridge overnight before reheating.
Reheating: When reheating, avoid high heat to prevent the shrimp from becoming rubbery. Heat slowly until warmed through, and consider adding a bit of olive oil for added flavor.
Make-Ahead Tips: Prepare the squid ink pasta and sauce ahead of time, but combine with shrimp just before serving to maintain texture and flavor.
Squid Ink Pasta with Shrimp Variations
Feel free to get creative with your Squid Ink Pasta, tailoring each bite to your taste preferences and dietary needs!
-
Seafood Swaps: Replace shrimp with clams or calamari for a unique seafood twist that enhances the oceanic flavors. Clams bring a tender bite while calamari lends a delightful chewiness.
-
Vegetarian Delight: Omit shrimp entirely and influx seasonal veggies like spinach or zucchini for a scrumptious vegetarian option. The natural flavors of the vegetables merge beautifully with the sauce, making it just as satisfying!
-
Gluten-Free Option: Use gluten-free pasta to ensure everyone can enjoy this dish without sacrificing taste. It holds up well, absorbing all the delicious sauce.
-
Heat Boost: For spice lovers, increase the amount of red pepper flakes or add a diced jalapeño to the mix. The heat will awaken your taste buds and add a thrilling kick to every bite!
-
Herb Variations: Try substituting fresh basil with dill or parsley for a different flavor profile. Each herb adds its unique brightness, transforming the dish completely.
-
Wine Alternatives: If you prefer a non-alcoholic option, swap the white wine for a splash of lemon juice or even vegetable broth for depth.
-
Creamy Finish: Stir in a splash of heavy cream or a dollop of crème fraîche at the end for a rich, luscious sauce that coats the pasta beautifully. This luscious twist adds a delightful richness!
As you explore these variations, consider trying your hand at other pasta dishes like Jamaican Shrimp Pasta or the comforting Creamy Beef Pasta. Happy cooking!
Make Ahead Options
These Squid Ink Pasta with Shrimp & Cherry Tomatoes are perfect for busy home cooks looking to streamline meal prep! You can prepare the shrimp and sauce up to 24 hours in advance—simply sauté the garlic, add the tomato paste, and mix in the cherry tomatoes with the white wine. Store this mixture in an airtight container in the refrigerator to maintain freshness. When you’re ready to serve, just heat the sauce, cook the pasta (which can be made ahead and refrigerated for up to 3 days), and combine everything with the shrimp. This way, you’ll enjoy the same delightful flavors of your squid ink pasta with minimal effort!
Expert Tips for Squid Ink Pasta with Shrimp
• Perfect Shrimp Timing: Ensure shrimp turns pink within 2-3 minutes for juicy results; avoid overcooking, which can lead to a rubbery texture.
• Adjust Sauce Thickness: Use reserved pasta water to achieve the ideal sauce consistency; start with a few tablespoons if the dish appears too thick.
• Flavor Balance: Taste as you cook; adjust salt and pepper to enhance the flavors of your Squid Ink Pasta with Shrimp, keeping it well-seasoned.
• Garlic Control: Sauté garlic until fragrant but not browned to prevent bitterness; this will keep the dish aromatic and flavorful.
• Cook Pasta Al Dente: Aim for al dente texture when boiling pasta; it will absorb the sauce better while maintaining the perfect bite.
Squid Ink Pasta with Shrimp Recipe FAQs
How do I choose the right squid ink pasta?
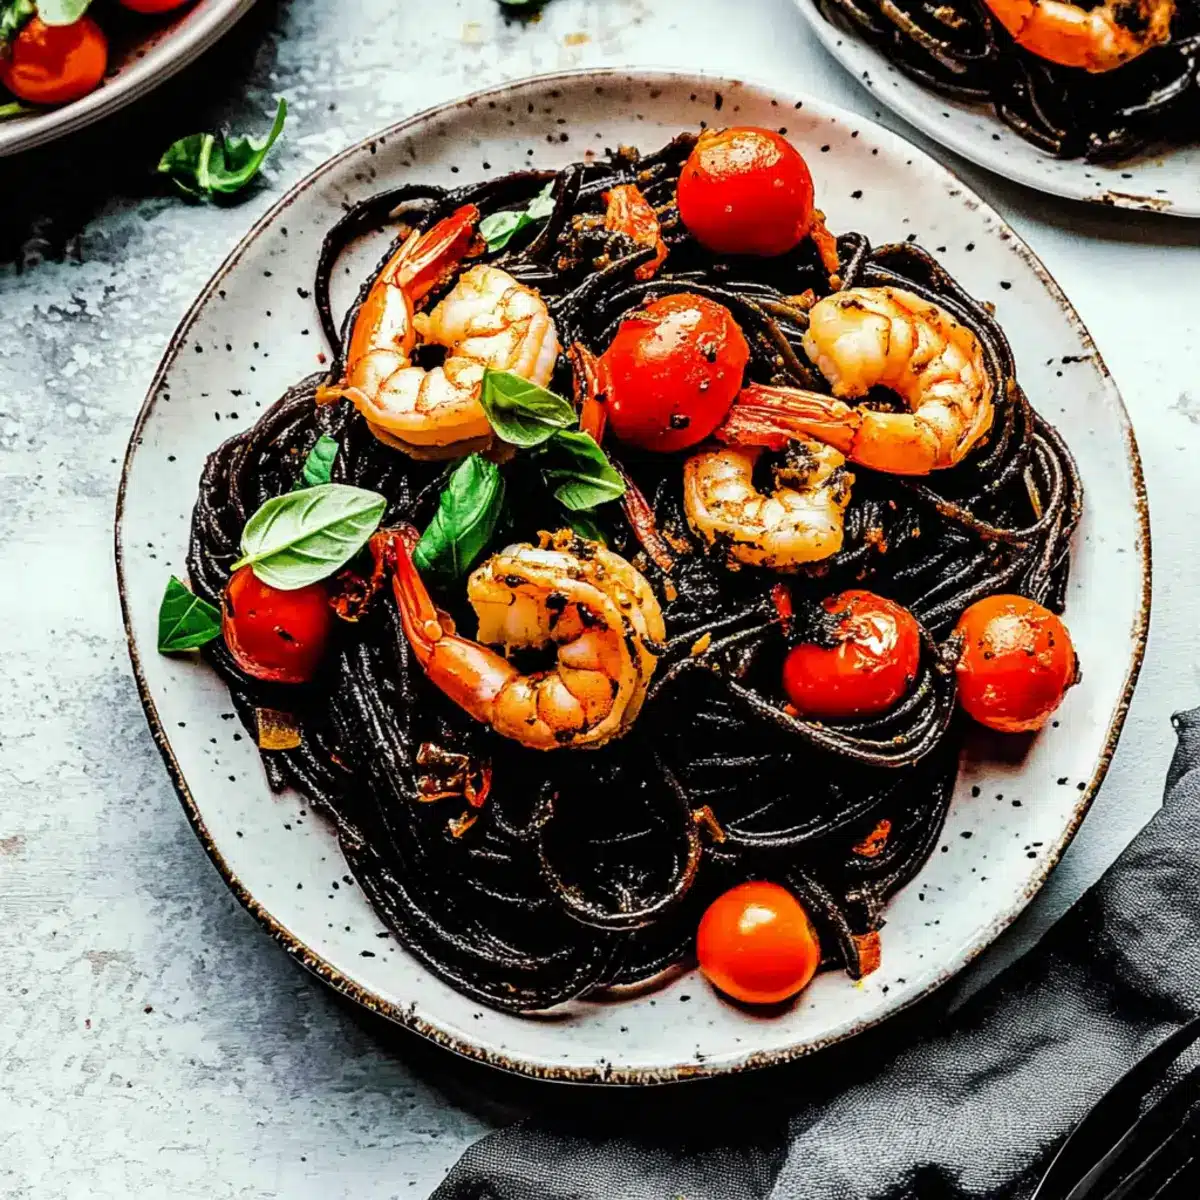
Look for squid ink pasta that appears dark, with a slightly glossy texture. If it has any dark spots or comes broken, it may not be fresh. You can also find regular pasta in specialty stores if squid ink isn’t available, and it will work just as well in your dish.
What’s the best way to store leftovers?
Store any leftover Squid Ink Pasta with Shrimp in an airtight container in your refrigerator for up to 3 days. Be sure to let it cool to room temperature before sealing. When reheating, I recommend using low heat on the stovetop with a splash of water to prevent it from drying out or becoming rubbery.
Can I freeze squid ink pasta?
Absolutely! For freezing, I suggest doing so without the shrimp. Place the cooled pasta in a freezer-safe bag or container, where it can last for up to 2 months. To reheat, thaw it overnight in the refrigerator, then warm it on the stove with a little extra olive oil to bring back its flavor and texture.
What if my shrimp turns rubbery?
For perfectly cooked shrimp, keep a close eye on the timing—2 to 3 minutes is all it needs! If you’re using pre-cooked shrimp, add it to the skillet just within the last minute of cooking to warm it through, which prevents it from becoming overcooked and rubbery.
Is this dish safe for people with shellfish allergies?
If you’re cooking for someone with a shellfish allergy, you can easily adapt this recipe. Omit the shrimp entirely and add vegetables like spinach or zucchini for a delicious vegetarian version of Squid Ink Pasta that maintains its allure without the seafood.
Can I use other types of pasta in this recipe?
Certainly! While the squid ink pasta brings a unique flair, you can substitute with gluten-free pasta or any pasta of your choice, like fettuccine or linguine. Just adjust the cooking time according to the type of pasta used, always keeping an eye on al dente texture.
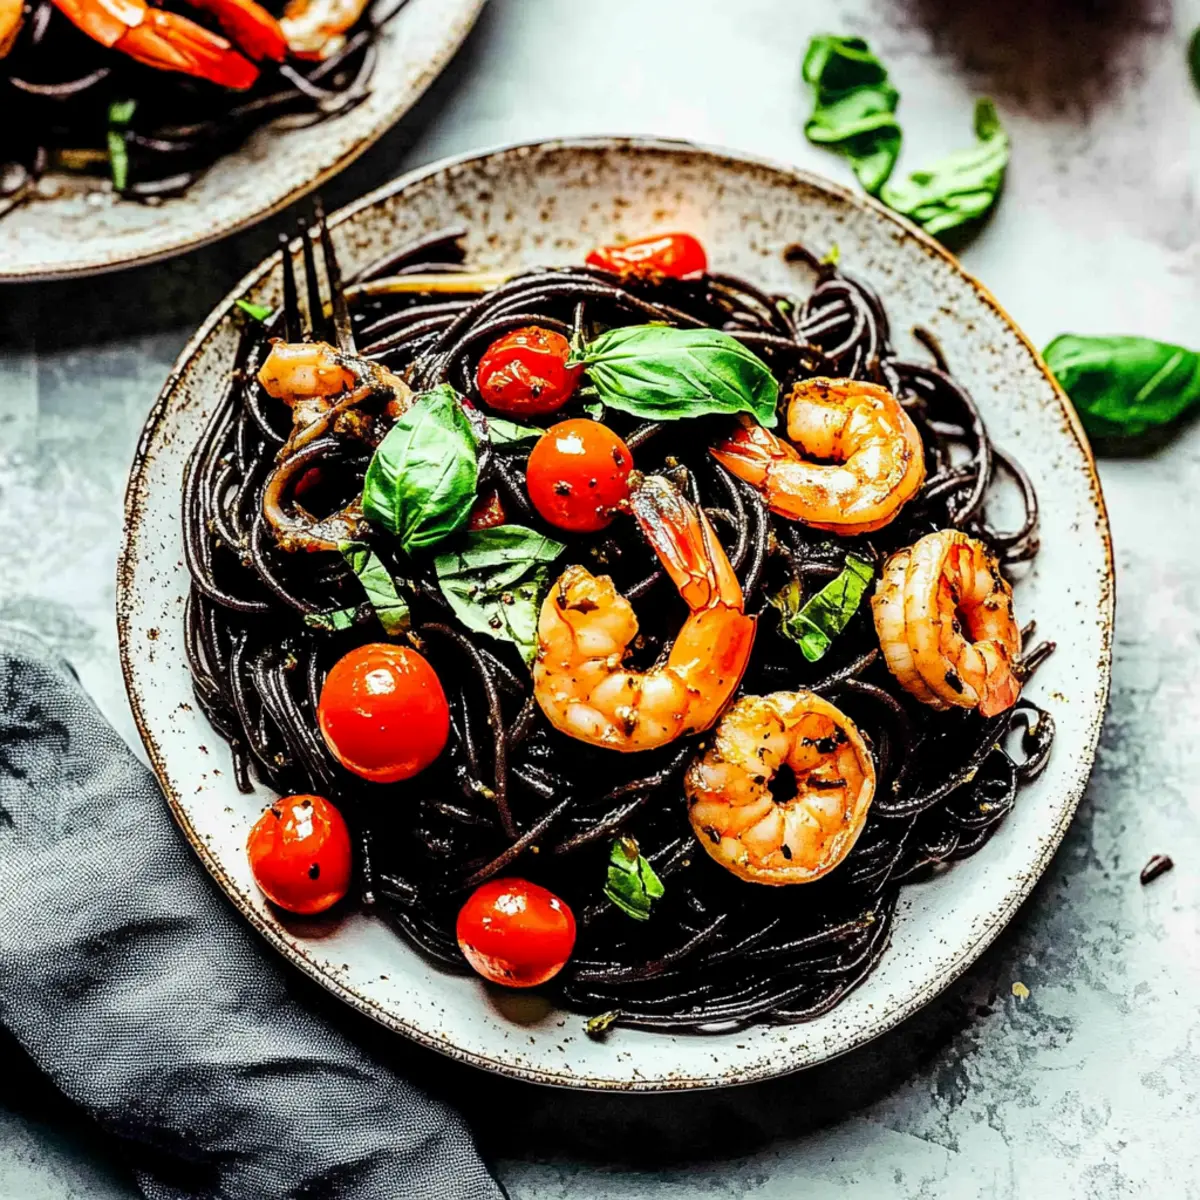
Squid Ink Pasta with Shrimp: A Quick Flavor Adventure
Ingredients
Equipment
Method
- Fill a large pot with water, add a generous pinch of salt, and bring to a boil over high heat. Add the squid ink pasta and cook according to package instructions until al dente, about 8-10 minutes.
- While the pasta cooks, heat two tablespoons of extra virgin olive oil in a skillet over medium-high heat. Add minced garlic and sauté for 1-2 minutes until fragrant and lightly golden.
- Add a tablespoon of tomato paste to the skillet, cooking for about 30 seconds to a minute until it darkens slightly, enhancing its flavor.
- Add halved cherry tomatoes along with a splash of white wine or dry vermouth, and sprinkle in red pepper flakes. Season with kosher salt and freshly ground black pepper, then simmer for 3-5 minutes.
- Carefully add peeled and deveined shrimp to the skillet, cooking until they turn pink and opaque, about 2-3 minutes.
- Drain the cooked squid ink pasta, reserving a cup of the cooking water, then add the pasta to the skillet with the shrimp and sauce. Stir in butter and lemon zest and juice.
- Sprinkle remaining fresh basil into the pasta before serving. If the dish seems too thick, add reserved pasta water gradually until desired consistency is achieved.
Leave a Reply