
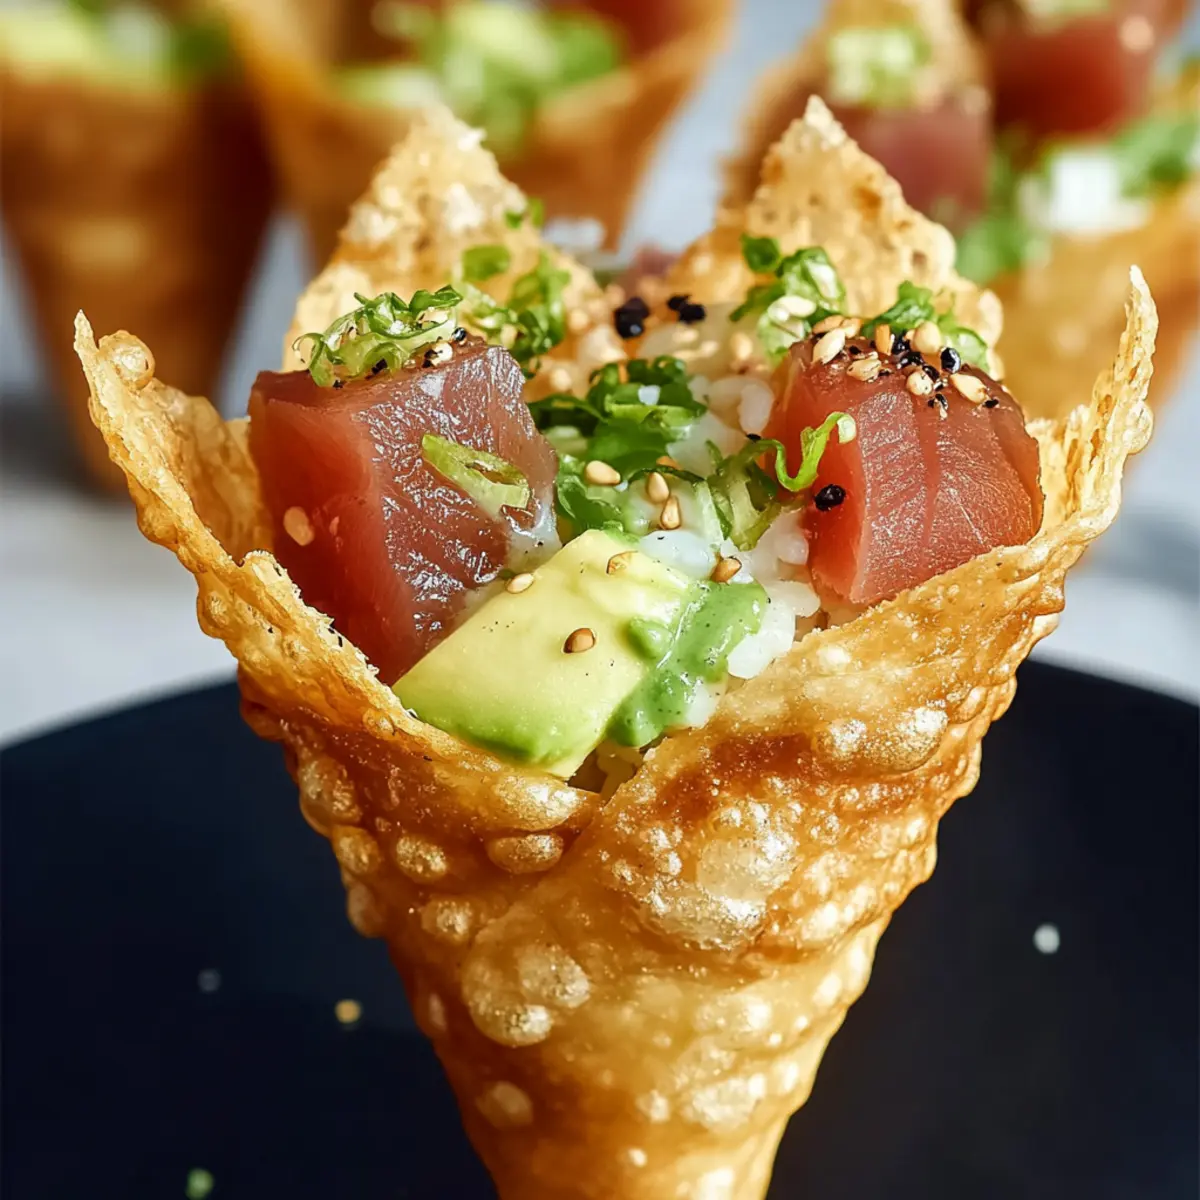
As I was folding blankets for a movie night, my mind drifted to the excitement of hands-on cooking with friends. That’s when I remembered my recent culinary adventure with Sushi Wonton Cones. These delightful handheld snacks transform traditional sushi into an interactive experience that invites creativity. Imagine crispy, golden wonton cones filled with creamy avocado, mouthwatering sushi-grade tuna, and fluffy sushi rice—all wrapped in one tasty package! Not only are they a crowd-pleaser perfect for parties or casual gatherings, but their customizable fillings make them incredibly versatile for any palate. Whether you prefer a spicy twist or a vegetarian option, these cones have you covered. Ready to elevate your snacking game with a fun twist on sushi? Let’s dive in!
What Makes Sushi Wonton Cones Special?
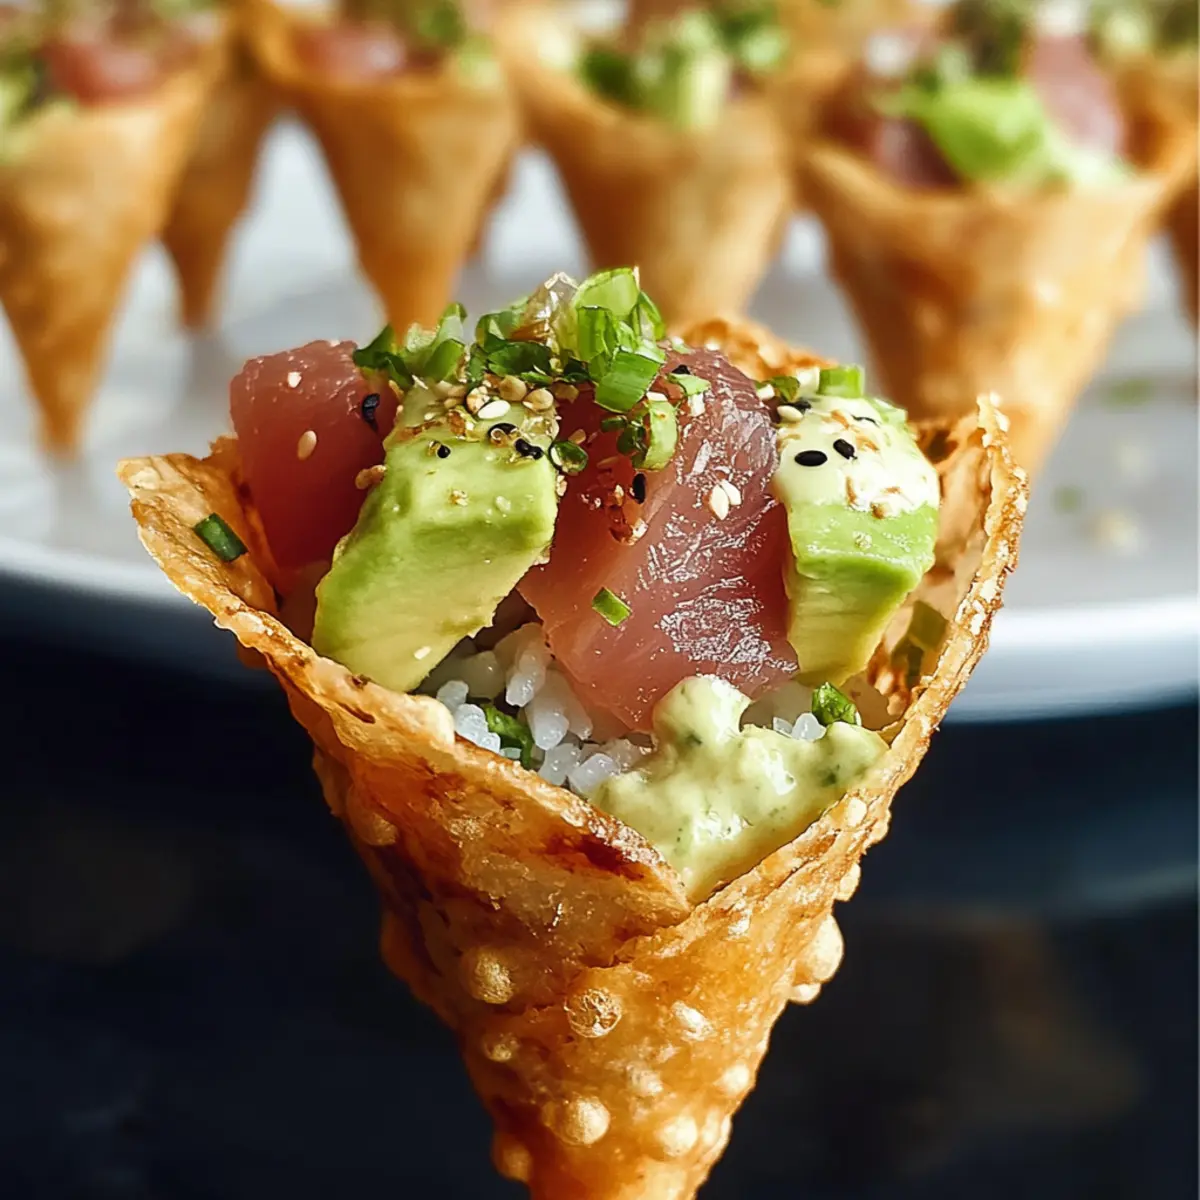
Interactive: These cones transform sushi into a hands-on dining experience where guests can assemble their own creations, making them perfect for parties.
Customizable: With options for spicy tuna, vegetarian fillings, or even shrimp, there’s a flavor for everyone.
Textural Delight: Enjoy a crispy exterior combined with creamy avocado and savory tuna over tender sushi rice—every bite is a treat.
Quick Prep: Save time with this easy-to-follow recipe, ensuring your appetizers are ready in no time.
Nutritionally Balanced: Each cone is around 100-150 calories, giving you a satisfying snack without the guilt.
Elevate your next gathering with these delightful Sushi Wonton Cones that promise to wow your guests!
Sushi Wonton Cone Ingredients
• Get ready to create something extraordinary with these delicious components!
For the Wonton Cones
- Wonton wrappers – Essential for achieving that crispy, crunchy shell; spring roll wrappers are a suitable substitute if needed.
- Coconut oil (for frying) – Provides flavor and crispiness; stick to high smoke-point oils for frying success.
For the Sushi Rice
- Sushi rice (short-grain, sticky) – The ideal base for a classic sushi flavor; jasmine rice can be used, but it alters texture.
- Rice vinegar – Adds a tangy kick to the rice; you can swap it out for apple cider vinegar if you prefer.
- Sugar – Balances the flavor in the rice; honey or agave syrup works great as an alternative sweetener.
- Salt – A crucial seasoning component; adjust according to your taste, especially if mixing with salty ingredients.
For the Filling
- Avocado – Contributes creamy richness and healthy fats; cucumber slices make a great low-fat substitute.
- Tuna steak (sushi-grade) – The star protein that brings richness and depth; options like salmon, shrimp, or tofu can easily replace it for different tastes.
- Kewpie mayonnaise – Elevates the filling with umami flavor; regular mayonnaise can replace it, but Kewpie brings a unique twist.
- Tomato ketchup or sauce – Adds a touch of sweetness and helps bind the filling; hoisin sauce is a tasty alternative.
- Sriracha (optional) – Offers a spicy kick for the filling; red pepper flakes work as a great substitute if you want a milder heat.
- Lime zest – Brightens the overall flavor with its acidity; feel free to use lemon zest in a pinch, but keep in mind it has a different tang.
For the Garnish
- Furikake or black sesame seeds – Enhances flavor and adds a lovely presentation; you can skip it if you prefer a simpler look, but it truly elevates the dish.
With this unique blend of fresh ingredients, your Sushi Wonton Cones will come to life, showcasing flavors that will leave everyone begging for more!
Step‑by‑Step Instructions for Sushi Wonton Cones
Step 1: Prepare the Wonton Cones
Begin by preheating your oil for frying. While it heats, take each wonton wrapper and wrap it around a cream horn or cone mold, ensuring it forms a cone shape. Moisten the edges with a bit of water to seal them tightly. Once shaped, set your prepared wonton cones aside for frying.
Step 2: Fry the Cones
Heat coconut oil in a deep saucepan or fryer to 175 °C (350 °F). Carefully lower the wrapped wonton cones into the hot oil, frying them for about 3–4 minutes until they turn golden brown and crispy. Use a slotted spoon to remove them from the oil, allowing any excess oil to drip off as you place the cones on paper towels to cool.
Step 3: Make the Sushi Rice
Rinse 1 cup of sushi rice under cold water until the water runs clear. Cook the sushi rice according to your rice cooker instructions or on the stovetop with the appropriate water ratio. Once cooked, let the rice sit for about 10 minutes while you mix 2 tablespoons of rice vinegar, 1 tablespoon of sugar, and a pinch of salt. Gently fold this mixture into the warm rice and allow it to cool to room temperature.
Step 4: Prepare Tuna Mixture
Take your sushi-grade tuna steak and dice it into small cubes or flake it using a fork. In a mixing bowl, combine the tuna with 2 tablespoons of Kewpie mayonnaise, 1 tablespoon of ketchup, a dash of sriracha to taste, and the zest of half a lime. Mix well to ensure even distribution of flavors and set aside while you prepare the cones.
Step 5: Construct the Cones
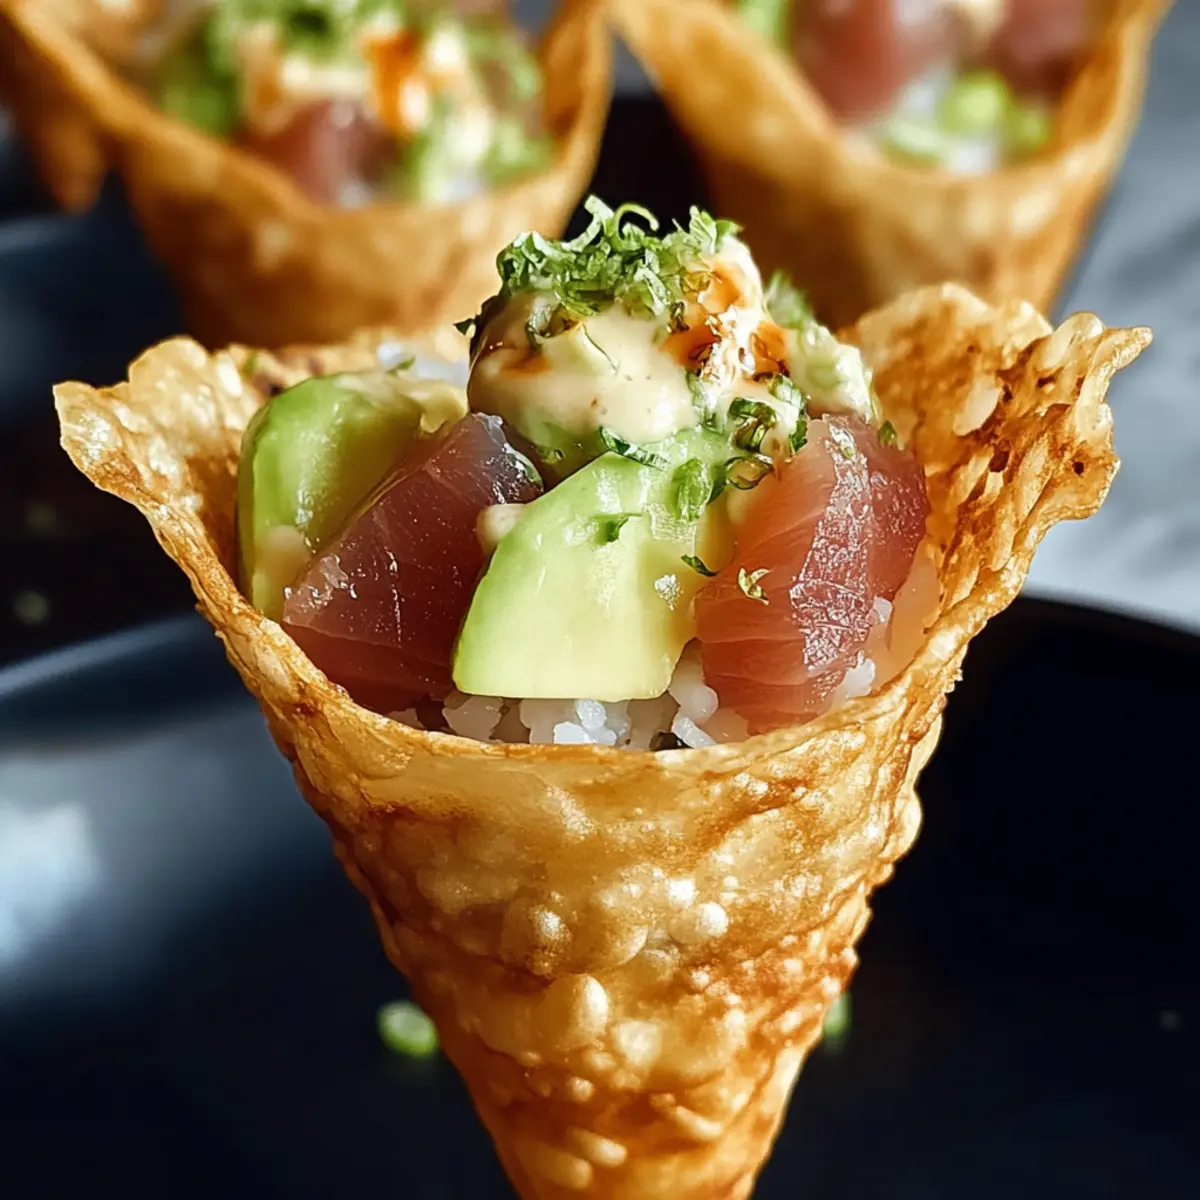
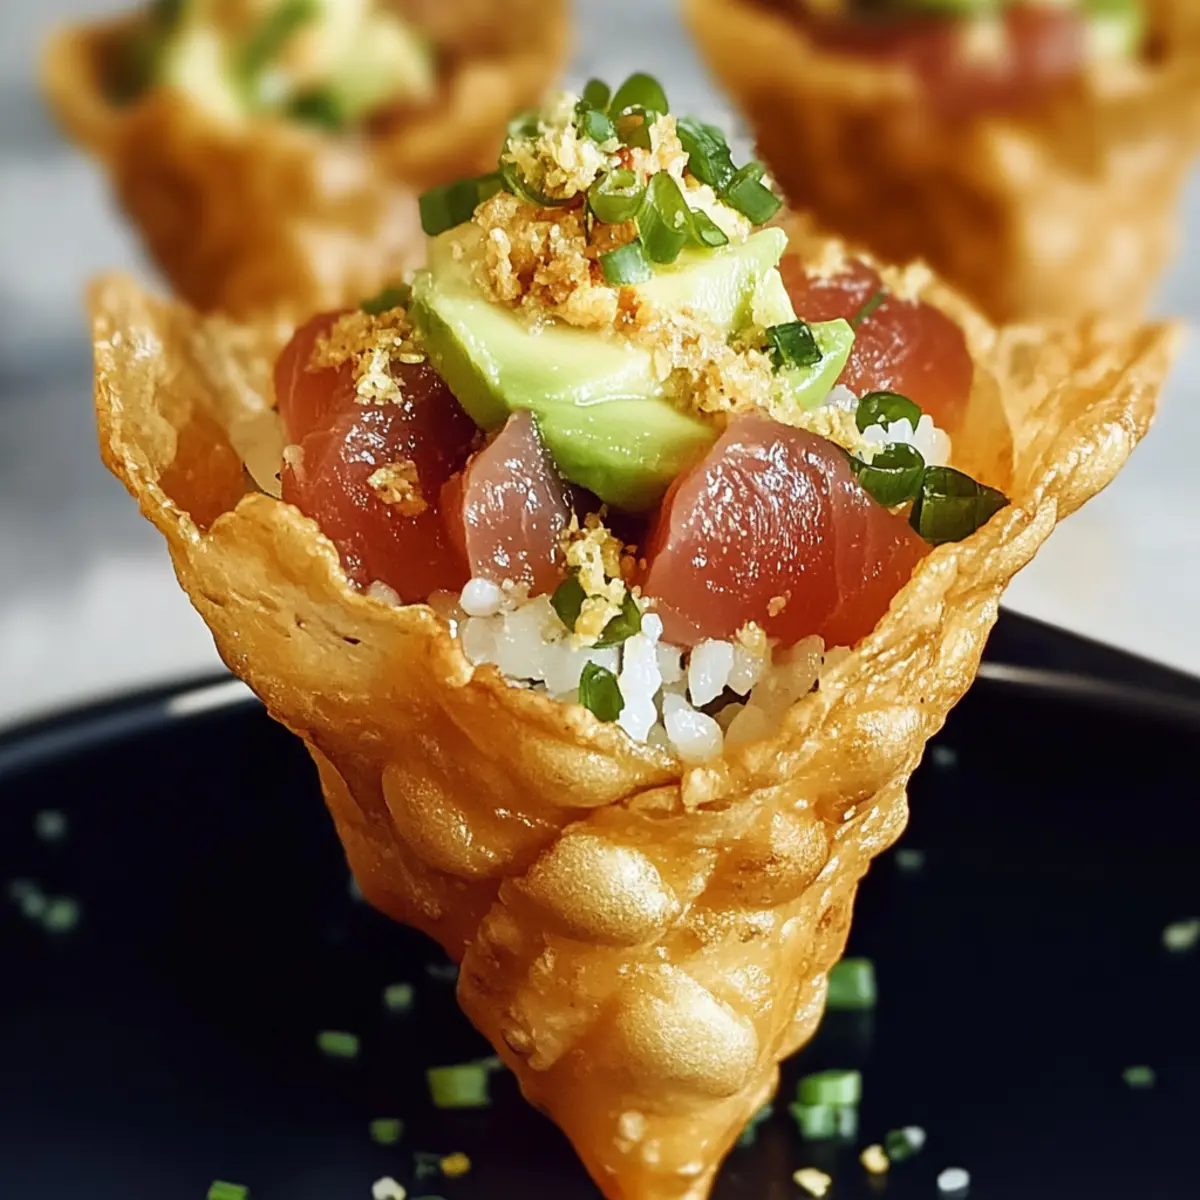
Once the wonton cones have cooled, begin to assemble your Sushi Wonton Cones. Start by adding a layer of the seasoned sushi rice to the bottom of each cone, followed by a few slices of creamy avocado. Finally, spoon in the prepared tuna mixture, ensuring each cone is filled to the top for a delightful combination of flavors and textures.
Step 6: Garnish
To add the finishing touch to your Sushi Wonton Cones, lightly sprinkle furikake or black sesame seeds on top of the tuna filling. This not only adds an extra layer of flavor but also enhances the visual appeal of your cones. Serve immediately while the cones are crispy, offering guests a fun and flavorful handheld appetizer!
Sushi Wonton Cones: Exciting Variations to Try!
Get ready to unleash your culinary creativity with these fun twists on the delicious Sushi Wonton Cones!
- Spicy Tuna: Add extra sriracha or chili oil to the tuna mixture for a fiery kick that’s sure to please spice lovers.
- Vegetarian Delight: Substitute the tuna with marinated tofu or grilled vegetables like bell peppers and zucchini for a fresh, meat-free option.
- Sushi Roll Flare: Incorporate nori strips in the filling for a true sushi experience, adding that distinct ocean flavor to your cones.
- Tempura Crunch: Top off your cones with some crushed tempura vegetables or shrimp for an added layer of texture and a delightful crunch.
- Coconut Lime: Mix in shredded coconut into your sushi rice to add a hint of sweetness that pairs beautifully with lime zest.
- Herbed Cream Cheese: Replace Kewpie mayo with herbed cream cheese for a creamy twist, introducing aromatic flavors that elevate your cones.
- Zingy Citrus: Drizzle a citrus dressing made with lime juice and a touch of sesame oil over your filling for added brightness and zest.
- Asian Slaw: Swap avocado for a fresh, crunchy Asian slaw made with cabbage, carrots, and a tangy dressing, giving each bite a wonderful crunch.
Feel free to mix and match these variations to create your own signature Sushi Wonton Cones, making sure every gathering is memorable and full of flavor! If you’re feeling adventurous, you might also enjoy experimenting with other fresh ingredients in a Vegetarian Sushi or serving up a colorful side of Japanese Salad alongside your cones for a complete meal. Enjoy the process and happy cooking!
Make Ahead Options
Sushi Wonton Cones are perfect for busy home cooks looking to save time! You can prepare the sushi rice and the tuna mixture up to 24 hours in advance by storing them in airtight containers in the refrigerator. Just remember to keep the filling separate from the fried wonton cones to maintain their crispiness. Assemble the cones right before serving by filling each cooled cone with sushi rice, avocado, and the tuna mixture. This way, you’ll enjoy the delightful crunch of the cones while the filling is just as fresh and flavorful. With these make-ahead tips, your Sushi Wonton Cones will be a hit with minimal effort!
How to Store and Freeze Sushi Wonton Cones
Fridge: Store assembled Sushi Wonton Cones in an airtight container for up to 2 hours to maintain their crispness. They’re best enjoyed fresh but can be kept a little longer if necessary.
Freezer: If you have leftover fried cone shells, freeze them in a single layer on a baking sheet, then transfer to a freezer bag for up to 1 month. Avoid freezing filled cones as they may become soggy.
Reheating: For the best texture, reheat fried cones in a preheated oven at 350 °F (175 °C) for about 5–7 minutes until warm and crispy.
Make-Ahead: Prepare the sushi rice and tuna mixture in advance and store them separately in the fridge for up to 3 days. Assemble the cones just before serving for the freshest experience.
Expert Tips for Sushi Wonton Cones
• Frying Precision: Maintain the frying temperature around 175 °C (350 °F) for perfectly crispy cones—overheating can make them too crunchy.
• Rice Cooling: Always allow the seasoned sushi rice to cool to room temperature before assembling the cones for optimal flavor balance.
• Chill Your Tuna: Keep the sushi-grade tuna chilled until just before assembly to preserve its fresh texture and taste.
• Separate Components: Prepare all your ingredients in advance but store the cone shells and fillings separately to keep them crisp and fresh.
• Mind the Fill: Avoid overstuffing your Sushi Wonton Cones; a modest filling allows for easy handling and an even balance of flavors.
What to Serve with Sushi Wonton Cones
Sushi Wonton Cones are not just a snack; they can be the star of a vibrant meal that ignites your taste buds!
-
Refreshing Cucumber Salad: Light and crisp, this salad adds a cool crunch that complements the sushi flavors wonderfully.
-
Edamame Beans: Tossed in a sprinkle of sea salt, these provide a delightful bite and a nutritious side to round out your meal.
-
Miso Soup: Warm and comforting, miso soup brings depth and umami that pairs beautifully with the lightness of the cones.
-
Teriyaki Chicken Skewers: Juicy and glazed, this savory option brings a different protein to the table while complementing the sushi vibe.
-
Spicy Tuna Tartare: For an elevated experience, this fresh and zesty dish mirrors the flavors in the cones, offering a sophisticated harmony.
-
Iced Green Tea: This drink refreshes the palate between bites, enhancing your overall dining experience with delicate flavors.
-
Mochi Ice Cream: For a sweet finale, this delightful treat adds a chewy texture and a subtly sweet end to your meal.
-
Yuzu Sorbet: Citrus-forward, this sorbet cleanses the palate with its bright flavor and adds a cool contrast to the meal.
These combinations will make your gathering unforgettable, making Sushi Wonton Cones even more extraordinary!
Sushi Wonton Cones Recipe FAQs
How do I select ripe avocados for my Sushi Wonton Cones?
Absolutely! Choose avocados that are firm yet slightly soft when gently pressed. Look for a rich green color without dark spots or blemishes, as these indicate ripeness. If they’re too firm, let them ripen at room temperature for a few days, and then refrigerate them if you want to extend their freshness.
What’s the best way to store leftover Sushi Wonton Cones?
To maintain their crispness, store any assembled cones in an airtight container at room temperature for up to 2 hours. If unassembled, keep the fried cone shells and filling separate in the fridge for up to 3 days. Just keep in mind that filled cones can get soggy, so it’s best to assemble them just before serving for the perfect texture!
Can I freeze the fried wonton shells?
Yes! Freezing is a great way to preserve leftover fried wonton shells. Lay them out in a single layer on a baking sheet and freeze until solid. Once frozen, place them in a freezer bag, and they can last for up to 1 month. To reheat, pop them in a preheated oven at 350 °F (175 °C) for about 5-7 minutes for that fresh crunch.
What should I do if my cones turn out soggy?
Very! If your cones end up soggy, check your frying temperature—if the oil isn’t hot enough, the wontons absorb more oil. Aim for a steady temperature of around 175 °C (350 °F). Additionally, avoid overstuffing them, ensuring there’s enough air and crunch around your fillings. If possible, make sure to serve them right after assembling!
Are there any dietary restrictions I should consider for my Sushi Wonton Cones?
Absolutely! For those with seafood allergies, opt for vegetarian fillings using tofu, cucumbers, or bell peppers as substitutes. If anyone is gluten-sensitive, check for gluten-free wonton wrappers or try using spring roll wrappers instead. Always check labels, especially for sauces like Kewpie mayo or tomato ketchup, to ensure they meet dietary needs.
How long can I keep the sushi rice in the fridge?
You can store the seasoned sushi rice in an airtight container for up to 3 days in the fridge. Just remember to let it cool to room temperature before refrigerating, and stir it gently before using to refresh its texture. If it seems a little dry, adding a splash of water can help!
Sushi Wonton Cones: A Fun, Flavorful Twist on Sushi!
Ingredients
Equipment
Method
- Preheat oil for frying. Wrap each wonton wrapper around a cream horn or cone mold, moisten edges with water to seal.
- Heat coconut oil in a deep saucepan to 175 °C (350 °F). Fry wonton cones for 3–4 minutes until golden brown.
- Rinse sushi rice under cold water. Cook according to rice cooker instructions. Mix rice with rice vinegar, sugar, and salt.
- Dice sushi-grade tuna steak and mix with Kewpie mayonnaise, ketchup, sriracha, and lime zest.
- Assemble cones with sushi rice, avocado, and tuna mixture.
- Garnish with furikake or black sesame seeds.
Leave a Reply