
As I cracked the caramelized sugar atop my freshly made Thai Tea Crème Brûlée, a nostalgic wave of warmth washed over me, transporting me to the vibrant streets of Thailand filled with the aroma of spiced tea. This delightful dessert marries the rich, creamy custard with the exotic flavors of Thai tea, offering a unique twist that elevates a classic favorite. Not only is this recipe visually stunning, but it’s also surprisingly approachable for anyone looking to impress at their next gathering. With quick prep and a flavor profile that’s bound to spark joy and curiosity at the table, it’s the perfect way to enjoy homemade indulgence. Are you ready to light that kitchen torch and create sweet magic?
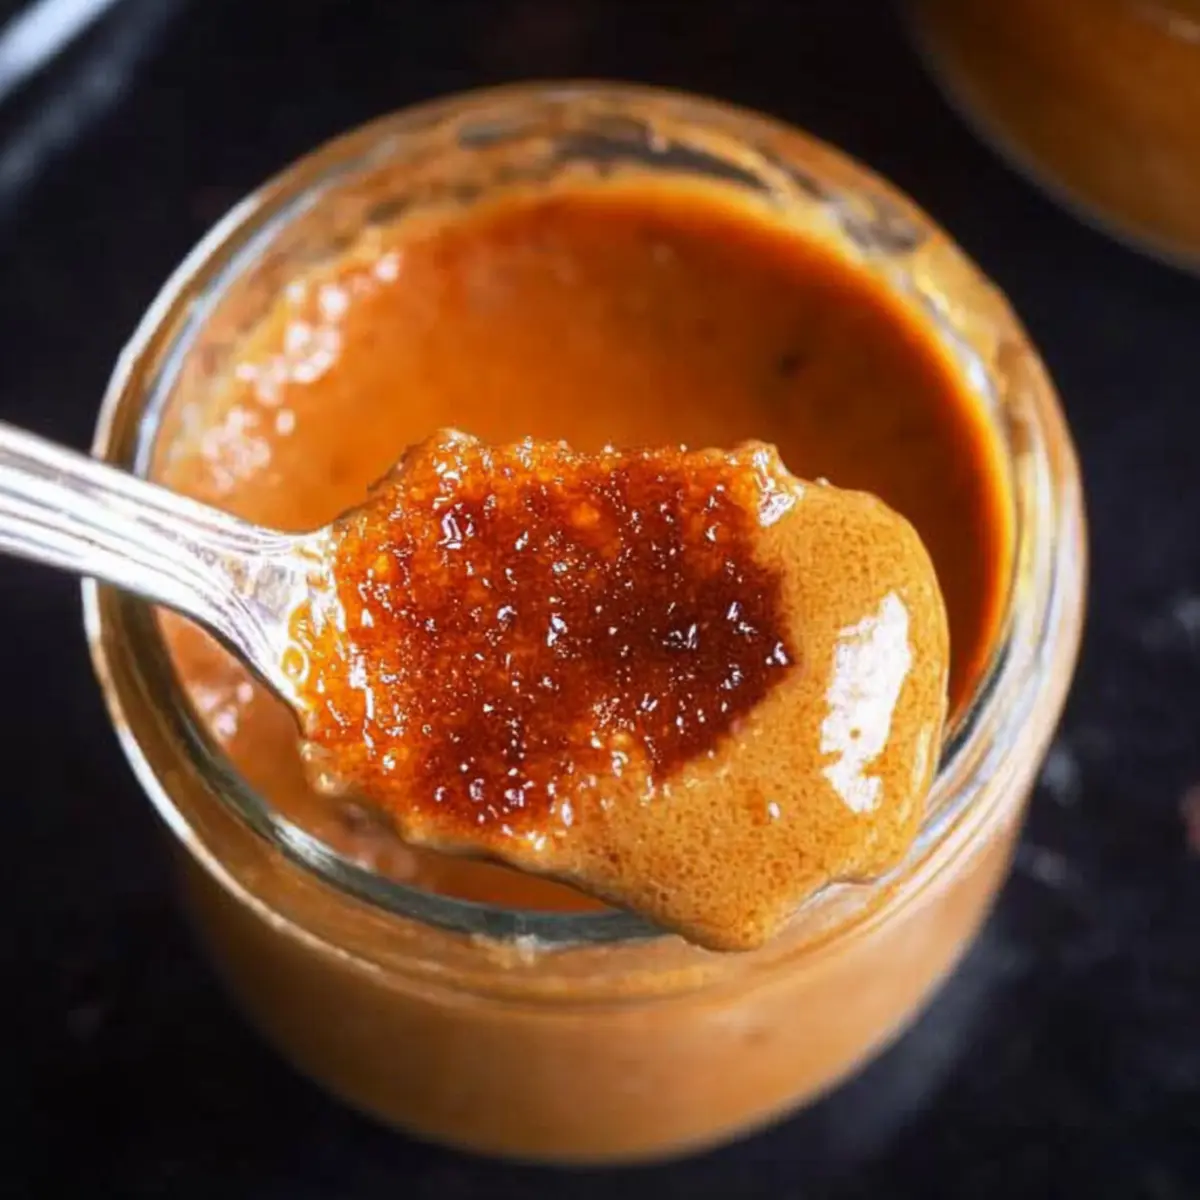
Why is this Thai Tea Crème Brûlée special?
Unique Flavor Fusion: The classic crème brûlée gets a delightful makeover with the aromatic essence of Thai tea, creating a dessert experience that’s both exotic and comforting.
Impress Your Guests: This visually stunning dish will wow your friends and family, making it a highlight at any dinner party or special occasion.
Effortlessly Homemade: With simple ingredients and clear instructions, this recipe is achievable even for novice bakers.
Versatile and Adaptable: Feel free to experiment with different teas, like Earl Grey or even Matcha, to cater to your own flavor preferences, or try adding spices for an extra kick.
Quick Prep Time: You can whip up this treat without spending all day in the kitchen—perfect for those busy evenings!
Flavor Packed Delight: The beautifully caramelized sugar crust adds a satisfying crunch, contrasting beautifully with the creamy custard beneath, ensuring every bite is a memorable one. Check out my Flavor Packed Thai Fried Chicken Sandwich for another way to enjoy vibrant Thai flavors!
Thai Tea Crème Brûlée Ingredients
For the Custard
• Heavy Cream – Adds richness and creaminess to the custard; substitute with half-and-half for a lighter version.
• Milk – Contributes to the overall creaminess; almond or oat milk can be used for a dairy-free option.
• Thai Tea Mix – Provides the distinct flavor and beautiful rust-orange color; Pantai brand is recommended for the best result.
• Large Egg Yolks – Essential for thickening the custard; save whites for meringues or other dishes.
• Sweetened Condensed Milk – Adds sweetness and enhances the texture; evaporated milk with added sugar can be used as a substitute.
For the Brûlée Topping
• Granulated Sugar – Used for caramelizing the top to create that classic crunchy layer; plain white sugar works best for clear, caramel results.
Embrace your inner chef and create this sumptuous Thai Tea Crème Brûlée that’s sure to be a showstopper!
Step‑by‑Step Instructions for Thai Tea Crème Brûlée
Step 1: Preheat the Oven
Begin by preheating your oven to 300°F (150°C) and gathering a deep dish or roasting pan for the water bath. This step is crucial for evenly cooking the custard, so take a moment to ensure your kitchen is prepared.
Step 2: Infuse the Cream
In a medium saucepan, combine heavy cream, milk, and Thai tea mix over medium heat. Heat the mixture until it just begins to boil, then remove from heat and cover. Allow it to steep for 5-10 minutes, letting the aromatic flavors of the Thai tea infuse beautifully into the cream, turning it a lovely rust-orange color.
Step 3: Strain the Infusion
Carefully strain the tea mixture through a fine-mesh sieve into a clean bowl, discarding the solids. This step ensures your Thai Tea Crème Brûlée has a smooth and velvety texture, so take your time to get every drop of the fragrant cream.
Step 4: Whisk Egg Yolks
In a separate heatproof bowl, whisk together large egg yolks and sweetened condensed milk until smooth and creamy. The yolks are vital for thickening the custard, and you want the mixture to be well combined, forming a luxurious base for your Thai Tea Crème Brûlée.
Step 5: Combine Mixtures
Slowly drizzle the strained cream mixture into the egg yolk mixture while whisking vigorously to prevent the yolks from scrambling. This gentle incorporation creates a custard that is both rich and flavorful. Ensure everything is well blended, with no streaks remaining.
Step 6: Fill Ramekins
Pour the custard mixture into individual ramekins, filling each about three-quarters full. Carefully place the ramekins into your deep dish or roasting pan, then fill the pan with hot water, halfway up the sides of the ramekins. This water bath will help cook the custard evenly and gently.
Step 7: Bake the Custards
Transfer the filled pan to the preheated oven and bake for 25-30 minutes, or until the edges are set but the center still has a slight jiggle. This visual cue indicates that your Thai Tea Crème Brûlée is perfectly baked and ready to cool.
Step 8: Cool and Chill
Remove the pan from the oven and let the ramekins cool at room temperature for about 30 minutes. Once cooled, cover each ramekin with plastic wrap and refrigerate for at least 2 hours, or up to 3 days to allow the flavors to meld and the custard to firm up.
Step 9: Caramelize the Topping
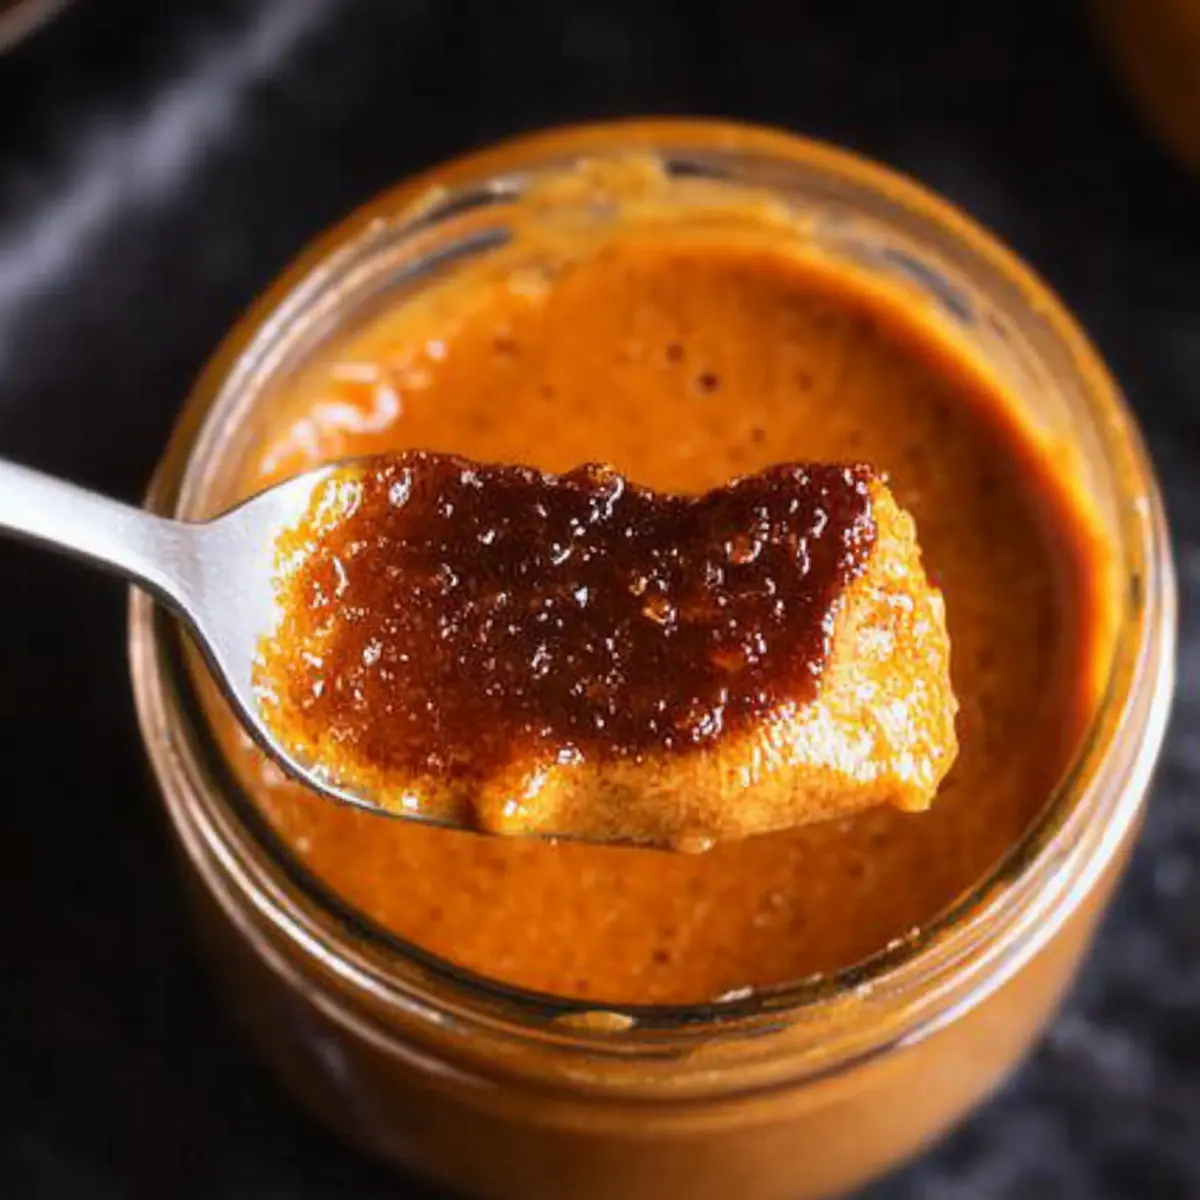
Just before serving, sprinkle a thin, even layer of granulated sugar over the top of each custard. Using a kitchen blowtorch, carefully caramelize the sugar until it turns golden brown and forms a crisp shell. Alternatively, you can broil them in the oven at 450°F for a short time, keeping a close eye to avoid burning.
Thai Tea Crème Brûlée Variations
Unleash your creativity and customize this delightful dessert to match your flavor cravings or dietary needs!
-
Dairy-Free: Substitute heavy cream and milk with coconut cream and almond milk for a sweet, tropical twist.
-
Nutty Delight: Add a splash of almond extract to the custard mixture for a nutty flavor that perfectly complements the Thai tea.
-
Spiced Infusion: Mix in a pinch of cardamom or a cinnamon stick during the cream infusion to deepen the aromatic profile of your brûlée. This adds a warmth that’ll make your kitchen smell divine!
-
Fancy Flavors: Experiment with different tea varieties, such as Matcha or Earl Grey, creating a new flavor dimension. Imagine the beautiful green hue of a Matcha version!
-
Lower Sugar: Replace sweetened condensed milk with a sugar-free alternative to enjoy a lighter version without sacrificing flavor.
-
Chocolate Bliss: Stir in a tablespoon of cocoa powder for a rich chocolatey experience that’s sure to impress. The combination of chocolate and Thai tea is a delightful surprise!
-
Citrus Twist: Add a hint of orange or lemon zest to the custard mixture for a fresh, zesty kick that balances the creaminess. It’s a refreshing contrast to the rich custard!
-
Celebration Style: Top your brûlée with fresh fruit like mango slices or berries before serving for a vibrant and fruity take. These additions not only taste good but look stunning as well!
As you play around with these variations, I encourage you to check out my Korean BBQ Steak Rice Bowls for another easy homemade delight that complements vibrant flavors. Let your kitchen be your canvas, and enjoy this sweet culinary adventure!
What to Serve with Thai Tea Crème Brûlée
Enhance your dining experience with a selection of delightful pairings that perfectly complement this exotic dessert.
-
Fresh Fruit Salad: A colorful mix of tropical fruits adds a refreshing contrast to the rich custard, balancing the sweetness beautifully. Think juicy mangoes and tart lychees for a delicious twist.
-
Coconut Sticky Rice: This traditional Thai dessert offers a chewy texture that harmonizes with the creamy layers of the brûlée, making each bite an adventure in flavors.
-
Green Tea: A warm cup of green tea serves as a gentle palate cleanser after the rich and sweet custard, enhancing the overall soothing experience of your meal.
-
Mini Cheesecake Bites: These little gems provide a delightful contrast with their creamy richness and slight tang, creating a sophisticated complement alongside the crème brûlée.
-
Matcha Cookies: With their earthy flavor, matcha cookies add a fun crunch and vibrant green contrast, linking beautifully with the Thai tea’s aromatic notes.
-
Mint Sorbet: A refreshing scoop of mint sorbet not only cleanses the palate but also adds a delightful burst of coolness, enhancing the complex flavors of the dessert.
-
Spiced Chai Tea Latte: The warm spices in a chai latte echo the aromatic notes of the Thai tea, while the creaminess mirrors the dessert’s texture, creating a cozy and indulgent pairing.
-
Toasted Almonds: Sprinkle some lightly toasted almonds on the side to add a nutty crunch, contrasting with the silky custard and caramelized sugar layer, enhancing your overall dessert experience.
-
Chocolate Custard: A mini chocolate custard cup serves as a rich, decadent complement, satisfying any chocolate cravings while pairing brilliantly with the sweet Thai flavors.
Expert Tips for Thai Tea Crème Brûlée
-
Proper Tempering: Ensure egg yolks are tempered properly by whisking them slowly with the warm cream mixture, preventing any scrambling for that silky custard.
-
Torch Technique: Use a kitchen torch for best results when caramelizing the sugar; it provides even heat and a perfect crunch. Avoid broiling if possible, as it can overheat the custard.
-
Check for Doneness: If the custard appears runny after baking, it may be due to overcooking or too few egg yolks, affecting the thickening. Aim for a slight jiggle in the center when baking.
-
Chill Time: For optimal texture, let the Thai Tea Crème Brûlée chill for at least 2 hours. This helps the flavors meld and the custard firm up beautifully before serving.
-
Serving Fresh: Sprinkle sugar just before serving to ensure the caramelized layer remains crisp and satisfying, enhancing the delightful contrast with the creamy custard below.
Make Ahead Options
These Thai Tea Crème Brûlées are perfect for meal prep enthusiasts! You can prepare the custard mixture up to 3 days in advance, allowing the flavors to deepen beautifully while you save time on busy weeknights. After baking, cool the ramekins to room temperature, then cover them and refrigerate until you’re ready to serve. Just before serving, sprinkle a thin layer of sugar on top and caramelize it using a kitchen torch or under the broiler for that signature crunch. This way, you’ll enjoy restaurant-quality results with minimal effort and ensure your Thai Tea Crème Brûlée remains just as delicious!
Storage Tips for Thai Tea Crème Brûlée
-
Fridge: Store unused Thai Tea Crème Brûlée in the refrigerator for up to 3 days. Cover with plastic wrap to prevent any potential odors from affecting the flavor.
-
Freezer: Although freezing is not recommended for this dessert due to texture changes, if needed, you can freeze the custard (without the sugar topping) for up to 1 month. Thaw in the fridge overnight before using.
-
Reheating: For the best results, enjoy the dessert chilled straight from the fridge. If you’ve previously frozen the custard, allow it to reach room temperature before caramelizing the sugar topping.
-
Topping Preparation: Remember to torch the sugar just before serving to maintain that satisfying crunch, ensuring a delightful texture contrast with the creamy custard beneath.
Thai Tea Crème Brûlée Recipe FAQs
How do I choose the right Thai tea mix?
Absolutely! For the best results in your Thai Tea Crème Brûlée, look for high-quality Thai tea brands such as Pantai, which provide that rich flavor and beautiful rust-orange color. Check the packaging for fragrant aromas and vibrant coloring to ensure a truly authentic experience in your dessert.
What is the best way to store leftover crème brûlée?
Very good question! Store any uneaten Thai Tea Crème Brûlée in the refrigerator, covered with plastic wrap, for up to 3 days. Just remember that it’s best to torch the sugar topping just before serving to keep that fantastic crunchy layer intact; otherwise, it can soften over time.
Can I freeze Thai Tea Crème Brûlée?
While it’s not recommended due to texture changes, you can freeze the custard (without the sugar topping) for up to 1 month. Wrap each ramekin tightly with plastic wrap and then place it in a freezer-safe bag. To enjoy, simply thaw it in the refrigerator overnight and caramelize the sugar layer just before serving.
What should I do if my custard is runny?
If your Thai Tea Crème Brûlée custard appears runny, it may be an indicator of overcooking or not using enough egg yolks for thickening. To troubleshoot this, ensure that you bake it until the edges are set with just a slight jiggle in the center. If necessary, revisit the egg-to-cream ratio in your next attempt to achieve a beautifully thick texture.
Are there any dietary concerns I should be aware of?
Absolutely! This recipe contains dairy and eggs, making it unsuitable for those with lactose intolerance or egg allergies. For a dairy-free version, you can use almond or oat milk instead of regular milk and substitute heavy cream with coconut cream, while still enjoying that creamy custard texture.
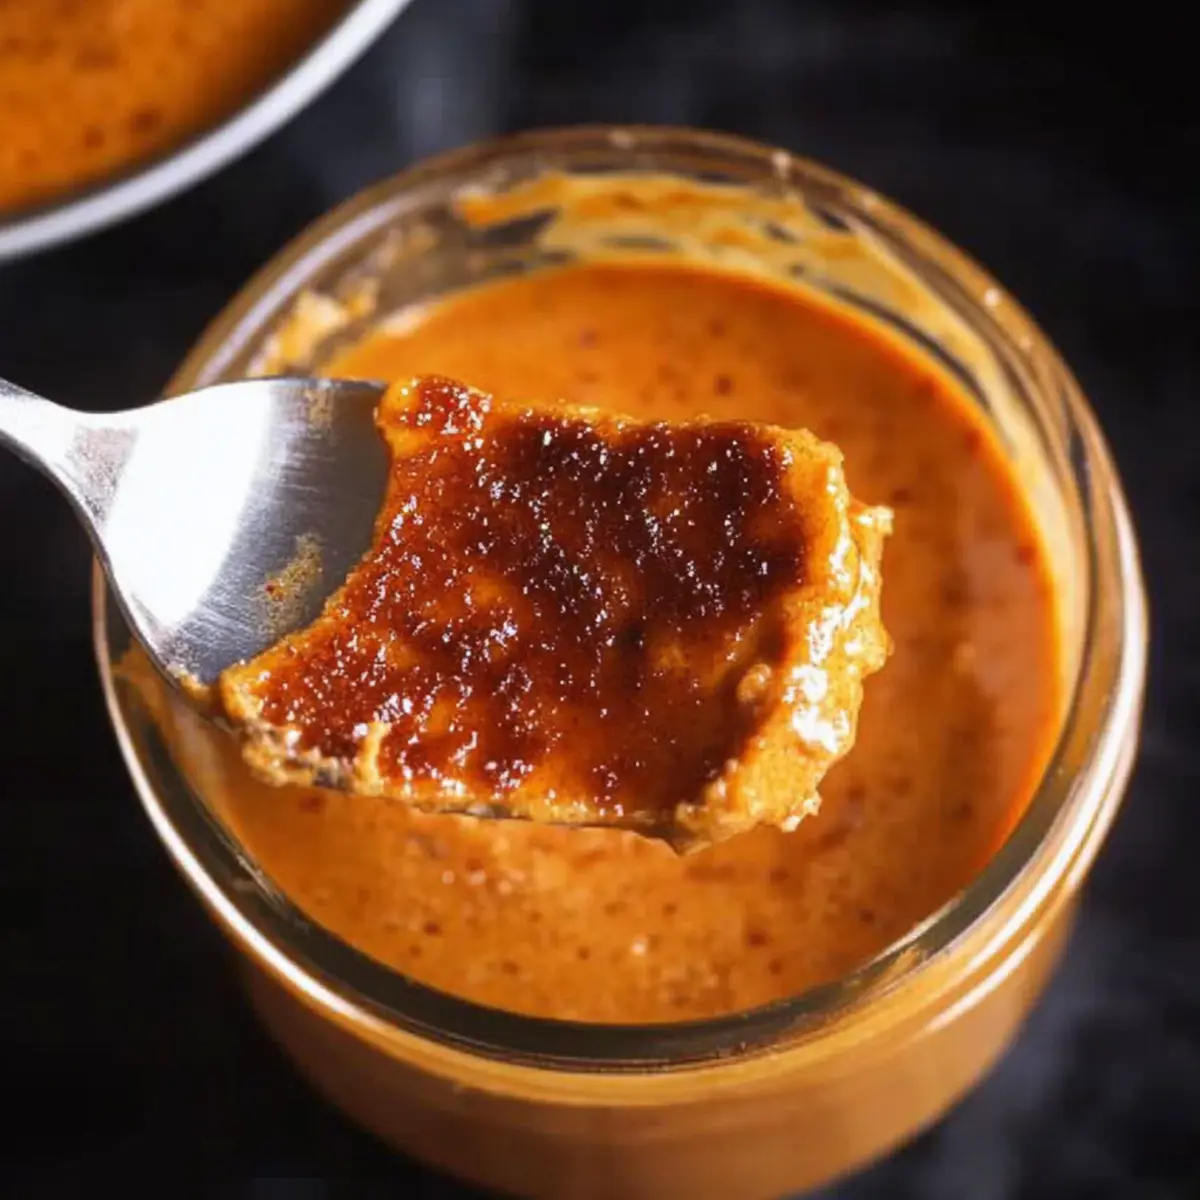
Thai Tea Crème Brûlée – A Creamy Dessert Adventure
Ingredients
Equipment
Method
- Preheat your oven to 300°F (150°C) and gather a deep dish or roasting pan for the water bath.
- In a medium saucepan, combine heavy cream, milk, and Thai tea mix over medium heat. Heat until it begins to boil, then remove from heat and cover to steep for 5-10 minutes.
- Carefully strain the mixture through a fine-mesh sieve into a clean bowl, discarding the solids.
- In a separate heatproof bowl, whisk together egg yolks and sweetened condensed milk until smooth and creamy.
- Slowly drizzle the strained cream mixture into the egg yolk mixture while whisking vigorously to prevent scrambling.
- Pour the custard mixture into individual ramekins, filling each about three-quarters full. Place the ramekins in your deep dish or roasting pan, then fill the pan with hot water halfway up the sides of the ramekins.
- Transfer the filled pan to the preheated oven and bake for 25-30 minutes, until the edges are set but the center still jiggles slightly.
- Remove the pan from the oven and let the ramekins cool at room temperature for about 30 minutes. Cover with plastic wrap and refrigerate for at least 2 hours.
- Just before serving, sprinkle granulated sugar over the top of each custard and caramelize using a kitchen blowtorch.
Leave a Reply