
The first bite of grilled corn on the cob takes me straight to my sun-drenched backyard, where laughter and the scent of summer linger in the air. This Grilled Corn on the Cob recipe captures the essence of seasonal cookouts, combining sweet, crunchy kernels with the irresistible smoky char that only grilling can provide. Perfect for barbecues or cozy dinners, this dish is a crowd-pleaser that takes a mere 15 minutes from prep to plate, allowing you to spend more time enjoying the company of friends and family. Plus, it’s vegetarian-friendly and a wonderfully versatile side to accompany any meal. Are you ready to elevate your summer gatherings with this simple yet delightful recipe? Let’s dive in!
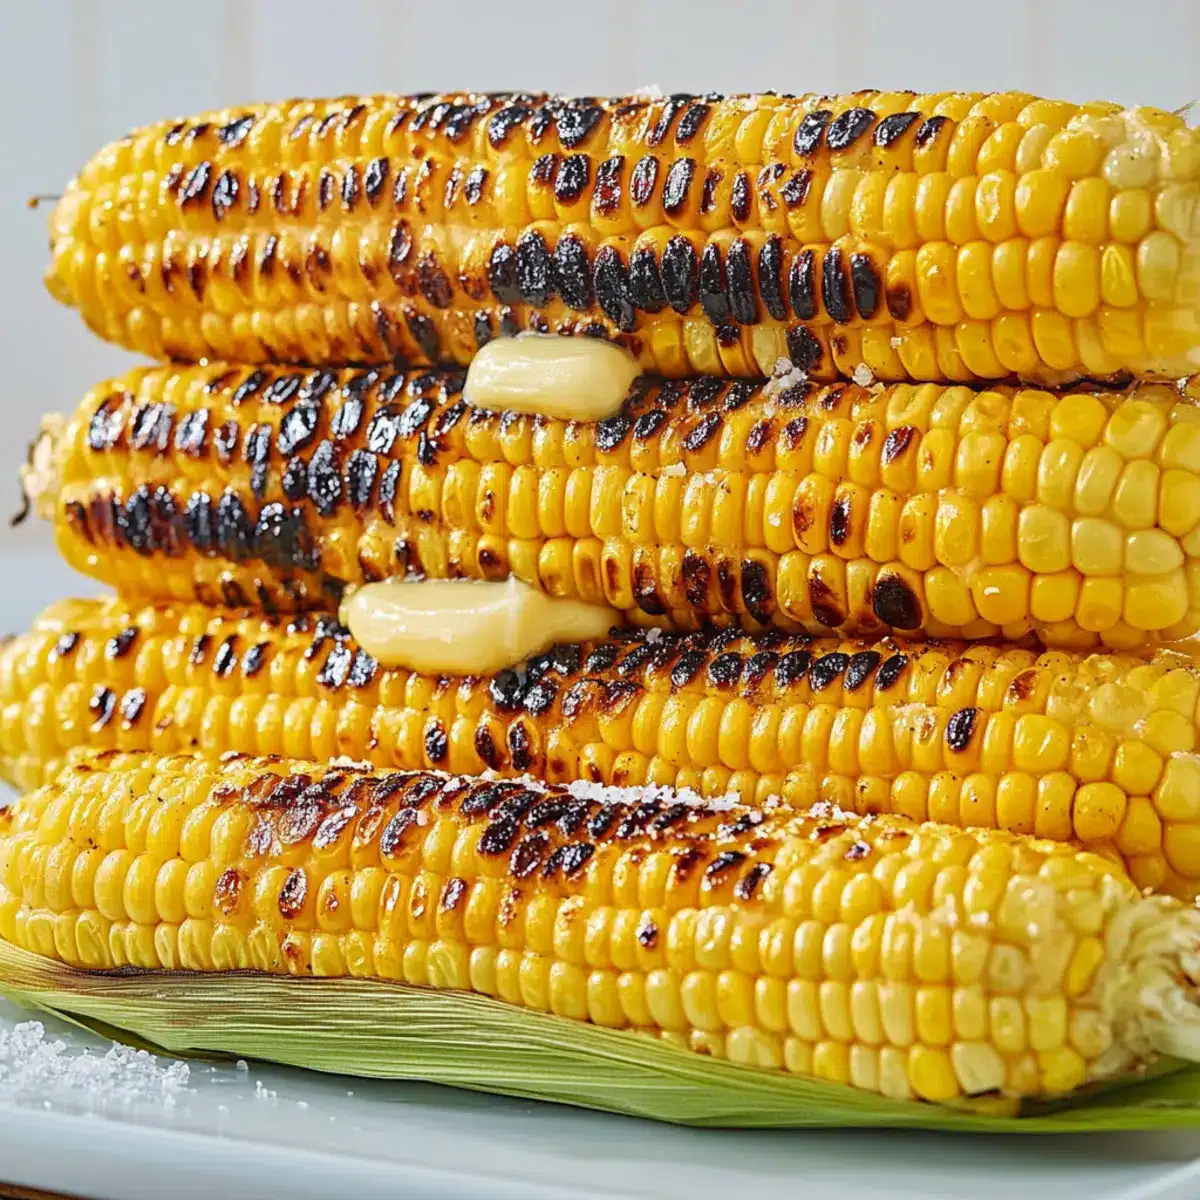
Why is Grilled Corn on the Cob a Must-Try?
Simplicity at Its Core: You’ll only need a few ingredients to create this summer classic, making it accessible for all skill levels.
Irresistible Smoky Flavor: The perfect charring from the grill enhances the natural sweetness, offering a unique and delicious taste that will wow your guests.
Versatile Side Dish: Whether grilled alongside your favorite meats or as part of a refreshing vegetable platter, this dish pairs beautifully with everything from barbecued chicken to Grilled Shrimp Bowls.
Quick and Easy Prep: With just 5 minutes of prep time and a 10-minute cook, it’s the ideal solution for those last-minute meal ideas.
Adding some creative toppings, like a drizzle of honey-lime butter, allows you to elevate this dish further. Serve it up at your next gathering for a crowd-pleasing treat that shines as a standout side!
Grilled Corn on the Cob Ingredients
• Sweetness Awaits: This delightful side starts with fresh ingredients that will make your taste buds sing!
For the Corn
- Corn on the Cob – Use fresh sweet corn for the best flavor; it’s the star of this grilled corn on the cob recipe.
For the Topping
- Unsalted Butter – Enhances richness and flavor; substitute with olive oil for a dairy-free option.
- Kosher Salt – Adds that essential seasoning; sea salt can be a flavorful substitute for a twist.
Feel free to gather these ingredients and prepare for a mouthwatering summer side that will charm everyone at your gathering!
Step‑by‑Step Instructions for Grilled Corn On The Cob
Step 1: Prepare the Grill
Begin by prepping your grill for direct heat. Preheat the grill to medium-high temperature, aiming for around 400°F. This ensures a beautifully charred exterior on your grilled corn on the cob. Allow a few minutes for the grates to heat up completely, creating a perfect surface for cooking that enhances those delicious smoky flavors.
Step 2: Shuck the Corn
While your grill is heating, take each ear of corn and remove the outer leaves and husks. Firmly grip the top tassels and pull downward to ensure most of the silks come off easily. This step not only preps your corn but also brightens its natural sweetness, making it ready for that smoky char it’s destined for in this grilled corn on the cob recipe.
Step 3: Grill the Corn
Once the grill has reached the right temperature, place the shucked corn directly onto the hot grates. Cook the corn for about 8 to 10 minutes, turning it every two minutes until you see lovely charred spots appearing all around. The kernels should become tender and juicy, a delightful indication that your grilled corn on the cob is cooking perfectly.
Step 4: Add Butter and Seasoning
After grilling, carefully remove the corn from the grill using tongs. While the corn is still hot, generously brush or slather it with unsalted butter, letting it melt into every crevice for an extra punch of flavor. Sprinkle kosher salt over the corn to taste, enhancing the sweetness and providing that classic finishing touch.
Step 5: Serve and Enjoy
Finally, plate your grilled corn on the cob and serve it hot to your family or guests. You can get creative with additional toppings like chili powder or cheese, but the simple beauty of this grilled corn on the cob stands strong on its own. Relish each buttery bite, savoring the taste of summer!
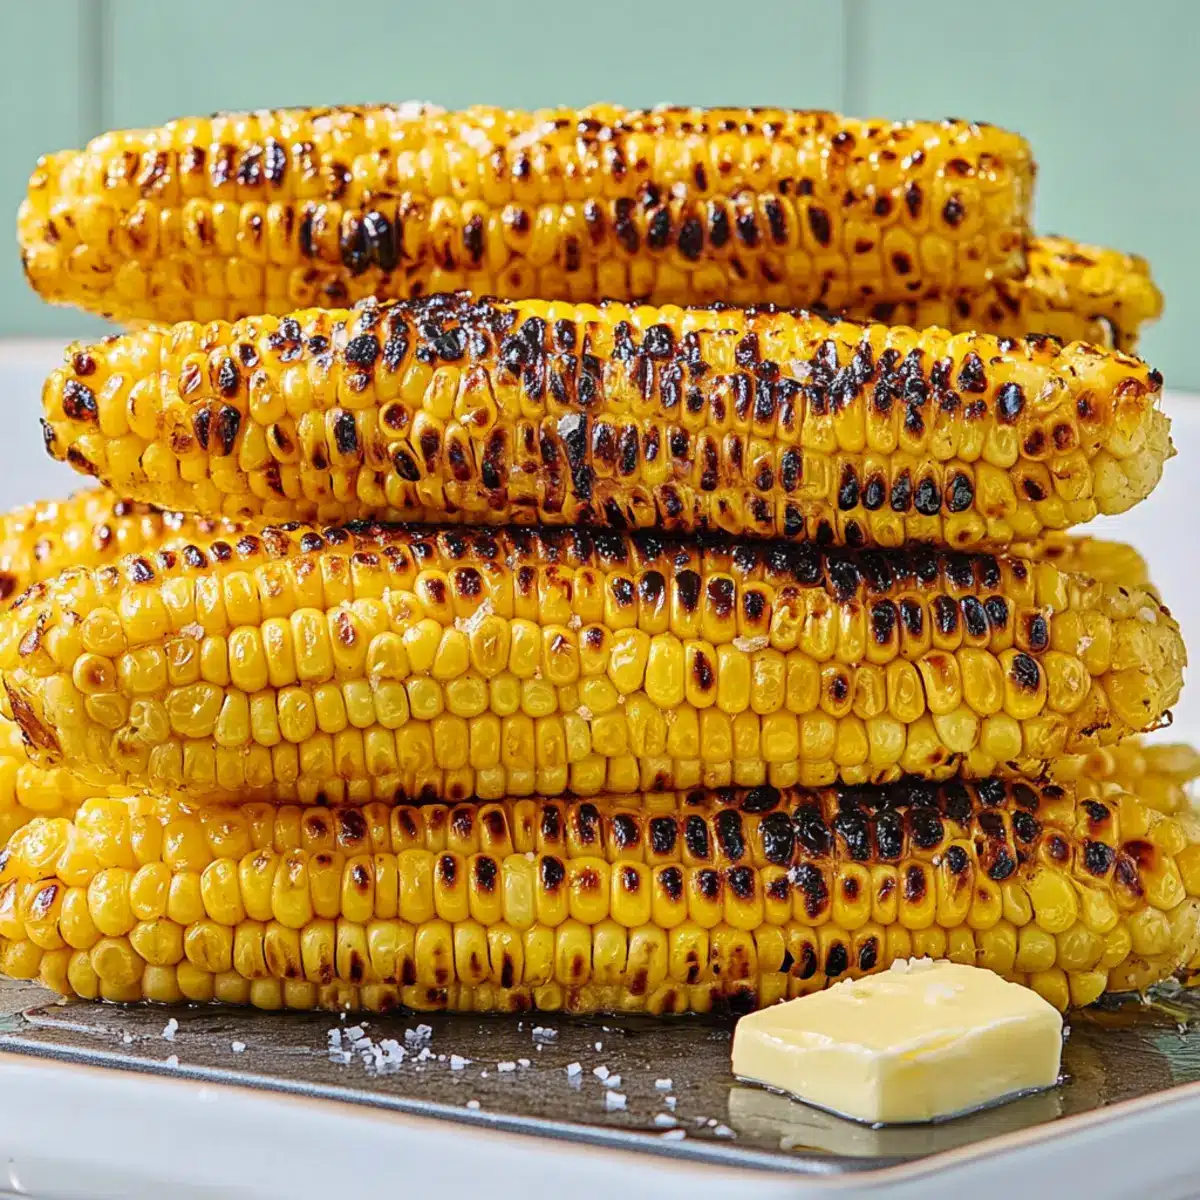
How to Store and Freeze Grilled Corn on the Cob
Fridge: Keep leftover grilled corn on the cob in an airtight container for up to 4 days. This preserves its freshness and flavor for enjoying later.
Freezer: For longer storage, wrapped tightly in plastic wrap or aluminum foil, frozen corn will retain its best quality for up to 6 months.
Reheating: To enjoy your grilled corn again, reheat on a warm grill for about 5 minutes. Alternatively, use the oven at 350°F for 10-15 minutes until heated through.
Cut Kernels: If you’ve cut the kernels from the cob, store them in a sealed container in the fridge for 3-4 days or freeze for up to 6 months.
Grilled Corn on the Cob Variations
Feel free to get creative and customize your grilled corn on the cob into something uniquely yours!
- Dairy-Free: Substitute unsalted butter with olive oil or a vegan butter alternative to keep it creamy without dairy.
- Spicy Kick: Sprinkle chili powder or cayenne pepper on top for a delightful heat that contrasts with the sweet corn.
- Cheesy Delight: Add crumbled feta or cotija cheese after grilling to introduce a salty, creamy texture that enhances every bite.
- Herb-Infused: Mix fresh herbs like cilantro or basil into your melted butter for a fragrant and zesty twist that brightens the corn beautifully.
- Honey-Lime Butter: Combine melted butter, honey, and lime juice for a sweet and tangy topping that adds a perfect summer touch.
- Mexican Street Style: Slather with mayonnaise, sprinkle with chili powder, and crumble cotija cheese for a delicious street corn experience, reminiscent of culinary adventures.
- Grilled Garlic: Mix minced garlic with butter before brushing it over the corn to infuse it with rich, savory flavors.
- Sweet Maple Glaze: Drizzle maple syrup over the grilled corn for a sweet and sticky finish that will have everyone coming back for seconds.
With these tempting variations, your grilled corn on the cob will not just be a side dish but a star in its own right! If you’re interested in other fresh, seasonal recipes, consider pairing it with Chimichurri Grilled Chicken Bowls or serving it alongside a hearty Corn and Zucchini Chowder. Enjoy the flavorful possibilities!
Expert Tips for Grilled Corn on the Cob
-
Choose Fresh Corn: Opt for fresh sweet corn for maximum flavor and sweetness. Look for bright green husks and plump kernels when selecting your corn.
-
Perfect Heat: Ensure your grill is preheated to medium-high heat, around 400°F. This is essential for achieving that beautiful smoky char on your grilled corn on the cob.
-
Turn Regularly: Rotate the corn every couple of minutes while grilling. This technique helps evenly char the kernels without burning any single side.
-
Butter Bliss: Apply butter to the corn while it’s still hot for the best melting effect. Feel free to experiment with flavored butters to add a delicious twist!
-
Don’t Overcook: Keep an eye on your timings—8 to 10 minutes is ideal. Overcooking can lead to dried-out kernels; you want them tender yet juicy.
-
Serve Immediately: Grilled corn on the cob is best enjoyed fresh off the grill. Serve it immediately to savor the flavors while they are at their peak!
Make Ahead Options
Grilled corn on the cob is a fantastic choice for meal prep, allowing you to savor its sweet summer flavors without the last-minute rush. You can shuck the corn and even partially grill it up to 24 hours ahead of time if you’re short on an evening. To maintain that just-off-the-grill quality, wrap the shucked corn in foil and refrigerate after grilling, storing for up to 3 days. When you’re ready to serve, simply finish cooking the corn on a hot grill for about 5 minutes to warm it through and get those beautiful char marks. This way, you’ll enjoy perfectly grilled corn on the cob with minimal effort, making it the ideal side for busy weeknights!
What to Serve with Grilled Corn on the Cob
Grilled corn on the cob is the perfect addition to any summer gathering, inviting you to create a complete meal bursting with flavors.
-
Grilled Chicken: Juicy, tender chicken cooked on the grill complements the smoky sweetness of the corn beautifully. Their flavors meld perfectly together for a delightful experience.
-
Fresh Tomato Salad: A vibrant mix of ripe tomatoes, basil, and mozzarella offers a refreshing contrast to the rich corn. The acidity in the salad cleanses the palate, highlighting the sweetness of each bite.
-
Sweet Potato Fries: Crispy, golden sweet potato fries bring warmth and texture, creating a delightful pairing with the juicy corn. Their natural sweetness elevates your meal to new heights.
-
Classic Coleslaw: Crunchy, tangy coleslaw balances the richness of the grilled corn and adds a refreshing crunch to your plate. The creamy dressing is a match made in heaven!
-
Black Bean Salsa: A zesty black bean salsa enhances the flavor of your corn with its brightness and protein-packed goodness. Combined with avocado and lime, it brings excitement to your summer feast.
-
Lemonade or Iced Tea: A refreshing glass of lemonade or iced tea perfectly complements the smoky char of grilled corn. Their citrusy notes cleanse the palate and enhance your dining experience.
Keep these suggestions in mind to create a memorable meal highlighting the vibrant flavors of summer!
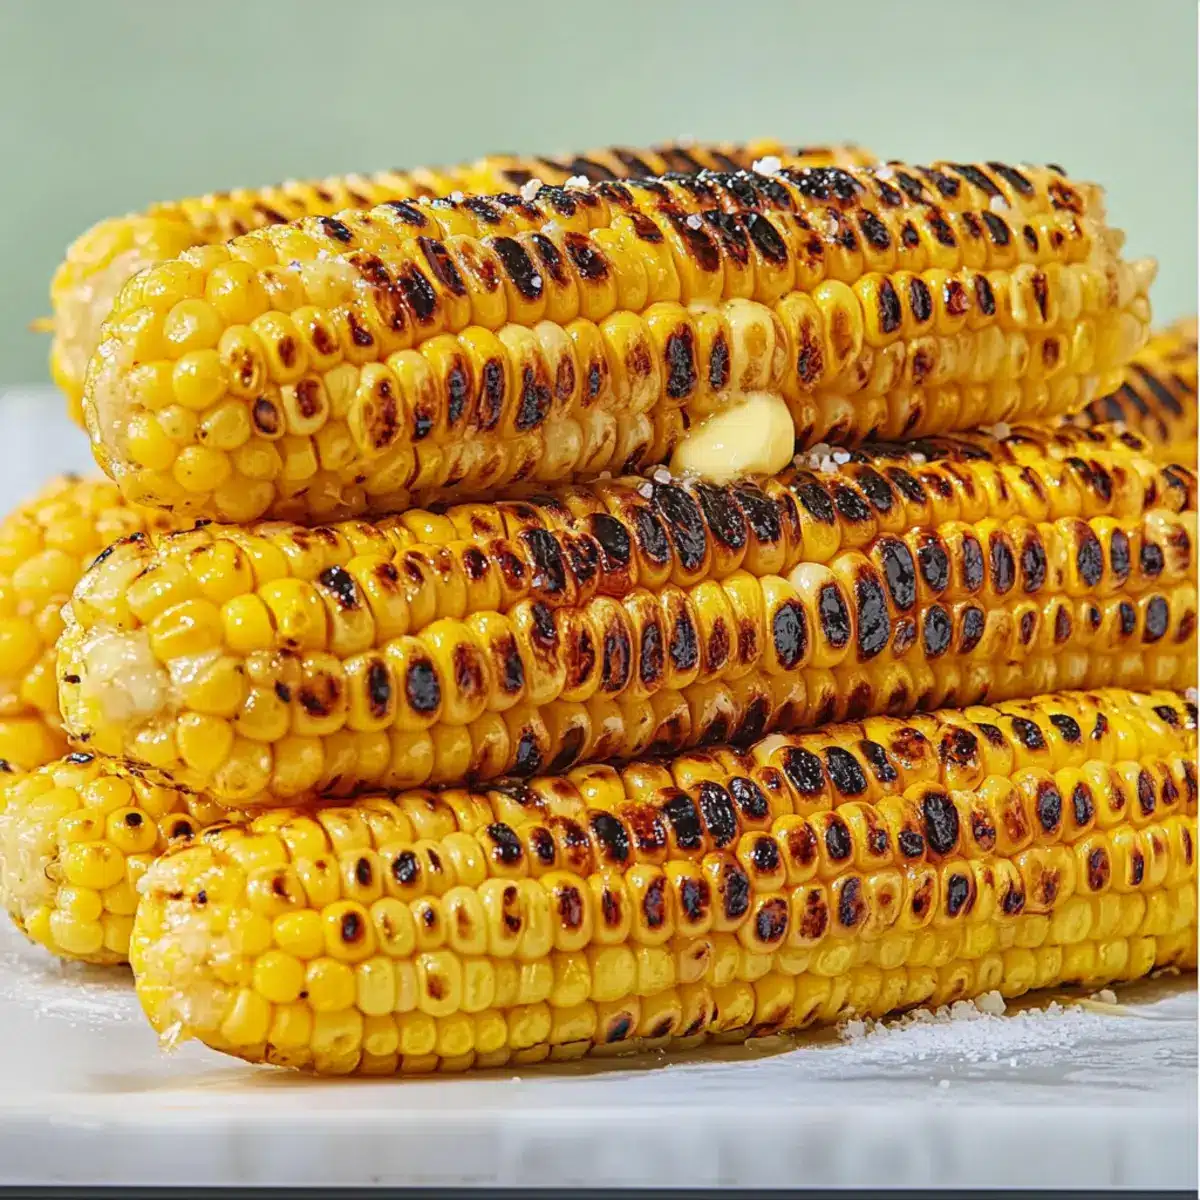
Grilled Corn on the Cob Recipe FAQs
What should I look for when selecting corn on the cob?
Absolutely! When choosing corn on the cob, opt for ears with bright green husks and plump, well-formed kernels. Fresh corn should feel heavy for its size and offer a slightly squeaky sound when you squeeze it. Check for any dark spots or blemishes that might indicate overripeness. The kernels should be close together and milky when you press into them.
How should I store leftover grilled corn on the cob?
Very! Leftover grilled corn can be stored in an airtight container in the refrigerator for up to 4 days. To maintain its moisture, try wrapping it in damp paper towels before sealing it. Reheat it on the grill or in an oven, which helps restore some of that lovely smoky flavor from grilling—a little warmth can make a big difference!
Can I freeze grilled corn on the cob?
Absolutely! To freeze grilled corn, wrap each cob tightly in plastic wrap or aluminum foil to prevent freezer burn. Place them in a freezer-safe bag or container, and they can last for up to 6 months. When you’re ready to enjoy, thaw in the fridge overnight, then reheat directly on the grill for about 5 minutes, or use the oven at 350°F for 10-15 minutes.
What should I do if the corn is tough after grilling?
Don’t worry! If your corn turns out tough, it may be due to overcooking or using overly mature corn. To avoid this, grill the corn for just 8 to 10 minutes and rotate it every 2 minutes for even cooking. If using frozen corn, ensure it is completely thawed before grilling. For a softer texture, try cutting kernels off the cob before grilling, allowing them to retain more moisture.
Is grilled corn safe for my pets?
Absolutely! While corn is generally safe for pets in small amounts, it’s best to avoid giving them the cob itself, as it can pose a choking hazard and lead to digestive blockages. If you want to share, offer a tiny piece of the cooked kernels without any butter or salt. Always consult with your veterinarian if you’re unsure about incorporating human food into your pet’s diet.
Are there any allergy considerations with grilled corn?
Very! Corn is a common allergen for some individuals. If you’re preparing food for guests or family members with allergies, make sure to check for corn allergies before serving. For a delicious alternative, consider other grilled vegetables like zucchini or bell peppers that might accommodate more diverse dietary needs.
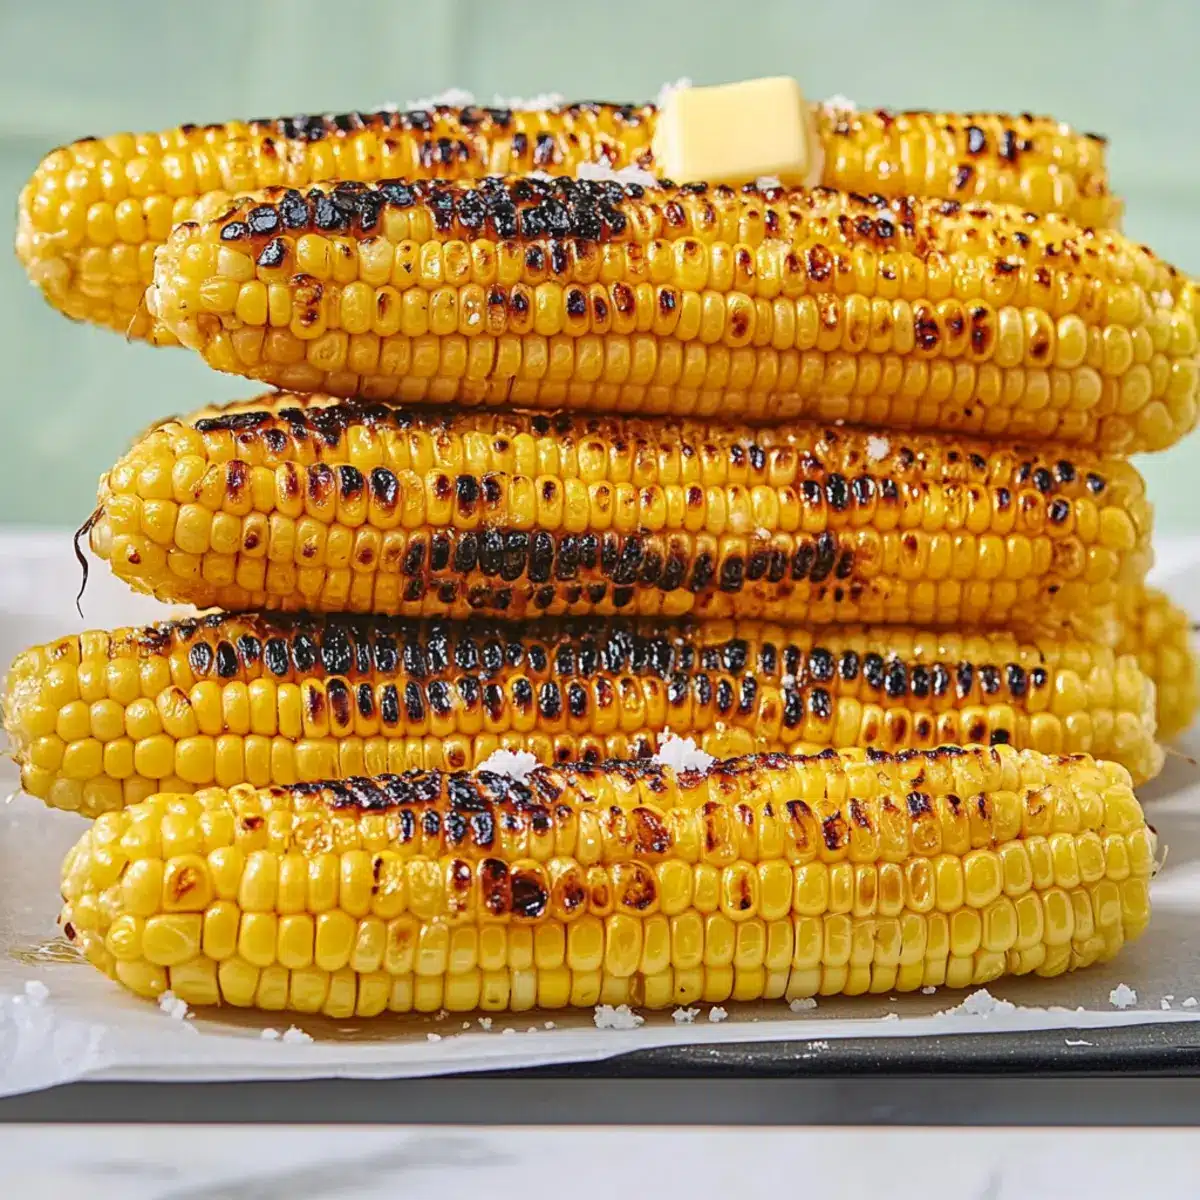
Grilled Corn On The Cob: Sweet Summer Flavor Perfection
Ingredients
Equipment
Method
- Prepare the grill by preheating to medium-high temperature, around 400°F.
- Shuck the corn by removing the outer leaves and husks.
- Place the shucked corn on the grill and cook for 8 to 10 minutes, turning every two minutes.
- Remove the corn and brush with unsalted butter, then sprinkle with kosher salt.
- Serve hot and enjoy!
Leave a Reply