
The aroma of cinnamon and baked apples fills the air while a golden crust hisses in the oven, creating a symphony of scents that instantly evokes childhood memories. When it comes to traditional desserts, nothing quite captures the heart like a Classic Homemade Apple Pie. This recipe is a delightful blend of sweet and tart, featuring just the right mix of Honeycrisp and Gala apples, all nestled within a perfectly flaky crust. What’s more, it’s not just a showstopper for Thanksgiving—it’s straightforward to prepare, making it an ideal choice for any gathering. Whether around the holiday table or a cozy weeknight dinner, this apple pie creates moments of joy and warmth that you’ll share with loved ones. Are you ready to dive into the comforting world of homemade desserts? Let’s get started!
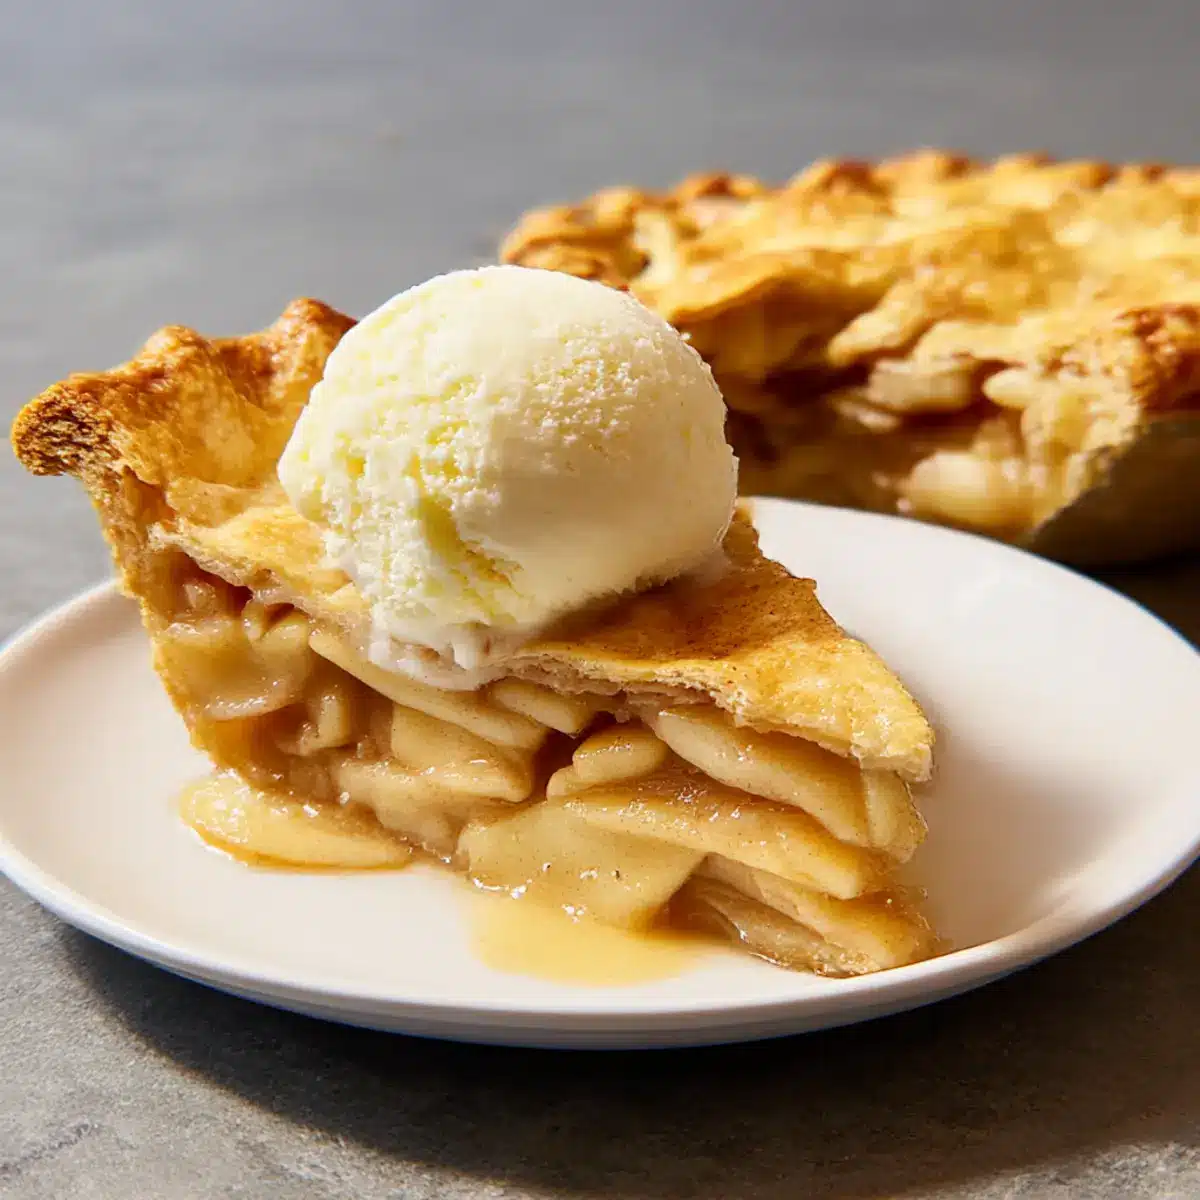
Why Is This Apple Pie Special?
Homemade Goodness: This Classic Homemade Apple Pie is not your average dessert; it’s created with love, using fresh apples and a buttery, flaky crust that beats store-bought any day.
Flavor Harmony: The sweet-tart balance of Honeycrisp and Gala apples, combined with a hint of cinnamon, makes every bite a celebration of flavors.
Versatile Treat: Perfect for Thanksgiving or just a cozy weeknight, it’s a delightful way to elevate any gathering. Pair it with a scoop of vanilla ice cream or a drizzle of caramel for an extra touch of indulgence!
Crowd-Pleasing Recipe: Everyone loves a warm slice of apple pie, making it ideal for sharing with family and friends. Want more delicious ideas? Check out our Caramel Apple Oatmeal or a Salted Caramel Apple Crumble for tasty options.
Heirloom Tradition: Baking this pie connects us to cherished memories and family traditions, serving as a delicious reminder of home and comfort. You’ll love the nostalgia wrapped in every flaky layer!
Apple Pie Ingredients
For the Pie Crust
• All-purpose flour – Essential for creating a flaky and tender crust; substitute with gluten-free flour if needed.
• Two batches pie crust – Ensure you have enough for a top and bottom layer; chill for at least 2 hours for best results.
• Kosher salt – Enhances flavor; don’t skip it for balance!
For the Apple Filling
• Assorted apples (3 1/2 lb, e.g., Honeycrisp and/or Gala) – A mix gives a sweet-tart balance that’s perfect for classic apple pie flavor.
• Granulated sugar (2/3 cup) – Adds the sweetness; brown sugar can be used for a deeper and richer taste.
• All-purpose flour (2 Tbsp) – A thickening agent that keeps your filling from becoming watery; essential for a perfect slice.
• Fresh lemon juice (2 Tbsp) – Brightens the apple flavors; apple cider vinegar works as a good substitute.
• Ground cinnamon (1 tsp) – Infuses warmth and spice into your filling; feel free to replace it with nutmeg for an alternative twist.
• Pure vanilla extract (1/2 tsp) – Enhances the overall flavor profile; consider using vanilla bean paste for an even richer essence.
• Unsalted butter (2 Tbsp, cut into small pieces) – Adds richness to the filling but can be omitted for a lighter version.
• Kosher salt (1/4 tsp) – Balances sweetness and enhances the overall flavor of the filling.
For the Egg Wash
• Large egg (1) and water (1 Tbsp) – Creates a beautiful, glossy finish on your crust; milk can be substituted if you prefer.
• Coarse sugar – Sprinkled on top for added texture and a hint of extra sweetness; makes the pie shine!
Step‑by‑Step Instructions for Classic Homemade Apple Pie
Step 1: Preheat and Prepare the Oven
Begin by preheating your oven to 425°F while fitting a rimmed baking sheet on the middle rack to catch any delicious drips. This initial step is crucial for achieving that perfect golden crust on your Classic Homemade Apple Pie, ensuring a crisp start right from the oven.
Step 2: Roll Out the First Crust
Roll out your chilled pie dough into a 12-inch circle, taking care to keep the thickness uniform, about 1/8 inch. Gently fit this dough into your pie dish, pressing it into the corners without stretching. Afterward, it’s best to chill the crust again while you prepare the filling, keeping everything nice and cool.
Step 3: Prepare the Apple Filling
In a large mixing bowl, combine your sliced, assorted apples with granulated sugar, flour, fresh lemon juice, ground cinnamon, vanilla extract, and kosher salt. Toss everything lovingly until the apples are well-coated. This mixture will create a harmonious balance of flavors in your Classic Homemade Apple Pie, and it’s ideal to let the filling sit for a few minutes to meld.
Step 4: Fill the Pie Crust
Once your apple mixture is ready, pour it into the chilled pie crust, ensuring an even distribution. Dot the top with small pieces of unsalted butter to add richness to your pie filling. This step is key for achieving the desired jammy consistency as it bakes, enhancing the overall flavor of your Classic Homemade Apple Pie.
Step 5: Roll Out the Second Crust
Next, roll out the second batch of pie dough into a similar 12-inch circle, carefully trimming any excess. Place this top crust over the apple filling, then crimp the edges using your fingers or a fork for a decorative touch. Make sure the edges are sealed well to trap all those wonderful flavors inside.
Step 6: Create the Egg Wash and Vent
In a small bowl, whisk together the egg and water to create your egg wash, which will give the crust a beautiful sheen. Brush this mixture over the top crust, then sprinkle coarse sugar for a lovely crunchy finish. Don’t forget to make a few slits in the pie to allow steam to escape, ensuring your Classic Homemade Apple Pie bakes evenly.
Step 7: Bake the Pie
Place your pie in the preheated oven and bake at 425°F for 20 minutes. After that, reduce the temperature to 375°F and bake for an additional 40 minutes. Keep an eye on the crust; it should be a beautiful golden brown while the filling bubbles slightly through the slits, creating a delightful visual treat.
Step 8: Cool and Serve
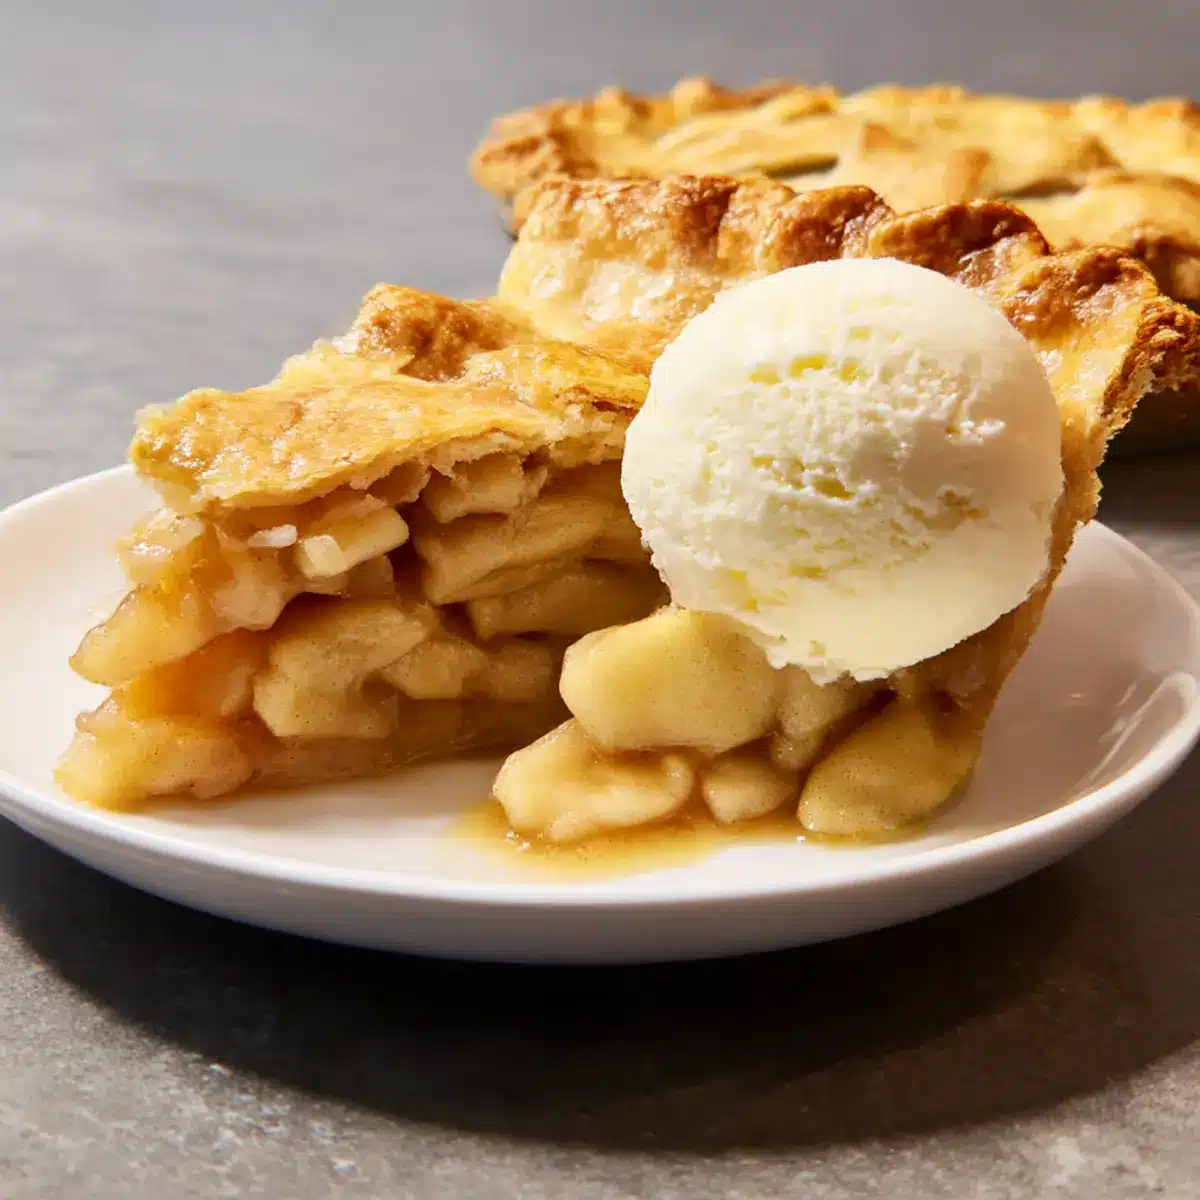
Once baked, carefully remove your Classic Homemade Apple Pie from the oven and let it cool on a wire rack for about 2 hours. This cooling time helps the filling set properly, making slicing much easier. When you’re ready to serve, slice and enjoy with a scoop of vanilla ice cream or a drizzle of caramel for a delicious touch!
Apple Pie Variations & Substitutions
Feel free to add your own twist to this classic recipe and make it uniquely yours!
- Gluten-Free: Use a gluten-free flour blend to create a deliciously flaky crust without wheat.
- Brown Sugar: Swap granulated sugar for brown sugar in the filling for a deeper, caramel-like flavor that enhances the apple taste.
- Apple Cider Vinegar: If you’re out of fresh lemon juice, apple cider vinegar works as a tangy substitute to brighten the apples.
- Extra Spice: Add a pinch of nutmeg and ginger to the filling for a warm, seasonal spice boost that brings cozy vibes.
- Dried Fruits: Mix in some dried cranberries or raisins for a chewy, sweet surprise that complements the fresh apples beautifully. Let your creativity soar with these additional flavors!
- Caramel Drizzle: For a gourmet touch, drizzle with caramel sauce just before serving for a luscious, indulgent finish. It creates a delightful contrast with the tart apples!
- Cheese Pairing: Serve with a slice of sharp cheddar cheese on the side. The savory flavor pairs unexpectedly well and adds a delightful twist.
- Apple Varieties: Experiment with different apple varieties beyond Honeycrisp and Gala—Granny Smith or Fuji can add even more depth and flavor to your pie.
Don’t forget to serve your pie warm, perhaps alongside a scoop of vanilla ice cream, to enhance that comforting experience. For more tasty treats, consider whipping up a Salted Caramel Apple Crumble or exploring an Apple Cider Chicken as part of your meal!
How to Store and Freeze Apple Pie
Room Temperature: Store the pie at room temperature for up to 3 days, keeping it covered loosely with foil or a clean kitchen towel to preserve its freshness.
Fridge: For longer storage, keep the apple pie in the refrigerator for up to 5 days. Cover it with plastic wrap or place it in an airtight container to prevent drying out.
Freezer: Wrap the cooled apple pie tightly in plastic wrap and aluminum foil, and freeze for up to 3 months. Thaw completely overnight in the fridge before reheating.
Reheating: To enjoy your apple pie warm, preheat the oven to 350°F and heat the pie for about 15-20 minutes, until warmed through. The delightful aroma will fill your kitchen once again!
Expert Tips for Perfect Apple Pie
Cold Ingredients: Keep all your ingredients, especially the butter and water, cold before mixing to ensure a flaky crust.
Apple Variety: Combine sweet and tart apples like Honeycrisp and Gala for a balanced filling. Don’t stick to just one variety.
Avoid a Soggy Bottom: Preheat your baking sheet and consider blind baking the bottom crust briefly before adding the filling to avoid a soggy base.
Crust Sealing: When crimping the edges, don’t stress about perfection; it’s all about flavor, and slight imperfections will still create a delicious apple pie!
Slice at the Right Time: Allow the pie to cool completely before slicing to ensure the filling sets properly, preventing messy servings.
Storage Tips: Store leftover apple pie in an airtight container in the fridge for up to five days, keeping that deliciousness fresh!
What to Serve with Classic Homemade Apple Pie
The comforting aroma of baked apples and cinnamon sets the stage for a delightful meal filled with warmth and joy.
-
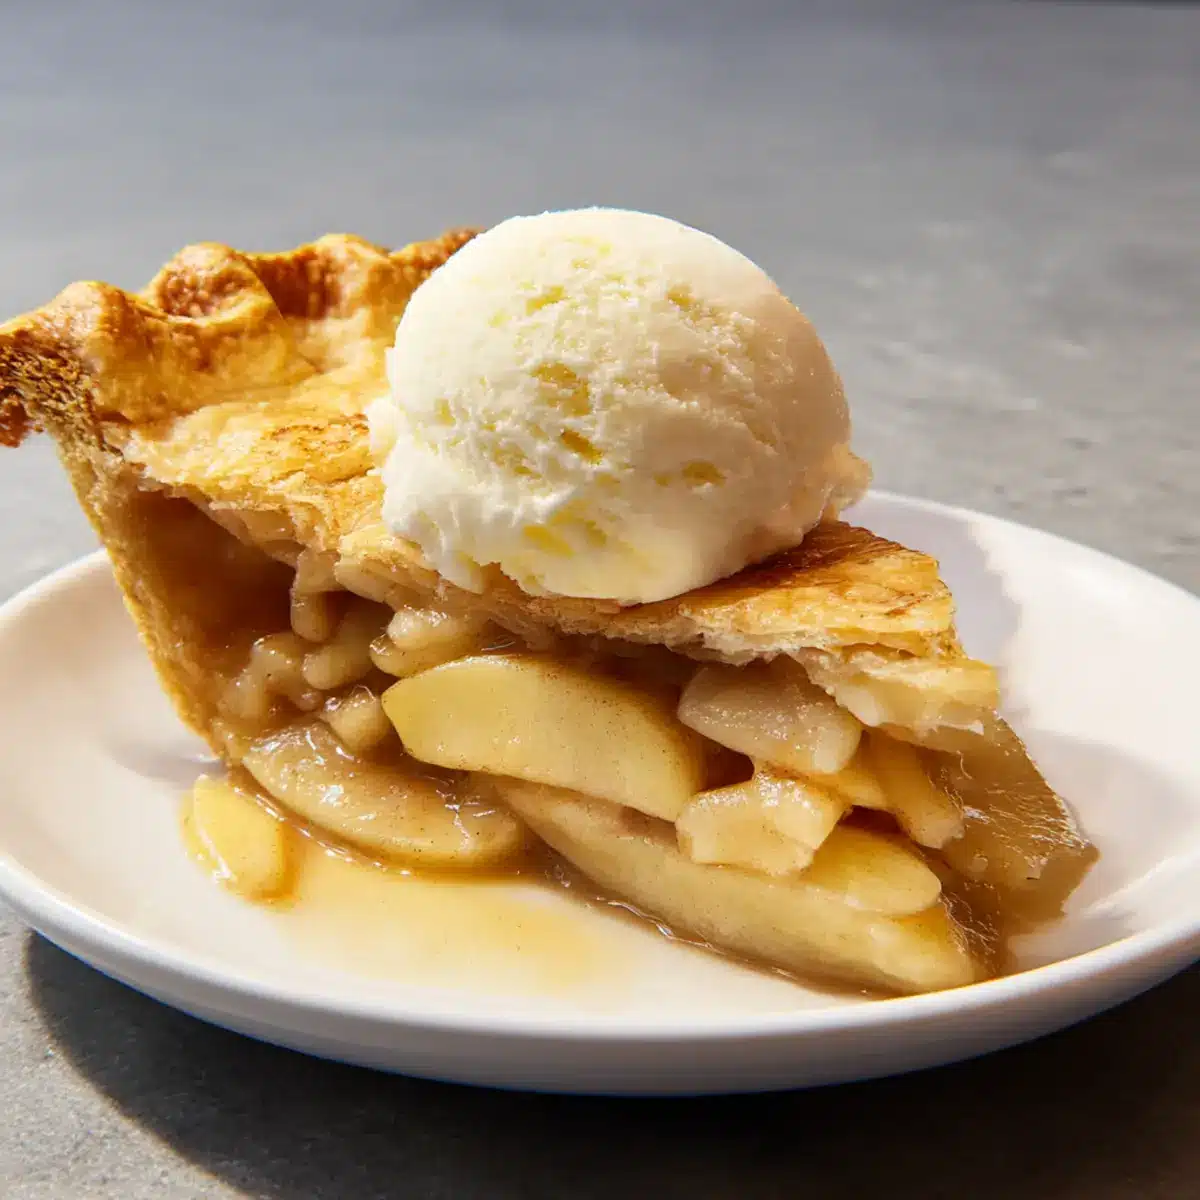
Vanilla Ice Cream: A classic pairing that adds creaminess and balances the sweet-tart flavors of the apple pie, enhancing every bite.
-
Whipped Cream: Light and fluffy, whipped cream provides a touch of sweetness and richness that mirrors the pie’s warm filling perfectly.
-
Caramel Sauce: Drizzling warm caramel over each slice adds a decadent layer of flavor, transforming your dessert into an indulgent treat.
-
Cheddar Cheese: The sharpness of cheddar beautifully contrasts the sweetness of the pie, creating a delightful flavor harmony that will surprise your taste buds.
-
Hot Apple Cider: Serve a mug of spiced cider alongside your pie for a cozy, autumnal drink that echoes the flavors of the dessert.
-
Lemonade: Fresh and zesty, a glass of lemonade cuts through the richness of the pie, providing a refreshing counterbalance.
-
Cinnamon Coffee: A warm cup of cinnamon-infused coffee makes for a delightful pairing that enhances the comforting experience of enjoying apple pie.
-
Pecan Pie: For those who can’t get enough sweets, serving a slice of pecan pie alongside apple pie creates a dreamy dessert duo that covers all flavor bases.
-
Chocolate Cake: For the chocolate lovers, pairing a small slice of rich chocolate cake with your apple pie adds a touch of decadence that demands to be savored.
Make Ahead Options
These Classic Homemade Apple Pies are ideal for meal prep and can save you precious time during busy days! You can prepare the pie crust up to 24 hours in advance. Simply roll it out, fit it into the pie dish, and refrigerate it. The apple filling can also be made up to 3 days ahead; store it in an airtight container in the refrigerator to maintain freshness. When you’re ready to bake, just spoon the filling into the chilled crust, cover with the top crust, and follow the baking instructions as usual. This way, you’ll have a delicious, homemade dessert with minimal effort, perfect for surprising your family with a warm slice of apple pie!
Classic Homemade Apple Pie Recipe FAQs
How do I select the best apples for my apple pie?
Absolutely! For the best flavor and texture, I recommend using a mix of sweet and tart apples. Honeycrisp and Gala are fantastic choices! They balance sweetness and tartness beautifully. Aim for about 3 1/2 pounds of apples, and feel free to experiment with others like Granny Smith or Fuji for added depth!
What is the best way to store my apple pie?
Very simple! You can store your apple pie at room temperature for about 3 days, covering it loosely with foil or a clean kitchen towel. If you want it to last longer, keep it in the fridge for up to 5 days; just cover it tightly with plastic wrap or in an airtight container to maintain its freshness!
Can I freeze apple pie, and if so, how?
Of course! To freeze your apple pie, first let it cool completely. Then wrap the pie tightly in plastic wrap and aluminum foil to keep all that deliciousness sealed in. It can be frozen for up to 3 months. When you’re ready to enjoy it, thaw it overnight in the fridge before reheating in the oven at 350°F for about 15-20 minutes.
What should I do if my pie crust is soggy?
To prevent a soggy crust, ensure your pie is baked on a preheated baking sheet. You might also consider blind baking the bottom crust for about 10 minutes before adding the filling. This little trick helps set the crust and avoids that dreaded sogginess!
Are there any dietary considerations I should keep in mind for this apple pie?
Absolutely! If you’re allergic to gluten, you can easily substitute all-purpose flour with a gluten-free flour blend for the crust. Additionally, if you’re concerned about dairy, you can omit the unsalted butter in the filling for a lighter option without sacrificing too much flavor. Just be sure to find suitable substitutes that cater to your dietary needs!
How do I know when my apple pie is done baking?
You’ll know your apple pie is ready when the crust is beautifully golden brown and the filling is bubbling slightly through the slits. This process typically takes about 60 minutes in total, with the initial high-heat bake followed by a lower temperature to cook the filling thoroughly. It’s a visual treat worth the wait!
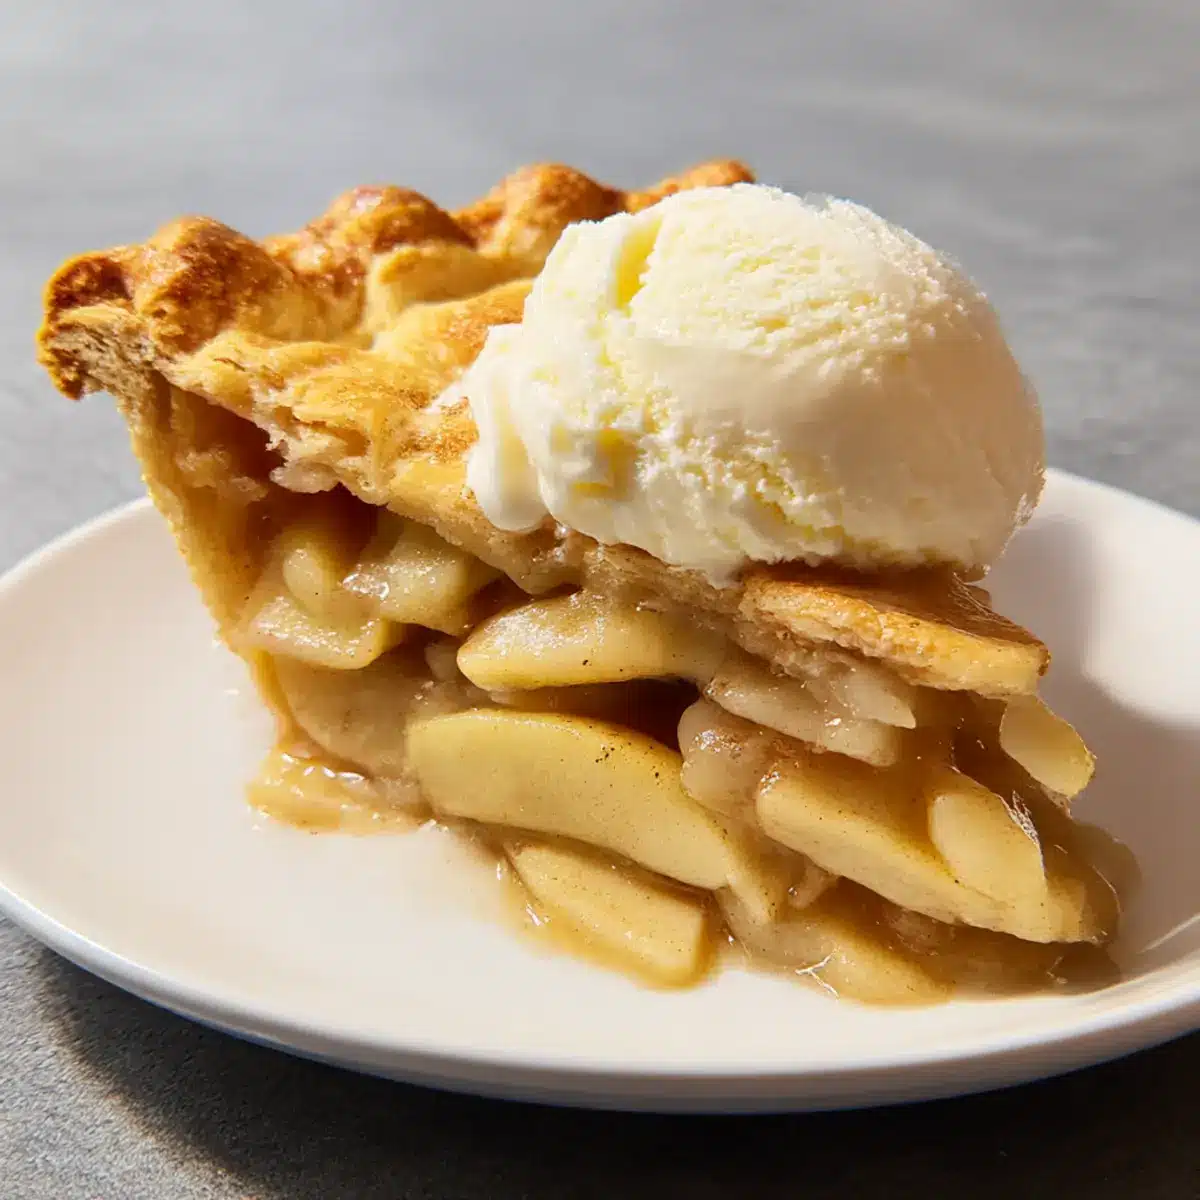
Classic Homemade Apple Pie That Warms Your Heart
Ingredients
Equipment
Method
- Preheat your oven to 425°F and fit a rimmed baking sheet on the middle rack.
- Roll out your chilled pie dough into a 12-inch circle and fit it into your pie dish.
- Combine sliced assorted apples with granulated sugar, flour, lemon juice, cinnamon, vanilla, and salt. Toss until well-coated.
- Pour the apple mixture into the pie crust and dot with unsalted butter pieces.
- Roll out the second batch of pie dough into a 12-inch circle, place it over the filling, and crimp the edges.
- Whisk together the egg and water for egg wash, brush over the crust, and sprinkle with coarse sugar. Make slits for venting.
- Bake at 425°F for 20 minutes, then reduce to 375°F and bake for another 40 minutes.
- Let the pie cool on a wire rack for about 2 hours before serving.
Leave a Reply