
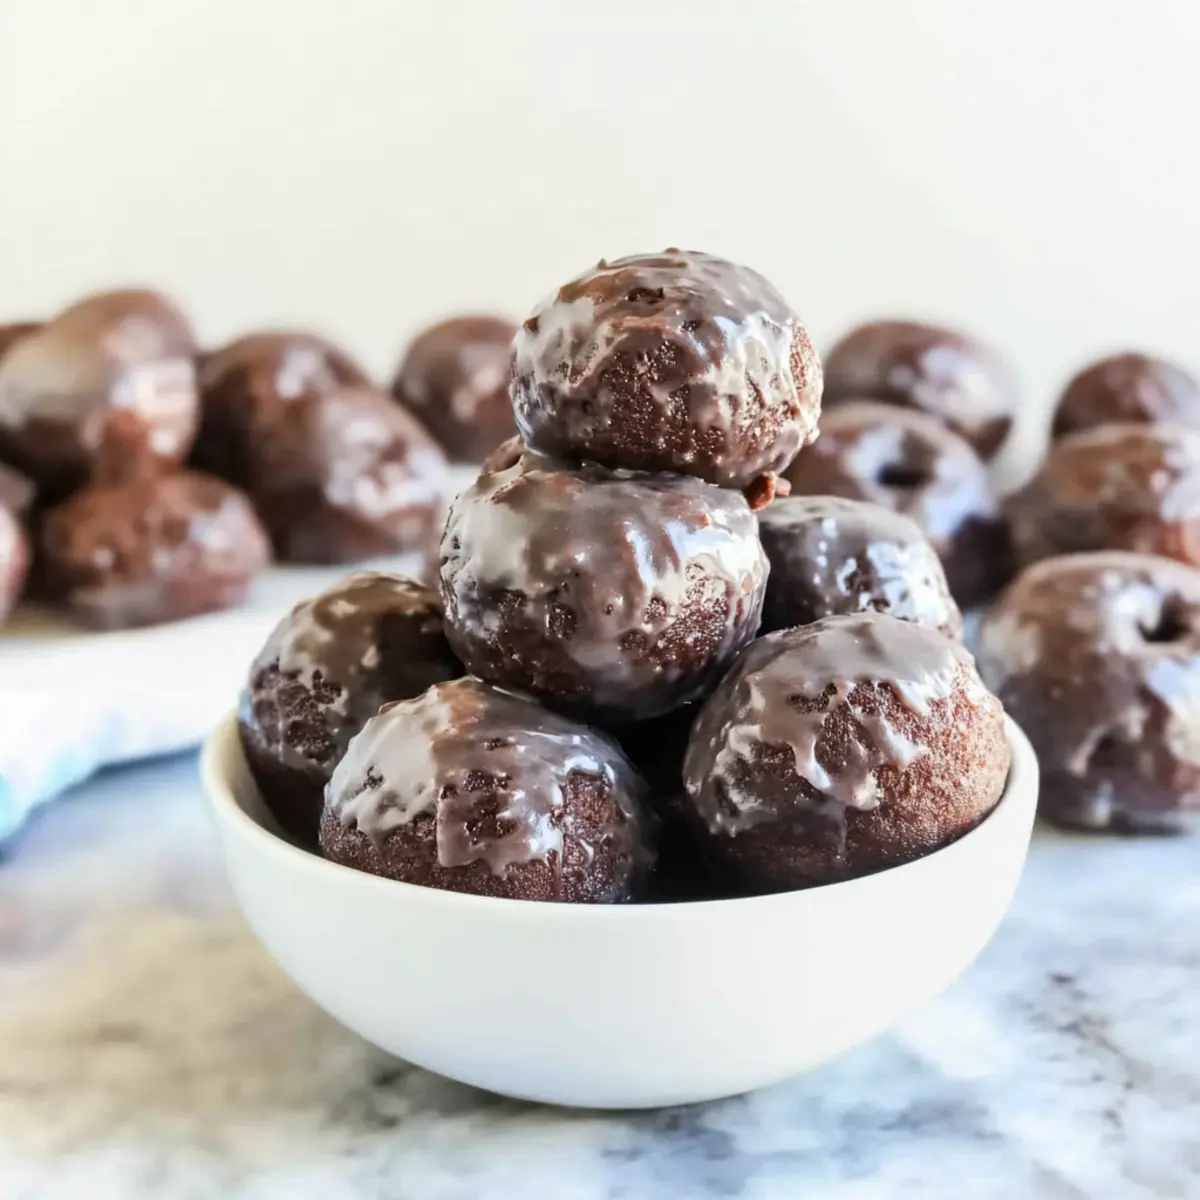
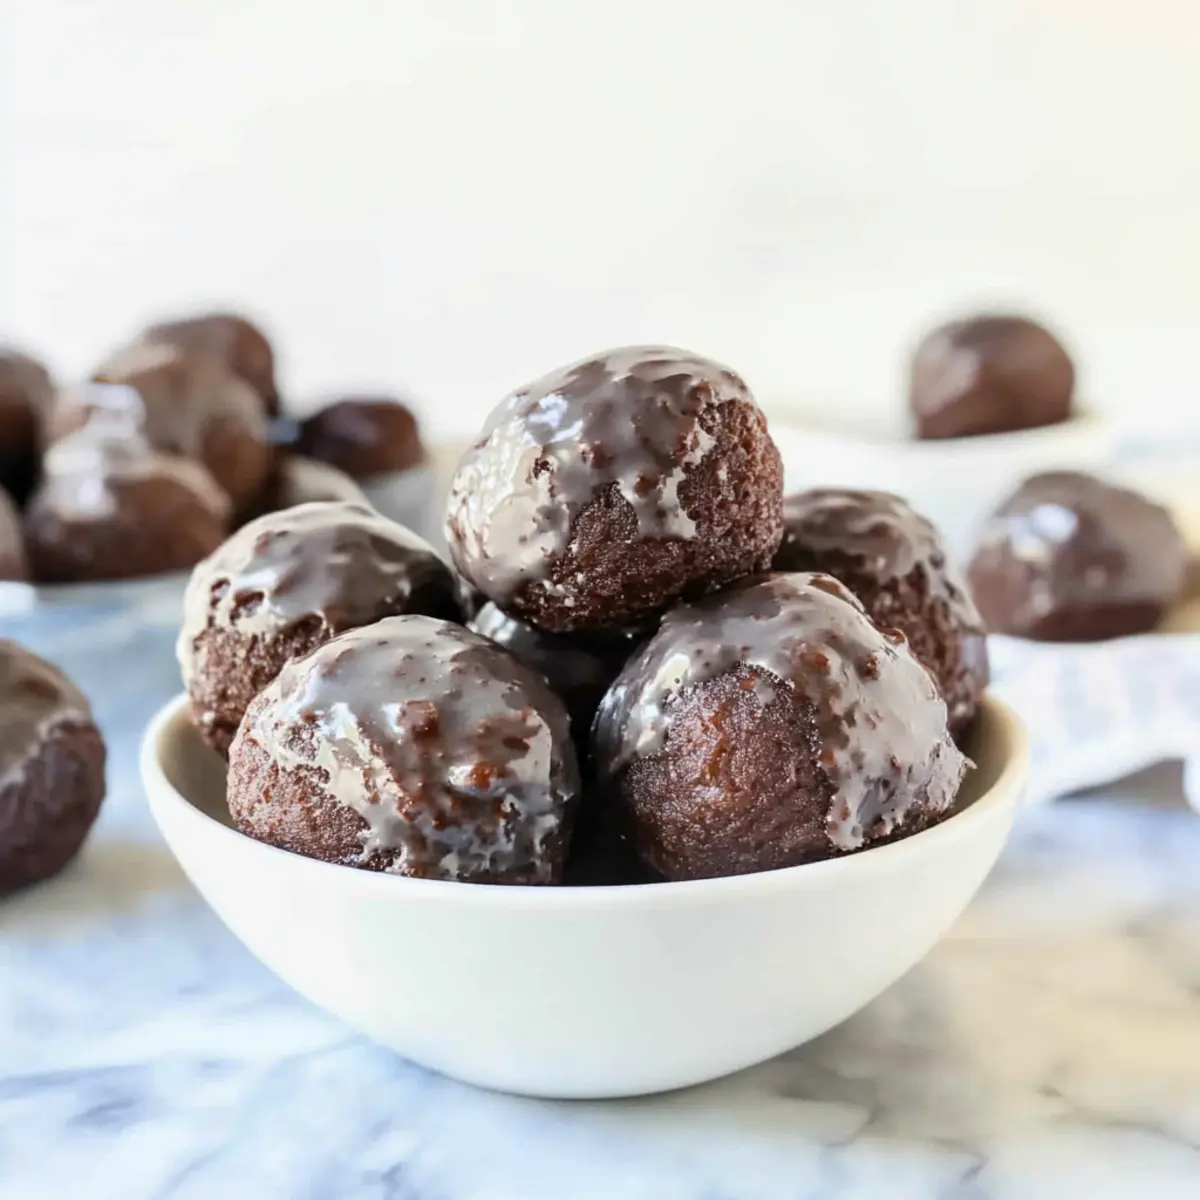
A sudden craving for something sweet can turn even the sunniest of mornings into a mini crisis. That’s where my Gluten-Free Baked Chocolate Donut Holes come to the rescue! These delightful treats are not only light and fluffy, but they also free you from the guilt of gluten while tickling your taste buds with rich chocolate goodness. Perfect for weekend breakfasts or as a charming surprise for your kids, this easy recipe transforms a typical day into a cozy culinary adventure. Trust me; their soft, glossy glaze will make them the star of your dessert table. So, are you ready to indulge in these scrumptious little bites? Let’s dive into the recipe!
Why Choose Baked Chocolate Donut Holes?
Indulgence at its finest: Sink your teeth into these rich, chocolatey treats that satisfy your sweet craving without the gluten.
Kid-approved and enjoyed by all: Perfect for little hands, making them a crowd-pleaser for family gatherings or parties.
Versatile recipe: Feel free to switch up flavors with fun toppings or mix-ins, like adding mini chocolate chips or experimenting with flavored extracts, just like with the Dark Chocolate Nut recipe!
Quick and easy: Ready in under 30 minutes, these donut holes take minimal effort for maximum enjoyment.
Guilt-free pleasure: Each bite is about 90 calories, so snacking on these treats makes you feel good. You can even serve them with breakfast alongside Banana Baked Oatmeal for a delightful morning spread!
Gluten-Free Baked Chocolate Donut Holes
-
For the Batter
-
Butter, melted – Provides richness and moisture; substitute with coconut oil for a dairy-free alternative.
-
Maple syrup (room temperature) – Adds natural sweetness; honey or agave syrup can also be used.
-
Plain Greek yogurt – Contributes to moisture and protein; sour cream or dairy-free yogurt is a good substitute.
-
Milk of choice (heated to room temperature) – Helps with batter consistency; use any non-dairy milk like almond or oat.
-
Vanilla extract – Enhances flavor; omit for a plain glaze or use clear vanilla for a traditional touch.
-
Eggs – Bind ingredients and add structure; a flax egg (1 tbsp flaxseed + 2.5 tbsp water) serves as a vegan option.
-
Gluten-free all-purpose flour – The base for the donut holes; ensure it contains xanthan gum for best results.
-
Baking soda – Leavens the batter to help donuts rise; no substitutions needed.
-
Salt – Enhances flavor; minimal impact if omitted.
-
Cocoa powder – Gives rich chocolate flavor; don’t forget to sift to prevent clumps.
-
For the Glaze
-
Powdered sugar – Creates the smooth, sweet topping; adjust quantity for desired thickness.
-
Milk – Helps achieve a creamy glaze; start with 8 teaspoons and adjust as needed for consistency.
These Gluten-Free Baked Chocolate Donut Holes are a delightful way to enjoy the indulgence of treats while still being kind to your dietary needs!
Step‑by‑Step Instructions for Baked Chocolate Donut Holes
Step 1: Preheat the Oven
Begin by preheating your oven to 350°F (175°C). While the oven warms, take a moment to grease a mini muffin pan generously with butter or non-stick cooking spray. This ensures that your Baked Chocolate Donut Holes release easily after baking, giving them that perfect round shape.
Step 2: Mix the Wet Ingredients
In a large mixing bowl, whisk together the melted butter and maple syrup until fully combined, creating a smooth base. Next, add the plain Greek yogurt, room temperature milk, and vanilla extract, continuing to whisk until the mixture is creamy and well-blended. Then, incorporate the eggs, mixing until just combined for a delightful batter.
Step 3: Combine the Dry Ingredients
Gradually stir in the gluten-free all-purpose flour, baking soda, and salt, mixing with a spatula until no dry streaks remain. This step is crucial for the Baked Chocolate Donut Holes to rise properly. Take care not to overmix, as this can affect the texture of your treats—light and fluffy is the goal!
Step 4: Add Cocoa Powder
Using a fine mesh strainer, sift the cocoa powder into the batter to prevent clumps. Gently fold the cocoa into the mixture until a thick, chocolatey batter forms, rich with flavor. This is the heart of your Baked Chocolate Donut Holes, so make sure it’s well incorporated but avoid vigorous mixing to keep the batter light.
Step 5: Fill the Muffin Pan
Using a cookie scoop or spoon, fill each cavity of the greased mini muffin pan with the batter, approximately three-quarters full to allow for rising. This method ensures uniform sizes, giving your Baked Chocolate Donut Holes a delightful appearance once baked. Aim for neat, rounded scoops to maintain their lovely shape.
Step 6: Bake the Donut Holes
Slide the muffin pan into your preheated oven and bake for 9-11 minutes. Keep an eye on them; they’re done when they’re spongy to the touch and a toothpick inserted into the center comes out clean. The sweet aroma of chocolate will fill your kitchen and signal that they’re almost ready!
Step 7: Cool the Donut Holes
Once baked, remove the muffin pan from the oven and let it cool for about 5 minutes. Carefully transfer the Baked Chocolate Donut Holes to a wire rack to cool completely. This cooling time is vital for the glaze adhesion later, so be patient and let them rest, allowing that fluffy texture to set perfectly.
Step 8: Prepare the Glaze
In a mixing bowl, combine the powdered sugar and milk, starting with 8 teaspoons of milk. Whisk until the mixture is smooth, adjusting the milk until you reach your desired glaze thickness. This easy glaze will elevate your Baked Chocolate Donut Holes, bringing in a touch of sweetness that complements the chocolate flavor beautifully.
Step 9: Glaze the Donut Holes
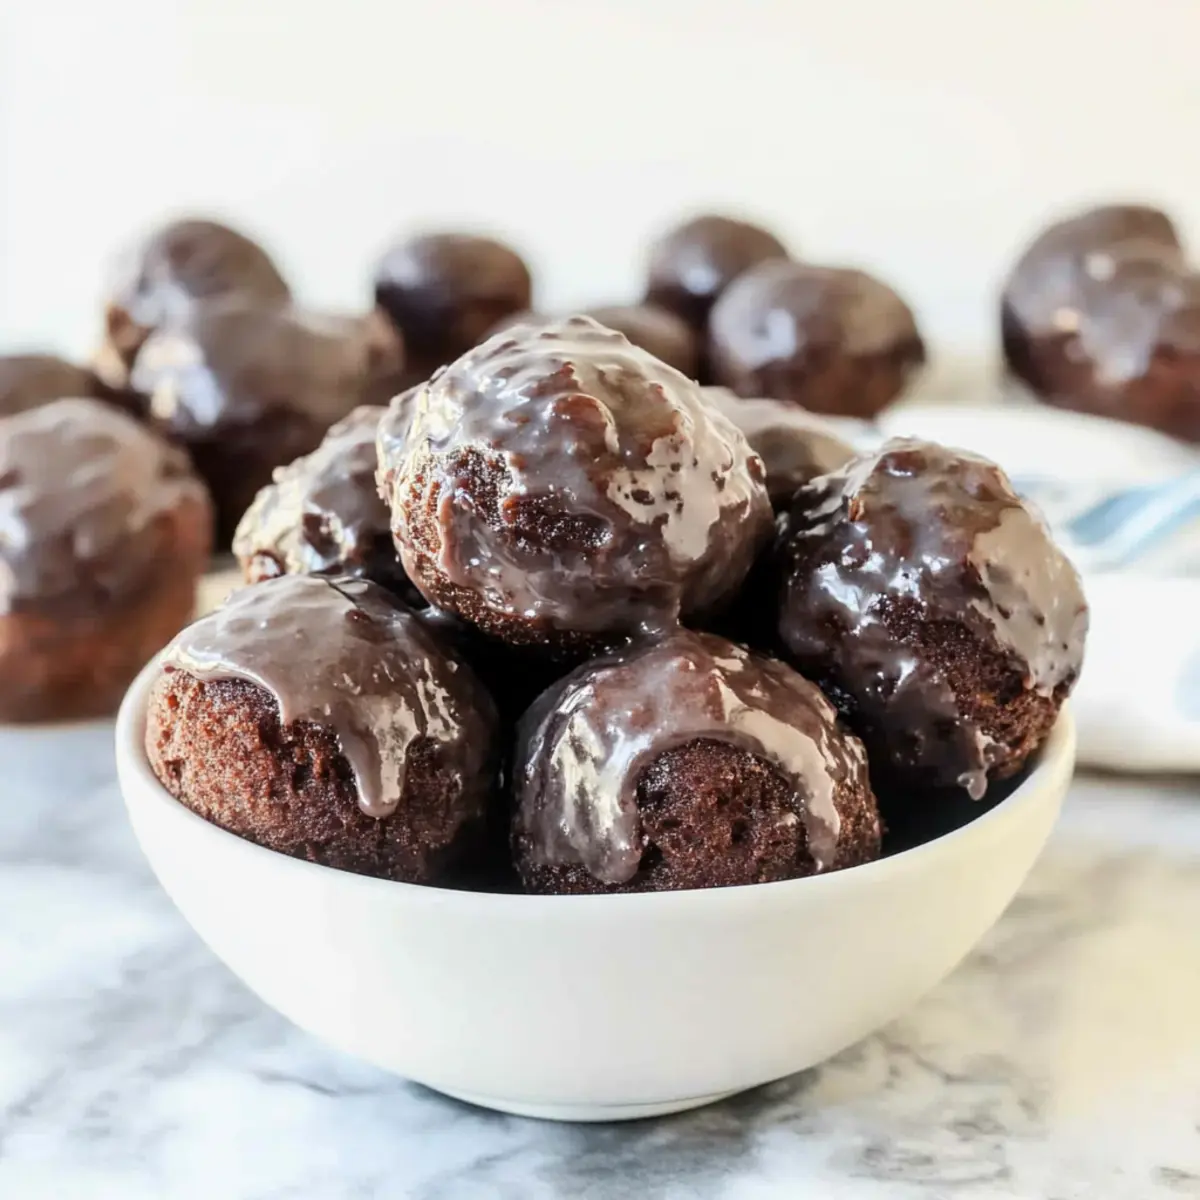
Once the donut holes have cooled completely, dip each one into the prepared glaze, allowing the excess to drip off gently. Place them back on the wire rack for the glaze to set. Each Baked Chocolate Donut Hole should now be beautifully coated, ready for a delightful treat or charming addition to your dessert table!
Baked Chocolate Donut Holes Variations
Feel free to get creative with these delightful treats, making them uniquely yours with simple swaps and additions!
- Dairy-Free: Replace butter with coconut oil and use non-dairy milk and yogurt for a friendly dairy-free option.
- Sweetener Swap: Use honey or agave syrup instead of maple syrup for a different flavor profile and sweetness level.
- Nutty Goodness: Add 1/2 cup of chopped nuts or mini chocolate chips to the batter for delightful texture and extra indulgence.
- Cocoa Alternatives: Try substituting the cocoa powder with matcha or carob for a unique flavor twist that excites the taste buds.
- Flavored Extracts: Experiment by using almond or hazelnut extract instead of vanilla for a warm, nutty flavor enhancement.
- Zesty Touch: Incorporate a teaspoon of orange zest into the batter for a bright, citrusy note that perfectly balances the chocolate richness.
- Gluten-Free Flour Mix: If you don’t have gluten-free all-purpose flour, a combination of almond flour and coconut flour can work wonders as a base.
- Decadent Drizzle: After glazing, drizzle some melted dark chocolate over the top for an extra layer of chocolatey goodness!
Why not pair your Baked Chocolate Donut Holes with a cozy cup of coffee or perhaps alongside a slice of Banana Baked Oatmeal for the ultimate breakfast spread? The possibilities are endless!
What to Serve with Gluten-Free Baked Chocolate Donut Holes
These delectable treats invite a symphony of flavors and delightful textures that can perfectly complement your culinary creations.
-
Fresh Berries: The tartness of raspberries or strawberries cuts through the sweetness, creating a refreshing contrast to the rich chocolate.
-
Whipped Cream: A dollop of fluffy, lightly sweetened whipped cream adds luxury and richness that enhances each bite of your donut holes.
-
Café Au Lait: Enjoy these donut holes with a warm cup of coffee mixed with steamed milk, balancing the sweetness and bringing out the chocolatey notes.
-
Maple Syrup Drizzle: An additional drizzle of pure maple syrup over the donut holes offers a sweet, sticky complement that pair beautifully with their chocolate decadence.
-
Chocolate Sauce: For the ultimate indulgence, serve them with warm chocolate sauce for dipping, making each bite even more irresistible.
-
Ice Cream: A scoop of vanilla or salted caramel ice cream alongside these baked chocolate donut holes creates a delightful dessert experience that the whole family will adore.
Pair any of these options with your Baked Chocolate Donut Holes to elevate a simple treat into a memorable gathering!
Storage Tips for Baked Chocolate Donut Holes
Room Temperature: Store unattended donut holes in an airtight container at room temperature for up to 3 days to maintain their light and fluffy texture.
Fridge: If you prefer, keep them in the fridge for up to a week; just remember that glazing may be best applied just before serving to keep it fresh!
Freezer: For longer storage, freeze unglazed Baked Chocolate Donut Holes in a freezer-safe bag for up to 3 months. Thaw overnight in the fridge before enjoying again!
Reheating: To reheat, pop them in a microwave for about 10-15 seconds or warm them in a toaster oven for a delightful treat that returns the fluffy goodness.
Make Ahead Options
These Gluten-Free Baked Chocolate Donut Holes are perfect for meal prep enthusiasts! You can prepare the batter up to 24 hours in advance; simply mix all the wet and dry ingredients, then refrigerate the bowl covered. This not only saves time on busy mornings but ensures the flavors meld beautifully. If you want to glaze them ahead, feel free to do so, but store the glazed donut holes in an airtight container at room temperature for up to 3 days. To keep them deliciously moist, avoid glazing until just before serving. When ready to enjoy, simply bake the batter straight from the fridge and let them cool before indulging in these delightful treats!
Expert Tips for Baked Chocolate Donut Holes
• Sift the Cocoa: Always sift cocoa powder before adding it to the batter to prevent clumps that can affect texture.
• Cool Before Glazing: Let the Baked Chocolate Donut Holes cool completely before applying the glaze to avoid melting or running.
• Uniform Filling: Use a cookie scoop to fill the muffin pan evenly, ensuring consistent baking and a lovely shape for each donut hole.
• Check for Doneness: Begin checking for doneness at the 9-minute mark; they should spring back when touched lightly.
• Storage Tips: Store glazed donut holes in an airtight container for up to 3 days. For longer freshness, wait to glaze them until just before serving.
Gluten-Free Baked Chocolate Donut Holes Recipe FAQs
How do I select the right gluten-free flour?
When choosing gluten-free all-purpose flour, look for brands that include xanthan gum, as it helps bind the ingredients and provides a better texture. Check the packaging to ensure it’s suitable for baking. Also, avoid flours that may have been cross-contaminated with gluten-containing products, especially if serving to someone with celiac disease or severe gluten intolerance.
What’s the best way to store Baked Chocolate Donut Holes?
These donut holes can be stored at room temperature in an airtight container for up to 3 days. If you want them to last longer, place them in the fridge for up to a week. For optimal freshness, avoid glazing them until just before serving. If you’re freezing, make sure they’re completely cool, then store unglazed donut holes in a freezer-safe bag for up to 3 months.
Can I freeze the donut holes, and how?
Absolutely! To freeze your Baked Chocolate Donut Holes, wait until they have cooled completely. Arrange them in a single layer on a baking sheet and freeze until solid. Once frozen, transfer them to a freezer-safe bag or airtight container, separating layers with parchment paper. When you’re ready to enjoy, simply thaw them overnight in the fridge, then glaze before serving for the best texture and flavor.
What should I do if the batter seems too thick?
If your batter feels too thick, it could be due to the flour being packed too densely or not enough wet ingredients. Gently fold in an extra tablespoon of milk at a time until you reach a thick but pourable consistency. This adjustment will help ensure your donut holes are fluffy and light after baking.
Are these donut holes kid-friendly?
Very! These Gluten-Free Baked Chocolate Donut Holes are mildly sweet and chocolatey, making them a delightful choice for kids. They serve as a perfect snack or dessert option without any allergens for gluten-sensitive family members. Just be mindful of any additional mix-ins you may add, such as chocolate chips, if there are nut allergies.
What’s a good substitute for eggs if I’m vegan?
You can make a flaxseed egg as a substitute! Mix 1 tablespoon of finely ground flaxseed with 2.5 tablespoons of water, and let it sit for about 5 minutes until it thickens. This will bind the ingredients in your batter just like an egg would, allowing you to enjoy these delicious Baked Chocolate Donut Holes while keeping them vegan!
Delight in Baked Chocolate Donut Holes – Gluten-Free Bliss!
Ingredients
Equipment
Method
- Preheat your oven to 350°F (175°C). Grease a mini muffin pan generously.
- In a mixing bowl, whisk together melted butter and maple syrup until smooth. Add yogurt, milk, and vanilla extract, continue whisking until creamy.
- Stir in gluten-free flour, baking soda, and salt until no dry streaks remain. Avoid overmixing.
- Sift cocoa powder into the batter and fold gently until well combined.
- Fill each muffin cavity three-quarters full with batter.
- Bake for 9-11 minutes, checking for doneness with a toothpick. They should spring back when touched.
- Let the donut holes cool in the pan for 5 minutes, then transfer them to a wire rack to cool completely.
- In a mixing bowl, combine powdered sugar and milk, whisking until smooth. Adjust for desired thickness.
- Dip each cooled donut hole into the glaze, allowing excess glaze to drip off, then place back on the rack to set.
Leave a Reply