
The sizzle of chicken as it hits the pan can instantly transport me back to cozy nights spent in my kitchen, whipping up something delicious. My Easy Cashew Chicken recipe is the perfect answer when cravings for takeout strike but I want something homemade and satisfying. This dish is a true crowd-pleaser, featuring juicy chicken mixed with crunchy cashews in a sweet and sticky sauce that’s ready in just 20 minutes! Not only is it a quick fix for busy weeknights, but it’s also easily adaptable—feel free to use chicken thighs or breasts based on what you have on hand. So why reach for that takeout menu when you can create this delightful dish at home? What’s your favorite go-to takeout dish you’d love to replicate?
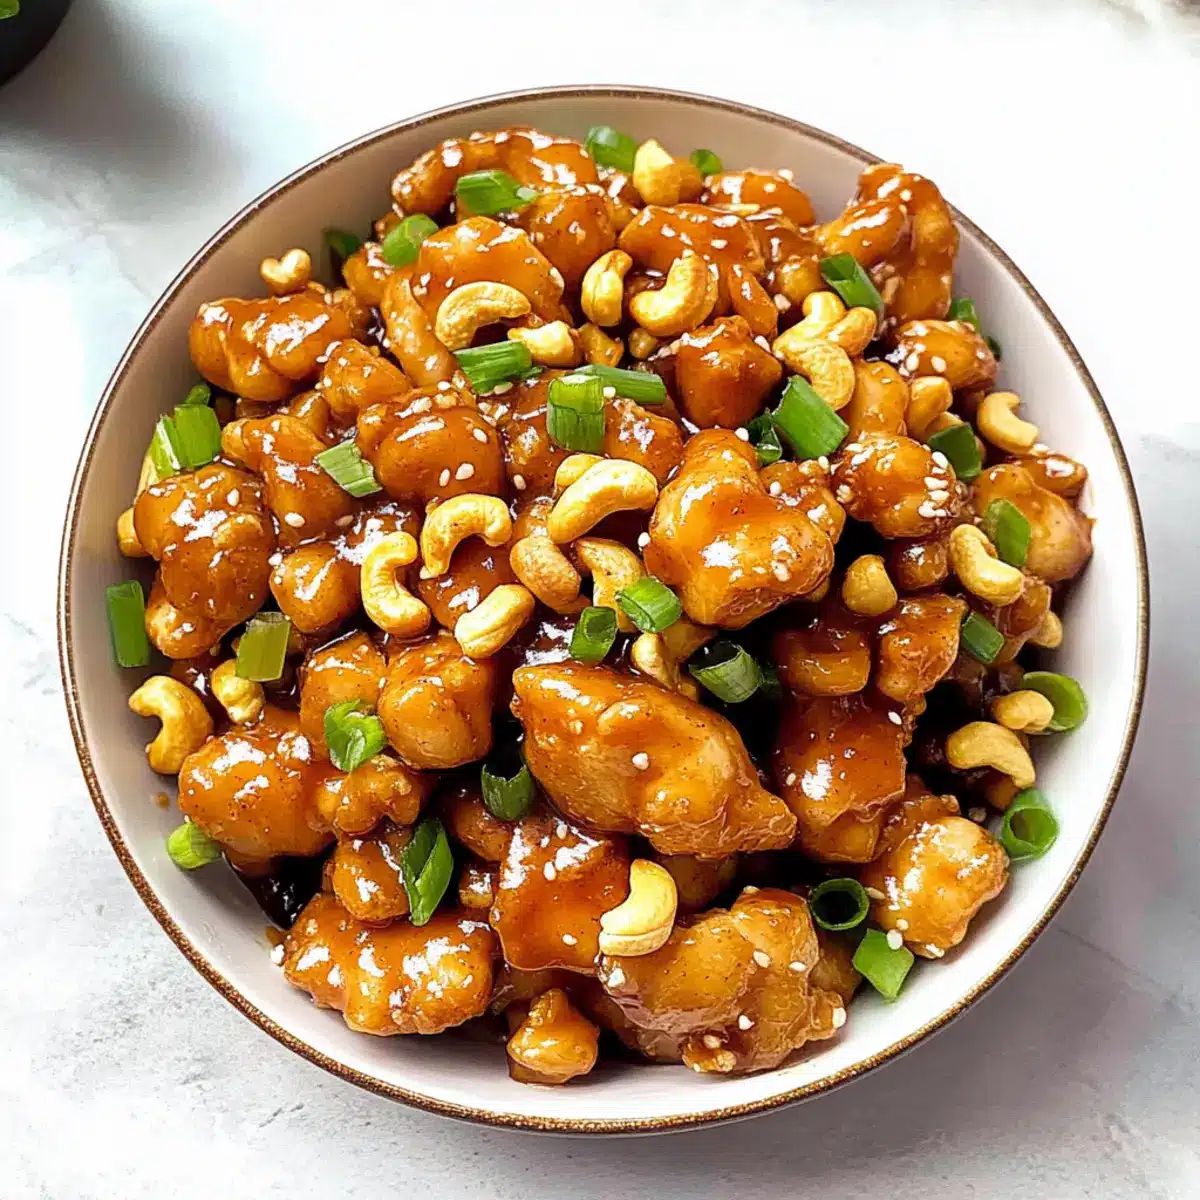
Why is Cashew Chicken a Must-Try?
Flavor-Packed: Each bite bursts with a sweet and savory glaze that complements the crunchy cashews beautifully.
Quick Prep: This dish comes together in just 20 minutes, perfect for those busy weeknights when you’re short on time.
Versatile Ingredients: Swap chicken thighs for breasts or even tofu for a vegetarian twist, making this recipe adaptable for various diets.
Easy Cooking Steps: The simple instructions mean even novice cooks can impress friends and family with restaurant-quality food.
Crowd-Pleasing Appeal: Whether it’s a cozy dinner at home or a gathering, this Cashew Chicken is sure to please everyone’s palate—just like my Garlic Parmesan Chicken.
With such delightful flavors and ease of preparation, why not recreate your favorite takeout right in your kitchen?
Easy Cashew Chicken Ingredients
• Discover the key elements for a perfect dish!
For the Chicken
- Chicken Thighs – Choose thighs for juiciness; breasts can be substituted if preferred.
- Cornstarch – Helps create a crispy coating for the chicken and allows the sauce to stick beautifully.
For the Sauce
- Soy Sauce – A must-have for that umami flavor; tamari works as a gluten-free alternative.
- Honey – Adds the perfect sweetness to balance the savory notes; feel free to swap it with maple syrup for a vegan option.
- Hoisin Sauce – Elevates the richness of the dish and adds a hint of sweetness; try spicy chili paste for an extra kick.
- Rice Wine Vinegar – Brightens up the dish with acidity; white vinegar can serve as a good substitute.
- Chicken Stock – Infuses the sauce with savory depth, ensuring each bite is delicious.
For Cooking and Garnish
- Oil – Use a neutral oil like canola or light olive oil for frying.
- Garlic – Fresh minced garlic adds essential flavor depth to your sauce.
- Ginger – Fresh minced ginger offers a warm, aromatic note that enhances the overall taste.
- Unsalted Roasted Cashews – The star of the dish, they provide that delightful crunch and nutty flavor.
- Green Onions – Sliced thin for freshness and color; they make for a lovely garnish and add texture.
With these carefully selected ingredients, your Easy Cashew Chicken will be nothing short of spectacular!
Step‑by‑Step Instructions for Easy Cashew Chicken
Step 1: Whisk the Sauce
In a medium bowl, whisk together the soy sauce, honey, hoisin sauce, rice wine vinegar, and chicken stock. Ensure the mixture is well combined and has a smooth, glossy appearance. Set the sauce aside for later use; it will envelop your Easy Cashew Chicken in delightful flavor.
Step 2: Prepare the Chicken
Take your chicken thighs and cut them into bite-sized pieces. Toss the chicken in cornstarch until each piece is evenly coated, ensuring a light dusting that will create a crispy texture when cooked. This step is crucial for achieving that irresistible crunch in your Easy Cashew Chicken.
Step 3: Fry the Chicken
Heat a neutral oil, like canola or light olive oil, in a deep pan over medium-high heat, allowing the oil to reach about 350°F. Carefully add the chicken pieces, frying for 2-3 minutes until golden brown and fully cooked. Once done, transfer the chicken to a paper towel-lined plate to remove excess oil.
Step 4: Sauté Aromatics
In the same pan, add a drizzle of oil if needed, and sauté minced garlic and ginger over medium heat for about 1 minute, until fragrant. Then, toss in the unsalted roasted cashews and sauté for an additional minute, allowing their nutty aroma to enhance the dish as the Easy Cashew Chicken comes together.
Step 5: Add the Sauce
Pour the prepared sauce mixture into the pan, allowing it to bubble and thicken for about 2-3 minutes. Stir occasionally, ensuring the sauce clings to the garlic, ginger, and cashews. This step creates a luscious base for your Easy Cashew Chicken, coating every ingredient in rich flavor.
Step 6: Combine Chicken and Sauce
Once the sauce has thickened, return the fried chicken to the pan. Gently toss everything together, ensuring that each piece of chicken is thoroughly coated in the sweet and sticky sauce. This is where your Easy Cashew Chicken transforms into a tantalizing dish ready for serving.
Step 7: Garnish and Serve
Finally, sprinkle sliced green onions over the chicken mixture for a pop of freshness. Remove the pan from heat and serve your Easy Cashew Chicken immediately over a bed of steamed rice or alongside fried rice. Make everyone feel like they’ve just enjoyed a restaurant-quality meal at home!
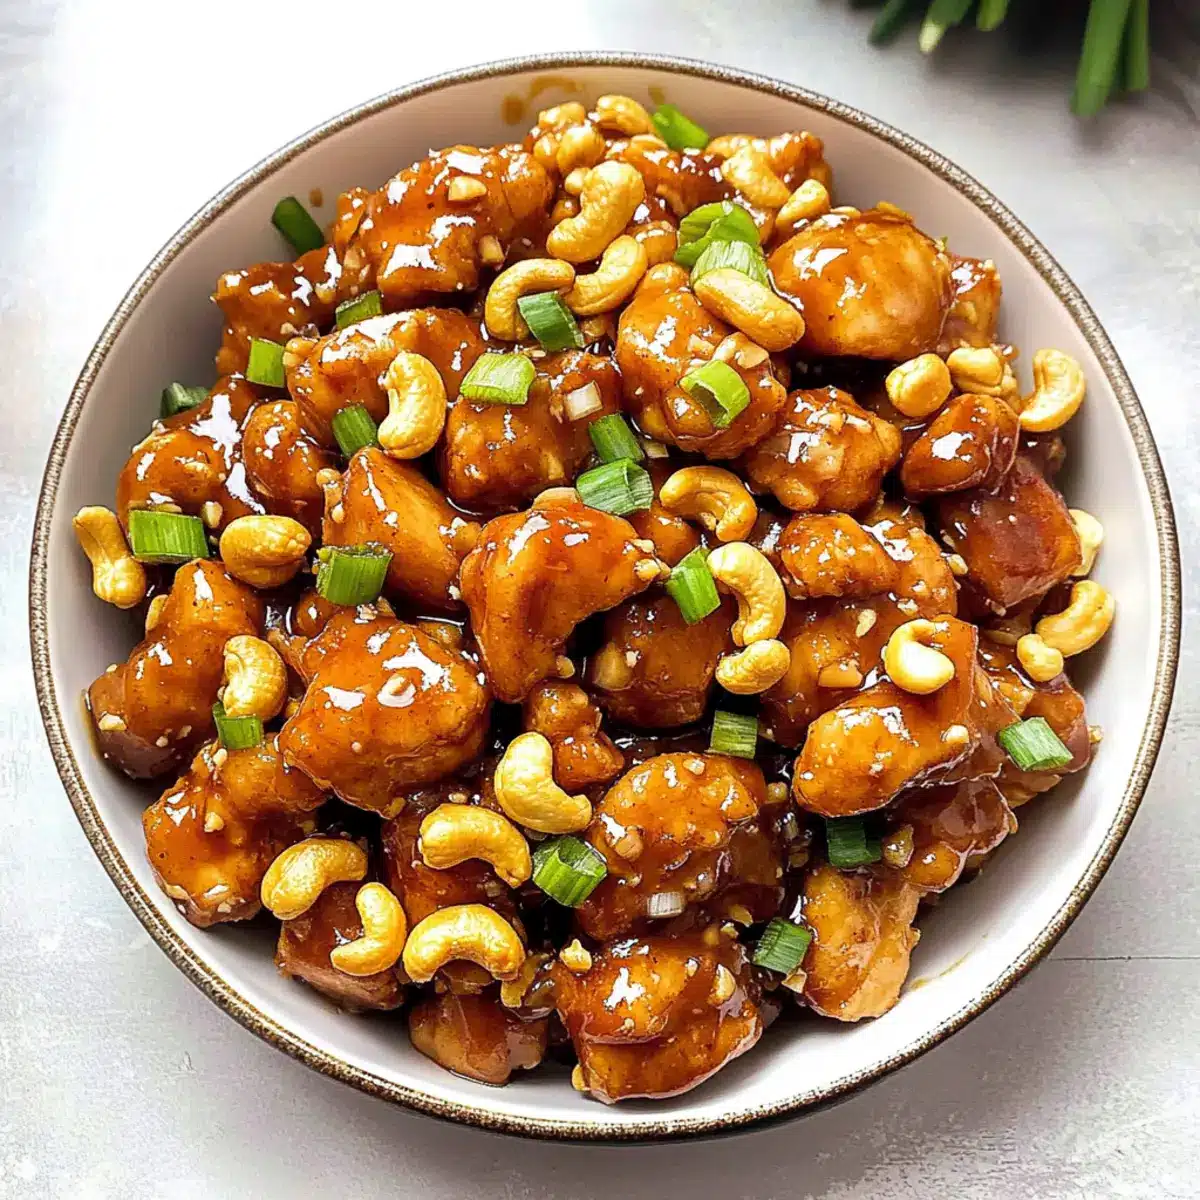
Expert Tips for Easy Cashew Chicken
Hot Oil: Ensure your oil is preheated to about 350°F for perfectly crispy chicken. If the oil is not hot enough, the chicken can become soggy instead of crunchy.
Avoid Crowding: Fry the chicken in batches to prevent overcrowding the pan. This helps maintain the oil temperature and ensures even cooking.
Adjust the Sauce: Don’t hesitate to modify the sauce sweetness to your liking. Experiment with the amount of honey and hoisin sauce for the perfect balance in your Easy Cashew Chicken.
Prep Ahead: To save time, chop your garlic, ginger, and green onions in advance. This way, everything is ready to go when you’re cooking.
Fresh Ingredients: For the best flavor, always use fresh garlic and ginger rather than bottled. Fresh ingredients elevate the taste of your Easy Cashew Chicken significantly.
What to Serve with Easy Cashew Chicken
Embrace a cozy dining experience by pairing your vibrant, flavorful creation with complementary sides that enhance every delightful bite.
-
Steamed Jasmine Rice: This fragrant rice absorbs the sweet sauce wonderfully, creating a delicious balance with the chicken.
-
Vegetable Fried Rice: Packed with colorful veggies and seasoned rice, this dish adds excitement and texture, making your meal feel complete.
-
Garlic Bok Choy: Lightly sautéed bok choy brings freshness and crunch, offering a lovely contrast to the tender chicken.
-
Crispy Spring Rolls: These crunchy delights add an element of fun and provide a satisfying crunch that pairs perfectly with the saucy chicken.
-
Sesame Cucumber Salad: Refreshing and zesty, this salad introduces a cool crispness that brightens the rich flavors of your Cashew Chicken.
-
Chili Garlic Noodles: Spicy, garlicky noodles offer a comforting warmth that enhances the Asian-inspired theme of your meal.
-
Lemonade or Iced Tea: Both drinks are refreshing and cut through the richness of the dish, providing a lively contrast to every bite.
-
Chocolate Mousse: End your meal with a luxurious, velvety mousse that perfectly complements the Asian flavors, concluding your dining experience on a sweet note.
Make Ahead Options
These Caramel Crunch Brownies are ideal for meal prep, letting you indulge in their deliciousness with minimal effort! You can prepare the brownie base and let it cool up to 24 hours in advance; just wrap it tightly in plastic wrap to prevent drying out. The caramel crunch can also be made ahead of time—just store it in an airtight container at room temperature for up to 3 days. When you’re ready to serve, simply spread the caramel over the cooled brownies, prepare the ganache, and pour it on top. Let them set, and you’ll have these decadent treats ready to delight your family or guests, just as fresh as if they were baked on the spot!
Caramel Crunch Brownies Variations
Feel free to customize these brownies to satisfy your cravings and dietary needs!
-
Nutty Bliss: Add chopped nuts like walnuts or pecans to the brownie batter for added crunch and flavor that enhances the overall delight.
-
Sea Salt Sprinkling: Top the ganache with flaky sea salt for a delightful sweet-and-salty contrast, enhancing every indulgent bite.
-
Spicy Kick: Incorporate chili powder or cayenne into the batter for a surprising heat twist that will awaken your taste buds.
-
Coffee Infusion: Integrate instant espresso granules into the chocolate mixture for a deeper flavor profile that intensifies the chocolate experience.
-
Fruit Twist: Add dried fruits like cherries or cranberries for a tartness that complements the sweetness and adds a delightful chew.
-
Gluten-Free Option: Substitute all-purpose flour with a gluten-free baking mix to make this recipe inclusive for those with dietary restrictions.
-
Vegan Version: Use dairy-free chocolate, coconut oil, and flax eggs for a plant-based treat that doesn’t skimp on flavor.
-
Layer It Up: Introduce a layer of nut butter before adding the ganache for extra richness that makes these brownies truly exceptional.
If you’re looking for more delicious dessert ideas, you might enjoy my Salted Caramel Apple or the rich Caramel Brownie Cheesecake. Each provides a unique twist on familiar flavors that are sure to please!
How to Store and Freeze Easy Cashew Chicken
Fridge: Store leftovers in an airtight container for up to 3 days. Make sure the chicken is completely cooled before sealing to maintain freshness.
Freezer: For longer storage, freeze portions of Easy Cashew Chicken in a freezer-safe container for up to 3 months. To prevent freezer burn, wrap it tightly in plastic wrap before placing in a container.
Reheating: Reheat in a skillet over medium heat for a few minutes, stirring occasionally until warmed through. Add a splash of water or broth to maintain moisture.
Make-Ahead Tip: You can prepare the chicken and sauce separately and store them in the fridge, combining only when ready to serve—perfect for a quick weeknight dinner!
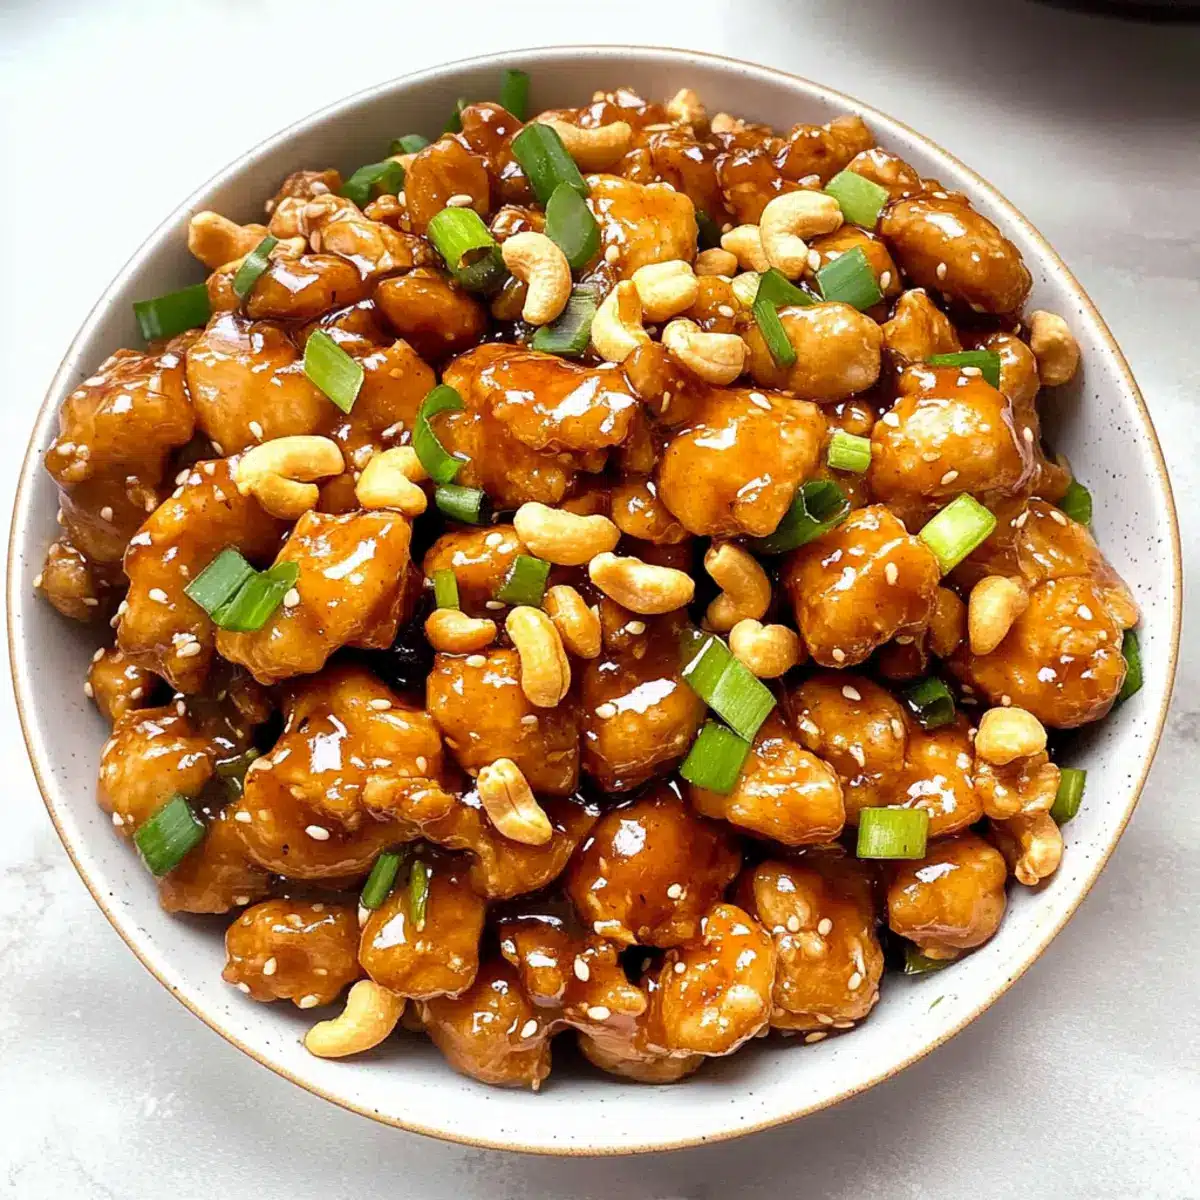
Caramel Crunch Brownies Recipe FAQs
Which chocolate is best for Caramel Crunch Brownies?
Absolutely! For the best flavor and richness, I recommend using high-quality dark chocolate with at least 70% cocoa. This will give your brownies a deep chocolate flavor that perfectly balances the sweetness of the caramel.
How do I store leftover Caramel Crunch Brownies?
You can store any leftover brownies in an airtight container at room temperature for up to 3 days. For extra longevity, refrigerate them for about a week—just remember to let them sit out for a bit to regain that delightful fudgy texture before serving.
Can I freeze these brownies?
Yes, you absolutely can! To freeze your Caramel Crunch Brownies, wrap them individually in plastic wrap, then place them in a freezer-safe container. They can last up to 3 months in the freezer. To enjoy, simply thaw them in the refrigerator overnight or let them sit at room temperature for about 2 hours.
What should I do if my caramel crystalizes?
No worries! If you notice your caramel crystalizing, you can try to salvage it by adding a teaspoon of water to the pan and gently reheating it over low heat. Stir until it becomes smooth again. To avoid this in the first place, make sure not to stir the caramel once it starts boiling, and ensure that your sugar is completely dissolved before boiling.
Are there any dietary adjustments I can make for these brownies?
Absolutely! If you’re looking for gluten-free options, substitute all-purpose flour with a gluten-free baking mix. For a vegan version, use dairy-free chocolate and coconut oil, replacing eggs with flax eggs (1 tablespoon of ground flaxseed mixed with 2.5 tablespoons of water per egg) for that perfect texture. Enjoy a sweet treat that everyone can indulge in!
How can I tell when the brownies are done baking?
A reliable method is to use the toothpick test! Once your brownies have been baking for 30-35 minutes, insert a toothpick into the center. It should come out with moist crumbs but no wet batter. This ensures a fudgy, luscious result that you and your family will adore!
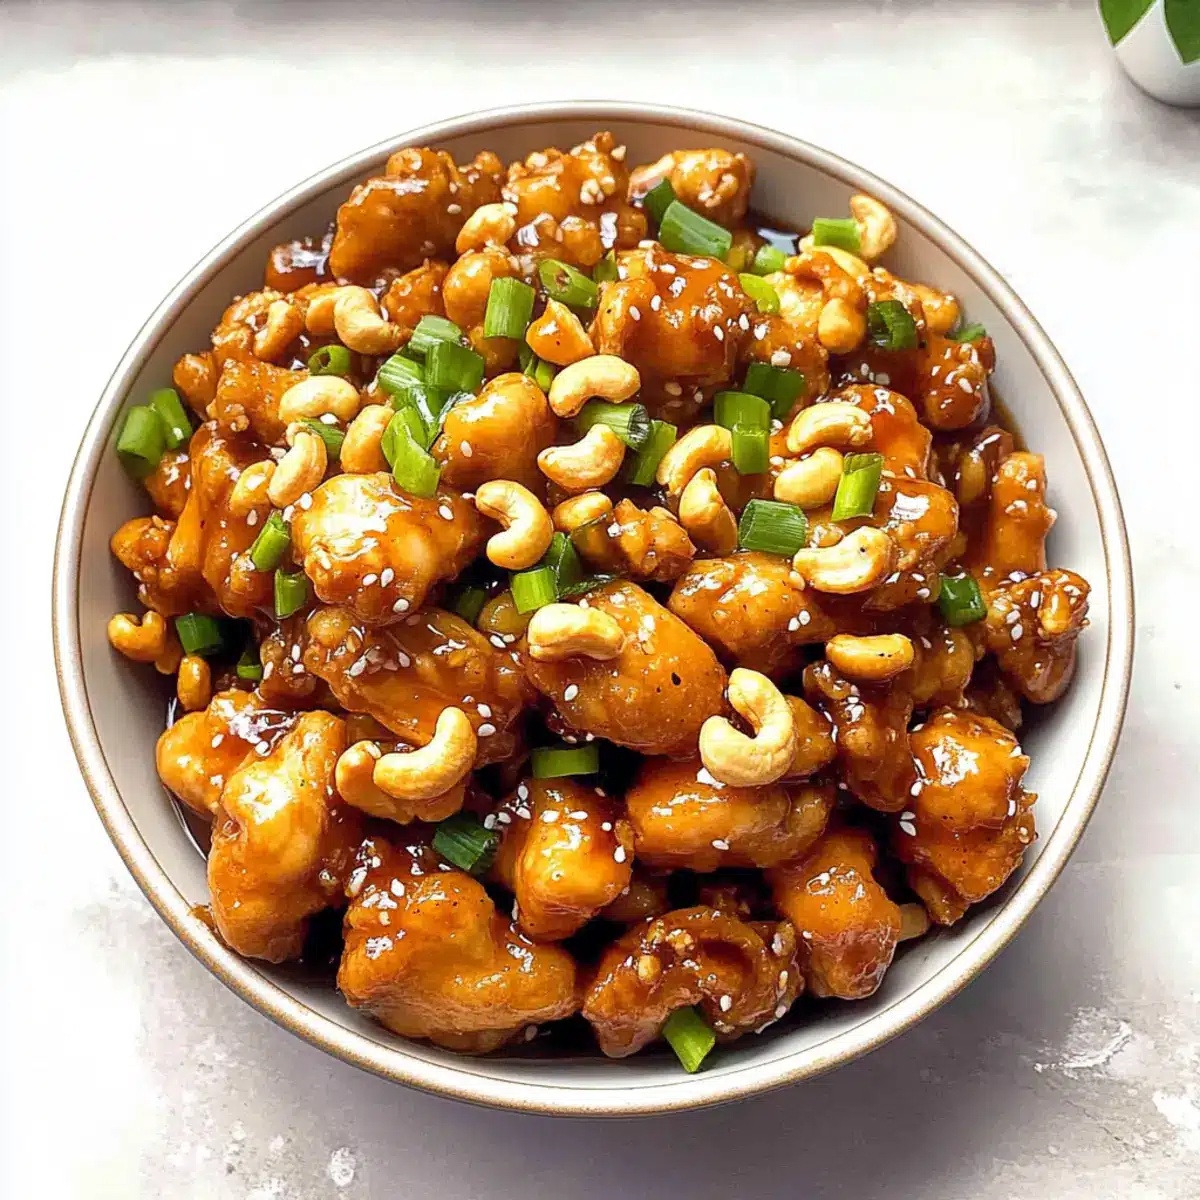
Indulge in Caramel Crunch Brownies for a Sweet Escape
Ingredients
Equipment
Method
- Preheat your oven to 350°F (175°C) and grease a baking pan.
- In a mixing bowl, melt the butter and stir in the sugar until well combined.
- Add the eggs one by one, mixing well after each addition.
- In a separate bowl, combine cocoa powder, flour, and salt, then gradually add it to the wet mixture.
- Pour half of the brownie batter into the prepared baking pan.
- Spread the caramel sauce over the batter and sprinkle with nuts.
- Top with the remaining brownie batter and smooth it out.
- Bake for 25-30 minutes or until a toothpick inserted comes out clean.
- Let cool before cutting into squares and serving.
Leave a Reply