
The first scoop is always a delightful surprise! This creamy banana pudding ice cream, whipped up without any fancy machinery, has become my go-to treat for hot days or anytime I crave something nostalgic. With just ripe bananas and a handful of other simple ingredients, this recipe delivers a rich, silky dessert that will transport you back to childhood memories of classic banana pudding. Not only does it come together quickly, but it offers the perfect homemade alternative to sugary store-bought options—plus, it’s incredibly versatile, allowing for dairy-free substitutions if you like. Are you ready to savor a little taste of summer right at home?
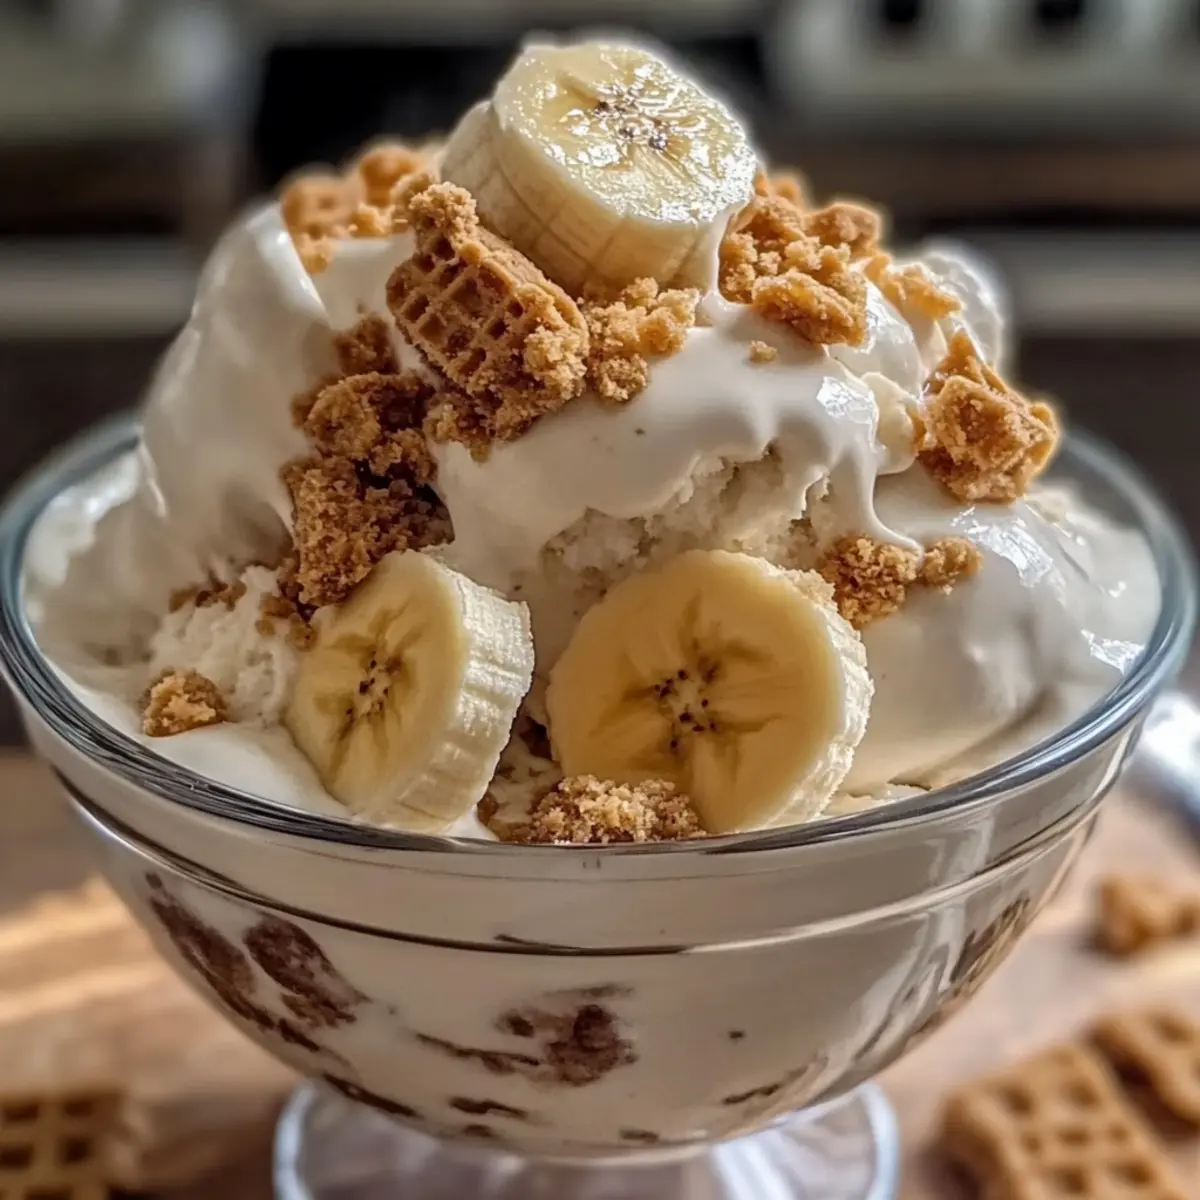
Why is This Ice Cream So Delightful?
Creamy Indulgence: This banana pudding ice cream is impossibly smooth, thanks to ripe bananas that lend a rich texture without needing an ice cream machine.
Quick Preparation: Whip it up in no time—perfect for when cravings hit unexpectedly!
Nostalgic Flavor: With its classic banana pudding taste, every scoop brings back sweet childhood memories.
Versatile Options: Customize it effortlessly by adding chocolate chips or even turning it dairy-free with coconut cream.
Crowd-Pleasing Treat: Impress family and friends—they won’t believe something this delicious is homemade! Don’t forget to check out my other favorites like Garlic Salmon or Beef Pasta Protein for more easy, creamy delights!
Creamy Banana Pudding Ice Cream Ingredients
For the Ice Cream Base
- Ripe Bananas – The star ingredient; use well-ripened bananas for the best natural sweetness and flavor.
- Heavy Cream – Provides that luscious creaminess; swap with coconut cream for a dairy-free twist.
- Instant Vanilla Pudding Mix – Ensures a thick, creamy texture and enhances the classic banana pudding flavor; homemade custard powder works too.
- Sugar (if desired) – Adjust sweetness according to your taste; you may not need much if your bananas are very ripe.
- Salt – A pinch helps balance the sweetness and elevate the flavors.
Optional Add-Ins
- Vanilla Wafers – For that delightful crunch reminiscent of traditional banana pudding; fold in crushed wafers for added texture.
- Chocolate Chips, Nuts, or Fresh Fruit – Feel free to get creative with mix-ins for extra flavor and texture.
Embrace the joy of homemade desserts with this creamy banana pudding ice cream that’s as fun to make as it is to enjoy!
Step‑by‑Step Instructions for Creamy Banana Pudding Ice Cream
Step 1: Prepare Bananas
Begin by peeling 3-4 ripe bananas and placing them in a mixing bowl. Use a fork or a potato masher to mash the bananas until they are completely smooth, with no lumps remaining. This process should take about 2-3 minutes. The smoother the bananas, the creamier your Creamy Banana Pudding Ice Cream will be!
Step 2: Whip Cream
In a large mixing bowl, pour in 1 cup of heavy cream and use an electric mixer on medium speed. Whip the cream for about 3-5 minutes, until it forms soft peaks. Be careful not to overwhip, as you want the cream to remain light and airy for the best texture in your ice cream.
Step 3: Combine Mixtures
Gently fold the whipped cream into the mashed bananas using a rubber spatula. Add in the 1 package of instant vanilla pudding mix while you fold, making sure to combine everything evenly without deflating the whipped cream. This should take about 1-2 minutes, resulting in a smooth, fluffy mixture that captures the essence of banana pudding.
Step 4: Add Vanilla Wafers
If you’re using vanilla wafers for that nostalgic crunch, crush about ½ cup and gently fold them into the banana pudding mixture. Distributing them evenly will give a delightful texture to your Creamy Banana Pudding Ice Cream. This step should take only a minute or so, ensuring the wafers are well incorporated.
Step 5: Freeze
Pour the combined mixture into a shallow, airtight container, smoothing the top with a spatula. Place the container in your freezer and let the ice cream freeze for at least 6 hours, or overnight for the best results. The shallow container will ensure that your ice cream freezes evenly, making it easy to scoop later.
Step 6: Serve
Before serving your Creamy Banana Pudding Ice Cream, remove it from the freezer and let it sit at room temperature for about 5-10 minutes. This will soften the ice cream slightly, making it easier to scoop. Use an ice cream scoop or a large spoon to serve in bowls or cones, and enjoy the delicious creaminess!
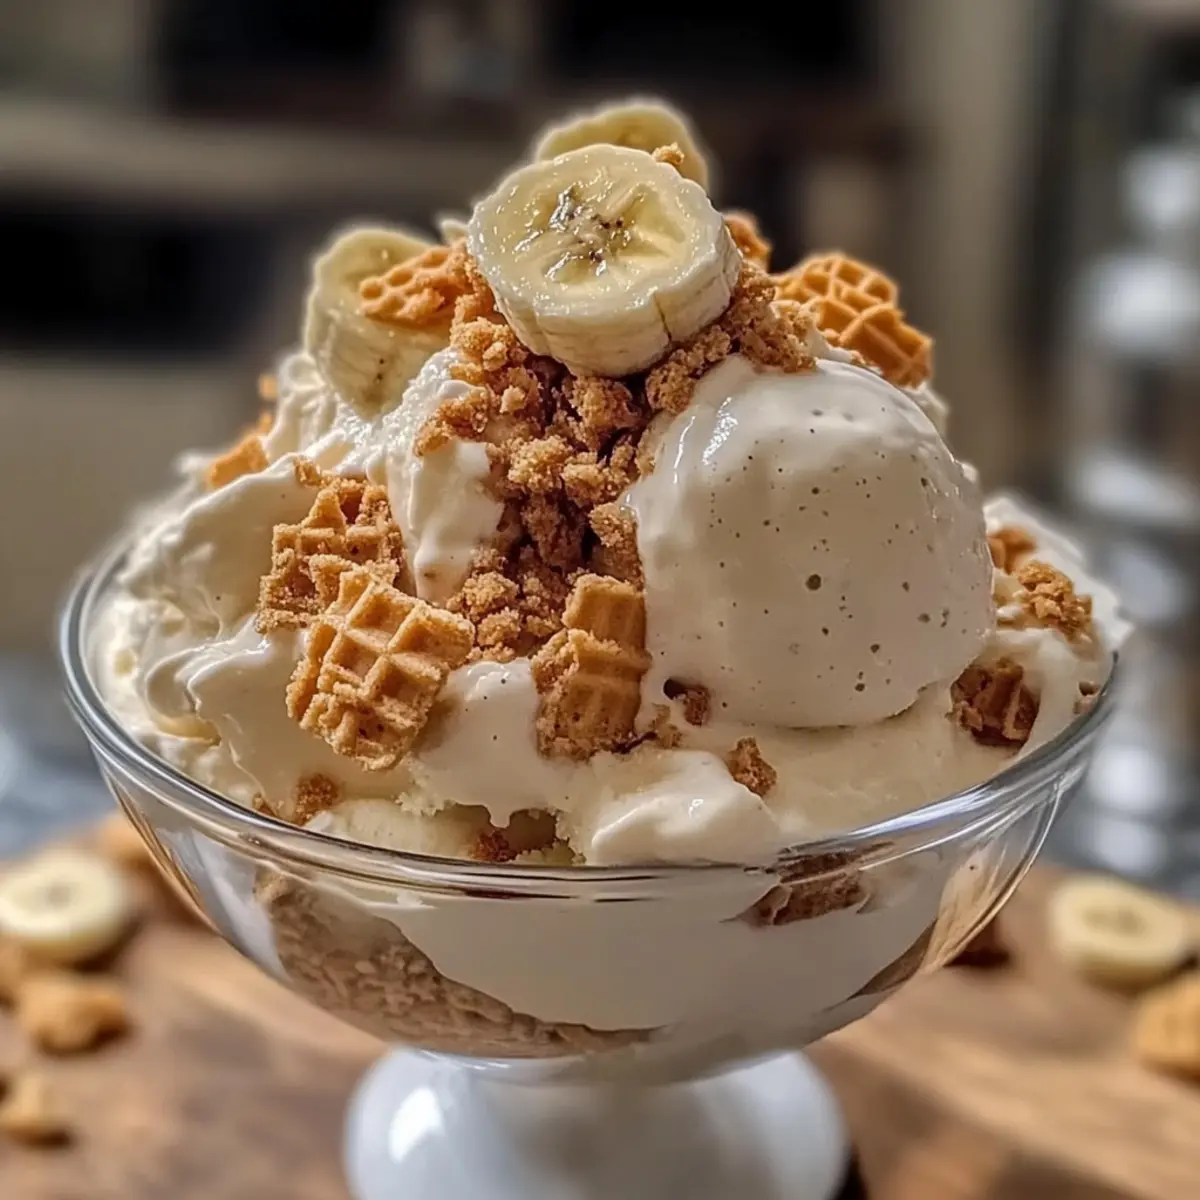
How to Store and Freeze Creamy Banana Pudding Ice Cream
-
Fridge: Store any leftover ice cream in an airtight container for up to 3 days; however, it’s best enjoyed fresh for optimal creaminess.
-
Freezer: Keep your Creamy Banana Pudding Ice Cream in an airtight container for up to 2 weeks, placing parchment paper on the surface to prevent ice crystals from forming.
-
Serving Tips: Before serving, let the ice cream sit at room temperature for about 5-10 minutes to soften slightly, making it easier to scoop without losing its delightful creamy texture.
-
Reheating: This dessert is best served frozen, but if it becomes too firm, you can briefly microwave it for 10-15 seconds to achieve the desired consistency.
What to Serve with Creamy No-Machine Banana Pudding Ice Cream
Dive into a sweet companion experience that transforms dessert into a delightful celebration of flavors and textures!
-
Warm Chocolate Brownies: The fudgy richness of warm brownies contrasts beautifully with the creamy banana pudding ice cream, creating a heavenly bite.
-
Caramel Drizzle: A drizzle of salted caramel adds a delightful, sweet-and-salty component that enhances the banana flavor and elevates every scoop.
-
Fresh Fruit Salad: Bright, juicy fruits like strawberries or blueberries bring a refreshing brightness that balances the indulgent creaminess of the ice cream.
-
Spicy Ginger Cookies: The heat of ginger snaps offers a playful kick that pairs surprisingly well against the smooth vanilla and banana notes.
-
Lightly Toasted Coconut: Sprinkling toasted coconut on top brings a tropical flavor while adding a crunchy texture to your spoonfuls of ice cream.
-
Mint Infused Water: Keep it refreshing with a glass of mint-infused water, a light option that cleanses the palate between creamy bites.
-
Nutty Granola: For a breakfast twist, top your ice cream with crunchy granola, adding a wholesome, chewy texture and a nutty flavor to enjoy.
Let your taste buds guide you in creating the perfect pairing that makes each scoop even more memorable!
Creamy Banana Pudding Ice Cream Variations
Feel free to get creative and customize this ice cream to suit your taste and dietary needs!
-
Dairy-Free: Use coconut cream instead of heavy cream for a rich, dairy-free version that’s just as creamy.
-
Flavor Twist: Swap the vanilla pudding mix for chocolate or butterscotch for a delightful flavor change.
-
Add Crunch: Stir in crushed graham crackers for a s’mores-style ice cream experience. The combination of flavors will delight your taste buds!
-
Extra Sweetness: For a caramel touch, drizzle some caramel sauce into the mixture before freezing, creating a luscious flavor contrast.
-
Texture Boost: Incorporate chocolate chips, nuts, or fresh fruit for added flavor and a delightful crunch in every scoop.
-
Vegan Version: Replace the whipped cream with aquafaba (chickpea brine) whipped to soft peaks for a light and fluffy vegan delight.
-
Banana Varieties: Consider mixing in other fruits like strawberries or blueberries for a fruity twist, complementing the banana flavor nicely.
-
Mix-in Madness: Get adventurous by adding cookie dough chunks for an unexpected texture and sweet surprise! This will surely impress family and friends.
These variations make this creamy banana pudding ice cream a versatile dessert that can be tailored to every palate. For more delicious creamy ideas, explore my Parmesan Chicken Pasta or Beef Garlic Butter recipes!
Expert Tips for Creamy Banana Pudding Ice Cream
-
Banana Ripeness: Use very ripe bananas for maximum sweetness and flavor. The darker the peel, the better for this creamy banana pudding ice cream!
-
Avoid Over-Whipping: When whipping the cream, stop as soon as you achieve soft peaks. Over-whipping can lead to a grainy texture in your ice cream.
-
Gentle Folding: Carefully fold the whipped cream into the banana mixture to keep it airy. This step is crucial for a light final texture.
-
Stir During Freezing: For an extra smooth texture, stir the ice cream mixture every hour for the first 3 hours of freezing to break up ice crystals.
-
Shallow Container: Opt for a shallow container when freezing. This ensures quicker and more even freezing, making your creamy banana pudding ice cream easier to scoop!
Make Ahead Options
These Creamy Banana Pudding Ice Cream desserts are perfect for busy weeknights or special gatherings! You can mash the ripe bananas and prepare the whipped cream up to 24 hours in advance, storing them separately in the refrigerator to maintain their freshness and avoid browning. The dry instant vanilla pudding mix can also be mixed in with the bananas ahead of time—just combine before serving to keep that fluffiness. When you’re ready to serve, simply fold everything together, add any mix-ins like crushed vanilla wafers, and freeze for at least 6 hours or overnight. This make-ahead method ensures you can enjoy a delicious homemade treat with minimal last-minute effort!
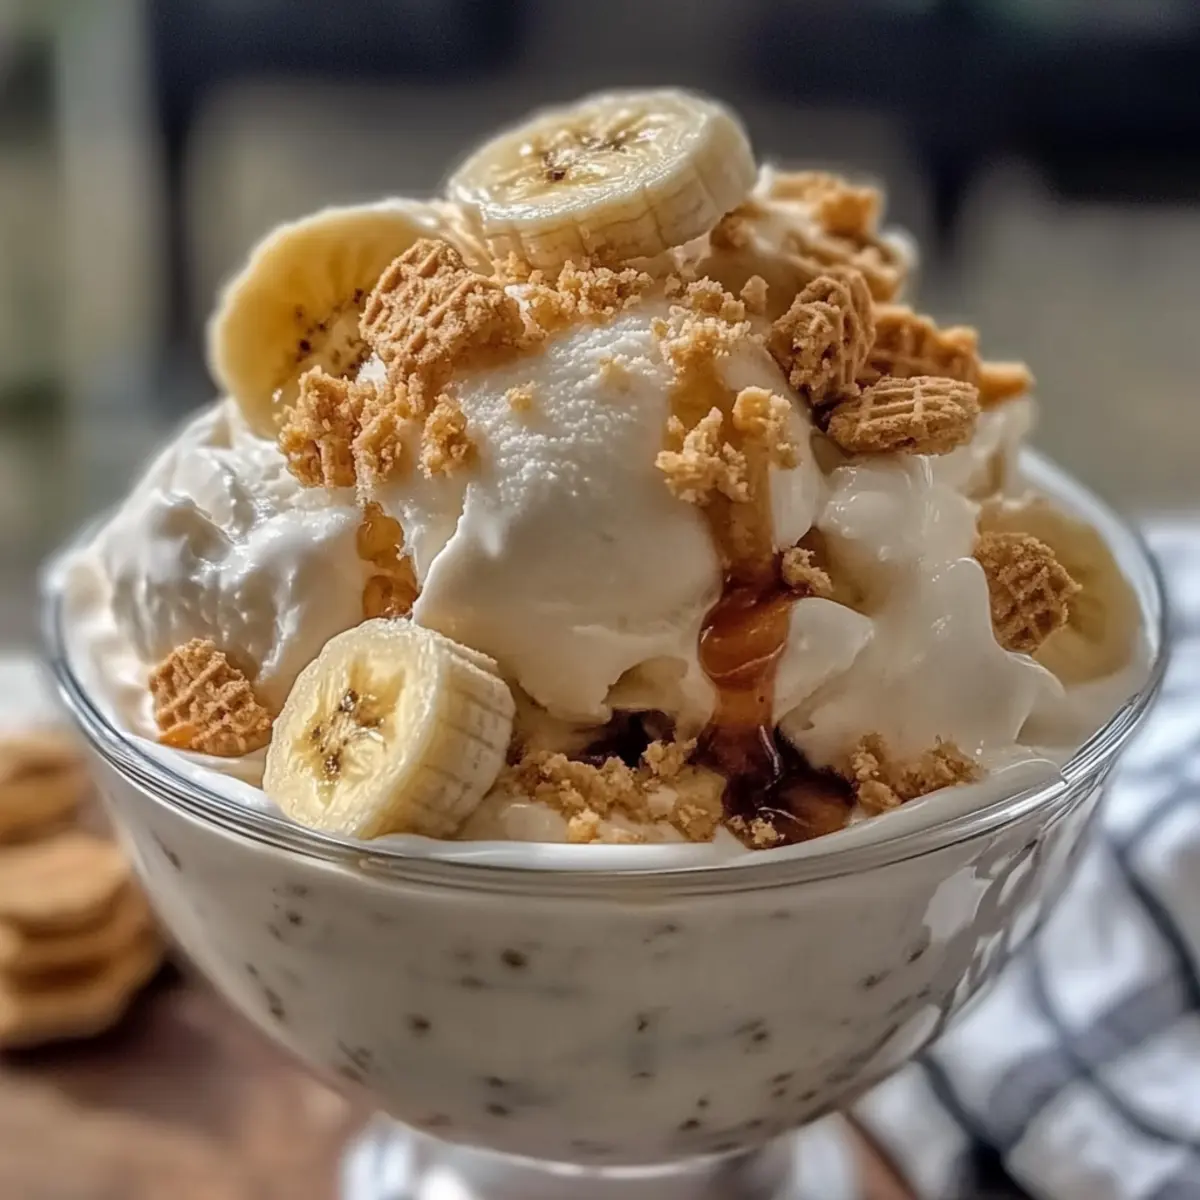
Creamy Banana Pudding Ice Cream Recipe FAQs
How do I select the best bananas for this recipe?
Absolutely! Go for bananas that are very ripe—think yellow with brown speckles or even dark spots covering the skin. These bananas will provide the sweetest flavor and smoothest texture for your Creamy Banana Pudding Ice Cream. If they’re still a bit green, let them sit at room temperature for a few days until they ripen.
How should I store leftover ice cream?
For optimal taste, simply transfer your leftover Creamy Banana Pudding Ice Cream into an airtight container and refrigerate. It will stay fresh for up to 3 days. Just remember, it’s best enjoyed immediately after making it for that velvety creaminess, so share with friends if you can!
Can I freeze this ice cream?
Yes! You can keep your freshly made Creamy Banana Pudding Ice Cream in the freezer for up to 2 weeks. To prevent ice crystals from forming on the surface, place a piece of parchment paper directly on top of the ice cream before sealing the container. When ready to serve, let it thaw at room temperature for 5-10 minutes for easier scooping.
What should I do if my whipped cream becomes grainy?
If you’ve over-whipped your cream, the texture may turn out grainy. In this case, it’s best to start over with fresh cream. When whipping, keep a close eye on it—stop once you see soft peaks forming. Remember, a light touch is key when folding it into your banana mixture to maintain that delightful creaminess!
Is this ice cream safe for allergies?
If anyone in your household has dairy allergies, simply substitute heavy cream with coconut cream for a delicious dairy-free version. Also, check your pudding mix; some brands may contain allergens. As for the optional vanilla wafers, ensure they’re free of your specific allergens or try using gluten-free crackers as an alternative!
How can I adjust the sweetness of the ice cream?
To tailor the sweetness of your Creamy Banana Pudding Ice Cream, simply taste the banana mixture after mashing and before freezing. If your bananas are exceptionally sweet, you might not need any sugar at all! If you prefer it sweeter, add a tablespoon of sugar at a time until you reach your desired sweetness before folding in the whipped cream.
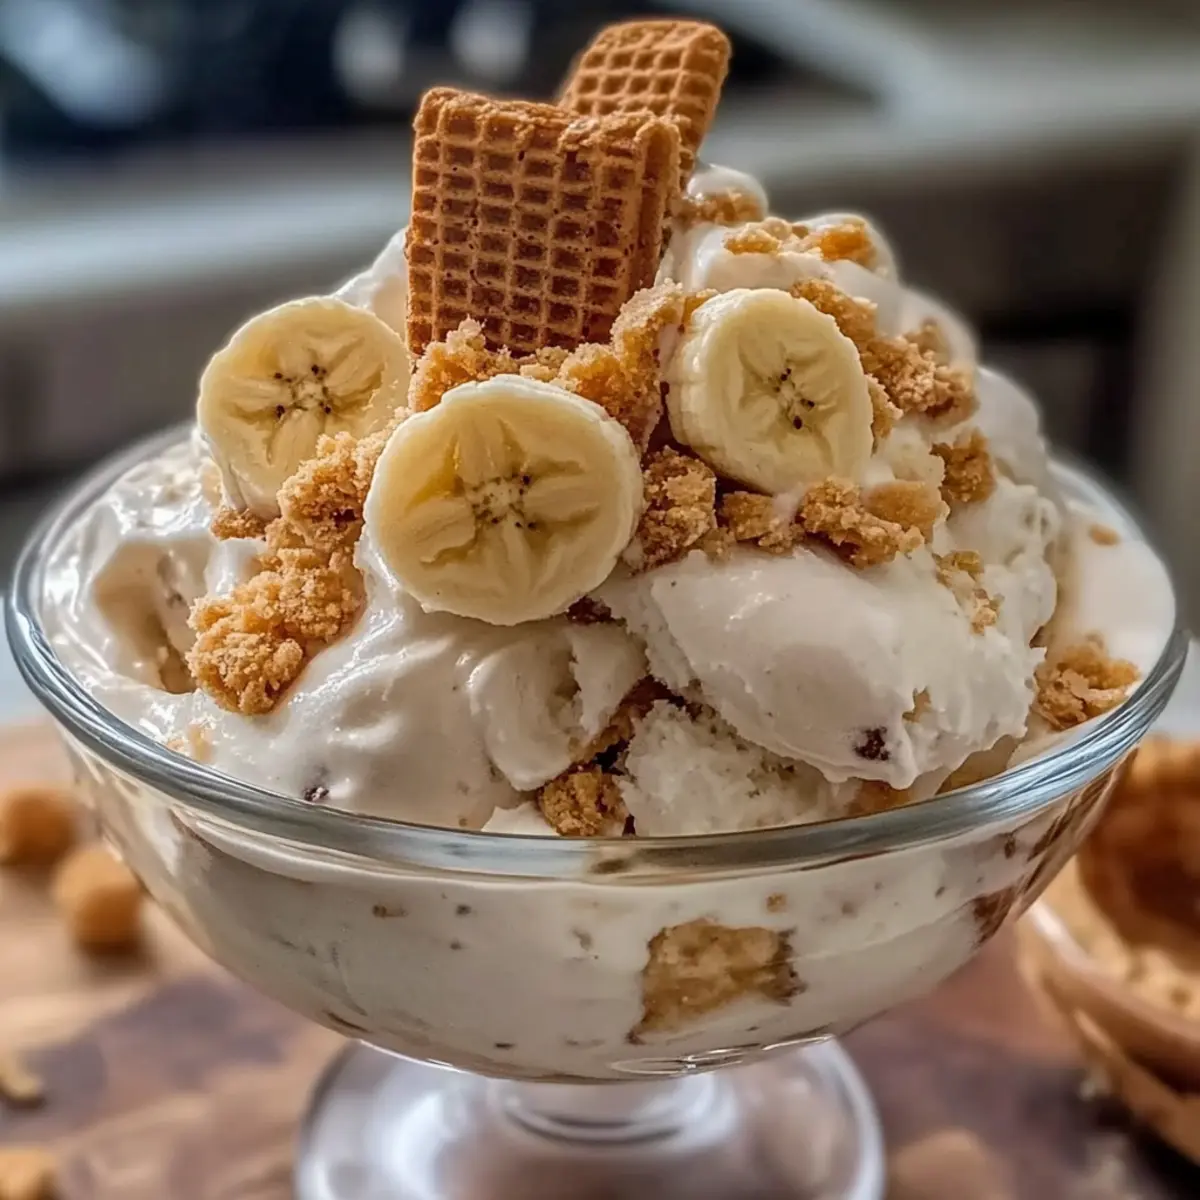
Creamy Banana Pudding Ice Cream Made Easy at Home
Ingredients
Equipment
Method
- Peel the ripe bananas and mash them in a mixing bowl until completely smooth, about 2-3 minutes.
- In a separate bowl, whip the heavy cream for 3-5 minutes until soft peaks form.
- Gently fold the whipped cream into the mashed bananas and add the instant vanilla pudding mix, combining evenly.
- If using, crush the vanilla wafers and fold them into the banana pudding mixture.
- Pour the mixture into a shallow airtight container and freeze for at least 6 hours or overnight.
- Before serving, let it sit at room temperature for 5-10 minutes for easy scooping.
Leave a Reply