
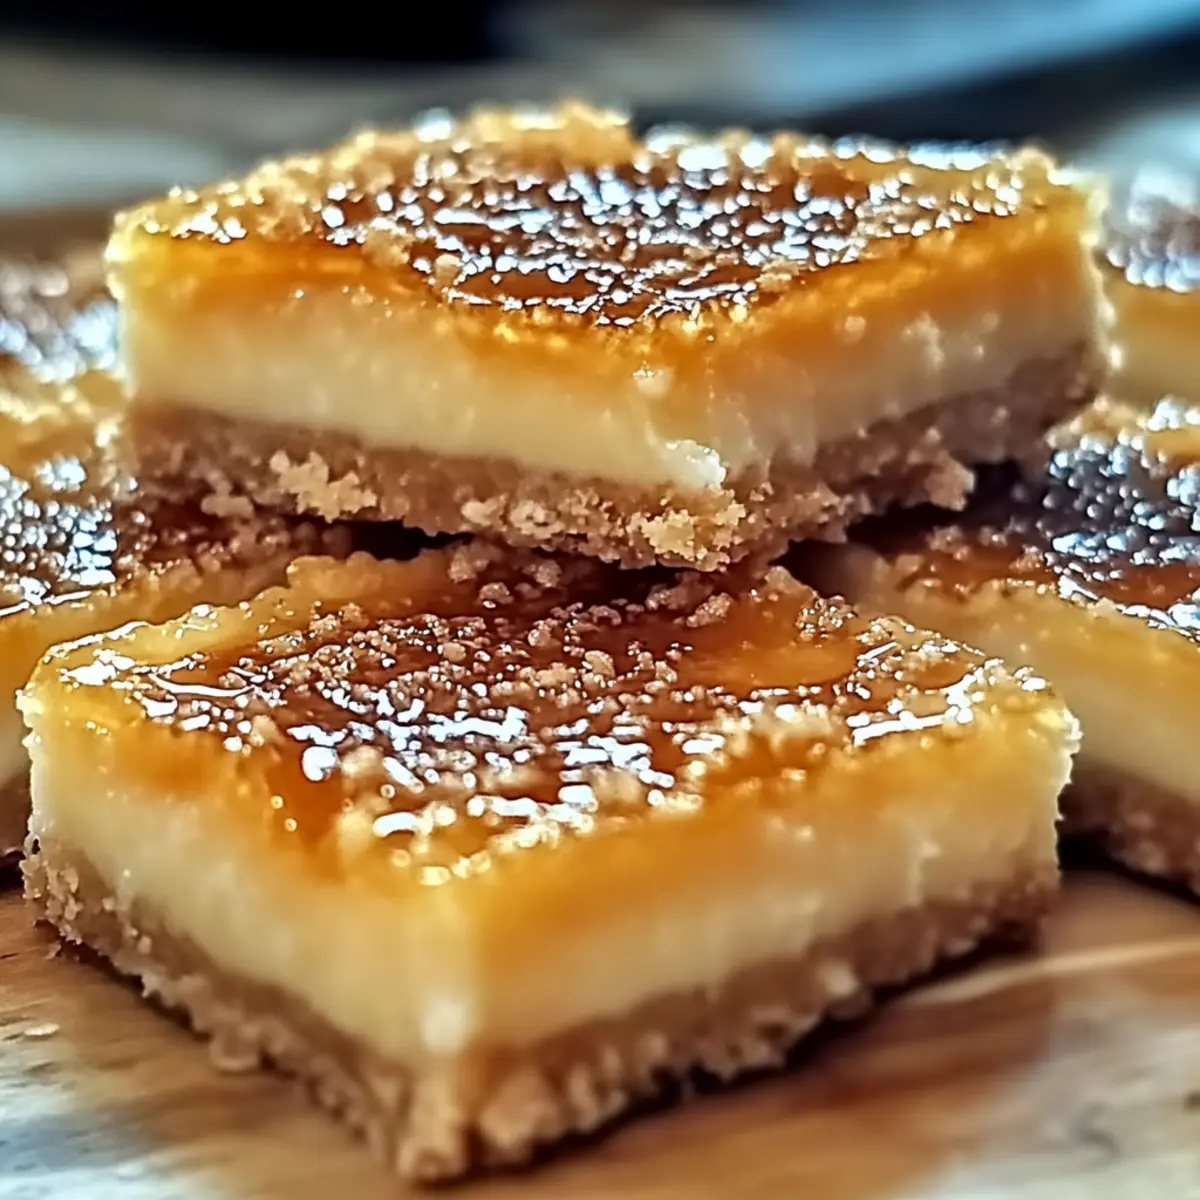
As I stood in my kitchen, a delightful aroma wafted through the air, immediately reminding me of cozy coffee shops and indulgent treats. That’s when I decided to whip up these Crème Brûlée Cookie Bars—where the luxurious flavors of classic crème brûlée meet the delightfully chewy texture of a cookie. Perfect for any occasion, these bars are not only a no-fuss dessert but also shareable enough to win over friends and family at gatherings. Within a short time, you can elevate your everyday desserts into something spectacular that indulges your sweet tooth. Ready to impress without breaking a sweat? Let’s dive into making this irresistible treat!

Why are Crème Brûlée Cookie Bars a must-try?
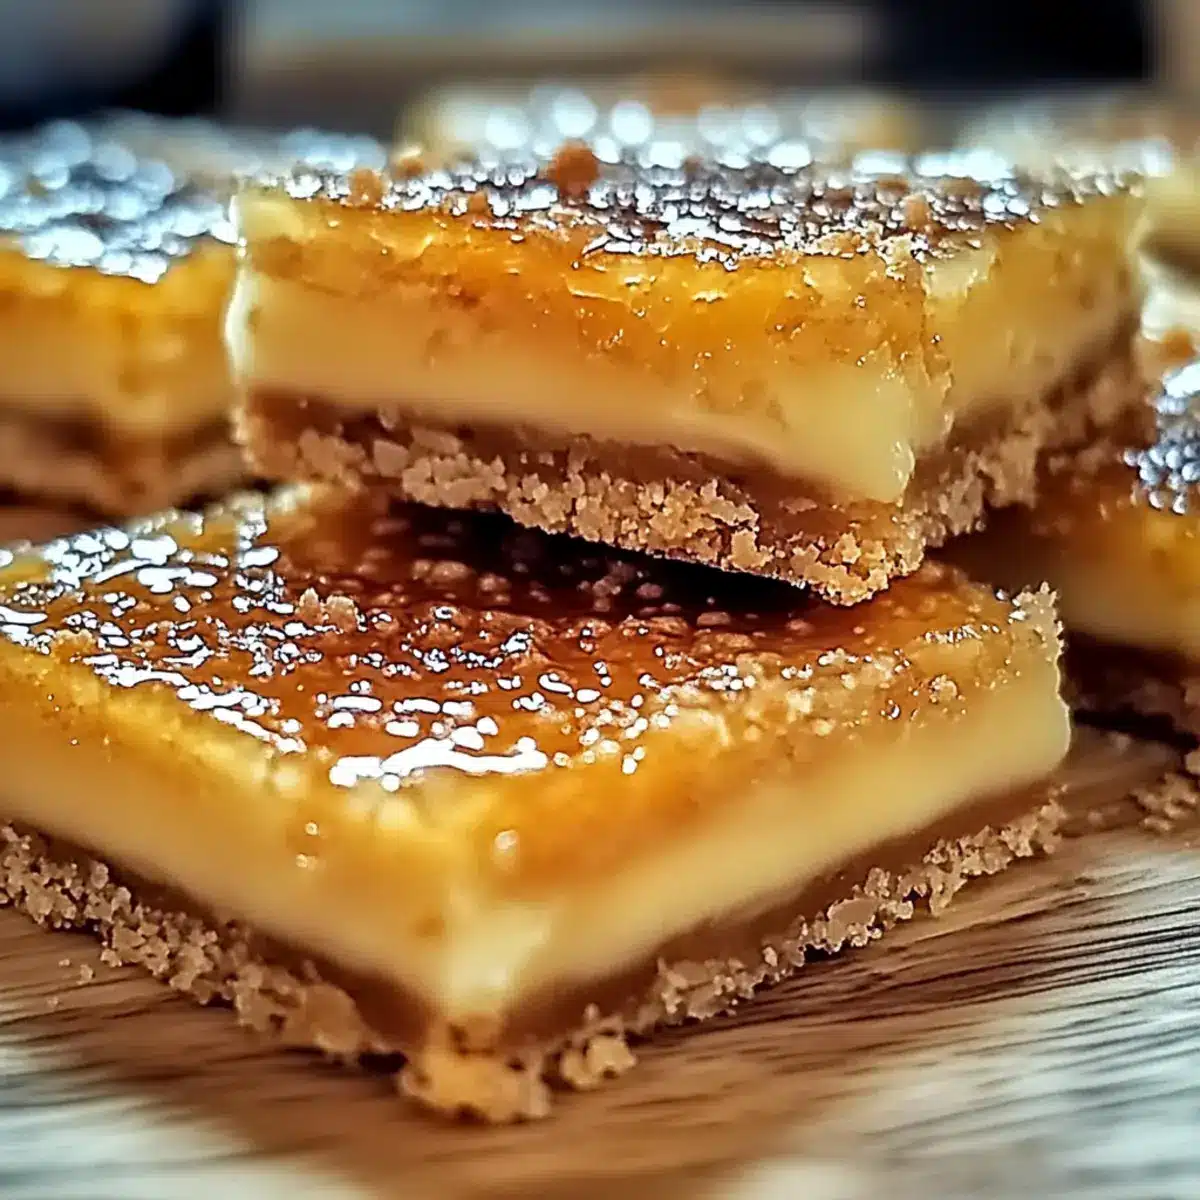
Indulgent Bliss: Imagine biting into a bar that perfectly melds the rich, creamy flavor of crème brûlée with a satisfying chewy cookie texture.
Time-Saving Delight: These bars come together in just about 30 minutes, making them an effortless treat for any last-minute gathering or weeknight craving.
Shareable Goodness: Perfectly portioned, they are ideal for sharing with friends or family at celebrations, making them a go-to dessert for any occasion.
Versatile Flavor: Feel free to customize the recipe by adding nuts or swapping in caramel chips for a fun twist.
No-Fuss Preparation: With minimal steps, this recipe allows you to create a gourmet dessert without the stress. Make sure to try pairing these with a scoop of ice cream, or check out our Cheesecake Stuffed Cookies for another delicious option!
Crème Brûlée Cookie Bars Ingredients
For the Batter
• Butter – Adds richness and moisture; substitute with margarine if needed.
• Brown Sugar – Provides sweetness and a hint of molasses flavor; can replace with white sugar for a lighter taste.
• Granulated Sugar – Ensures a delightful sweetness and aids in texture.
• Eggs – Bind the ingredients together and contribute to the chewy texture; no substitutes recommended for best results.
• Vanilla Extract – Enhances the flavor profile; can use vanilla bean paste for a stronger flavor.
• Flour – Provides structure; use gluten-free flour for a gluten-free alternative.
• Toffee Bits – Gives the bars that desired “brûlée” crunch and flavor without the need for a torch; chocolate-covered toffee bits can also be used.
Step‑by‑Step Instructions for Crème Brûlée Cookie Bars
Step 1: Preheat and Prepare Your Pan
Begin by preheating your oven to 350°F (175°C). While it’s warming up, take a 9×13-inch baking pan and line it with parchment paper, allowing some overhang for easy removal later. This small step ensures that your Crème Brûlée Cookie Bars will come out smoothly and stay intact while cooling.
Step 2: Cream the Butter and Sugars
In a large mixing bowl, use an electric mixer to cream together 1 cup of softened butter, 1 cup of brown sugar, and ½ cup of granulated sugar. Beat until the mixture is light and fluffy, about 3-5 minutes. You’ll know it’s ready when the color lightens and the texture becomes creamy—this is key to the rich taste of your bars.
Step 3: Incorporate the Eggs and Vanilla
Next, crack in 2 large eggs and add 2 teaspoons of vanilla extract to your creamed mixture. Mix on medium speed until everything is fully incorporated and the mixture appears smooth, about 1-2 minutes. This step introduces moisture and enhances the luscious flavor of your Crème Brûlée Cookie Bars.
Step 4: Add the Flour Slowly
Gradually add in 2 cups of all-purpose flour, mixing on low speed until just combined. Be cautious not to overmix; you want the dough to come together without becoming tough. At this point, your dough should feel thick and slightly sticky, setting the stage for those delightful chewy bars.
Step 5: Fold in the Toffee Bits
Gently fold in 1 cup of toffee bits using a spatula, ensuring they are evenly distributed throughout the dough. Avoid over-folding as you want to maintain the integrity of the toffee bits for that perfect “brûlée” crunch in every bite of your cookie bars.
Step 6: Transfer to the Baking Pan
Carefully transfer the dough into the prepared baking pan, using a spatula to spread it evenly across the bottom. Ensure it reaches all corners of the pan for uniform baking. This step is crucial for achieving the perfect texture in your Crème Brûlée Cookie Bars.
Step 7: Bake to Golden Perfection
Place the baking pan in the preheated oven and bake for 25-30 minutes. Keep an eye on the edges, which should be golden brown, while the center remains slightly soft to maintain that chewy texture. A toothpick inserted into the center should come out with a few moist crumbs.
Step 8: Cool Before Cutting
Once baked, remove the pan from the oven and allow the Crème Brûlée Cookie Bars to cool completely in the pan. This can take about 1-2 hours. Cooling is essential for the bars to set properly, making them easier to cut into neat squares without crumbling apart.

Make Ahead Options
These Crème Brûlée Cookie Bars are perfect for meal prep enthusiasts! You can prepare the dough up to 24 hours in advance by mixing all the ingredients, then storing it in an airtight container in the refrigerator to maintain freshness. The toffee bits can also be folded into the dough right before baking for added crunch. When you’re ready to bake, simply spread the chilled dough into the prepared baking pan and follow the baking instructions. By prepping ahead, you’ll save time on busy weeknights while still enjoying these delicious bars just as fresh and indulgent!
What to Serve with Crème Brûlée Cookie Bars
Indulging in these delightful cookie bars can be even more enjoyable when complemented with the right pairings!
- Whipped Cream: A dollop of freshly whipped cream adds a light, airy contrast to the dense bars, enhancing their richness.
- Vanilla Ice Cream: The creamy sweetness melds beautifully with the caramel notes, creating a deliciously decadent dessert experience.
- Fresh Berries: Juicy raspberries or strawberries introduce a refreshing burst of flavor, balancing the sweetness of the bars nicely.
- Espresso or Coffee: Sipping a rich espresso alongside these cookie bars complements their creamy flavors and adds warmth to your dessert time.
- Chocolate Sauce: Drizzling warm chocolate sauce over the top makes each bite an irresistible treat—perfect for chocolate lovers!
- Nutty Caramel Sauce: A drizzle of nutty caramel sauce brings out the toffee bits and adds a beautiful sweetness that takes the bars to the next level.
- Mint Tea: A refreshing cup of mint tea offers a herbal contrast, cleansing the palate and highlighting the dessert’s richness.
- Fresh Mint Leaves: Garnishing with fresh mint not only brightens the presentation but also adds a refreshing hint to every bite.
- Milkshake: Pair with a vanilla or salted caramel milkshake for a nostalgic twist that feels like a treat straight out of a diner!
Expert Tips for Crème Brûlée Cookie Bars
• Cool Completely: Allow the bars to cool completely before cutting—this prevents crumbling and ensures clean edges.
• Use a Sharp Knife: For neat, precise cuts, always use a sharp knife when slicing your Crème Brûlée Cookie Bars.
• Watch the Time: Keep an eye on your baking time; adjusting for pan size may require an extra 5-10 minutes to achieve the perfect texture.
• Customize Wisely: Feel free to experiment with add-ins like nuts, but ensure they are well-distributed to retain the delicious “brûlée” crunch.
• Storage Solutions: Store bars in an airtight container at room temperature for up to 3 days to maintain their soft, chewy goodness.
How to Store and Freeze Crème Brûlée Cookie Bars
Room Temperature: Store the bars in an airtight container at room temperature for up to 3 days for optimal freshness and flavor.
Fridge: If you won’t finish them in 3 days, refrigerate your Crème Brûlée Cookie Bars to extend their shelf life. They’ll last up to a week when stored correctly.
Freezer: For longer storage, wrap the bars tightly in plastic wrap and place them in a freezer-safe container. They can be frozen for up to 3 months.
Reheating: To enjoy later, thaw the bars in the fridge overnight and warm them for a few seconds in the microwave for that freshly-baked taste!
Crème Brûlée Cookie Bars Variations
Feel free to get creative with these deliciously delightful Crème Brûlée Cookie Bars, elevating them to new heights!
-
Nutty Delight: Stir in ½ cup of chopped walnuts or pecans for a crunchy twist. The nuttiness will complement the sweetness beautifully, adding texture to each blissful bite.
-
Chocolate Chip Swirl: Replace toffee bits with semi-sweet chocolate chips. The melty goodness melds perfectly with the cookie base, creating a decadent dessert experience.
-
Caramel Twist: Use caramel chips instead of toffee bits for a rich, buttery taste. This will deepen the flavor profile and provide a luscious chew that you won’t forget!
-
Coconut Crunch: Add ½ cup of shredded coconut to the batter for a tropical flair. Coconut offers a chewy texture and complements the creamy flavors astonishingly well!
-
Spiced Up: A pinch of cinnamon or nutmeg can add warmth and depth. These spices will wrap your bars in a cozy hug, making them perfect for chilly nights.
-
Salted Caramel: Drizzle with caramel sauce before baking, then sprinkle a pinch of sea salt on top after cooling. The contrast between sweet and salty will elevate your cookie bars to the next level!
-
Fruit Infusion: Mix in 1 cup of dried cranberries or cherries for a fruity burst. The tanginess will balance the sweetness of the cookie beautifully—perfect for those who crave a little zing.
If you enjoy flavor creativity, don’t miss out on trying our Salted Caramel Bars or a seasonal twist with Halloween Cookies Chocolatey this festive season!
Crème Brûlée Cookie Bars Recipe FAQs
How do I choose the right ripeness for my ingredients?
For this recipe, freshness is key! Use room temperature eggs for easy blending, and check that your butter is softened but not melted. Fresh ingredients enhance the creamy texture and rich flavor of your Crème Brûlée Cookie Bars.
What is the best way to store Crème Brûlée Cookie Bars?
Absolutely! Store the bars in an airtight container at room temperature for up to 3 days. If you don’t finish them within that timeframe, refrigerating them will keep them fresh for up to a week. Just be sure to let them come to room temperature before serving for the best taste and texture!
Can I freeze Crème Brûlée Cookie Bars?
Definitely! To freeze, wrap the cooled bars tightly in plastic wrap, then place them in a freezer-safe container. They can be kept frozen for up to 3 months. When you’re ready to enjoy, thaw them in the fridge overnight. If you want a warm treat, pop them in the microwave for a few seconds after thawing for that fresh-from-the-oven taste!
What if my cookie bars crumble when cutting?
No worries! Crumbling usually happens if the bars aren’t cooled completely before cutting. Be patient, and let them cool in the pan for about 1-2 hours. Using a sharp knife for slicing helps too; it can make a world of difference in achieving neat edges without crumbling.
Are there any dietary considerations I should keep in mind?
If you’re catering to specific dietary needs, you can easily substitute ingredients. For a gluten-free version, swap in gluten-free flour. When sharing with pets, remember that chocolate and certain nuts can be harmful, so keep these bars away from furry friends!
Can I customize the ingredients?
Very! Feel free to play around with add-ins. You can include nuts like pecans for added crunch or use caramel chips if you want a different flavor twist. Just be sure to fold them gently into the mixture to maintain that wonderful chewy texture in your Crème Brûlée Cookie Bars!
Crème Brûlée Cookie Bars: A Simple, Luxurious Treat
Ingredients
Equipment
Method
- Preheat your oven to 350°F (175°C) and prepare a 9x13-inch baking pan with parchment paper.
- Cream together the butter, brown sugar, and granulated sugar until light and fluffy.
- Incorporate the eggs and vanilla until smooth.
- Gradually add flour and mix until just combined.
- Fold in the toffee bits gently.
- Transfer the dough to the prepared baking pan and spread evenly.
- Bake for 25-30 minutes until golden brown around the edges.
- Allow the bars to cool completely in the pan before cutting.
Leave a Reply