
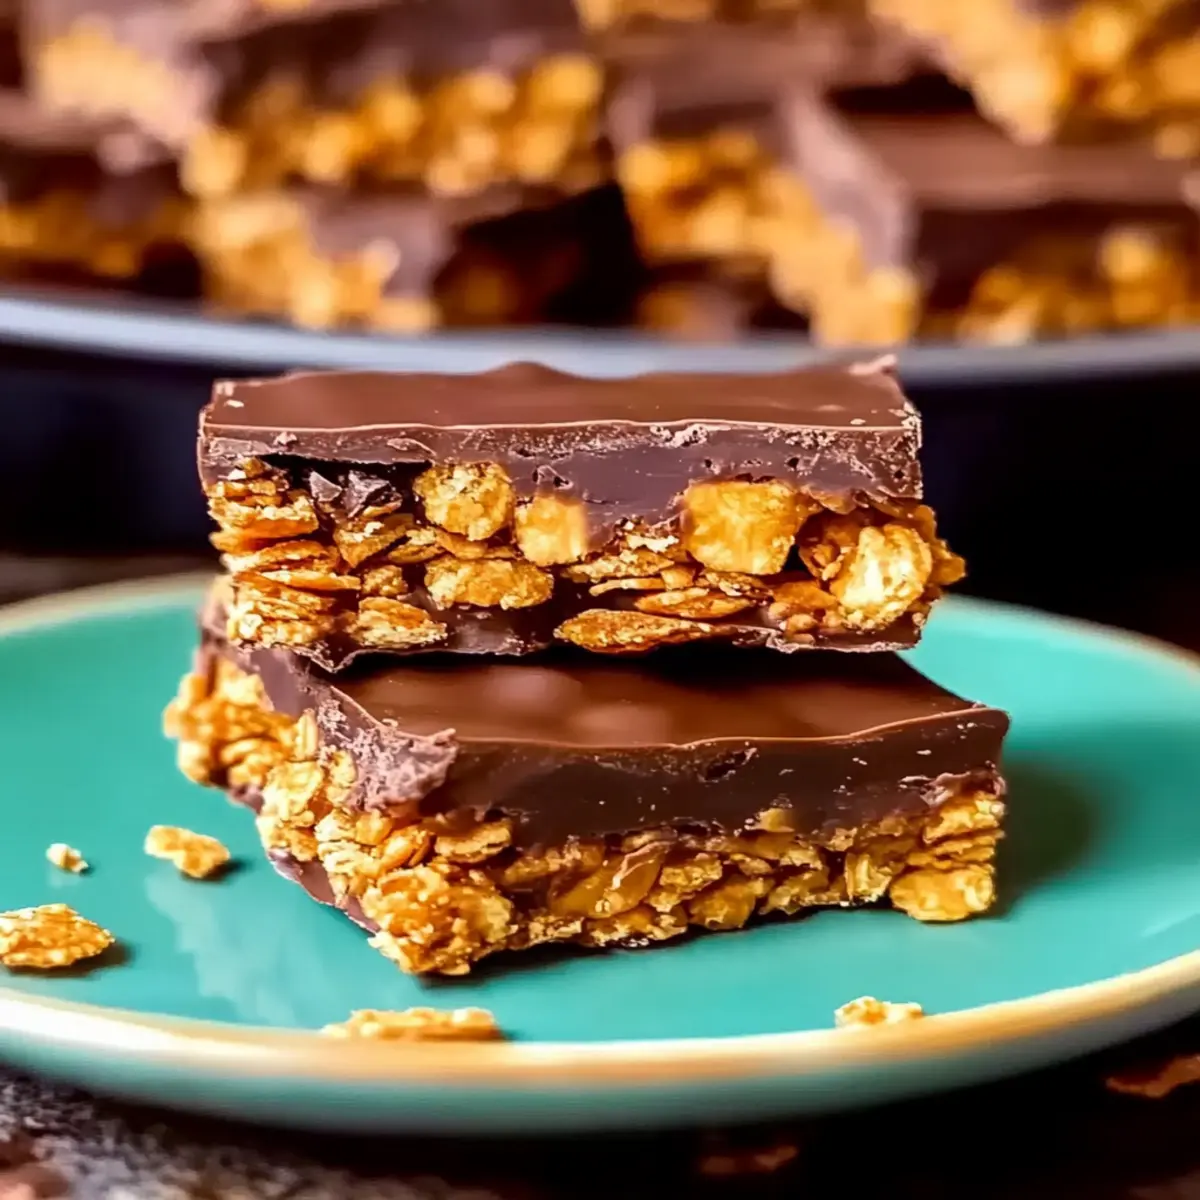
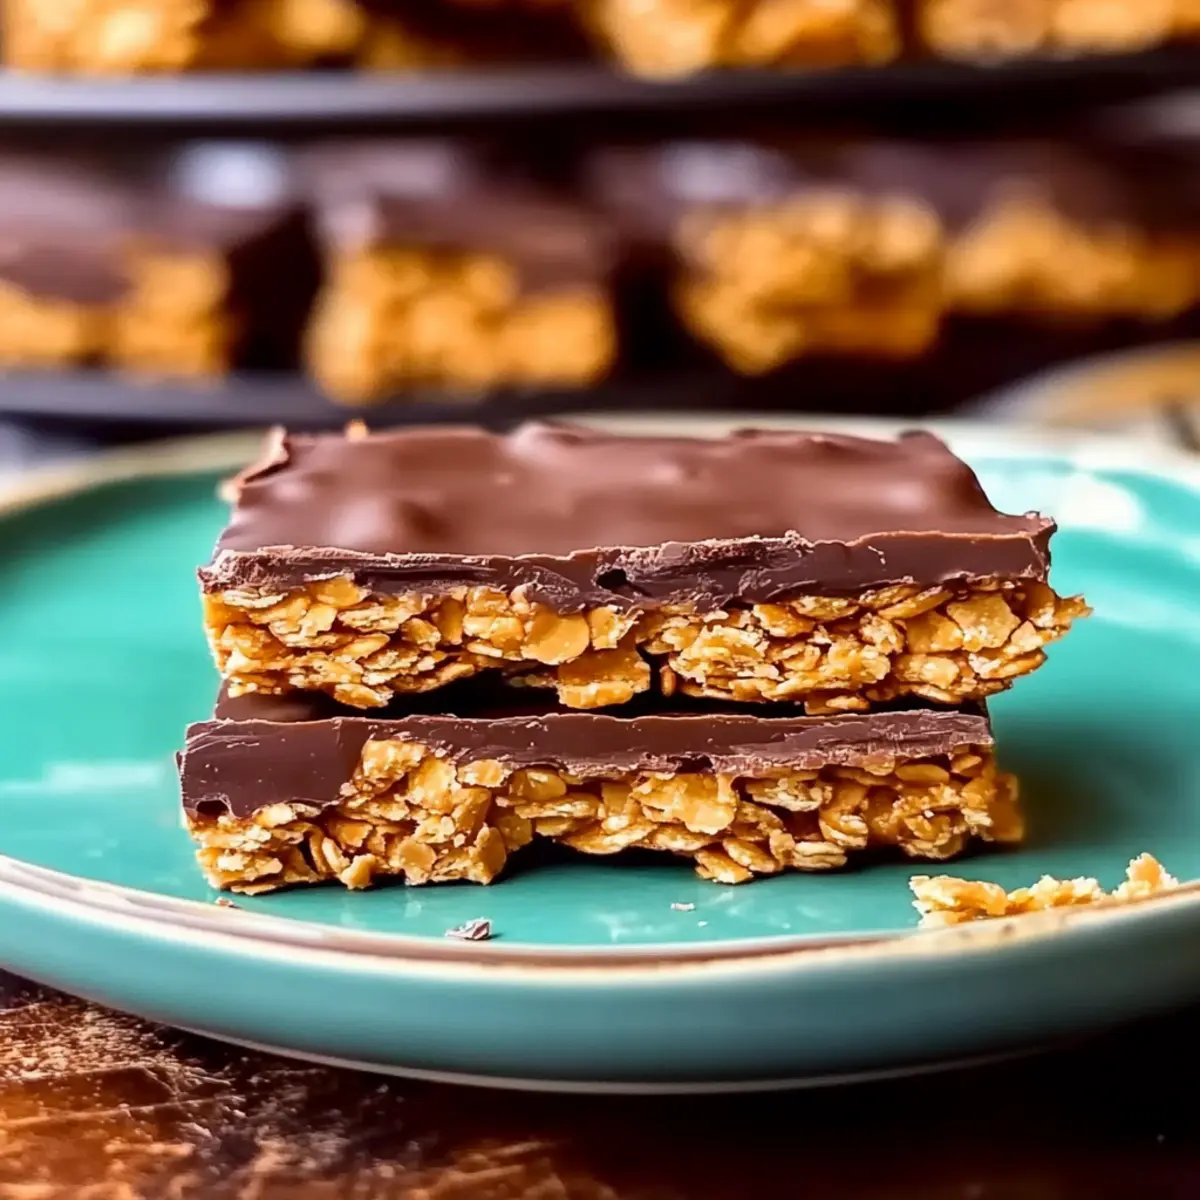
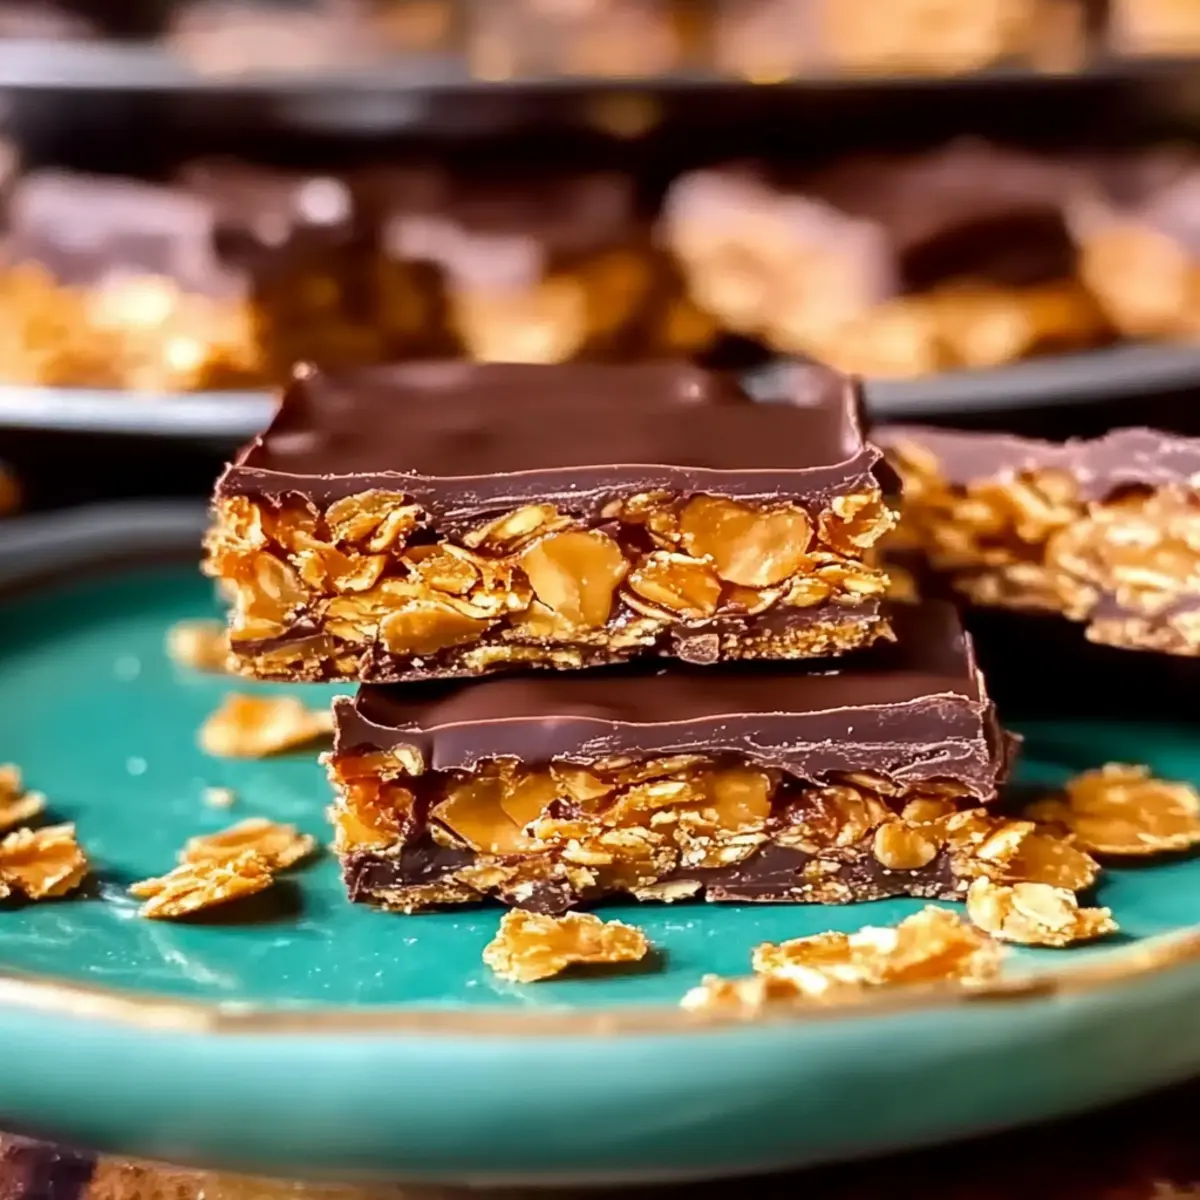
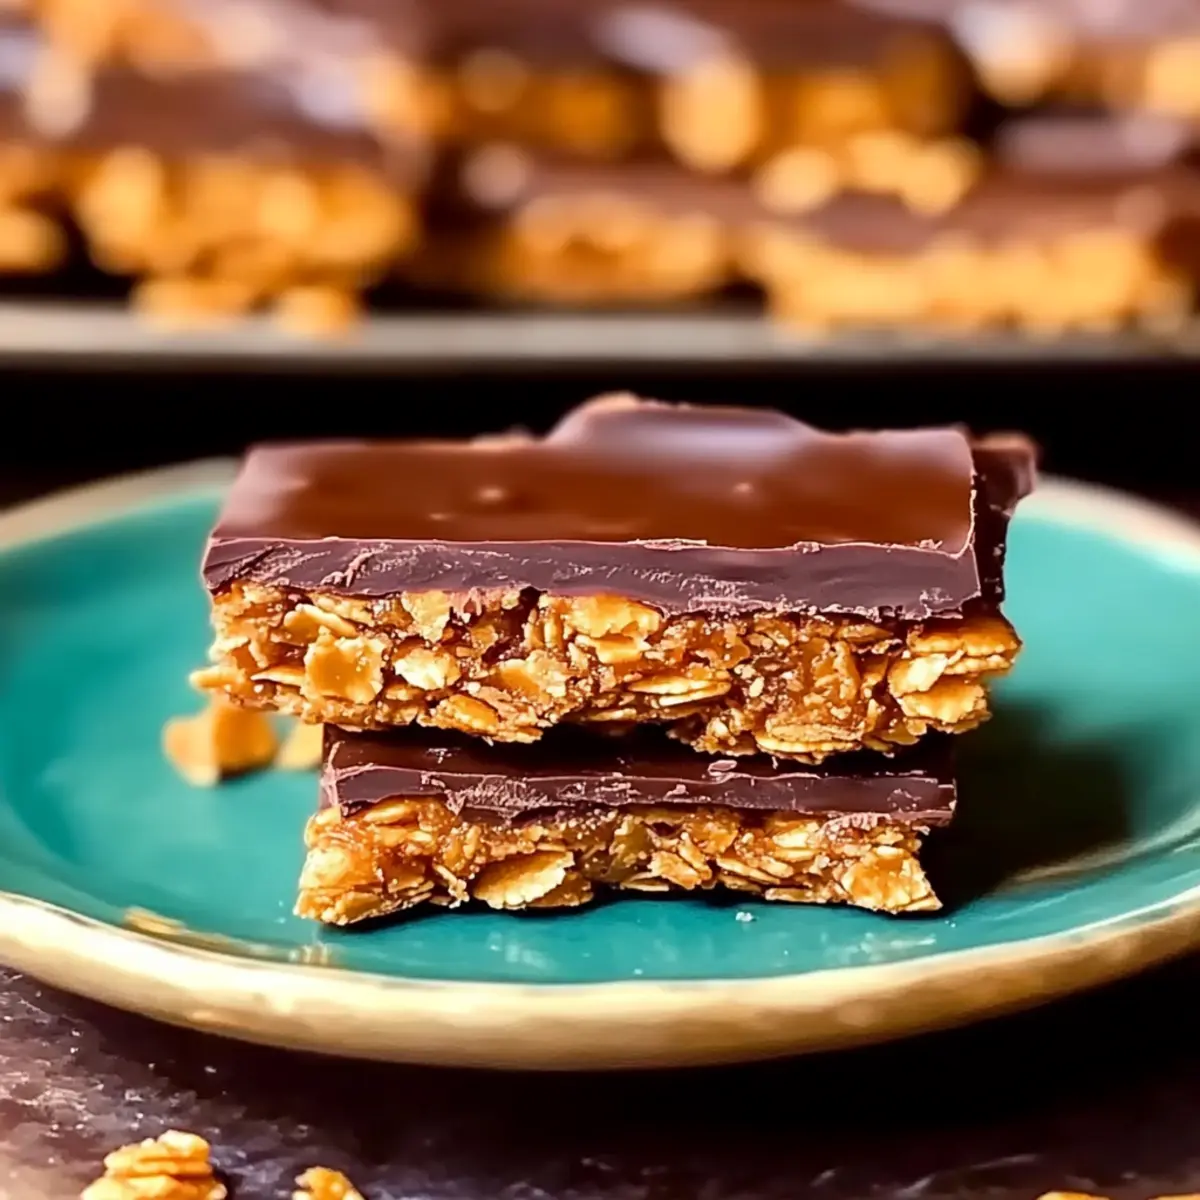
The aroma of melting candy corn filled the kitchen, whisking me back to carefree childhood days filled with laughter and sweet treats. Mastering the art of making Crispy Homemade Butterfinger bars felt like reclaiming a piece of my past while indulging my love for baking. This delightful recipe blends a satisfying crunch with the nostalgic flavor of peanut butter – a perfect comfort food for those cozy movie nights or festive gatherings with friends and family. Plus, it’s incredibly quick to whip up and allows for custom ingredient swaps, like nut-free options, so everyone can enjoy a treat that brings joy without the fuss. Curious to see how simple ingredients can transform into a deliciously crunchy candy bar? Let’s dive into the fun!
Why Is This Butterfinger Recipe Special?
Simplicity makes this recipe a breeze, requiring minimal prep time and just a few ingredients you likely already have! Customizable options mean you can tailor it to everyone’s taste, swapping peanut butter for almond or cashew butter. Crowd-pleaser potential shines through at parties or family gatherings; everyone will be reaching for a piece of these delicious bars! Quick to make, you’ll have a delightful treat ready in no time—perfect for those last-minute sweet cravings. Nostalgic flavors of childhood make each bite a joyful experience that invites you to relive happy memories. Enjoy them with a glass of cold milk or a scoop of ice cream for a sweet pairing!
Crispy Homemade Butterfinger Ingredients
• Whip up this delightful treat with just a handful of ingredients!
For the Base
- Candy Corn – The foundation of our treat, providing sweetness and structure; it’s best not to substitute unless trying a different candy recipe.
- Water – Essential for melting the candy corn to achieve that perfect, gooey consistency.
For the Crunch
- Corn Flakes – Gives our bars a satisfying crunch; feel free to replace with crushed rice cereal for a unique twist!
For the Chocolate Coating
- Chocolate Chips (Semisweet and Milk Chocolate) – Adds a rich chocolate flavor and is crucial for coating; opt for high-quality brands like Ghirardelli for the best results.
- Coconut Oil – Used to smooth the chocolate, ensuring a lovely dip; you can substitute with vegetable oil, but this may change the flavor slightly.
Dive into crafting your Crispy Homemade Butterfinger bars with these simple ingredients, and get ready for a flavor explosion!
Step‑by‑Step Instructions for Crispy Homemade Butterfinger
Step 1: Prepare Your Baking Sheet
Start by lining a baking sheet with parchment paper to prevent the candy mixture from sticking. This ensures an easy release later on. Make sure the parchment covers the entire surface so you can smoothly transfer your freshly made Crispy Homemade Butterfinger bars once they’re ready.
Step 2: Melt the Candy Corn
In a medium saucepan over low heat, combine the candy corn and a splash of water. Stir gently and continuously for about 5–7 minutes until the mixture melts down to a smooth, gooey consistency. You’ll know it’s ready when it resembles a thick syrup and is well blended with no lumps.
Step 3: Combine the Corn Flakes
Remove the saucepan from heat and let the mixture cool for a minute before gently folding in the crushed corn flakes. Aim for even distribution, ensuring every flake is coated with that sweet, melted candy corn. This adds the signature crunch to your Crispy Homemade Butterfinger bars.
Step 4: Form the Mixture
Transfer the candy and corn flakes mixture onto your prepared baking sheet. Using a spatula or your hands, press the mixture firmly into an even layer, about 1 inch thick. Make sure it’s compact, as this will help your bars hold their shape once cut. Let it sit for a few minutes to firm up.
Step 5: Melt the Chocolate
While the base cools, melt the semisweet and milk chocolate chips separately in two microwave-safe bowls or over a double boiler. Heat in short intervals of about 30 seconds, stirring well until completely smooth. The chocolate should be glossy and pourable, perfect for dipping your Crispy Homemade Butterfinger pieces.
Step 6: Cut and Dip the Bars
Once the candy layer has cooled and hardened slightly, use a sharp knife to cut it into your desired bar size. Dip each piece into the melted chocolate, ensuring it’s fully coated. Allow any excess chocolate to drip off before placing it back onto the parchment-lined sheet.
Step 7: Let the Chocolate Set
Once all pieces are dipped, let them sit at room temperature or in the refrigerator for about 30 minutes, until the chocolate coating firms up nicely. You’ll know they’re ready when the chocolate is solid and beautifully shiny, making your Crispy Homemade Butterfinger bars irresistible!
How to Store and Freeze Crispy Homemade Butterfinger
Fridge: Store your Crispy Homemade Butterfinger bars in an airtight container in the refrigerator for up to 2 weeks. This keeps them fresh and prevents any unwanted melting.
Freezer: For longer storage, place the bars in a freezer-safe container, separating layers with parchment paper. They can last for up to 3 months in the freezer, ready for a sweet treat any time!
Reheating: If you prefer to enjoy your bars warm, simply microwave them for a few seconds until slightly softened, but be careful not to overheat as it may melt the chocolate coating.
Expert Tips for Crispy Homemade Butterfinger
-
Slowly Melt Chocolate: Ensure you melt chocolate chips over low heat or in short intervals; this prevents burning and maintains a glossy finish for your Crispy Homemade Butterfinger bars.
-
Firmly Press Mixture: When spreading the candy corn and corn flakes mixture, press firmly to ensure it holds together. A loose mixture may crumble when cut.
-
Chill for Best Results: Allow your dipped bars to rest in the refrigerator to set the chocolate properly. This will give you a clean, crunchy bite once served.
-
Use Quality Ingredients: Opt for high-quality chocolate, like Ghirardelli, for a richer flavor. Good ingredients really elevate your homemade candy experience.
-
Adjust for Freshness: Store your Crispy Homemade Butterfinger bars in an airtight container in the refrigerator. This keeps them fresh and stops them from melting in warm weather.
Make Ahead Options
These Crispy Homemade Butterfinger bars are perfect for meal prep enthusiasts! You can prepare the base with candy corn and corn flakes up to 24 hours in advance by following the initial steps, allowing you to refrigerate the mixture tightly wrapped in plastic wrap or in an airtight container to maintain its quality. When you’re ready to serve, simply cut the mixture into pieces and dip them in melted chocolate. Allow the chocolate coating to set as directed, and you’ll have a delightful treat that’s just as delicious as if made fresh. Preparing ahead not only saves time but ensures you can enjoy these sweet indulgences without stress on busy days!
What to Serve with Crispy Homemade Butterfinger
Treat yourself to a delicious experience that pairs perfectly with the sweet crunch of these candy bars!
- Cold Milk: Nothing beats the classic pairing of cold milk, which balances the sweetness and enhances the creamy chocolate experience.
- Vanilla Ice Cream: A scoop of velvety vanilla ice cream brings a delightful contrast to the crunchy texture of the Butterfinger bars, creating an indulgent dessert.
For a festive touch, serve the bars on a platter alongside some fresh strawberries or raspberries. Their bright, tart flavor beautifully cuts through the sweetness, adding a refreshing element to your treat.
- Coffee or Espresso: The rich, bold flavors of a freshly brewed cup contrast wonderfully with the sugary goodness, making it a comforting match for your candy bars.
- Chocolate Sauce Drizzle: Elevate your Butterfinger experience by drizzling some warm chocolate sauce on top. It adds an extra layer of gooey richness.
- Nut Butter Dipping Sauce: For those craving a little more protein, whip up a quick nut butter sauce. The creaminess pairs nicely with the crunchy candy bars, making each bite truly satisfying.
Crispy Homemade Butterfinger Variations
Customize your Crispy Homemade Butterfinger bars for unique flavors and dietary needs! Let your creativity shine through with these delightful swaps.
-
Nut-Free: Substitute peanut butter with sunflower seed butter to create a nut-free option, ensuring everyone can enjoy these treats!
-
Cocoa Crunch: For an extra chocolatey flavor, mix in some cocoa powder with the corn flakes before forming the bars. This will add a delightful twist that’s truly irresistible.
-
Coconut Delight: Fold in unsweetened shredded coconut for a tropical flavor boost and added texture, transporting you to beach vibes with every bite.
-
Spicy Touch: Add a pinch of cayenne or chili powder to the chocolate coating for a spicy kick that beautifully contrasts the sweetness. It’s a bold twist that will surprise your taste buds.
-
Vegan Treat: Use dairy-free chocolate chips and coconut oil to make a fully vegan version of these candy bars, allowing everyone to indulge guilt-free.
-
Granola Bars: Replace corn flakes with granola for a heartier, health-conscious alternative. This adds chewiness and various flavors to elevate your homemade bars.
-
Fruit Fusion: Mix in dried fruits such as cranberries or raisins in the base mixture for added sweetness and a chewy texture. It makes for a delightful surprise in every bite!
-
Chocolate Drizzle: After the initial chocolate coating has set, drizzle melted white chocolate on top for a beautiful and tasty visual appeal. This adds an elegant touch to your Crispy Homemade Butterfinger.
These variations are just a few ways to experiment with flavors and textures. If you’re looking for something savory to enjoy alongside, you could try serving them with a glass of ice-cold milk or perhaps even accompany them with my Garlic Butter Steak Bites with Potatoes for a delightful contrast of flavors. Enjoy!
Crispy Homemade Butterfinger Recipe FAQs
How do I choose the right candy corn?
Absolutely! When selecting candy corn, look for bright colors and a soft texture, avoiding any with dark spots or hard pieces, which could indicate age. It’s best used fresh for the perfect candy consistency and flavor in your Crispy Homemade Butterfinger bars.
What’s the best way to store the Crispy Homemade Butterfinger bars?
I recommend storing your bars in an airtight container in the refrigerator for up to 2 weeks. This helps maintain their freshness and prevents melting. If you’re in a warmer climate, this is especially important to keep them from becoming gooey and difficult to handle!
Can I freeze the Crispy Homemade Butterfinger bars?
Definitely! To freeze, place the bars in a freezer-safe container, making sure to separate layers with parchment paper to prevent sticking. They will last for up to 3 months. When you’re ready to enjoy one, simply thaw in the refrigerator for a few hours or let them sit at room temperature for 15-20 minutes before serving.
What if my candy corn mixture is too sticky?
Very good question! If your mixture is too sticky, it may be a result of not melting the candy corn thoroughly or not mixing the corn flakes in well enough. When melting, ensure you heat the candy corn over low heat until it’s smooth, with no lumps. If it still feels very sticky when you’re combining with the flakes, let it cool slightly before pressing it into the baking sheet.
Are there any allergy considerations for this recipe?
Yes! If you’re making these Crispy Homemade Butterfinger bars for someone with a nut allergy, simply swap peanut butter for alternatives like sunflower seed butter or omit it altogether. Check your chocolate chips, too; many brands offer nut-free options if necessary. Always read labels to ensure safety!
How can I customize the flavor of my Crispy Homemade Butterfinger?
The more the merrier! You can easily customize your bars by substituting peanut butter with almond or cashew butter for a different flavor profile. Adding a sprinkle of sea salt or a dash of cinnamon into the mixture can also elevate the taste beautifully!
Crispy Homemade Butterfinger Bars Everyone Will Love
Ingredients
Equipment
Method
- Line a baking sheet with parchment paper to prevent sticking.
- In a medium saucepan over low heat, combine the candy corn and water. Stir continuously for 5–7 minutes until smooth.
- Remove from heat and let cool for a minute before folding in the corn flakes.
- Transfer the mixture onto the prepared baking sheet, pressing it into an even layer about 1 inch thick.
- Melt the chocolate chips in microwave-safe bowls or over a double boiler, stirring until smooth.
- Once the candy layer has cooled, cut it into bar sizes and dip each piece in melted chocolate.
- Allow the dipped bars to sit at room temperature or refrigerate for 30 minutes until the chocolate firms up.
Leave a Reply