
As the sun blazes overhead, I often find myself dreaming of icy treats that don’t just cool me down but also nourish my body. That’s where these delightful Fruity Frozen Yogurt Pops come into play! With their fresh fruit and creamy, dairy-free yogurt, they capture the essence of summer in every bite. Not only are they easy to whip up, making them a perfect family project, but they also support a zero-waste lifestyle by using eco-friendly ingredients and packaging. Imagine indulging in a sweet, tangy pop knowing you’re treating both yourself and the planet well! So, are you ready to dive into this homemade adventure and discover how simple it is to create these pops at home?
Why Are These Pops a Must-Try?
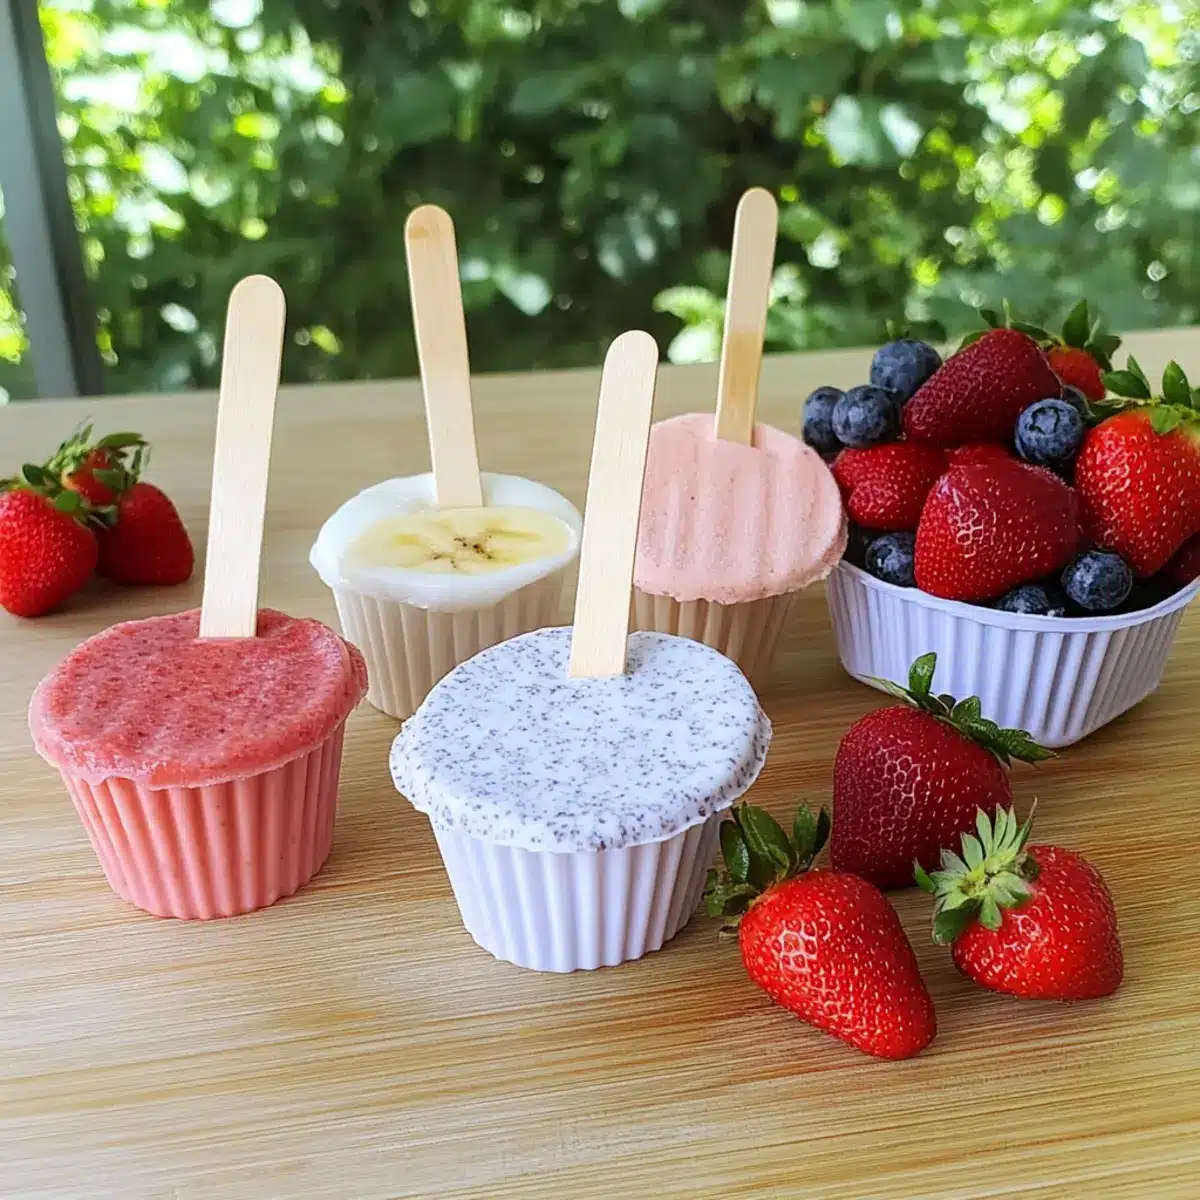
Delectable Flavor: A delightful fusion of fresh fruits like strawberries and bananas, these pops bring joy to every bite with their sweet and tangy notes.
Simple to Create: Quick and easy to prepare, you can have these cooling delights ready in just a few hours—perfect for those summer days when waiting is not an option!
Health Conscious: Nutrient-rich and wholesome, these vegan and gluten-free treats offer a guilt-free indulgence, keeping your body and taste buds satisfied.
Customizable Fun: Endless combinations await! Swap in your favorite fruits or yogurts, and create a colorful array of pops your family will love—a fantastic way to get kids involved!
Eco-Friendly Alternative: Sustainably made, this recipe encourages minimal waste by using fresh, loose produce, making it a step toward a healthier planet.
Get ready to embrace this delicious frozen treat that’s sure to impress and delight at your next summer gathering!
Fruity Yogurt Pops Ingredients
• For a refreshing burst of flavor, gather your ingredients!
For the Fruit Mixture
- Fresh Strawberries – offers a naturally sweet and vibrant base for your pops.
- Bananas – adds creaminess and natural sweetness; great for a smooth texture.
- Seasonal Fruits – feel free to substitute any favorite fruits or berries to match your taste.
For the Yogurt Base
- Coconut Yogurt – a delicious dairy-free option that stays creamy when frozen.
- Almond or Soy Yogurt – swap for different flavors while keeping it vegan-friendly.
For Sweetening
- Agave Syrup – balances the tartness of fruit and yogurt; can be replaced with maple syrup for a twist.
These Fruity Yogurt Pops are not just a treat for the taste buds but also a wholesome way to cool off this summer!
Step‑by‑Step Instructions for Fruity Yogurt Pops
Step 1: Gather Your Ingredients
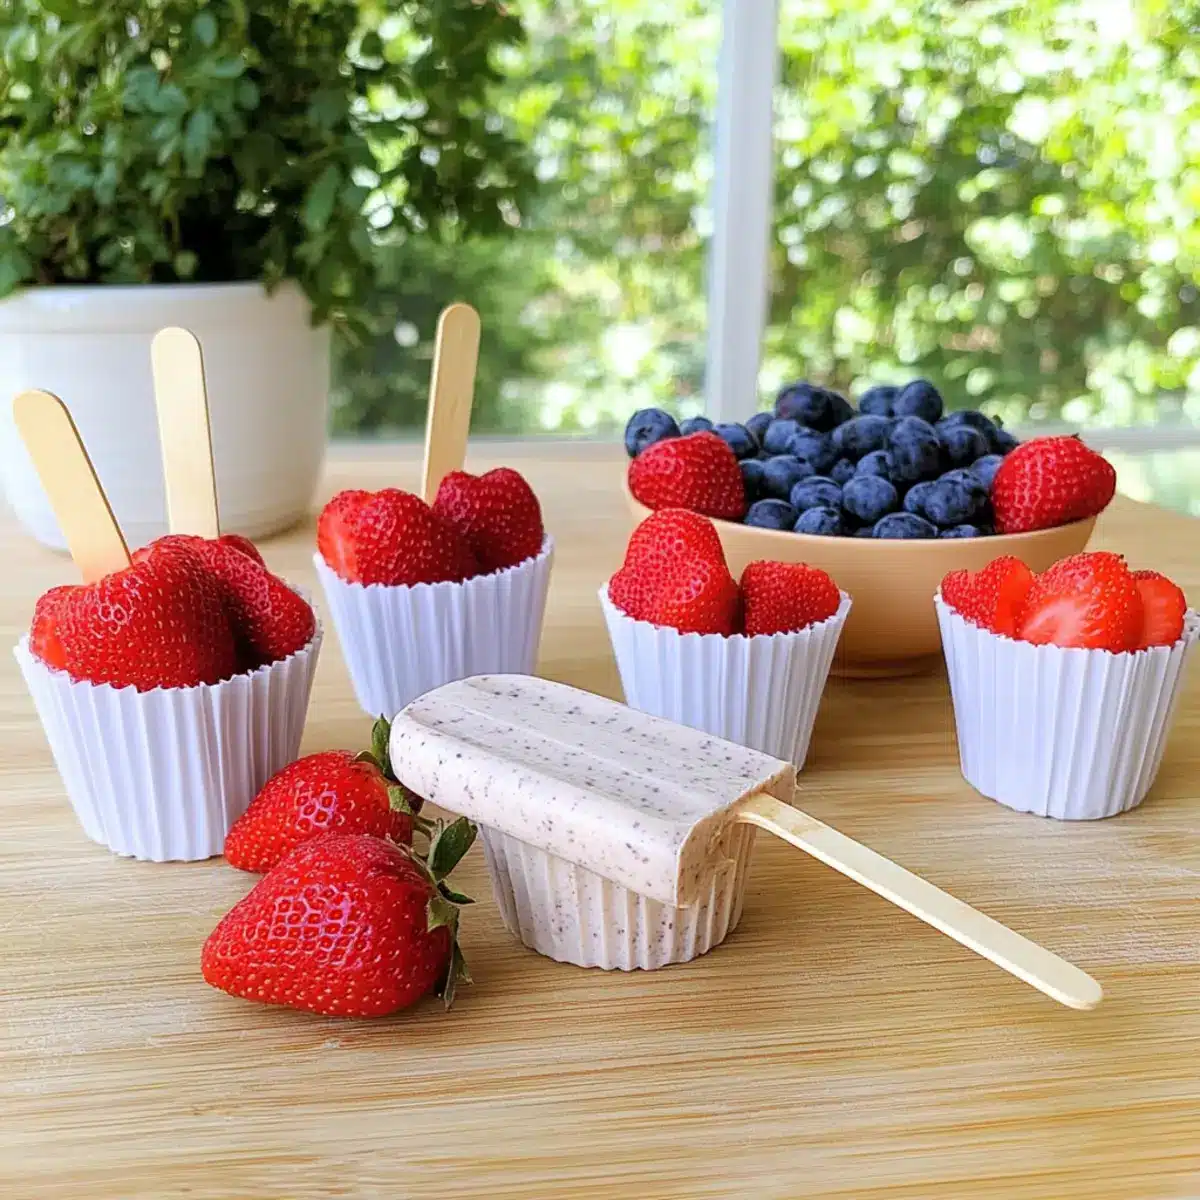
Start by collecting all the ingredients for your Fruity Yogurt Pops. You’ll need fresh strawberries, bananas, and your choice of dairy-free yogurt like coconut or almond. Don’t forget the agave syrup for sweetness! Prepare your workspace by getting reusable silicone baking cups or popsicle molds and wooden sticks ready for use.
Step 2: Prepare the Fruit
Wash the strawberries thoroughly and cut off the green tops. Slice them into smaller chunks for easy blending, along with peeling the bananas. Combine both fruits in a mixing bowl, ensuring they’re ready to blend into a smooth, vibrant mixture that will form the delicious base of your yogurt pops.
Step 3: Blend the Mixture
In a blender, add the prepared fruit, yogurt, and a splash of agave syrup. Blend on high speed for about 1-2 minutes until the mixture is completely smooth and creamy, indicating that your Fruity Yogurt Pops base is ready. You should see a beautiful, even consistency with vibrant colors that entice!
Step 4: Fill the Molds
Carefully pour the blended yogurt and fruit mixture into your prepared silicone baking cups or popsicle molds. Fill them to the top, leaving a little space for expansion as they freeze. Smoothing the top will ensure a delightful finish for your pops once frozen; the colors of fruit should be inviting!
Step 5: Insert the Sticks
Once filled, place the molds in the freezer for about 1 hour. This helps the mixture firm up slightly, allowing you to insert wooden sticks without them tipping over. After the hour, carefully poke the sticks into the center of each mold, ensuring they’re upright and ready for a delicious freeze.
Step 6: Freeze Until Solid
Return the molds to the freezer for an additional 4-5 hours, allowing your Fruity Yogurt Pops to freeze completely. You’ll know they’re ready when they’re firm to the touch and no longer soft in the center. This is the perfect time for a little patience as the tantalizing pops transform into a refreshing summer treat.
Step 7: Enjoy Your Treats
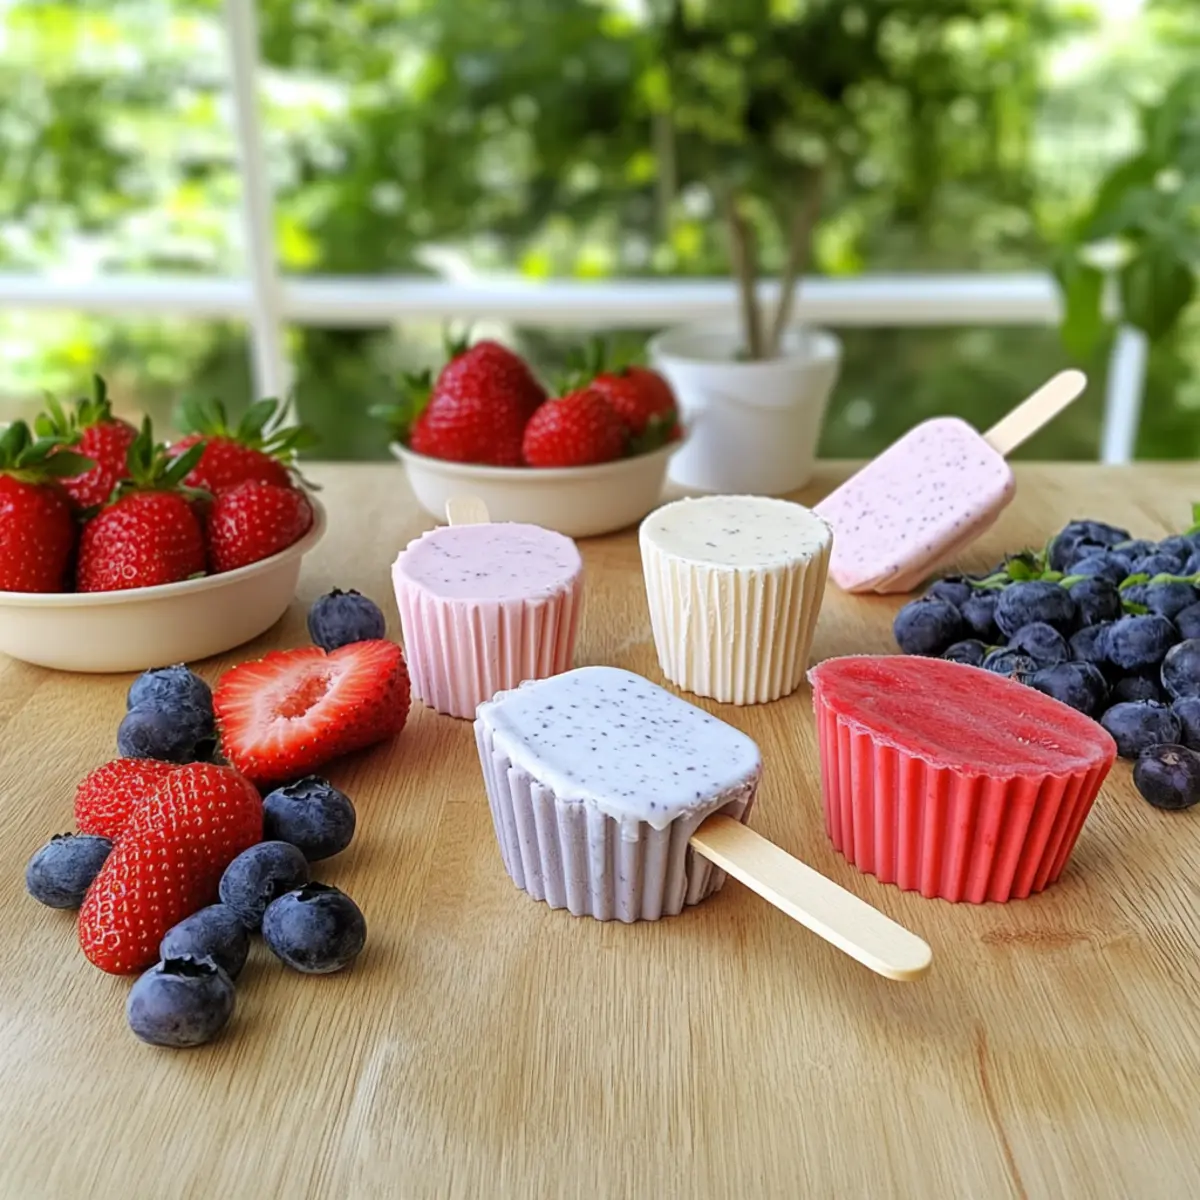
Once frozen solid, remove the Fruity Yogurt Pops from their molds by gently pulling them out or running them under warm water for a few seconds. Serve them as a cool, refreshing snack, perfect for hot summer days, and share with family for a delicious, guilt-free indulgence!
Fruity Yogurt Pops: Customization Ideas
Explore the endless possibilities to personalize your Fruity Yogurt Pops and turn them into your own signature treat!
-
Dairy-Free: Substitute regular yogurt with almond or soy yogurt for a delightful dairy-free twist. The smoothness remains, and your pops stay creamy.
-
Flavor Boost: Add a splash of vanilla extract or almond extract to amplify the flavor. This simple change can surprise your taste buds!
-
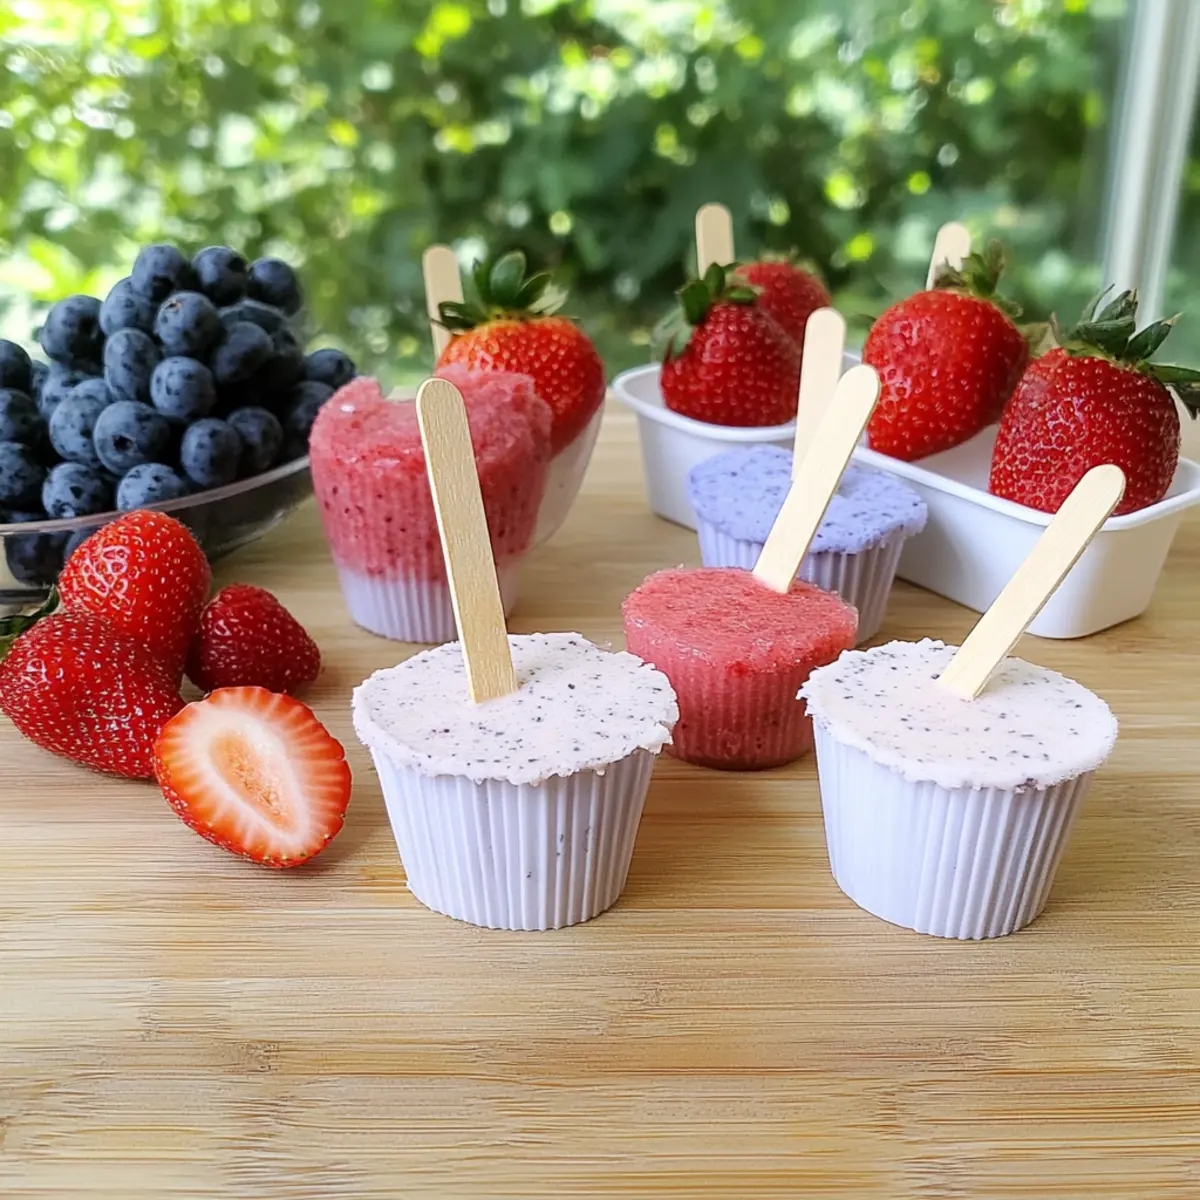
Berry Medley: Mix a variety of berries like blueberries, raspberries, or blackberries for a colorful explosion. Not only do they look charming, but they also provide a burst of antioxidants.
-
Nutty Crunch: Stir in some chopped nuts, like almonds or walnuts, to the mixture for added texture. This gives your pops a delicious crunch that complements the creaminess.
-
Coconut Flakes: For a tropical vibe, incorporate shredded coconut into the yogurt mixture. This addition makes every pop feel like a beach getaway!
-
Heat It Up: For a hint of spice, consider adding a dash of cayenne pepper or a few slices of fresh chili. The sweet and spicy combo can ignite your palate!
-
Fruit Puree Layer: Layer your pops with a fruit puree made from your favorite berries or mangoes. It not only adds visual appeal but also some delightful flavor contrasts.
-
Layering Pops: Create a layered effect with different fruit mixtures and yogurt bases for a stunning visual. Each bite will surprise you with new flavors and textures!
Get creative in the kitchen! With these adjustments, your Fruity Yogurt Pops will be uniquely yours, making every bite a heartwarming experience.
Expert Tips for Fruity Yogurt Pops
-
Choose Ripe Fruits: Make sure to use ripe, sweet fruits for the best flavor. Under-ripe fruits can lead to a sour taste in your Fruity Yogurt Pops.
-
Blend Well: Don’t rush the blending! Ensure the mixture is super smooth to achieve that creamy texture, avoiding any chunky bits which can affect the final result.
-
Total Freezing Time: Allow ample time for freezing. If you’re in a hurry, remember that if not frozen long enough, the pops may be soft and difficult to remove from molds.
-
Stick Placement: Insert the sticks only after the mixture has firmed up for about an hour. This prevents them from falling over and ensures an even pop every time.
-
Experiment with Flavors: Feel free to mix up the fruits and yogurts according to your taste preference. The more variety, the more enjoyable your Fruity Yogurt Pops can be!
How to Store and Freeze Fruity Yogurt Pops
Fridge: Store any leftover pops in the fridge for up to 2 days, but they are best enjoyed fresh and frozen.
Freezer: Keep your Fruity Yogurt Pops in an airtight container in the freezer for up to 3 months. This ensures they remain delicious and free from freezer burn.
Reheating: There’s no need to reheat these pops—simply let them sit at room temperature for a few minutes before enjoying for easier removal from molds.
Transporting: If you’re taking your Fruity Yogurt Pops on the go, pack them in an insulated bag with ice packs to keep them frozen longer.
Make Ahead Options
These Fruity Yogurt Pops are a fantastic option for meal prep, allowing you to indulge in a healthy treat anytime! You can prepare the fruit mixture (including blended yogurt and agave syrup) up to 24 hours in advance and store it in an airtight container in the refrigerator. This allows the flavors to meld beautifully, ensuring they remain just as delicious. When you’re ready to freeze, simply fill your molds and insert the sticks as directed. For best quality, ensure that the molds are tightly covered while freezing for up to 3 days. This make-ahead approach will save you time on busy days and keep your treats ready for refreshing enjoyment at a moment’s notice!
What to Serve with Fruity Frozen Yogurt Pops
As the warm sun sets and laughter fills the air, these refreshing frozen treats can turn any gathering into a joyful celebration.
-
Fresh Fruit Salad: A vibrant mix of seasonal fruits brightens up the table and enhances the fruity flavors of the pops. It’s refreshing, colorful, and naturally sweet.
-
Coconut Water: Hydrating and lightly sweet, coconut water is a perfect match that complements the creamy yogurt bites. It’s a thirst-quencher that keeps the tropical vibe alive.
-
Granola Crunch: Topping your pops with granola adds delightful crunch and texture, making each bite an adventure in flavor. Imagine the satisfying contrast between smooth and crunchy!
-
Chocolate Drizzle: A drizzle of melted dark chocolate over your pops creates a decadent twist, turning these guilt-free treats into something extraordinary. It’s a little indulgence that brings extra joy.
-
Mint Sprigs: Fresh mint provides a pop of color and a refreshing aroma that beautifully complements the fruity taste, inviting your guests to indulge in the moment.
-
Iced Herbal Tea: A chilled herbal tea infuses the air with delightful floral notes, offering a soothing drink that pairs wonderfully with your healthy summer pops.
-
Almond Butter Dip: For those looking for extra protein, a side of almond butter or any nut butter serves as an exceptional dip to add richness and flavor to your pops.
-
Vanilla Sorbet: When you want to impress your guests, serve a scoop of vanilla sorbet alongside these Fruity Frozen Yogurt Pops. The creamy, cool dessert will keep everyone coming back for more!
Fruity Yogurt Pops Recipe FAQs
What types of fruits work best for these pops?
Absolutely! Ripe, sweet fruits like strawberries and bananas are perfect for Fruity Yogurt Pops. They deliver a delightful sweetness and smooth texture. Feel free to substitute with seasonal fruits or berries to suit your taste. Just remember to choose fruits that are ripe to enhance the overall flavor!
How should I store any leftover pops?
You can store leftover Fruity Yogurt Pops in the freezer in an airtight container for up to 3 months. This method keeps them delicious and prevents freezer burn. If you’re planning to eat them within a couple of days, an airtight container in the fridge is fine, but they are best enjoyed fresh and frozen!
Can I freeze these pops for later enjoyment?
Absolutely! You can freeze Fruity Yogurt Pops for up to 3 months. To freeze, simply ensure they are in an airtight container. If you’re transporting these tasty treats, consider using an insulated bag with ice packs to keep them frozen longer.
What can I do if my pops are too soft after freezing?
If your Fruity Yogurt Pops are too soft, it may be that they didn’t freeze long enough. After filling the molds, freeze them for at least 4 to 5 hours. If they are still not firm, allow them to freeze a bit longer. Also, ensure the mixture was fully blended and the right consistency before freezing.
Are these pops suitable for people with allergies?
Very! This recipe is naturally gluten-free and vegan-friendly, making it a great option for those with dietary restrictions. However, if anyone has specific fruit allergies, feel free to substitute those fruits with alternatives like peaches or berries. Always check the yogurt packaging for allergen information to be safe!
Can I use regular yogurt instead of a dairy-free option?
Certainly! If you’re not restricted to a vegan diet, you can use regular yogurt in place of coconut or almond yogurt. However, keep in mind that it may alter the flavor profile slightly!
Fruity Yogurt Pops: Cool Off with This Healthy Summer Treat
Ingredients
Equipment
Method
- Gather all the ingredients for your Fruity Yogurt Pops.
- Wash the strawberries and cut off the green tops. Slice them into smaller chunks.
- In a blender, add the prepared fruit, yogurt, and agave syrup. Blend until smooth.
- Pour the blended mixture into silicone cups or molds, filling them to the top.
- Place the molds in the freezer for about 1 hour. Then insert wooden sticks.
- Freeze for an additional 4-5 hours until solid.
- Remove the pops from molds and enjoy fresh.
Leave a Reply